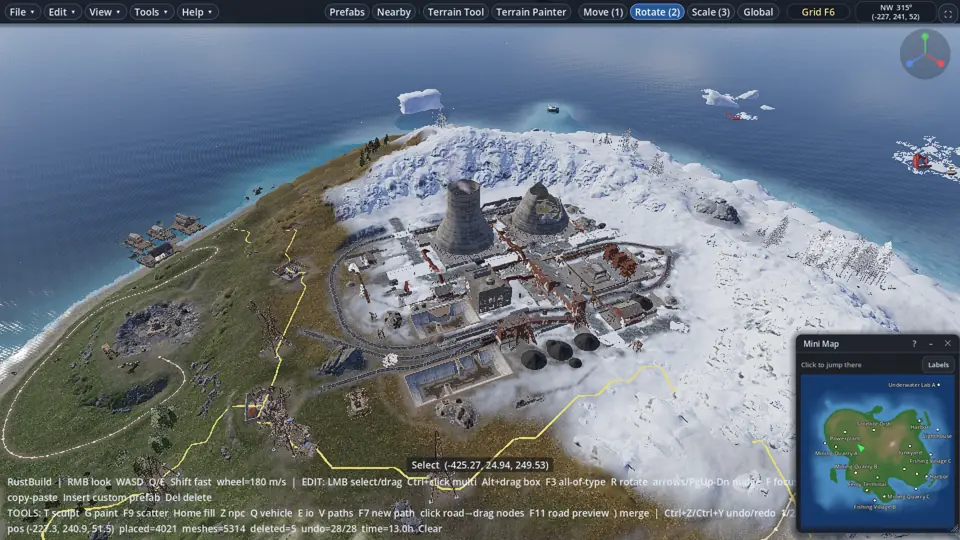
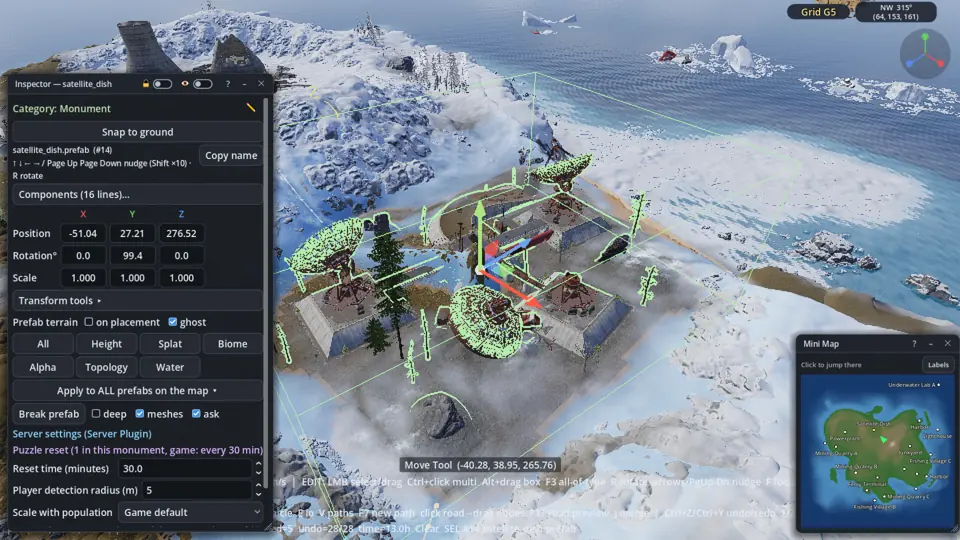
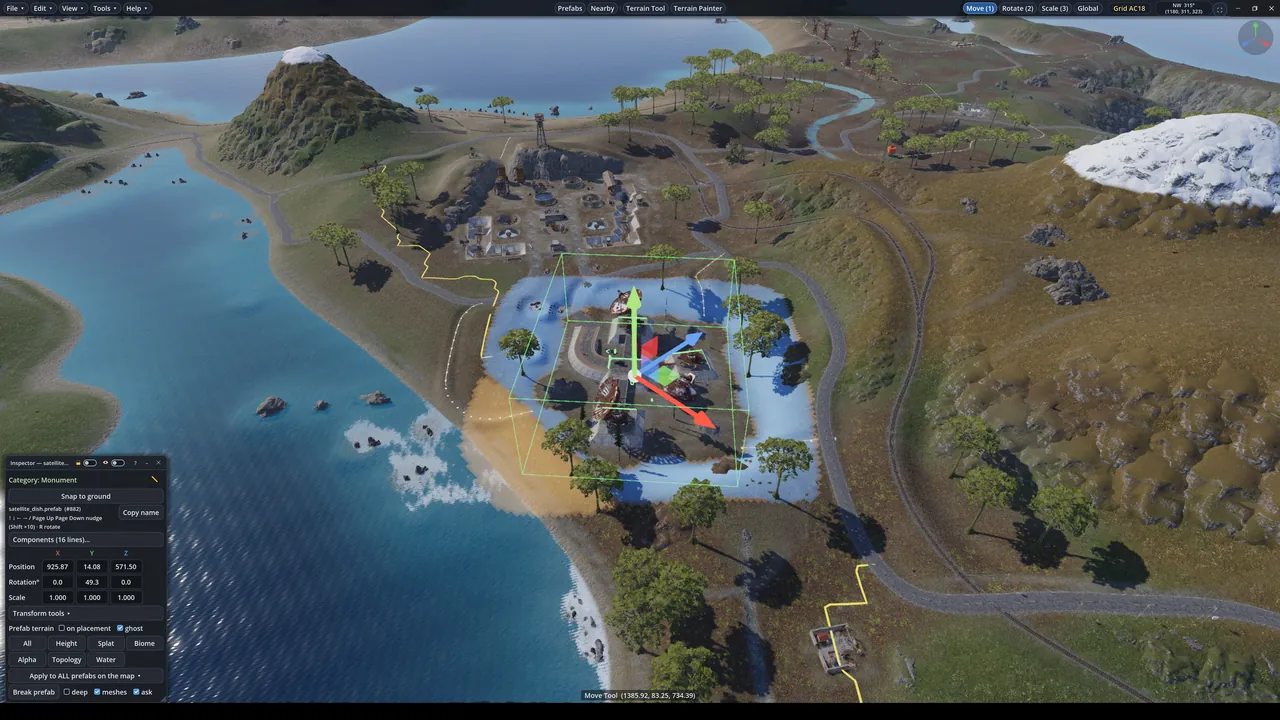
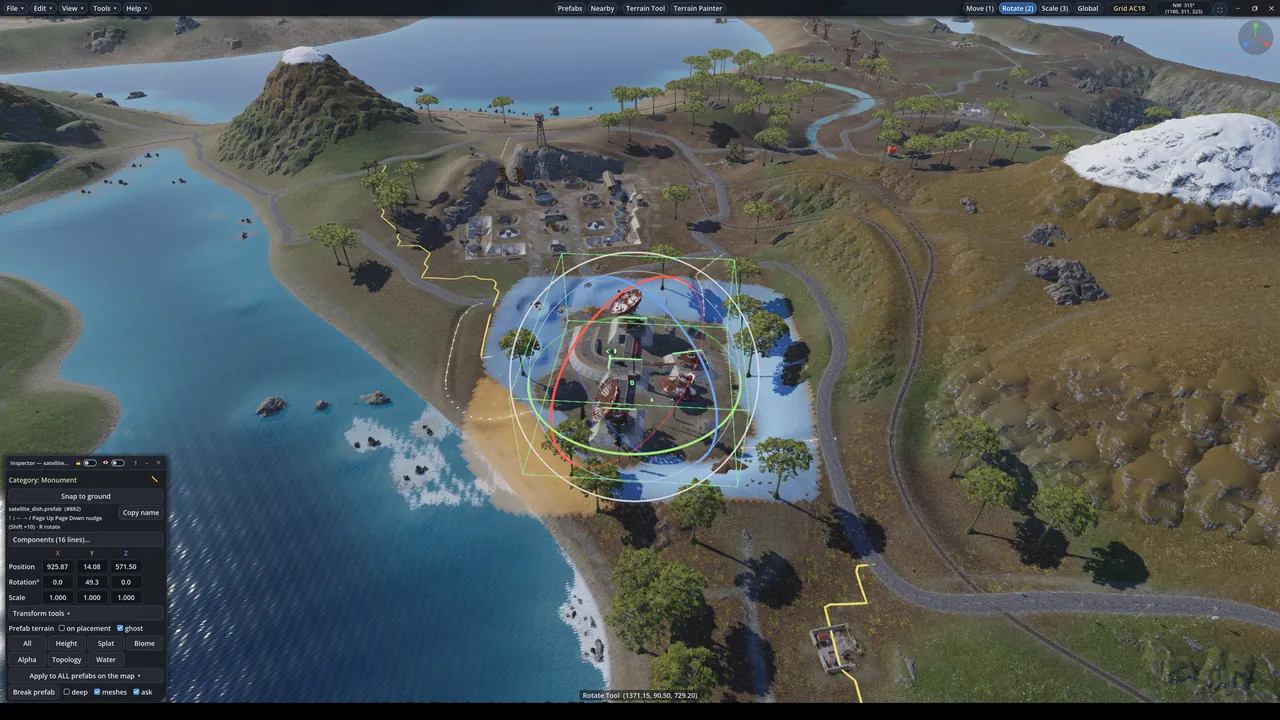
Rust Build
Features

Nothing matches. Try another word, for example road, paint or password.

Full Feature List

Make a Rust map, test it the way a server runs it, and take it live on your server: everything in one editor.

Rust's own world generator, play mode, server simulations, live co-op with voice and a server plugin that brings your map's extras to life. One download, no installer.

  • 140 features
  • 10 groups
  • 217 how-to topics

What sets Rust Build apart

Terrain and painting 11

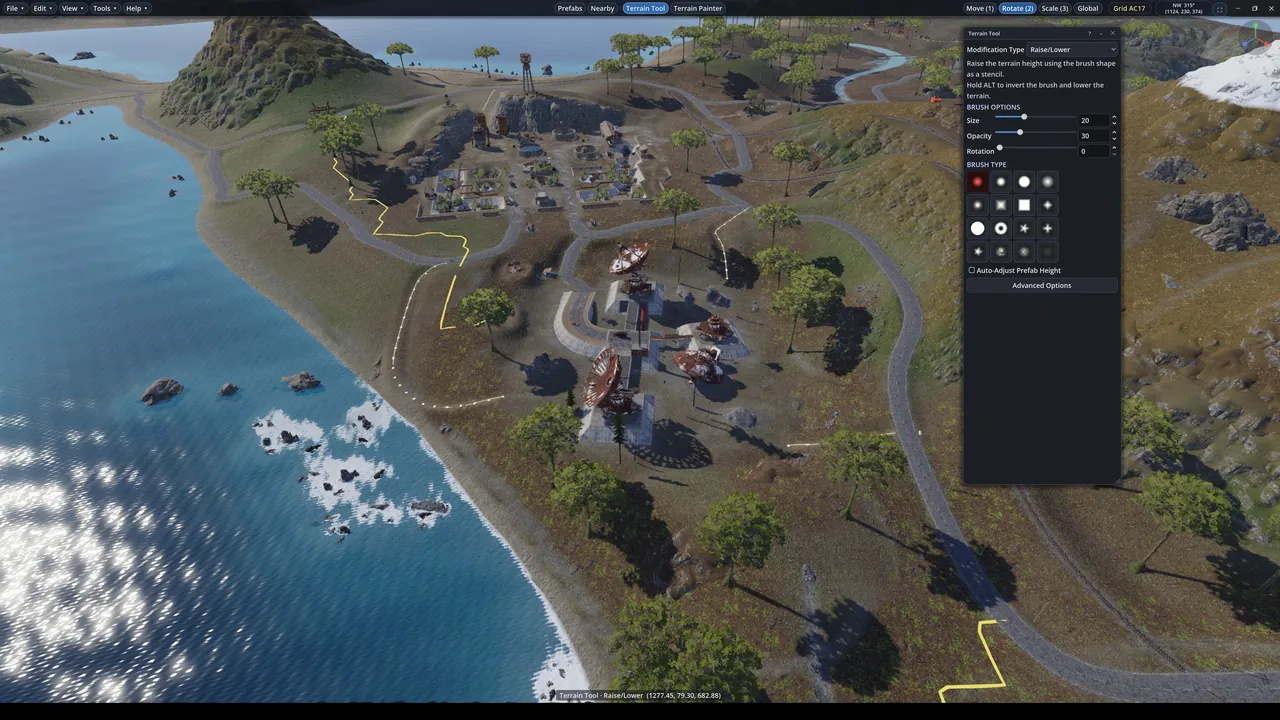
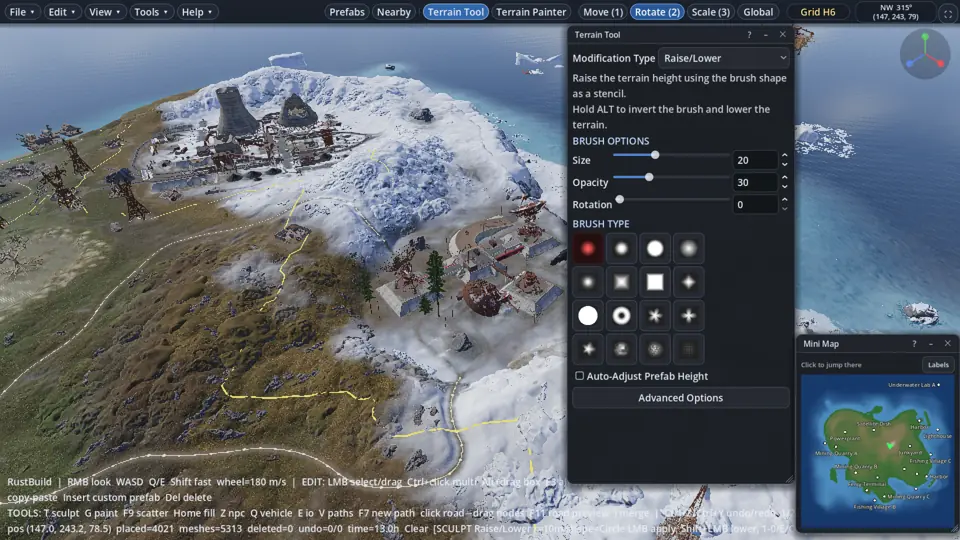
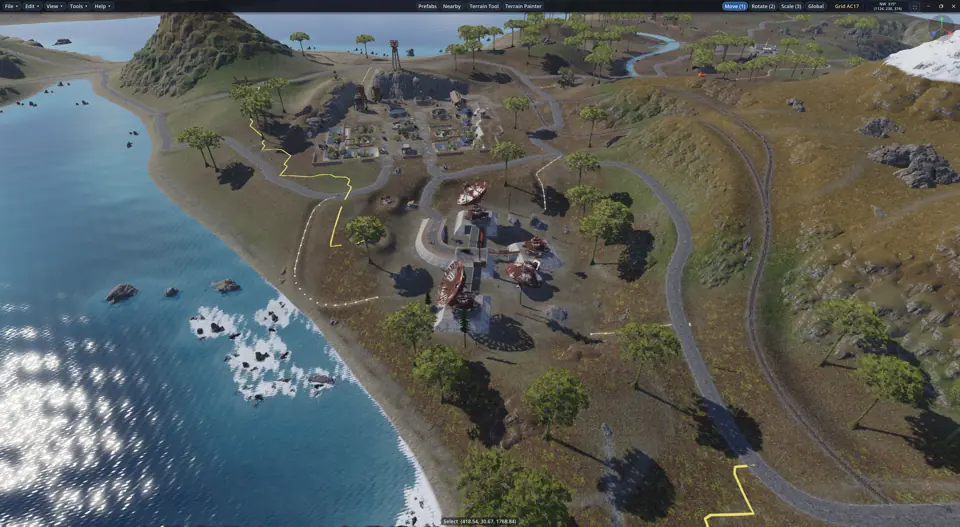
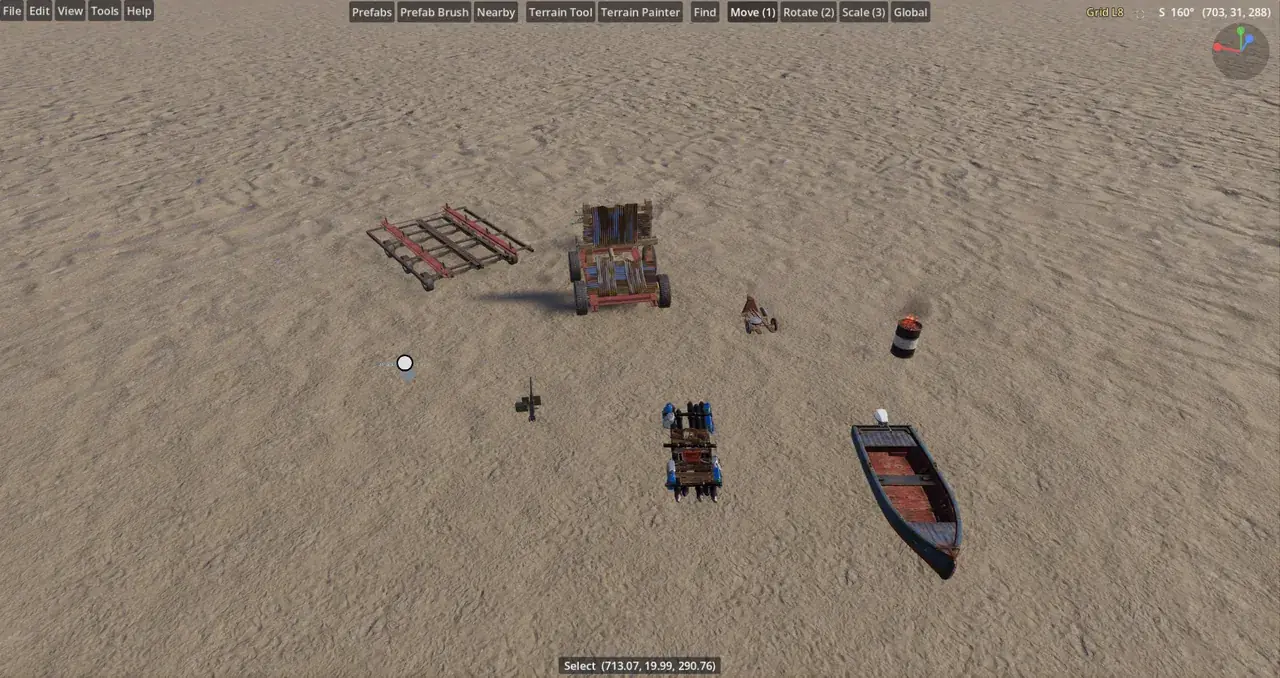
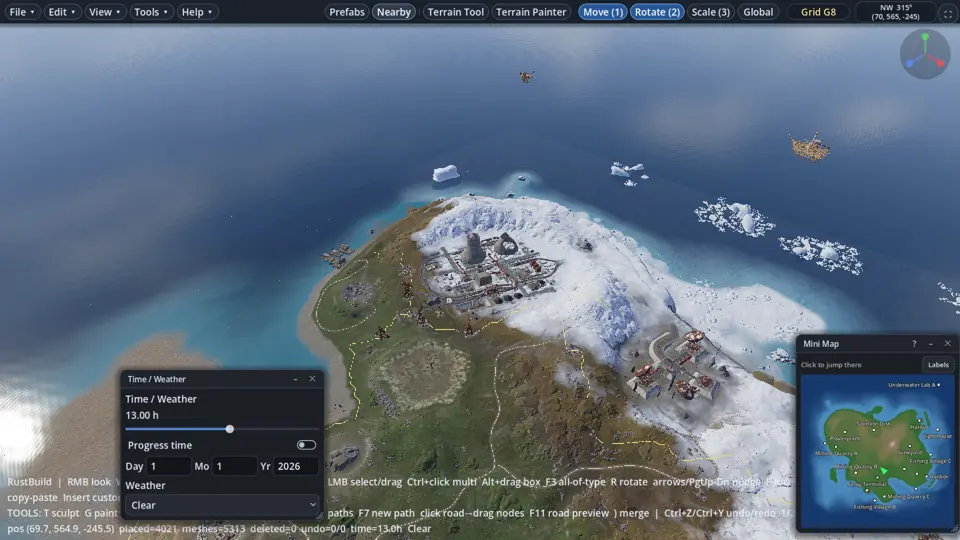
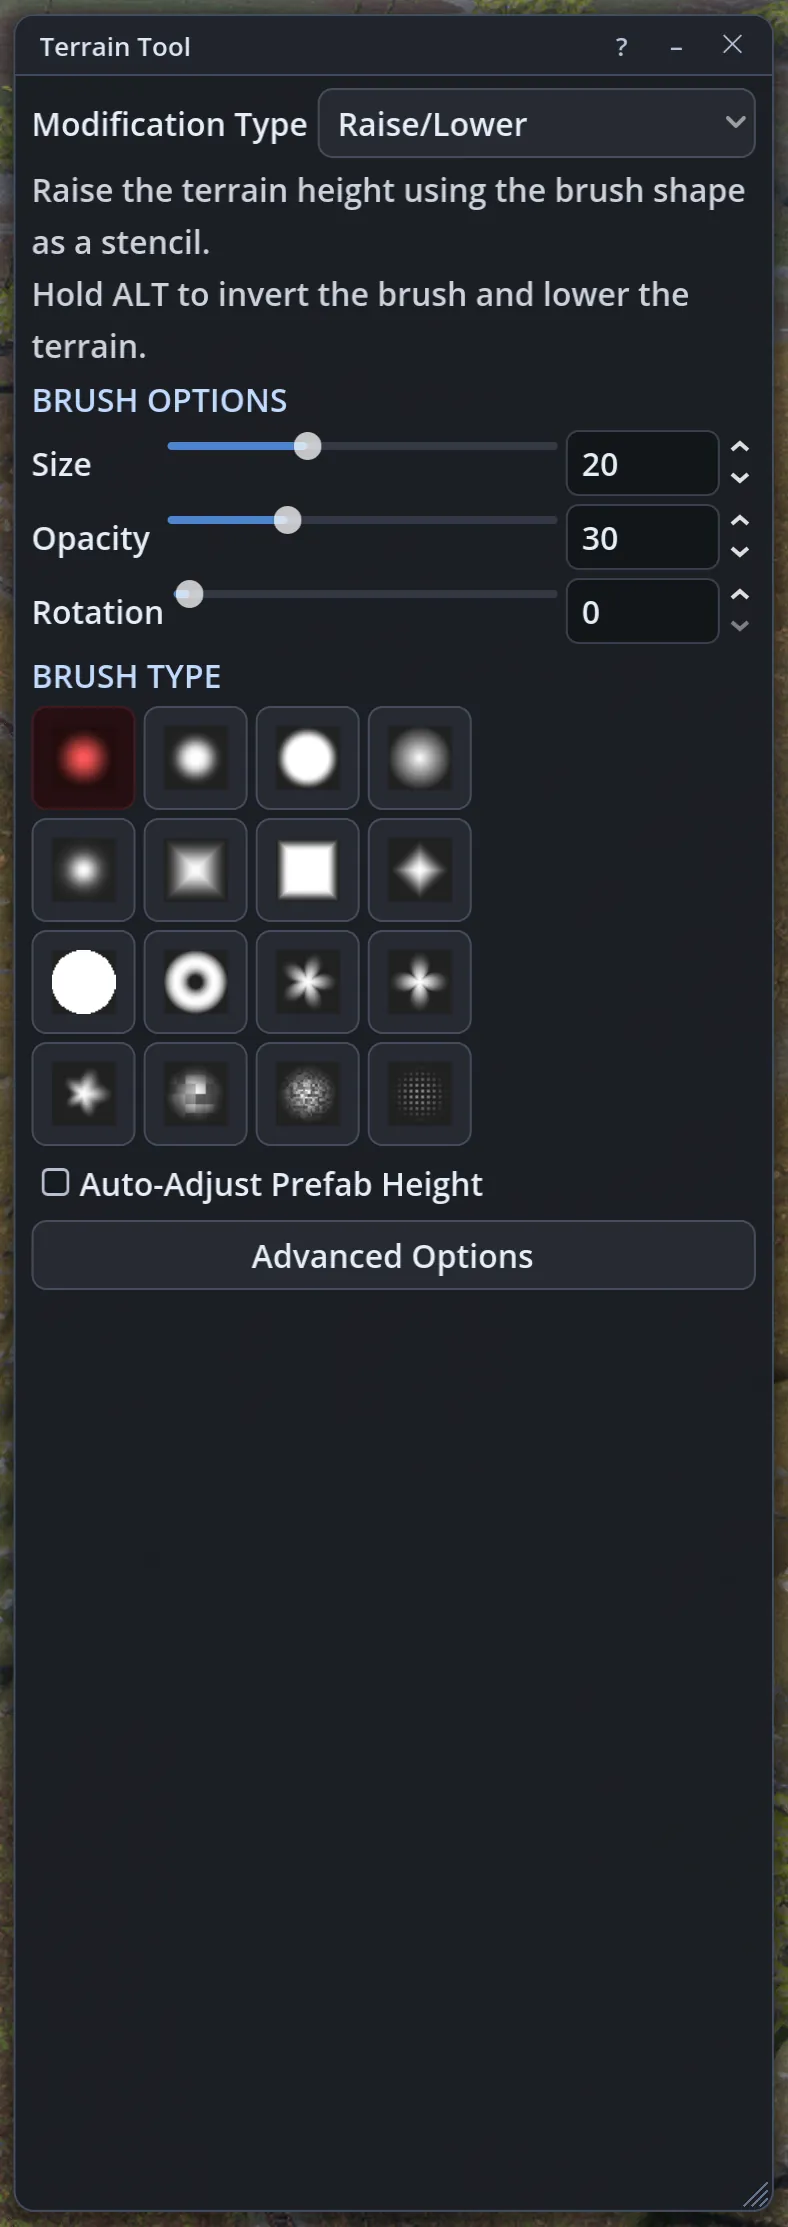
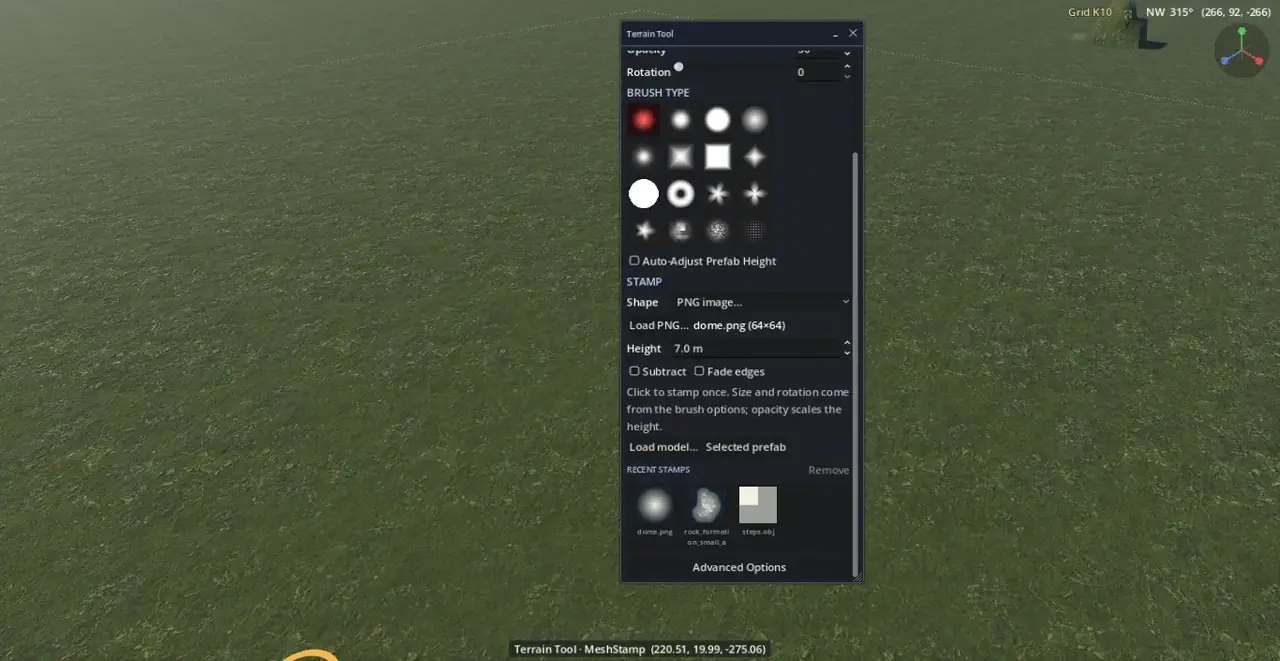
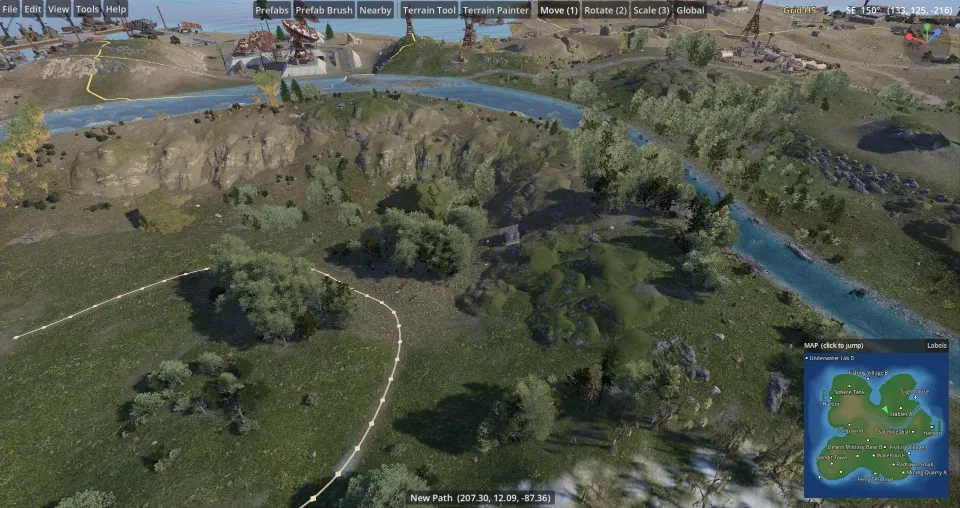
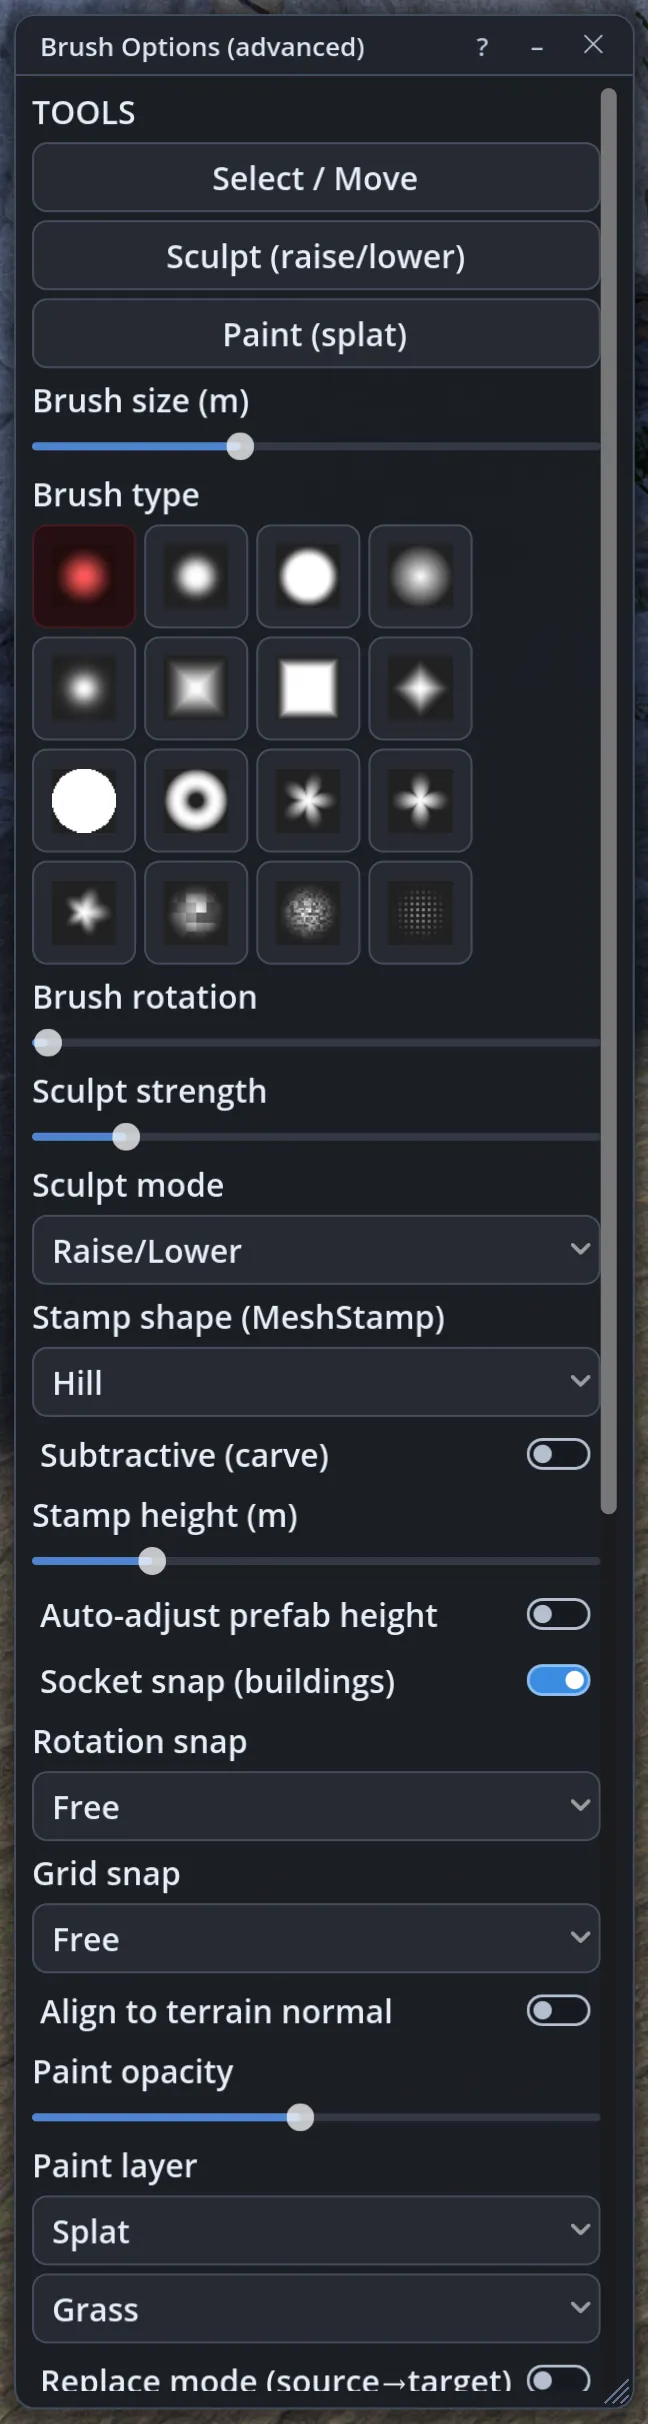
  • Terrain Tool: raise, lower, flatten, smooth and erode, or stamp shapes, 3D models and prefabs into the ground.
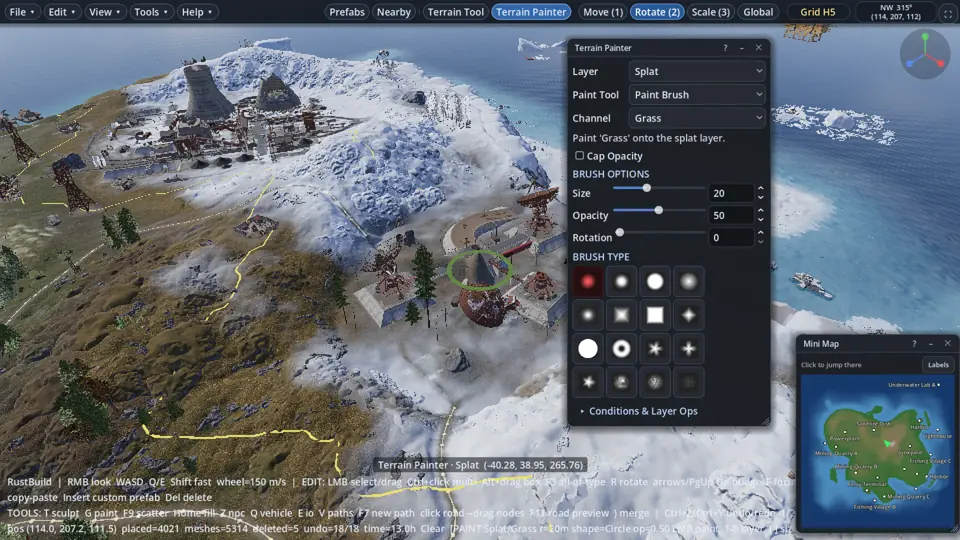
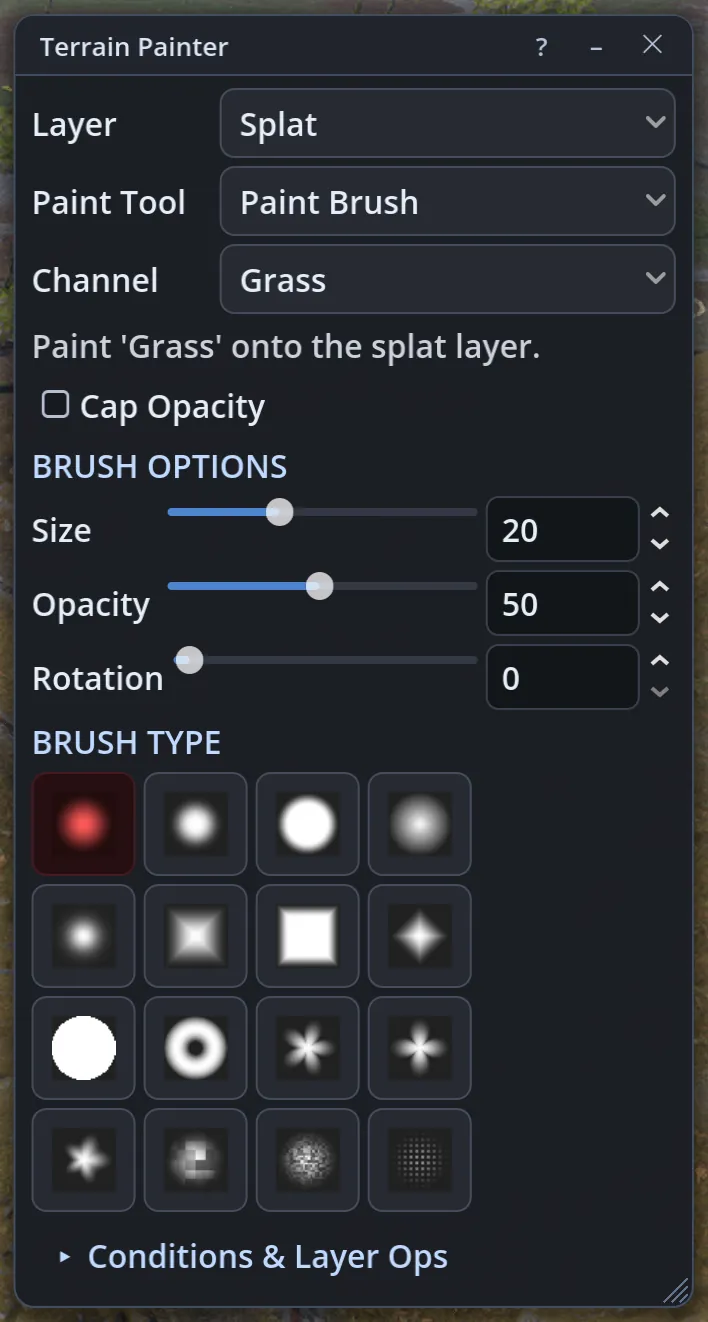
  • Terrain Painter: paint ground textures, biomes, holes and topology with brushes that land exactly under the cursor.
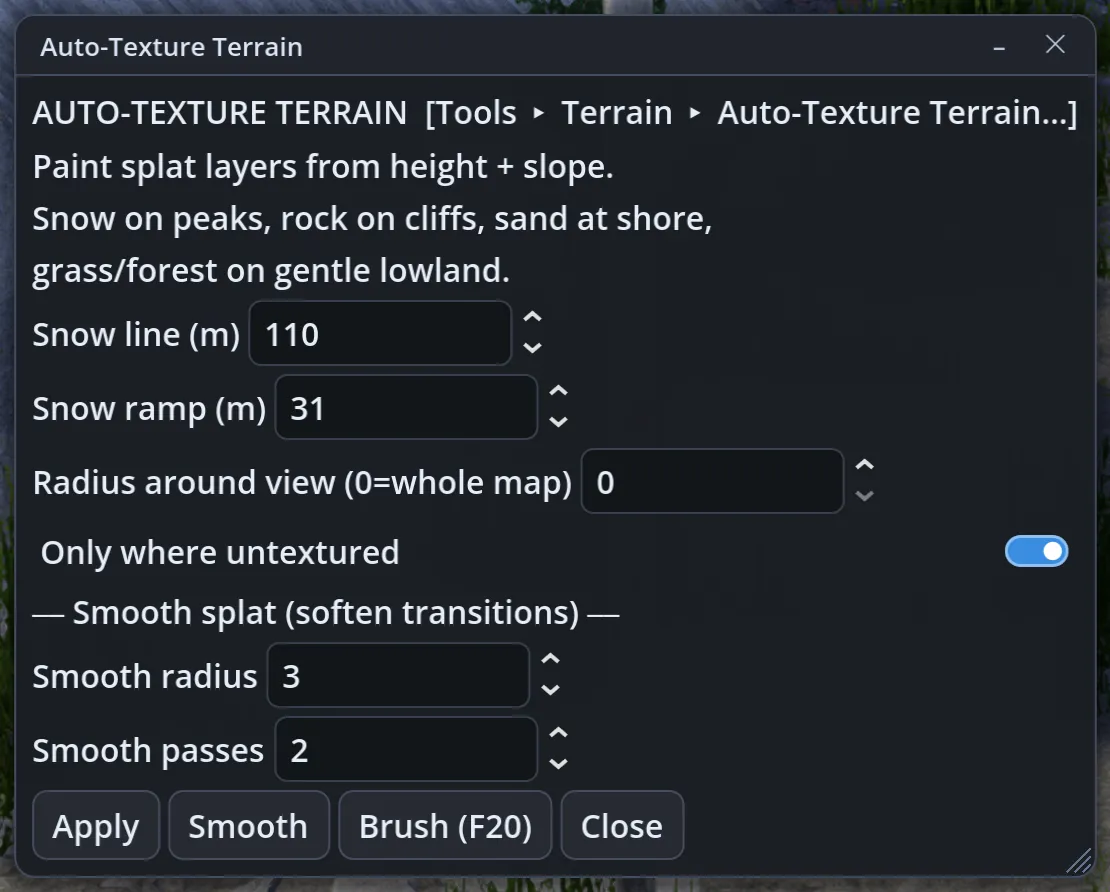
  • Auto-Texture: snow on the peaks, rock on the cliffs, sand at the shore and grass on gentle land in one click.
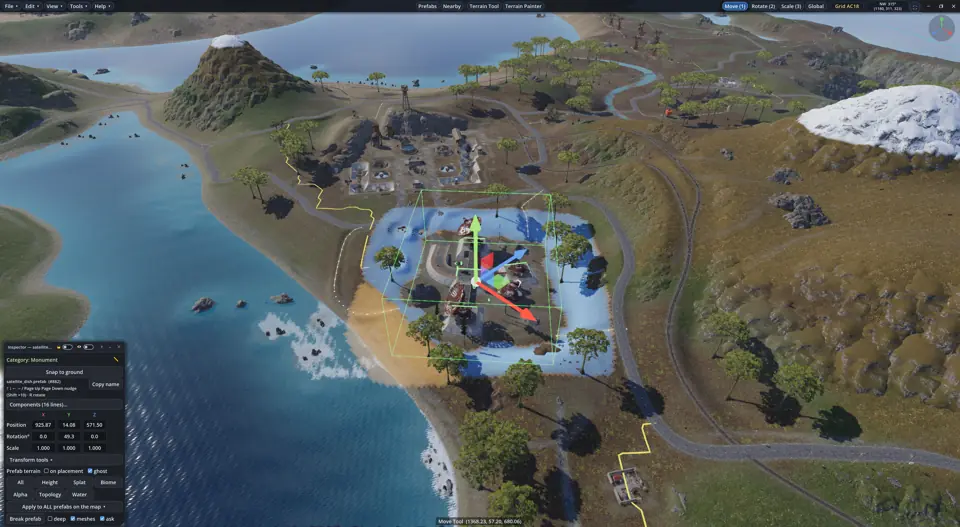
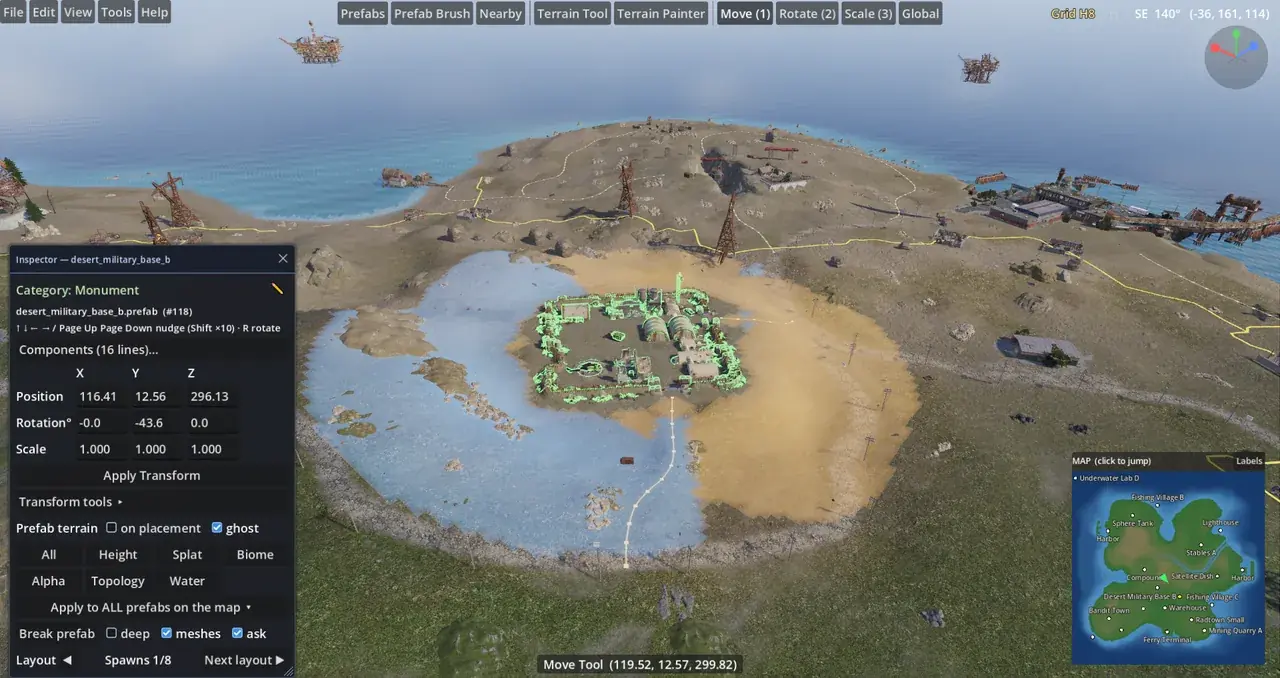
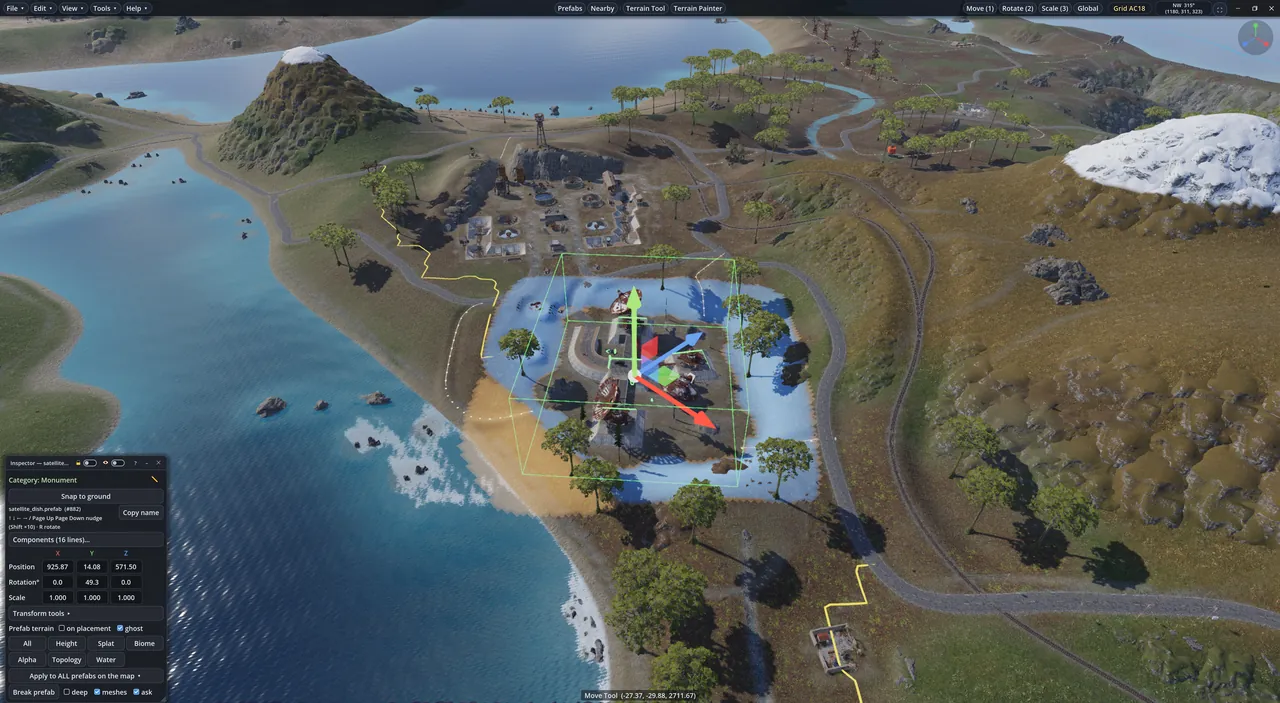
  • Prefab terrain: run a monument's own terrain stamp exactly as the game does when it spawns it.
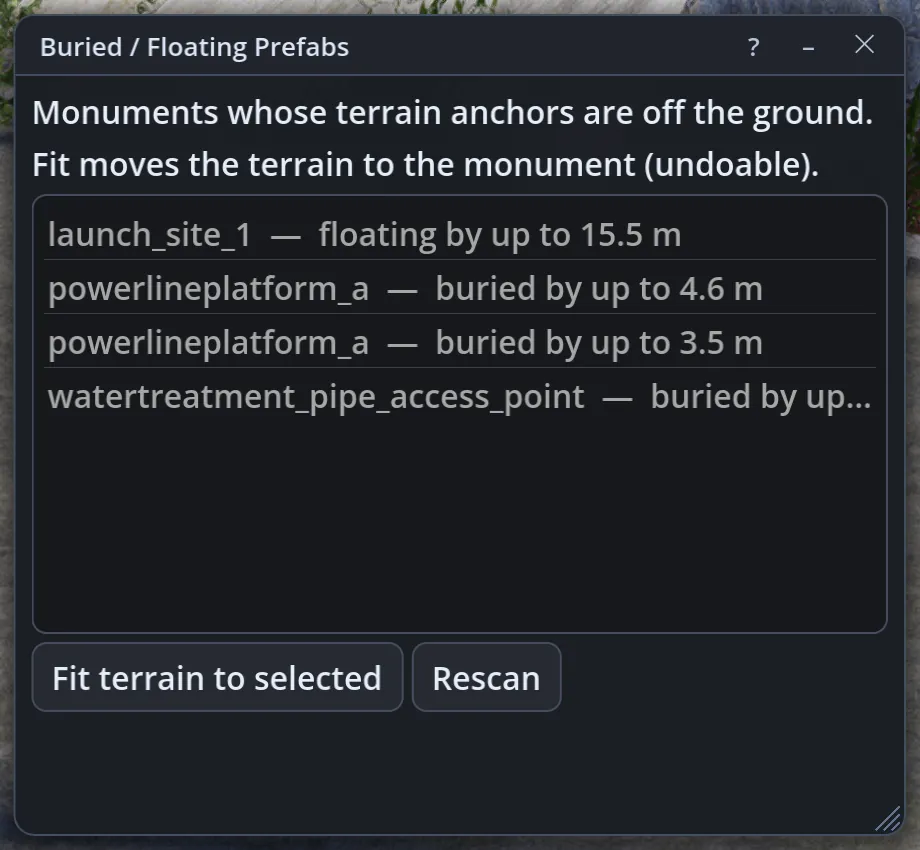
  • Fit terrain to a prefab: the ground meets the monument, so nothing floats or sinks.
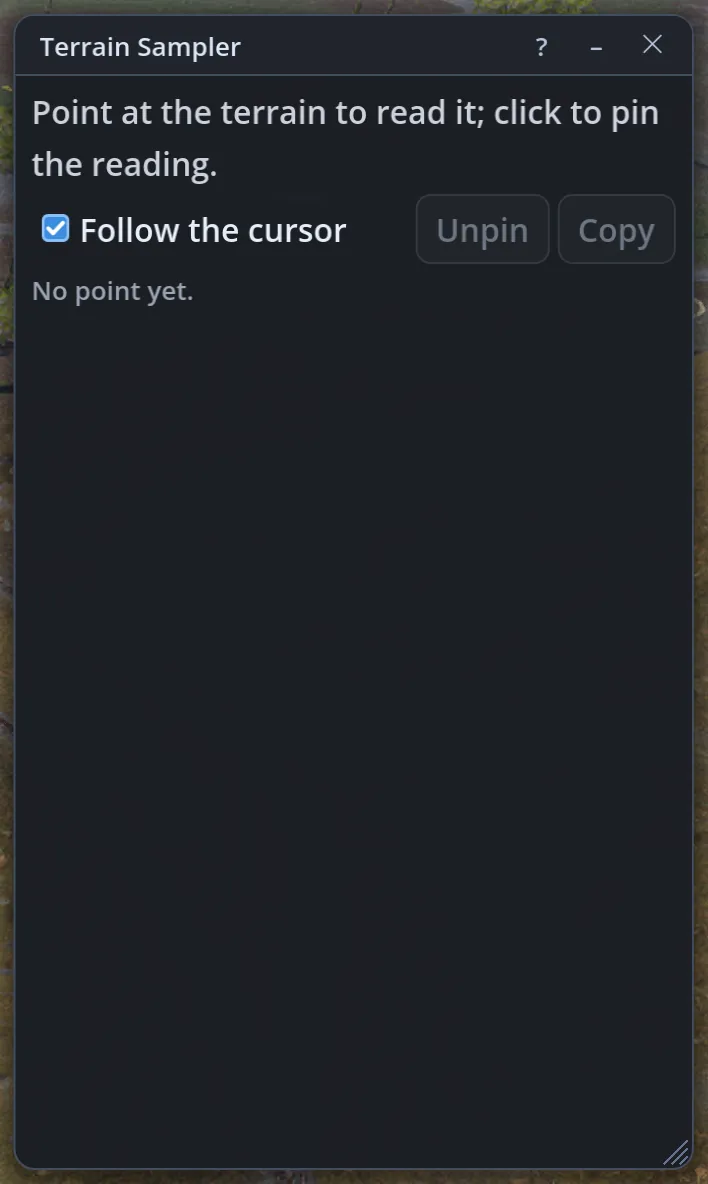
  • Terrain Sampler: see every value the map stores under the cursor: height, slope, water, textures, biome, topology.
  • Layer view: show the raw splat, biome, alpha, topology or your own topology layer on the terrain.
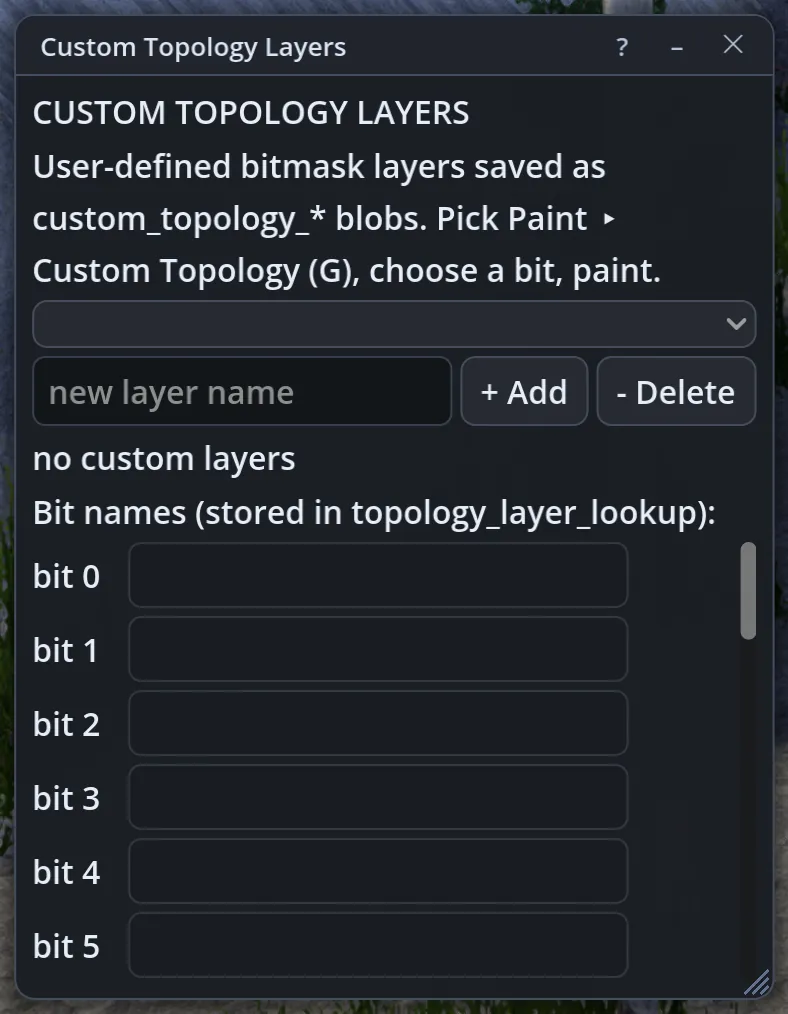
  • Custom topology layers: extra layers of your own, saved inside the map for plugins to read.
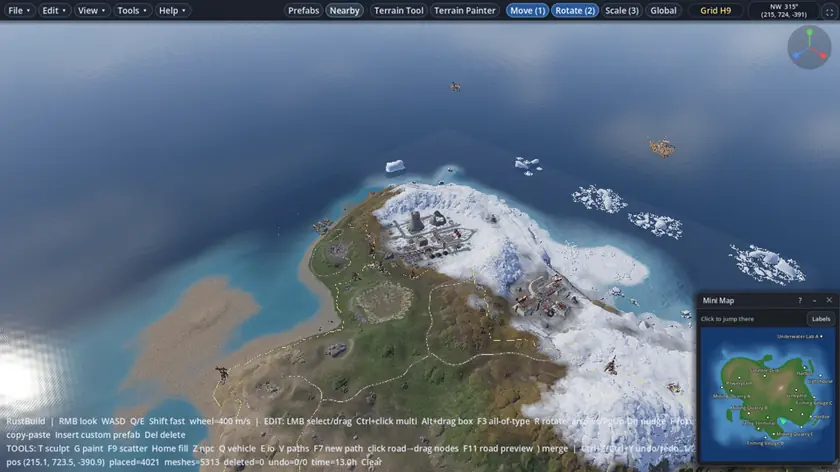
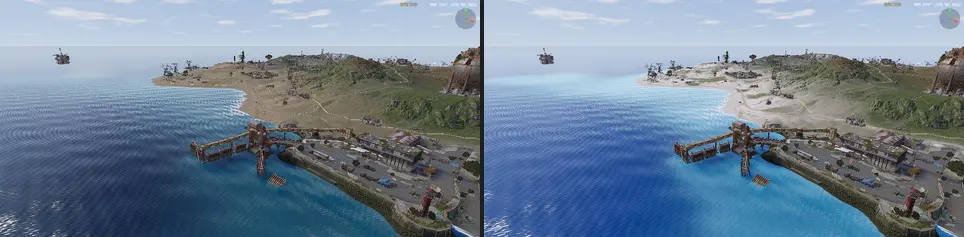
  • Tropical map: white sand, clear blue shallows, a bluer sea and brighter light, on your server too.
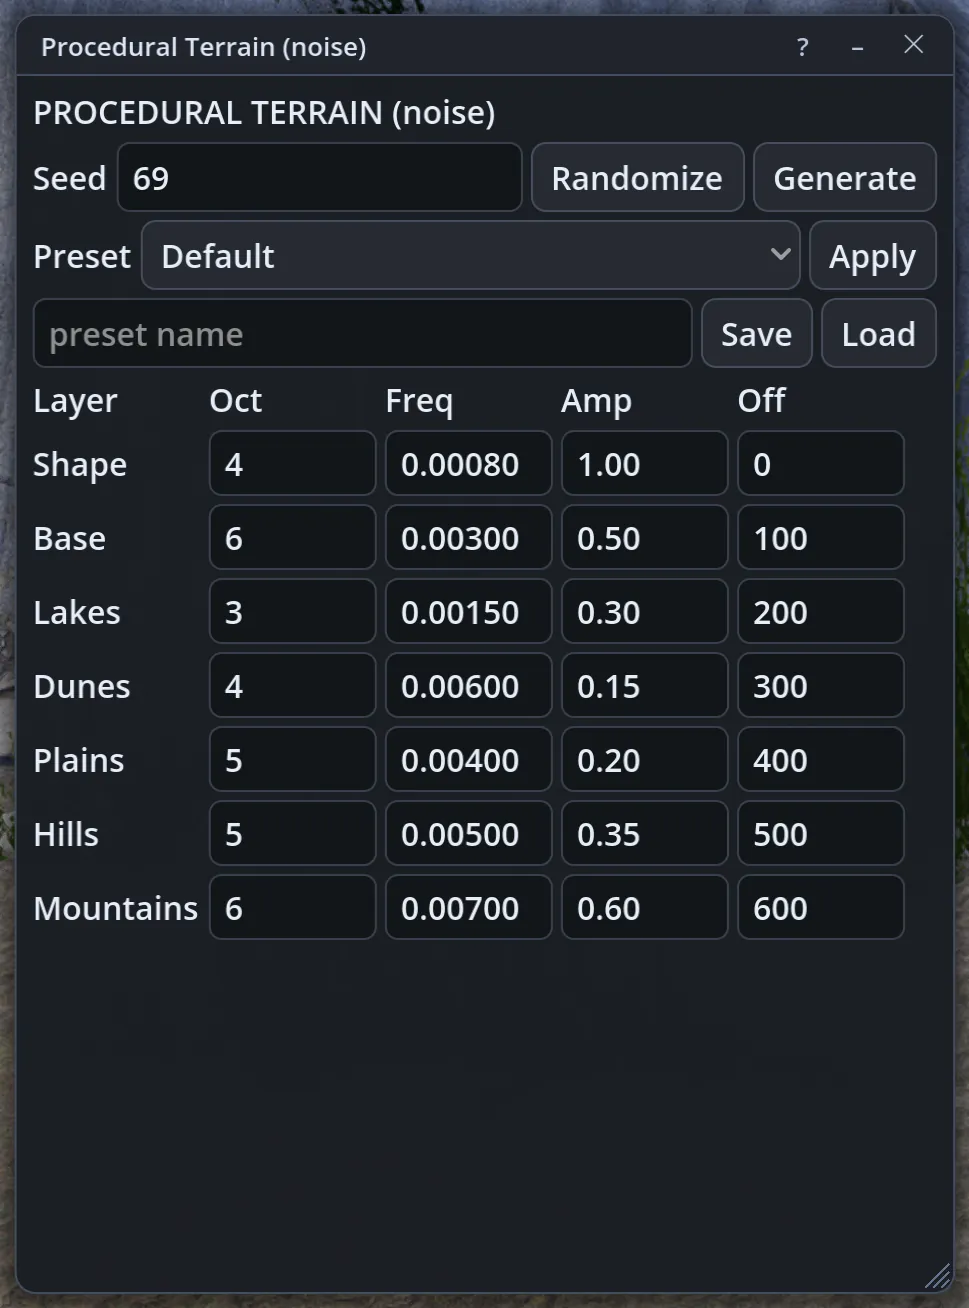
  • Noise terrain: mountains, hills, plains, dunes and lakes from layered noise, fading into the ocean.
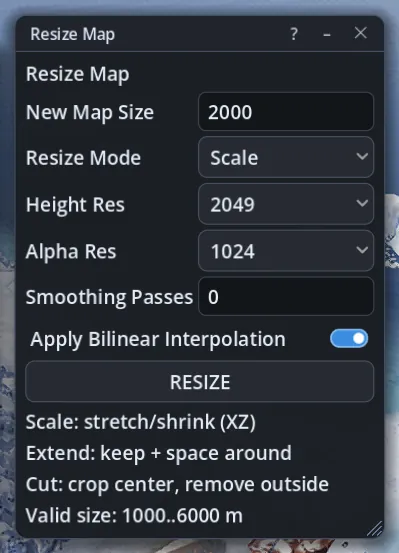
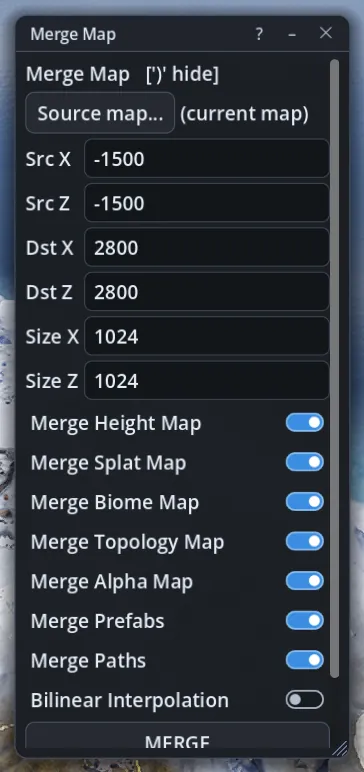
  • Resize, rotate and merge maps: with every layer, prefab and path coming along.
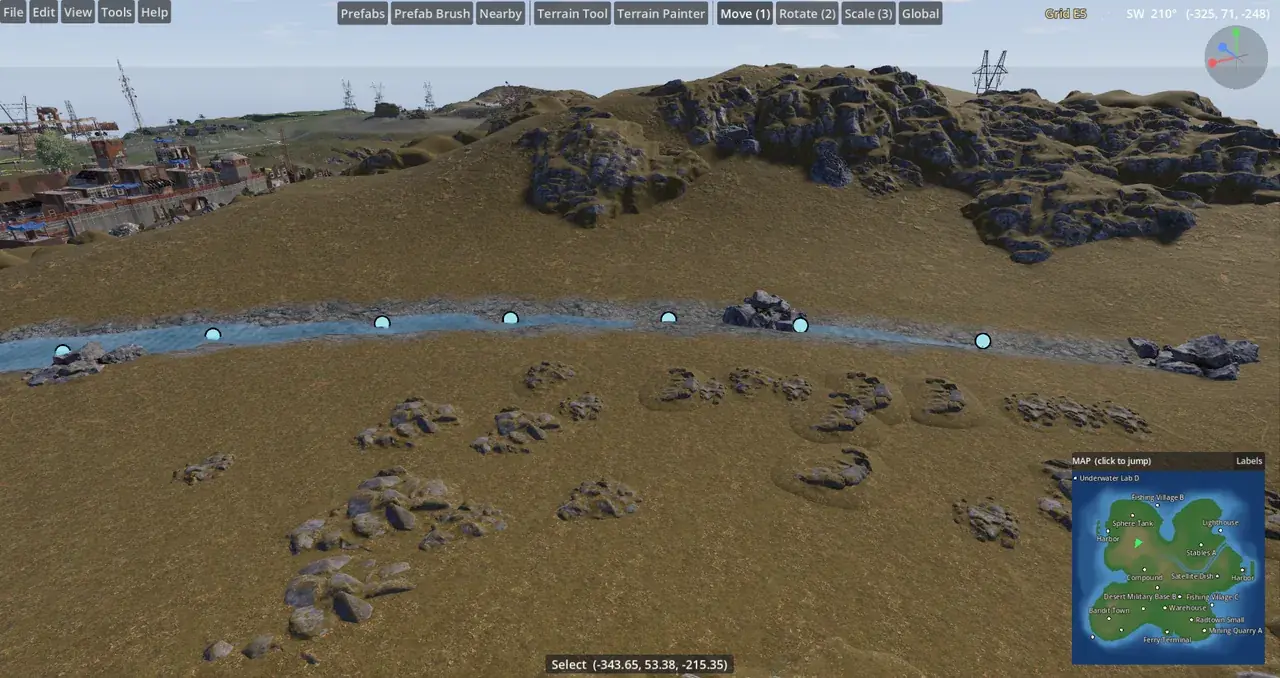
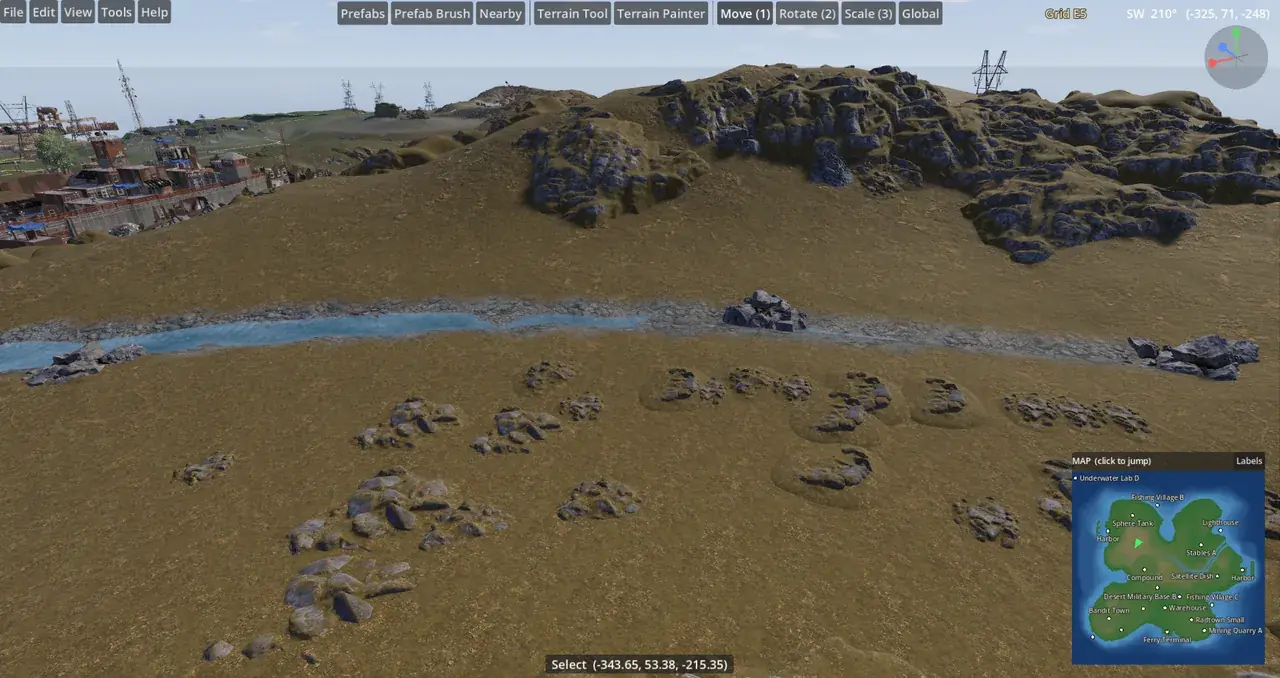
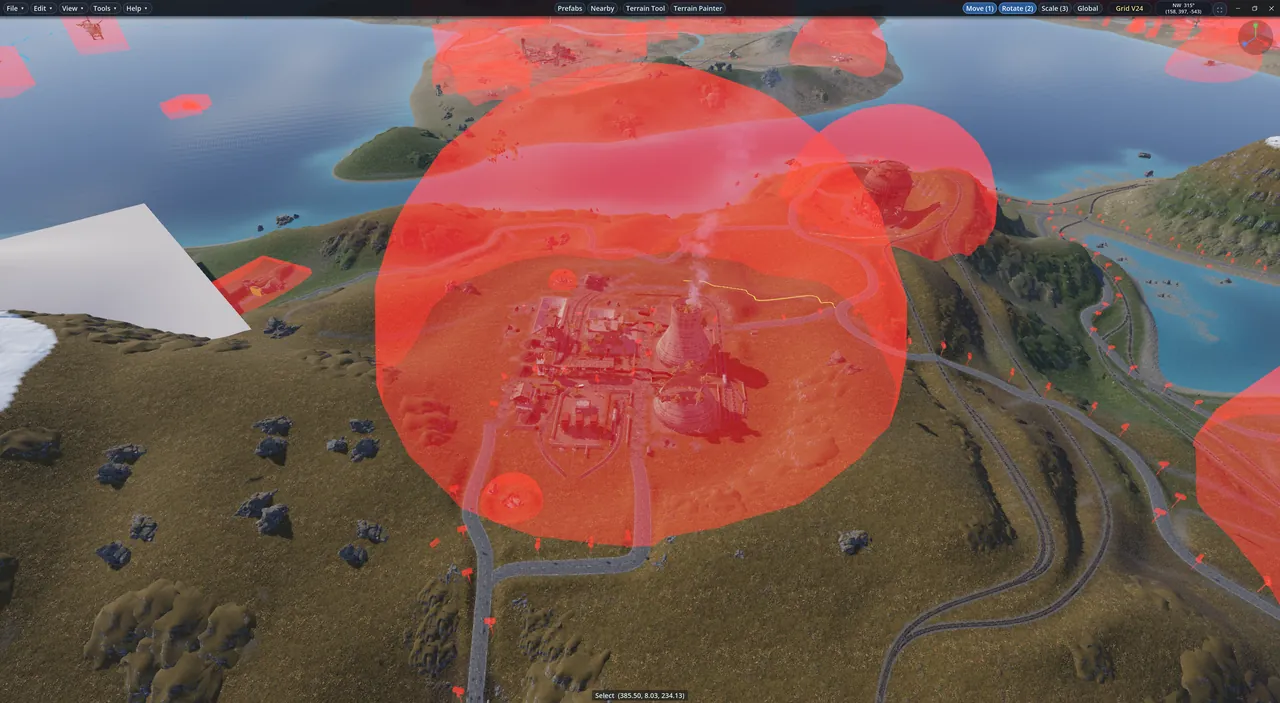
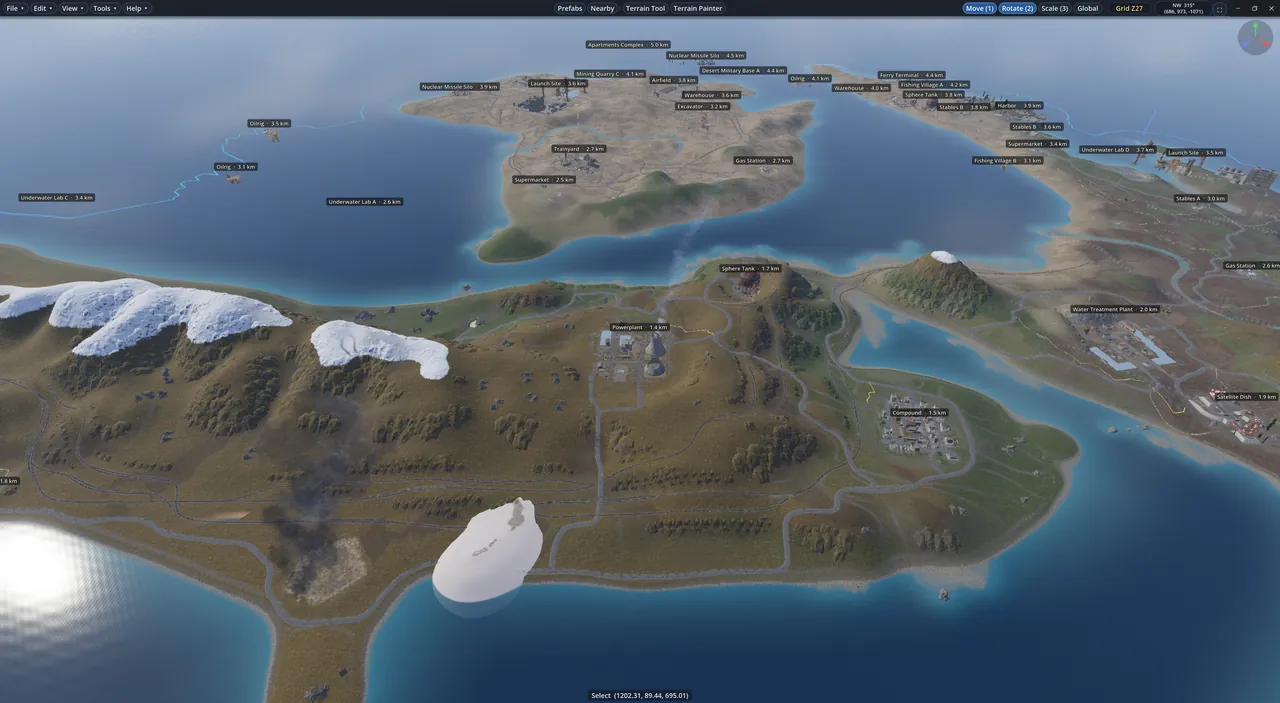
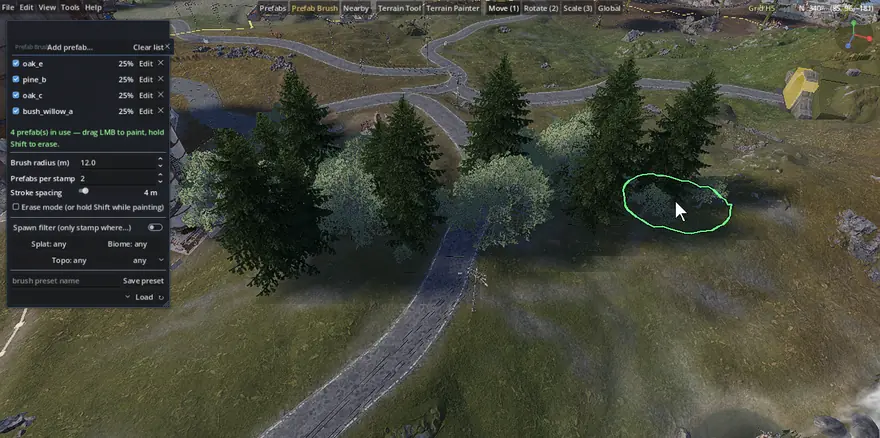
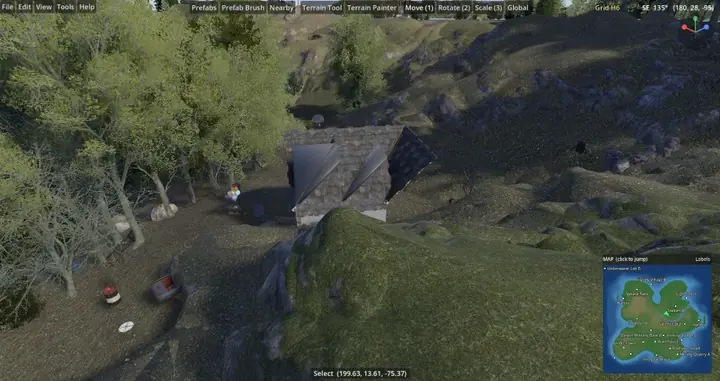
Sculpting a hill with the Terrain Tool

Procedural generation 17

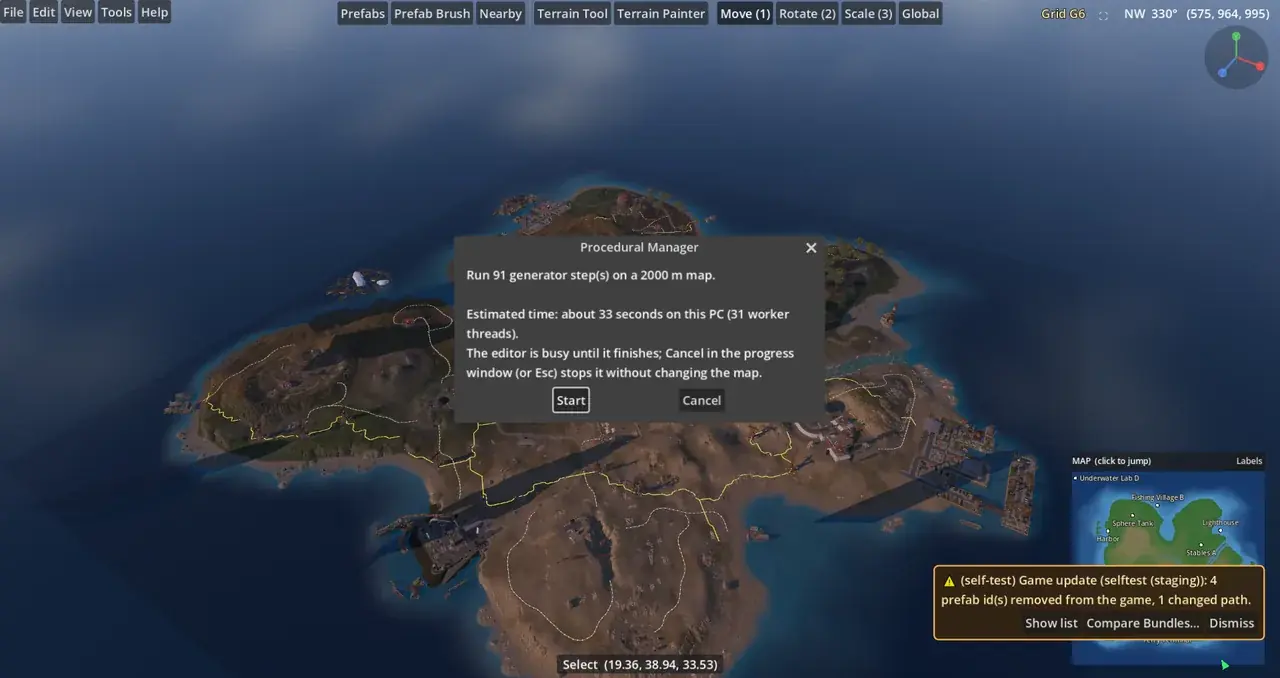
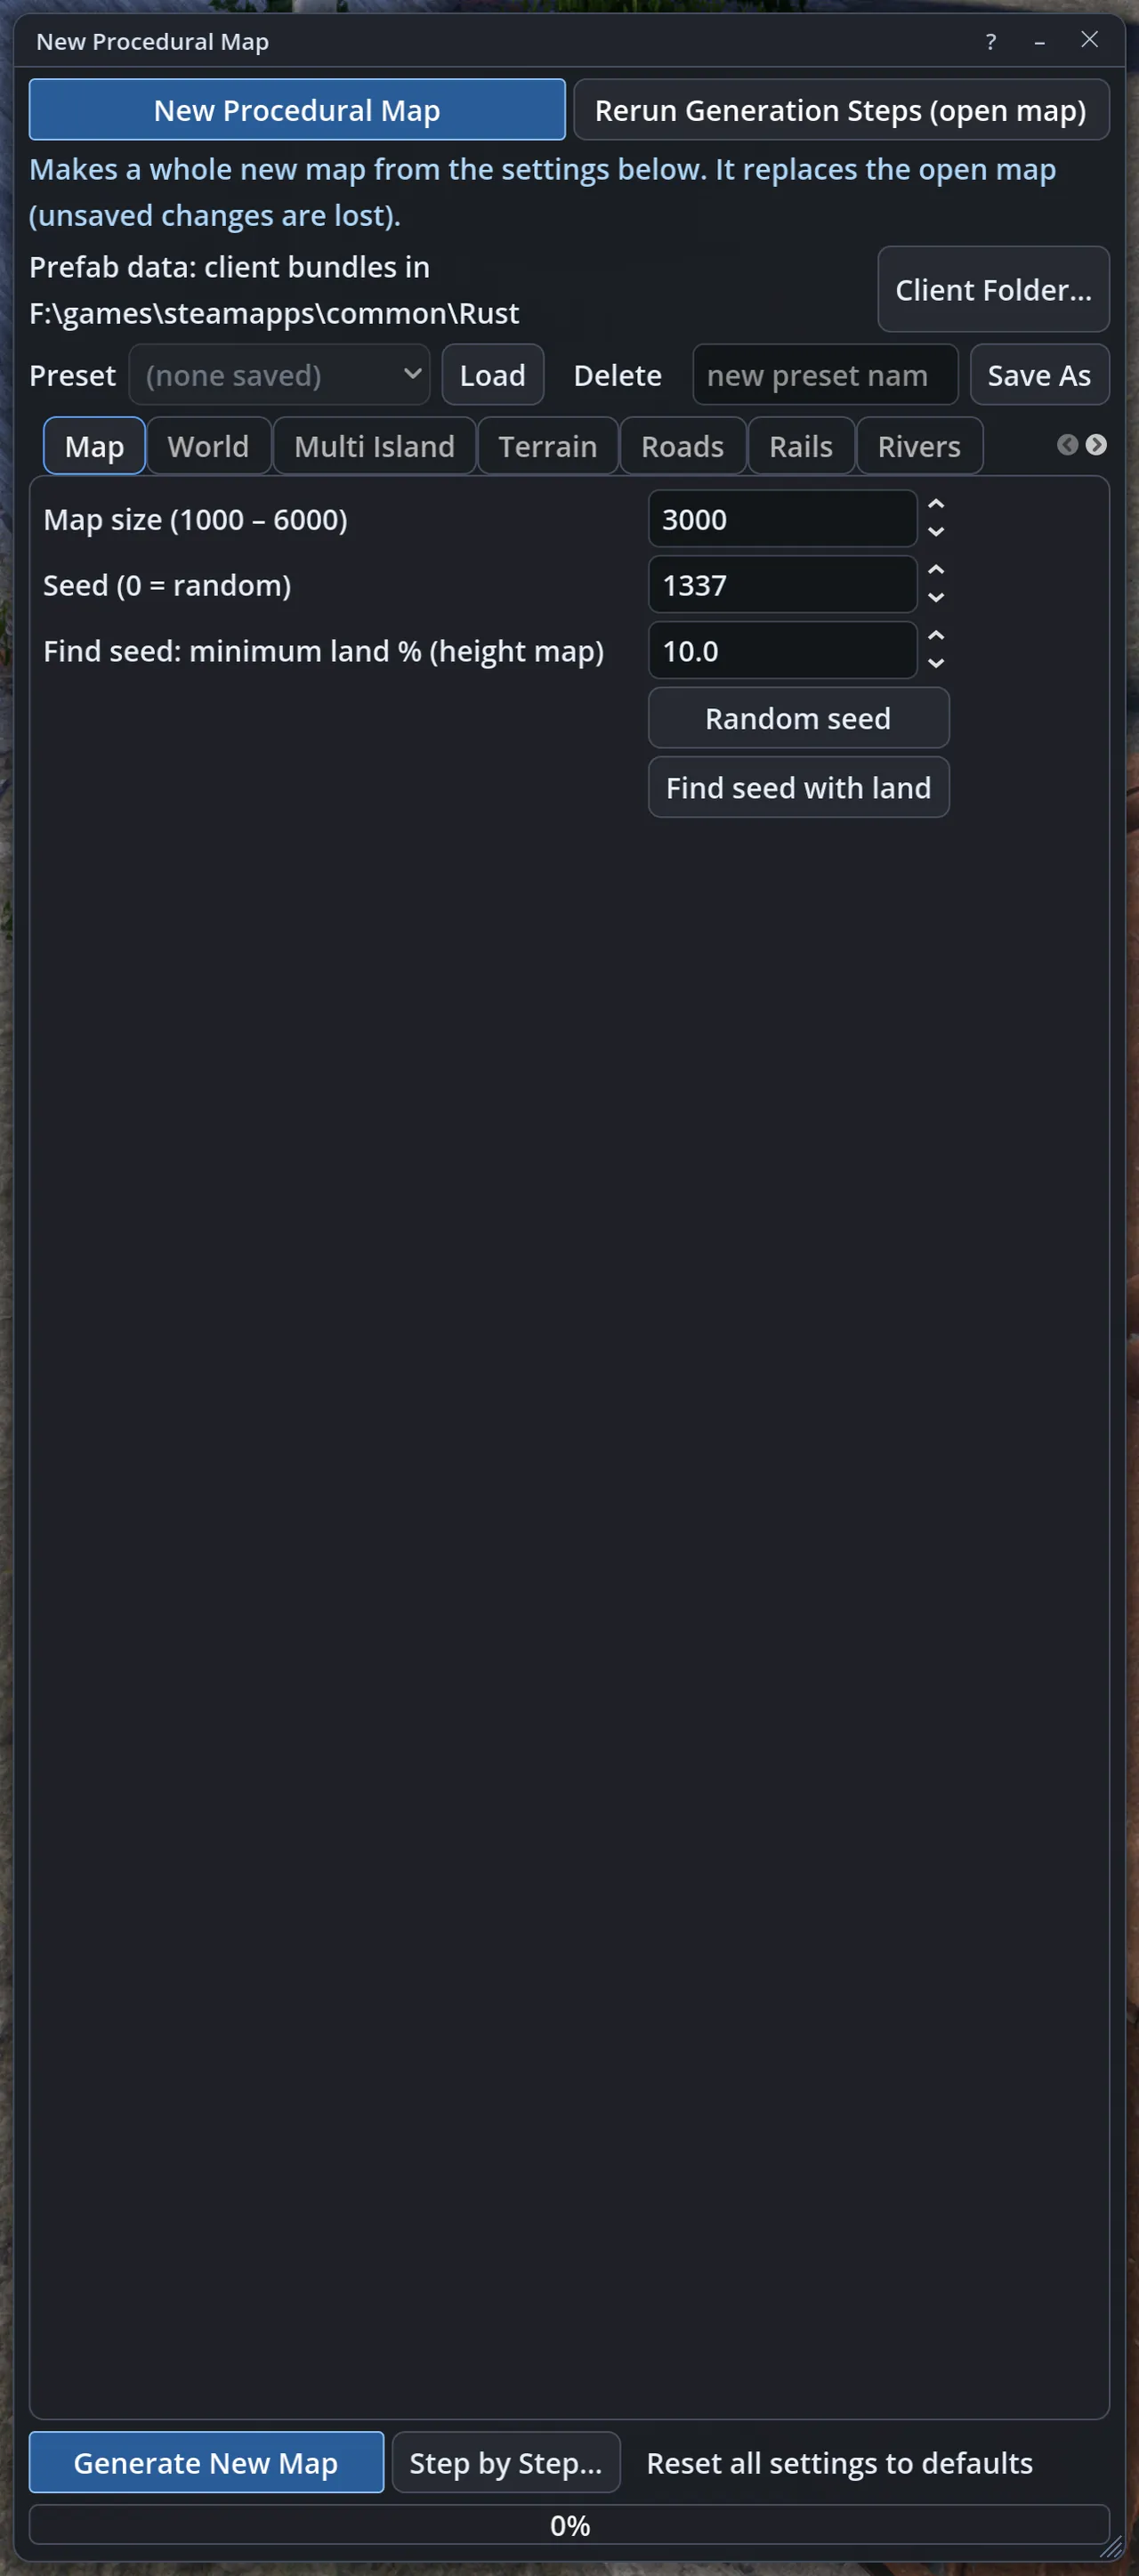
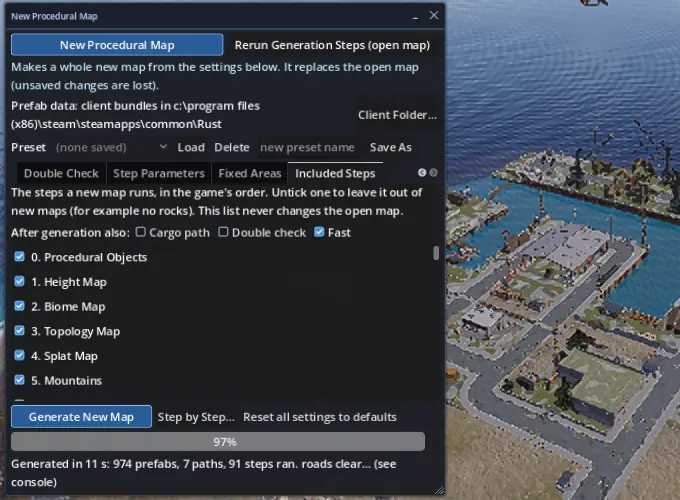
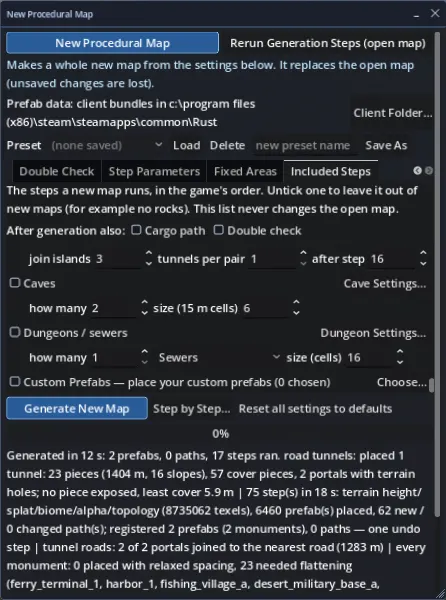
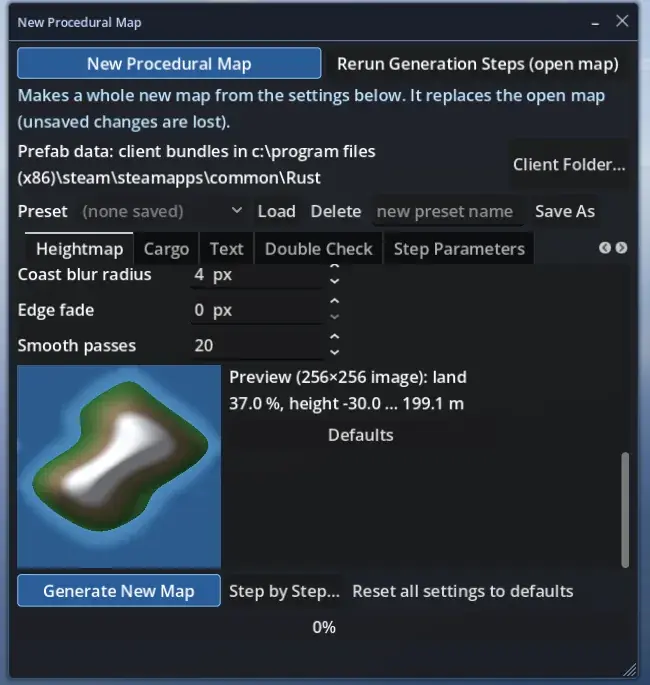
  • New Procedural Map: Rust's own generator built in: terrain, biomes, monuments, roads, rails, rivers, power lines and caves, with every setting exposed.
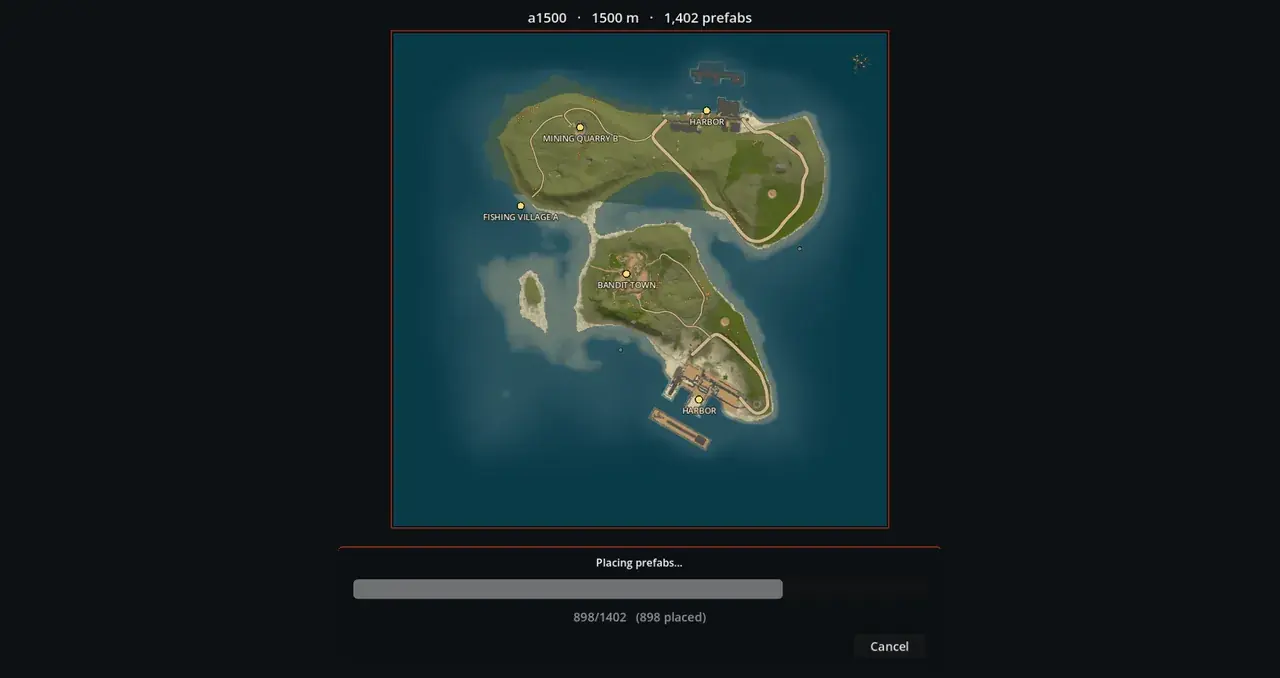
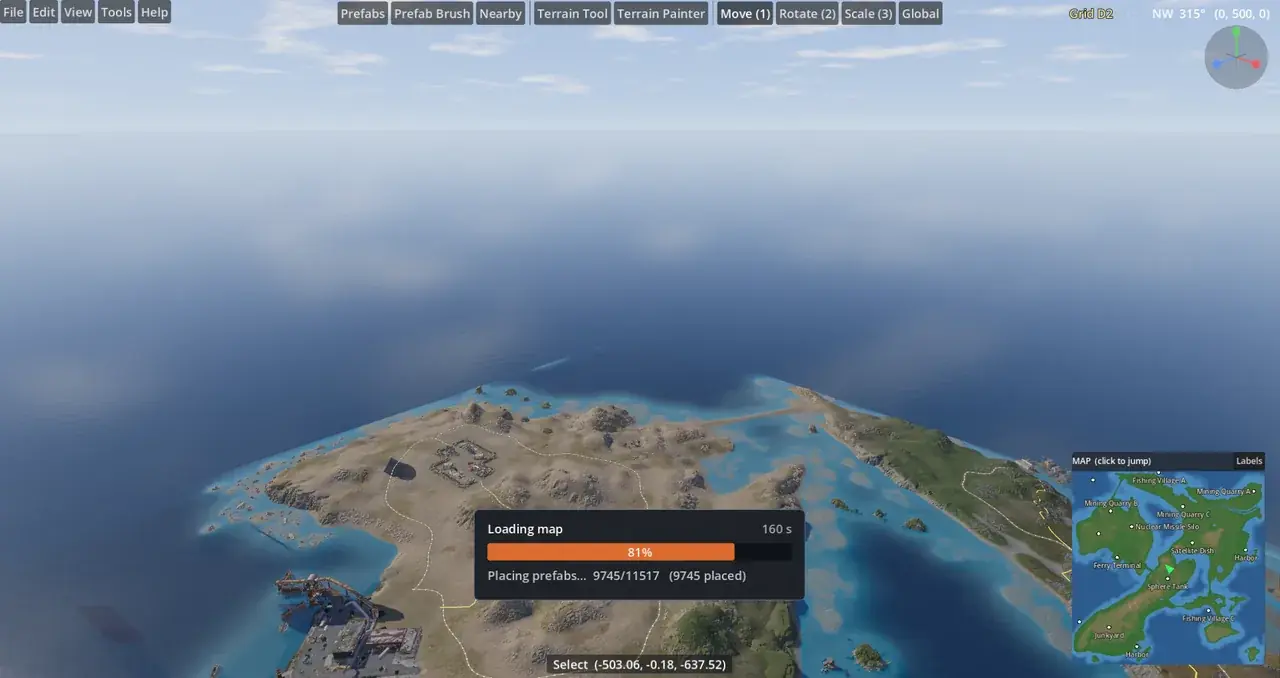
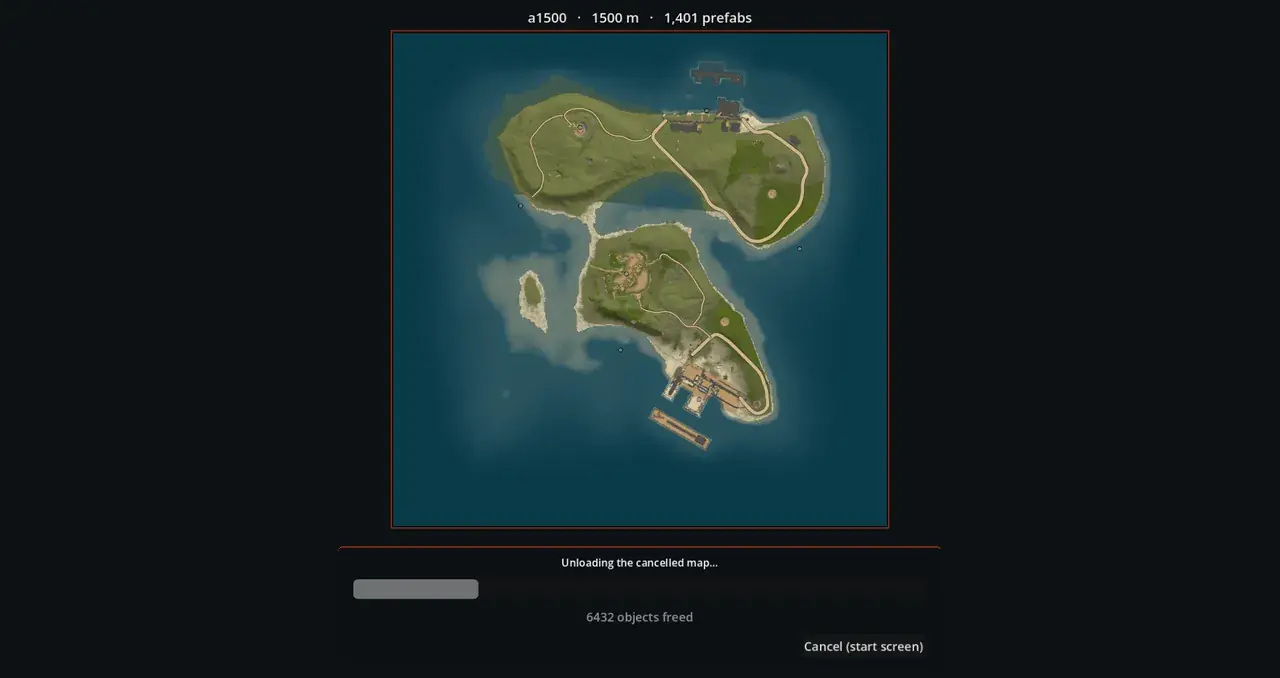
  • Fast creation: the loading screen shows the map picture while the map is made: about half the time and a third less memory.
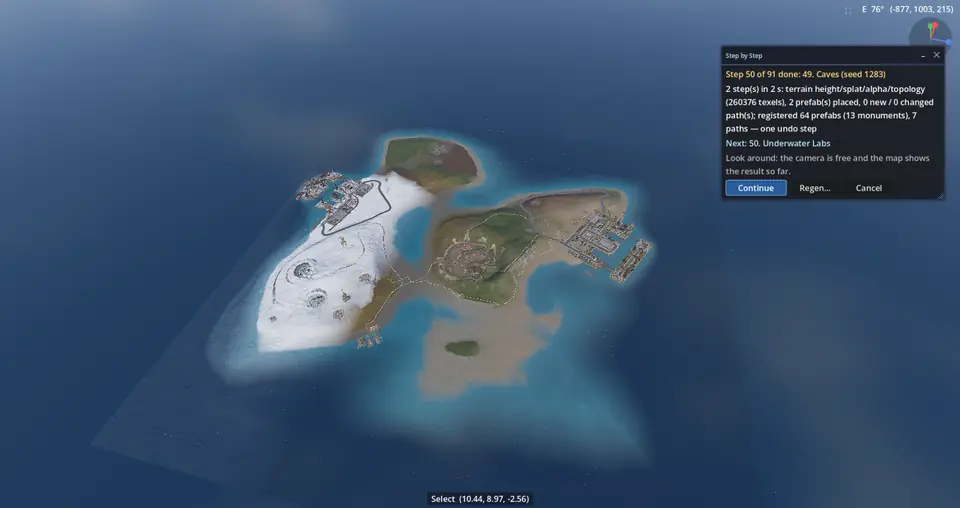
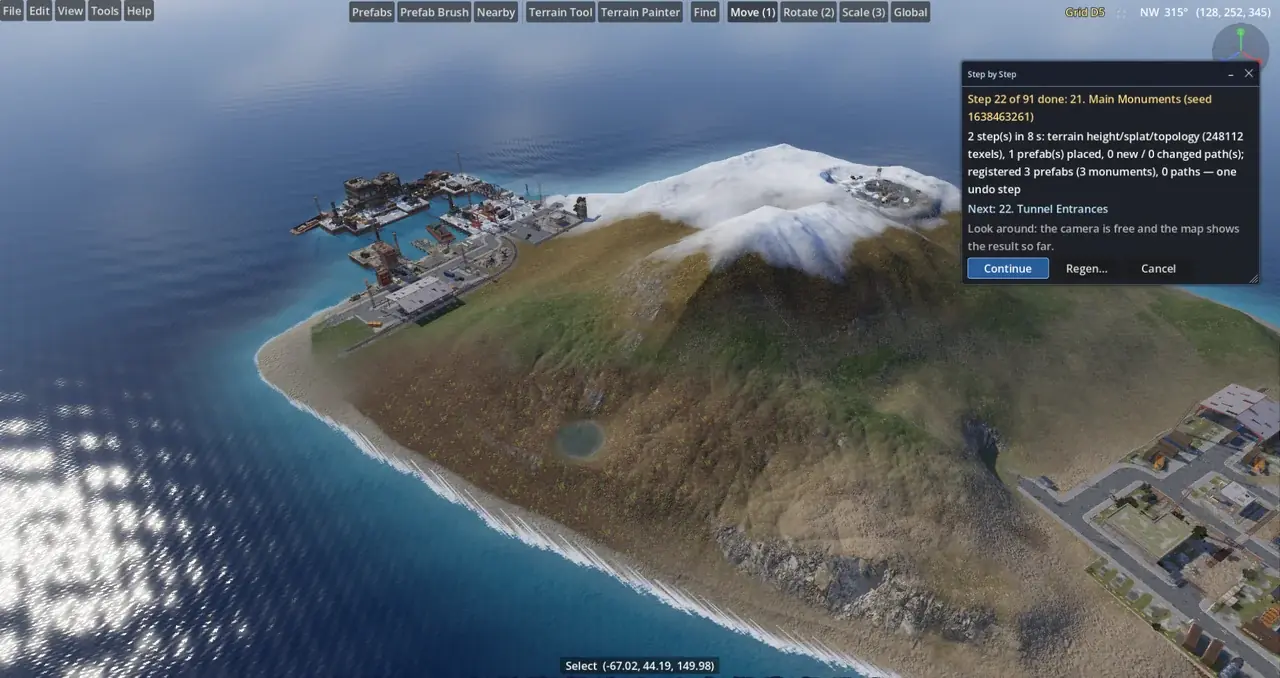
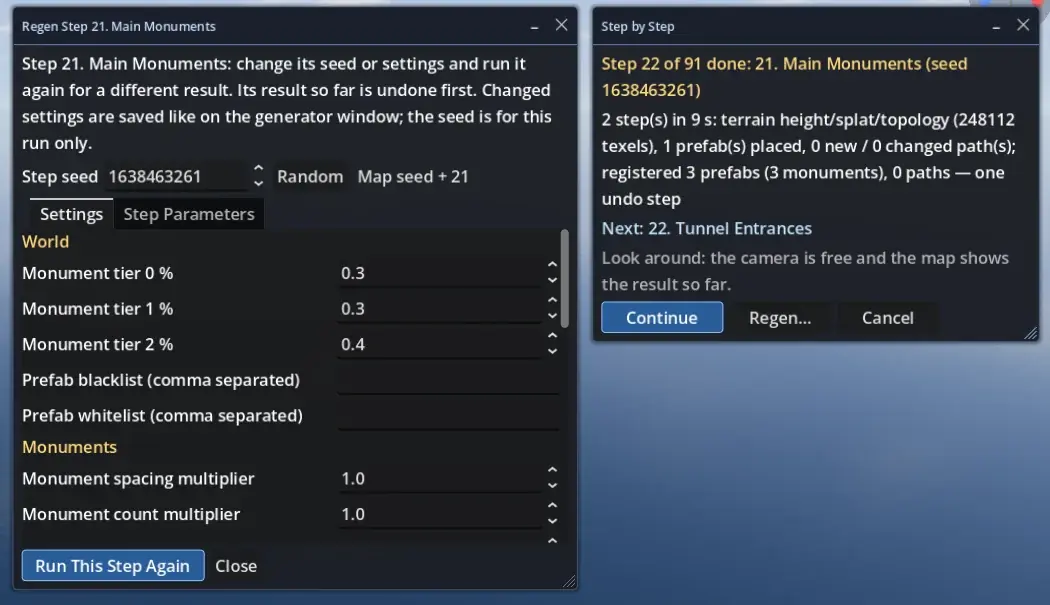
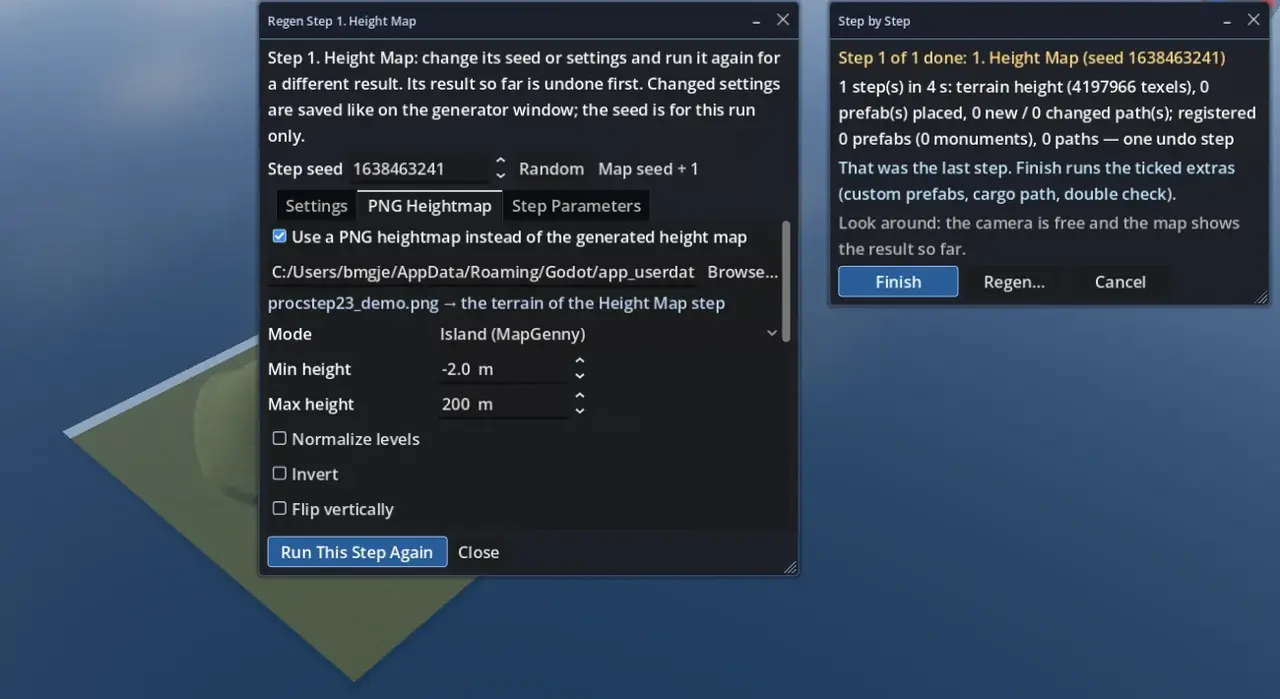
  • Step by Step: the generator pauses after each step: fly around, then go on or redo the step with other settings or another seed.
  • Every monument: at least one of every monument type, with blended flattening only where it is needed.
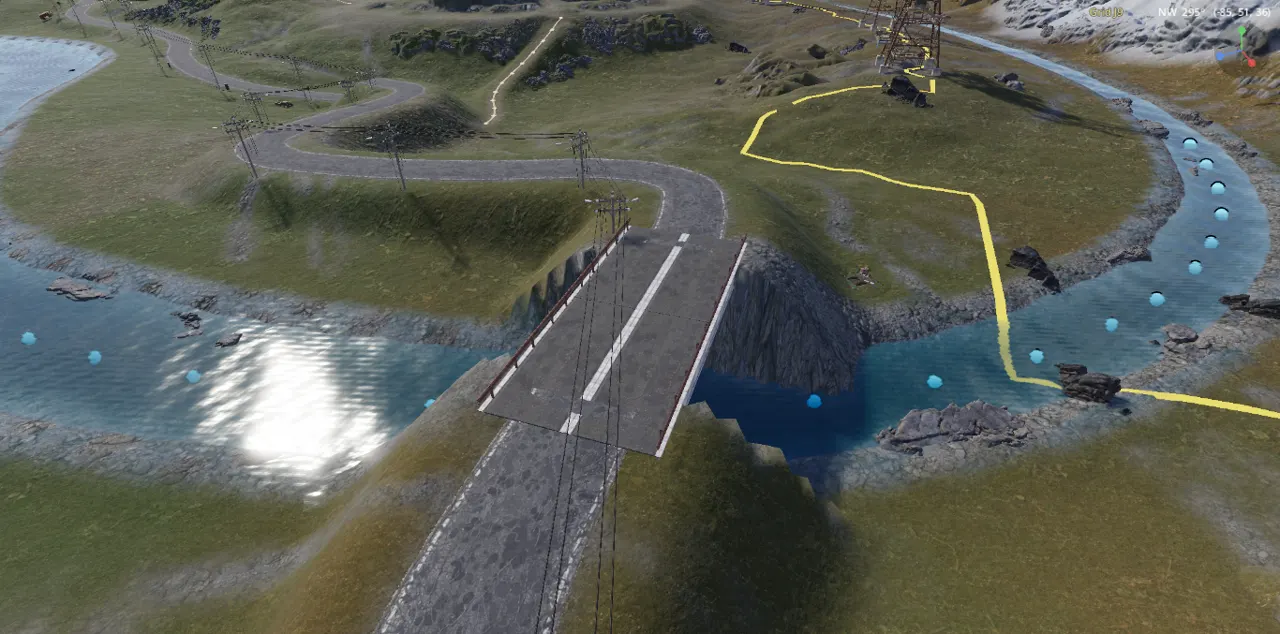
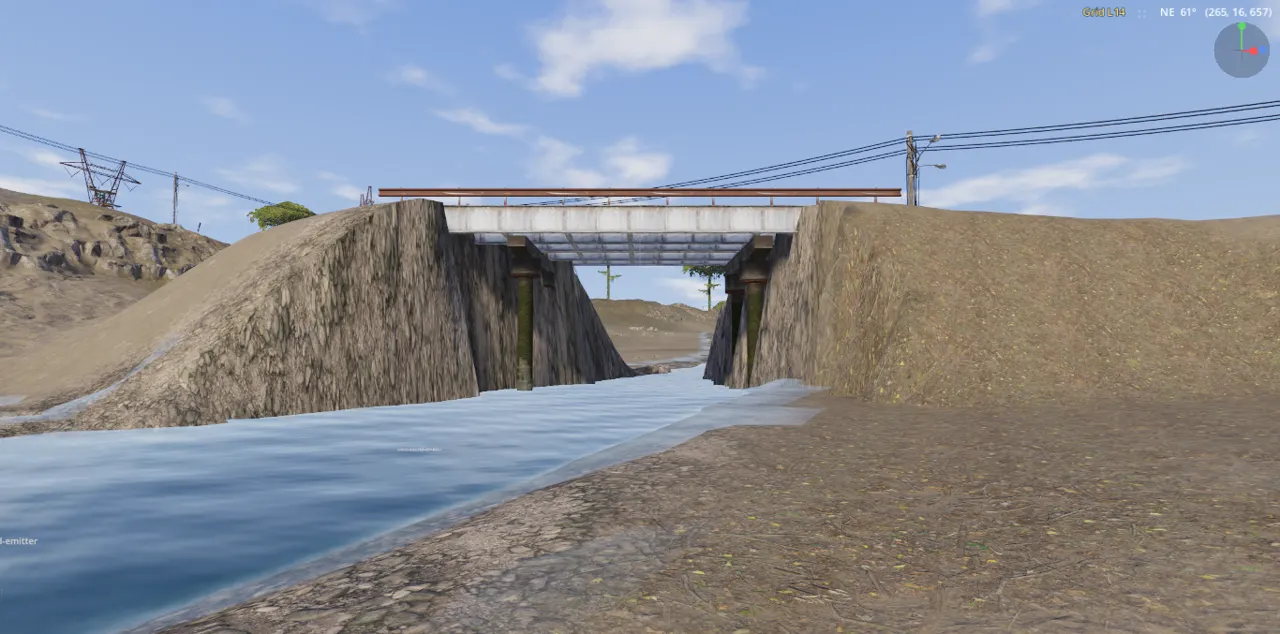
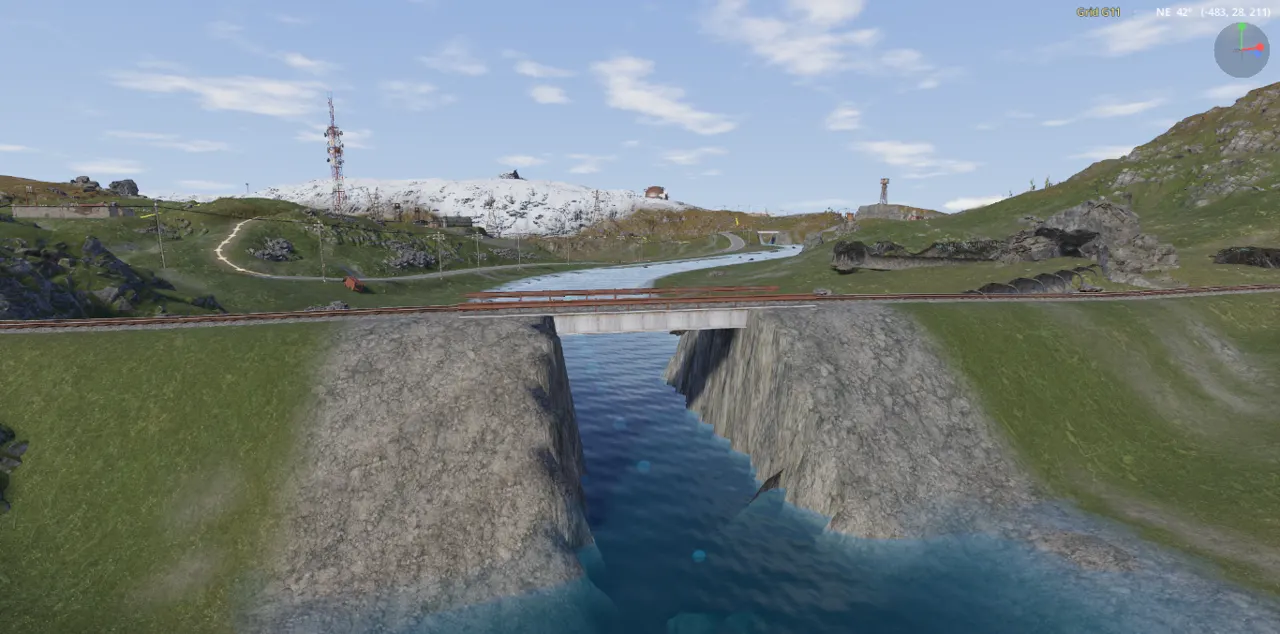
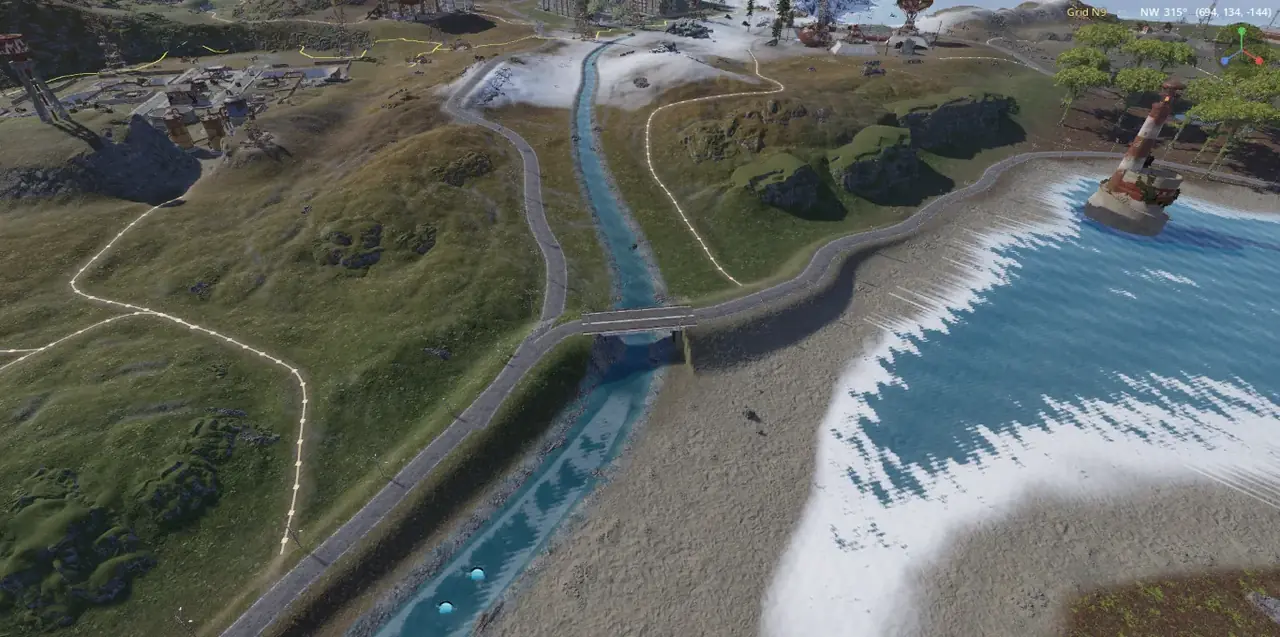
  • Bridges: wherever a river crosses a road or rail, a bridge from the game's own girders, high enough for boats; rail sidings across rivers are removed whole.
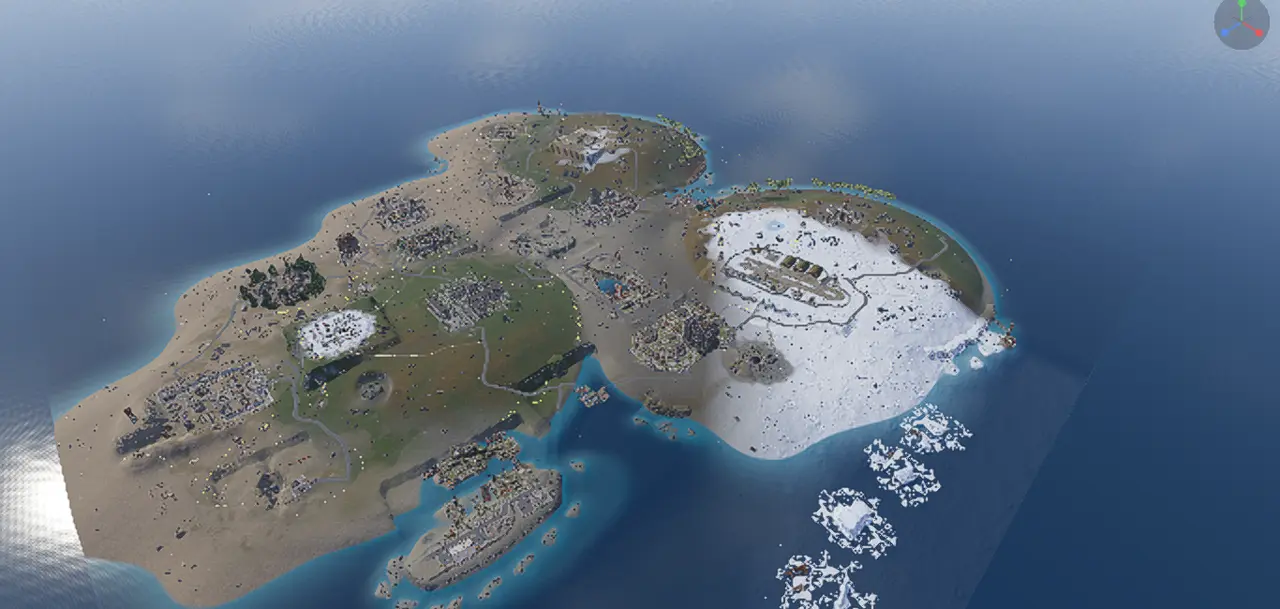
  • Multi Island: every island gets its own ring road, rails, rivers and monuments, and no monument is doubled up.
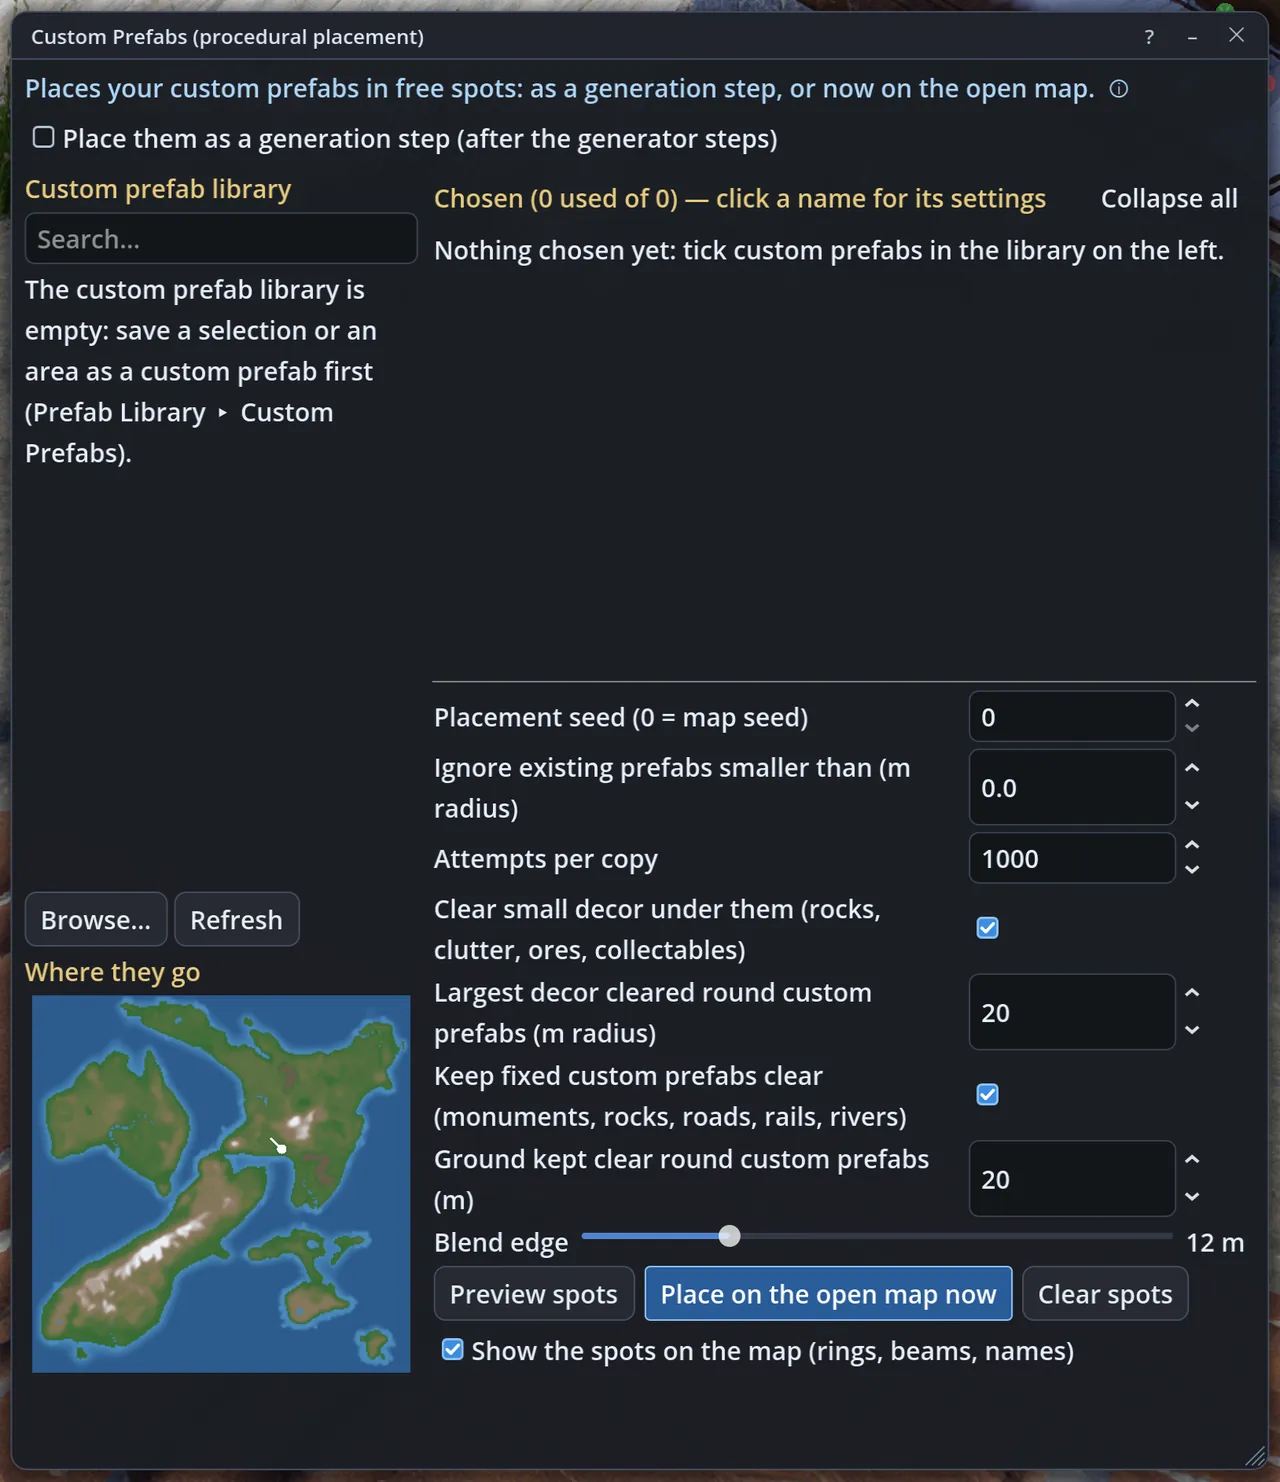
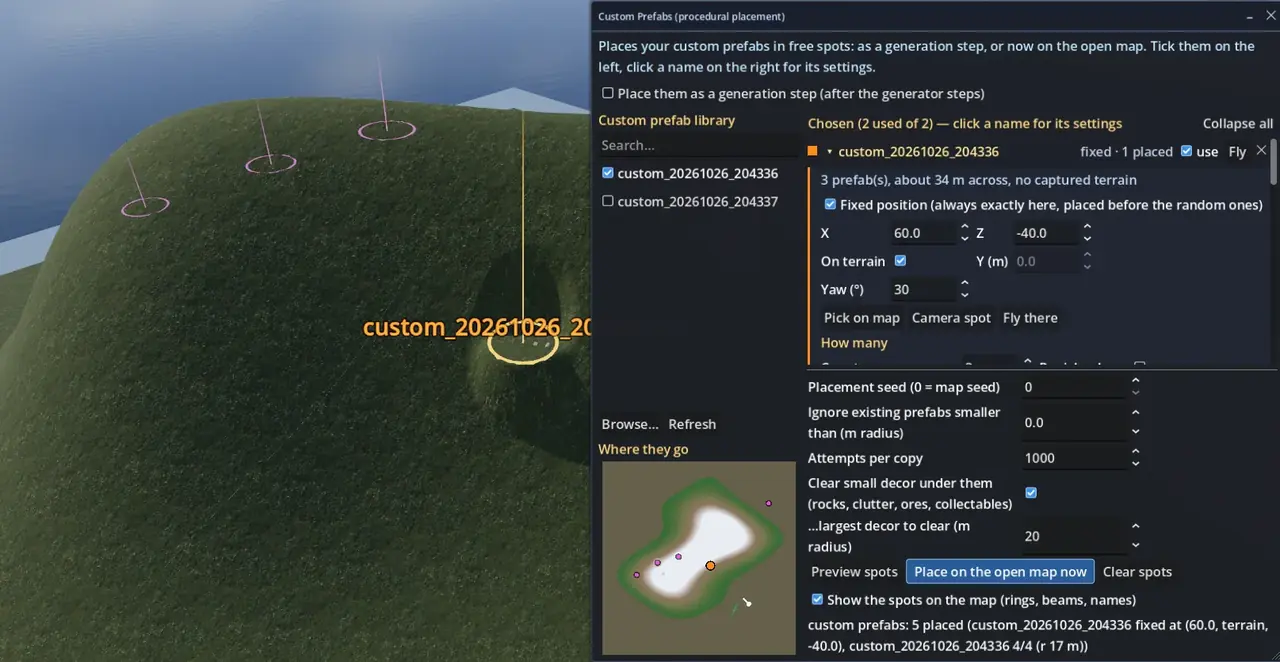
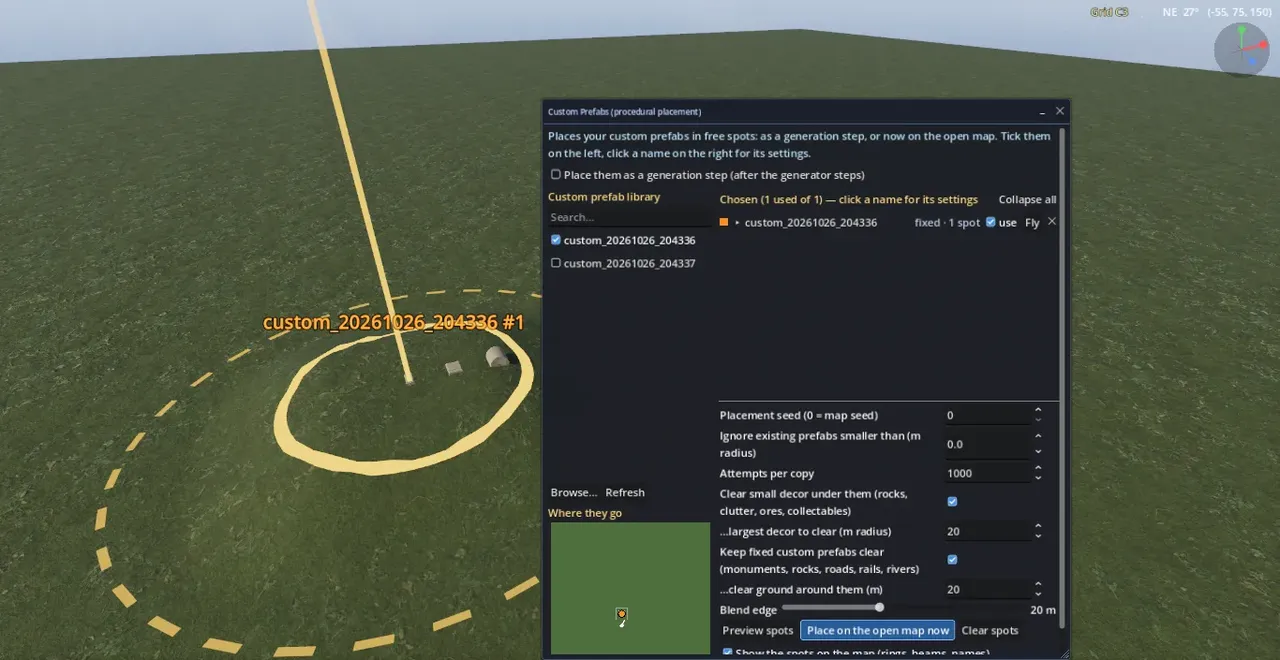
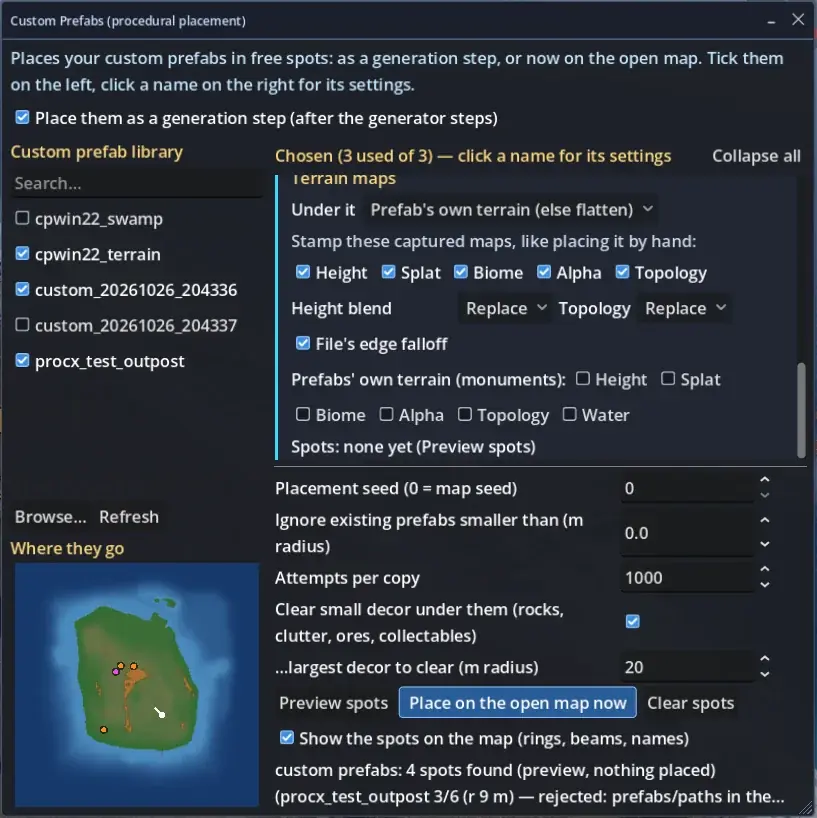
  • Your prefabs in generated maps: bases, arenas and landmarks placed in free spots or fixed ones, with a smooth blended edge.
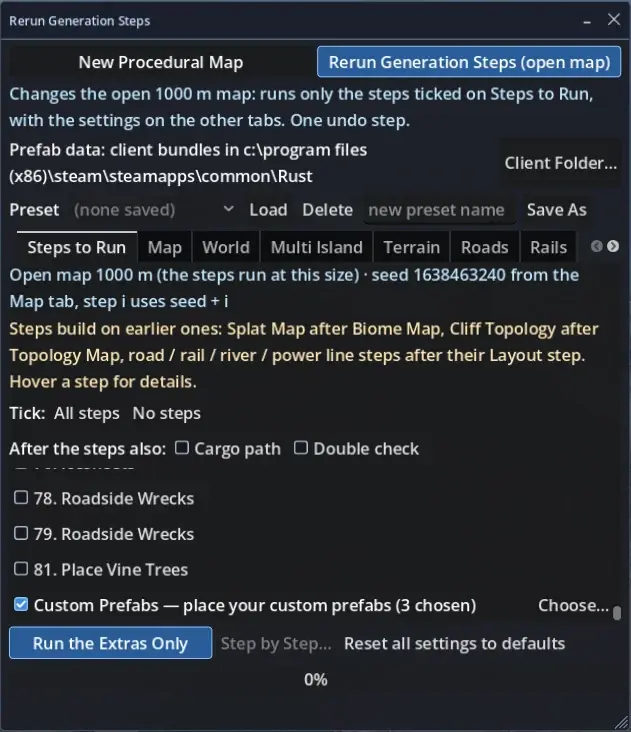
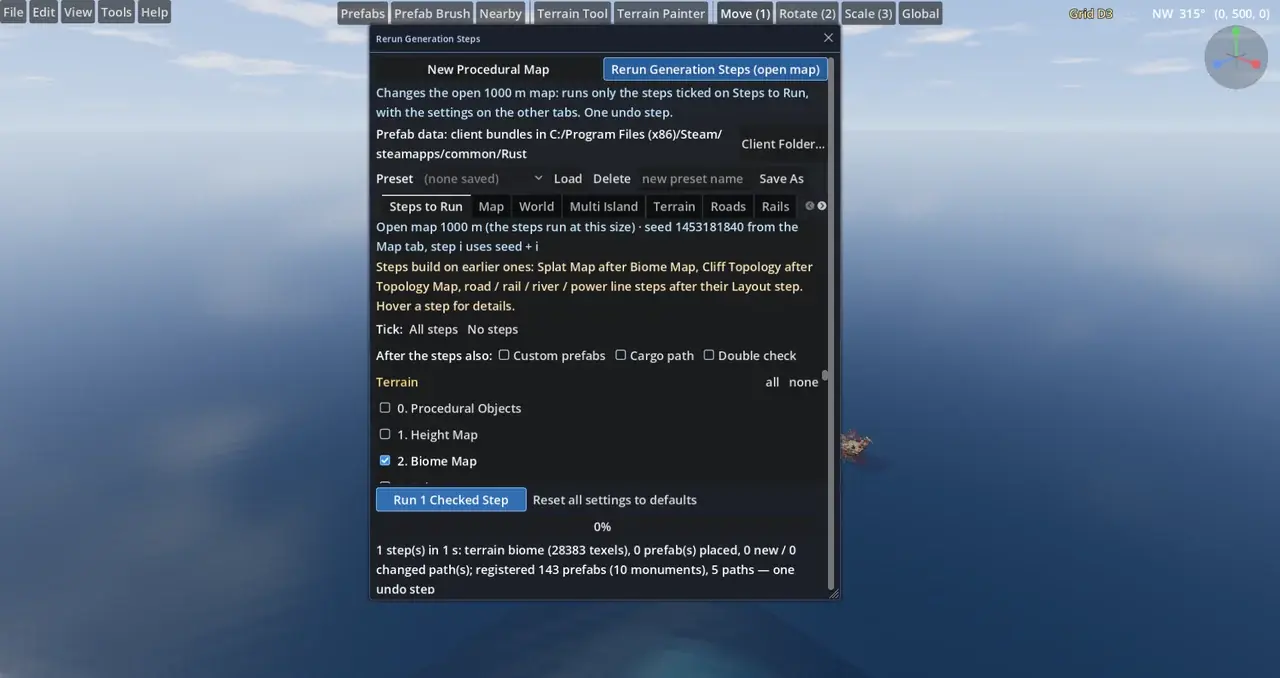
  • Rerun Generation Steps: add rivers, roads, monuments or rocks to a hand-made map, or redo the biomes.
  • Load Height Map: a finished, playable map from a height map in a few steps, with the cold side and the hardest monuments where you point them.
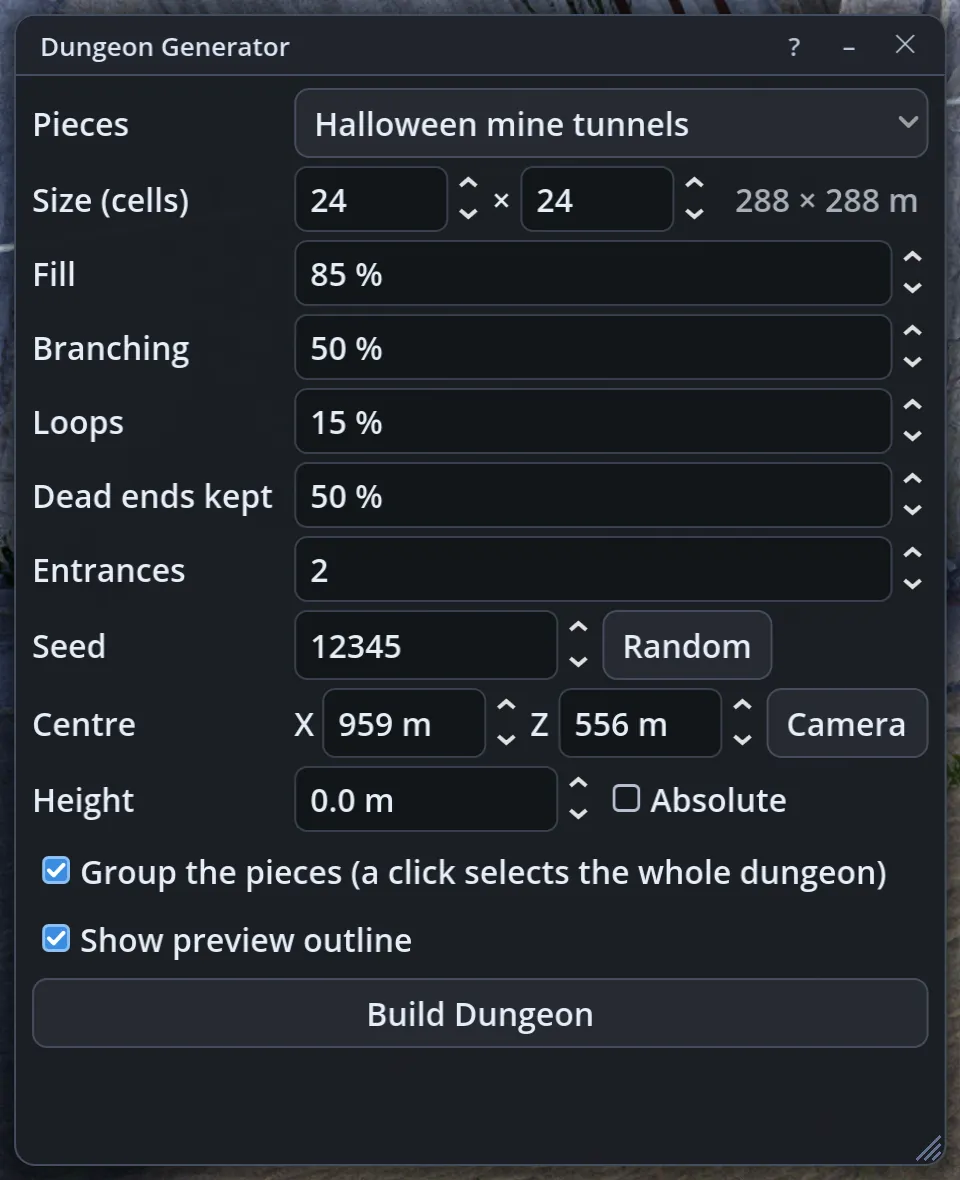
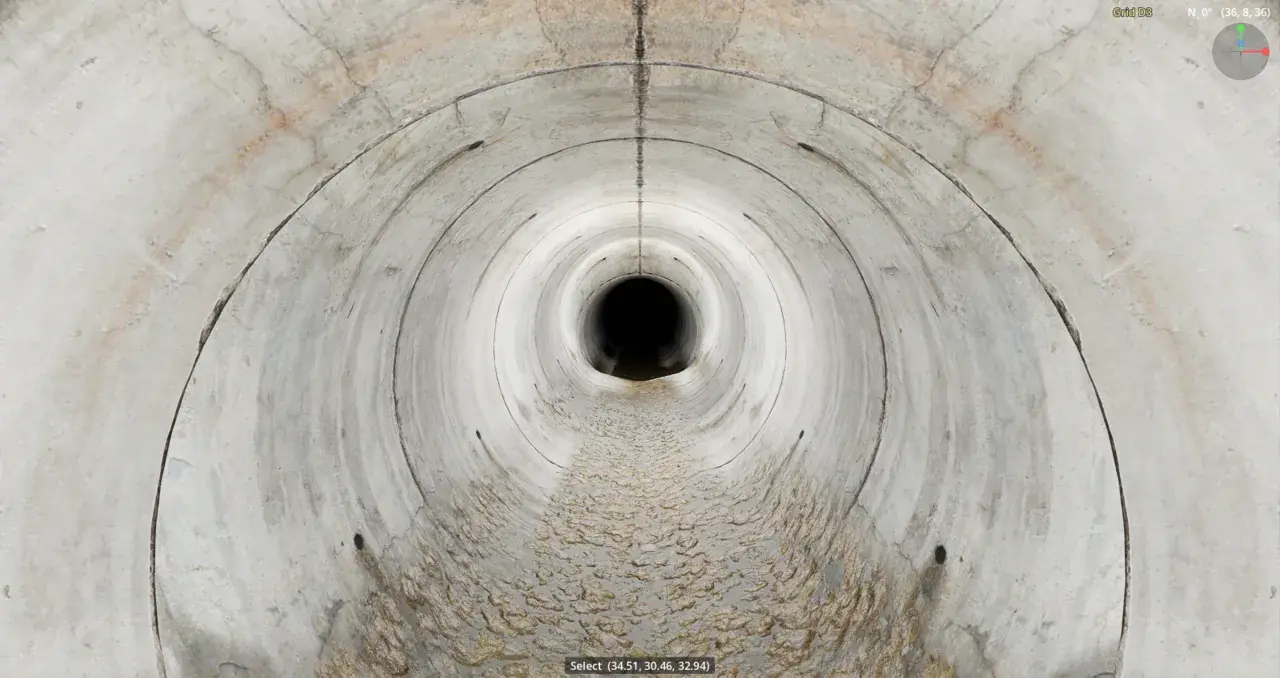
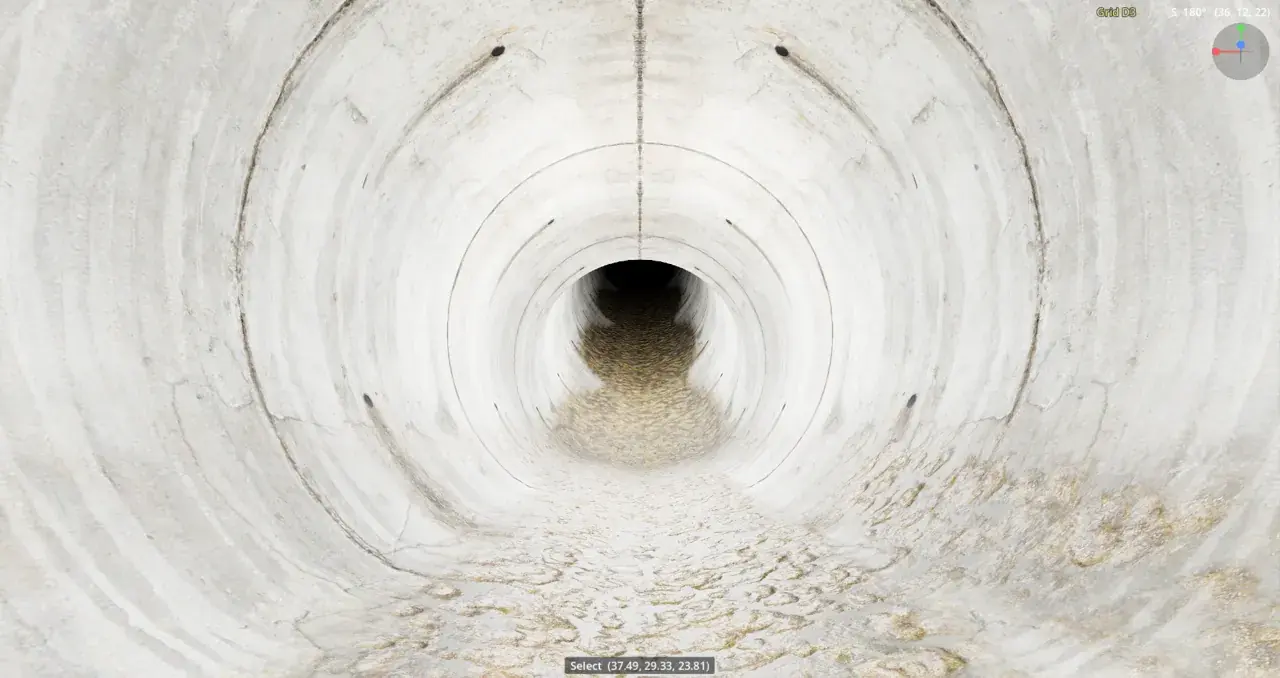
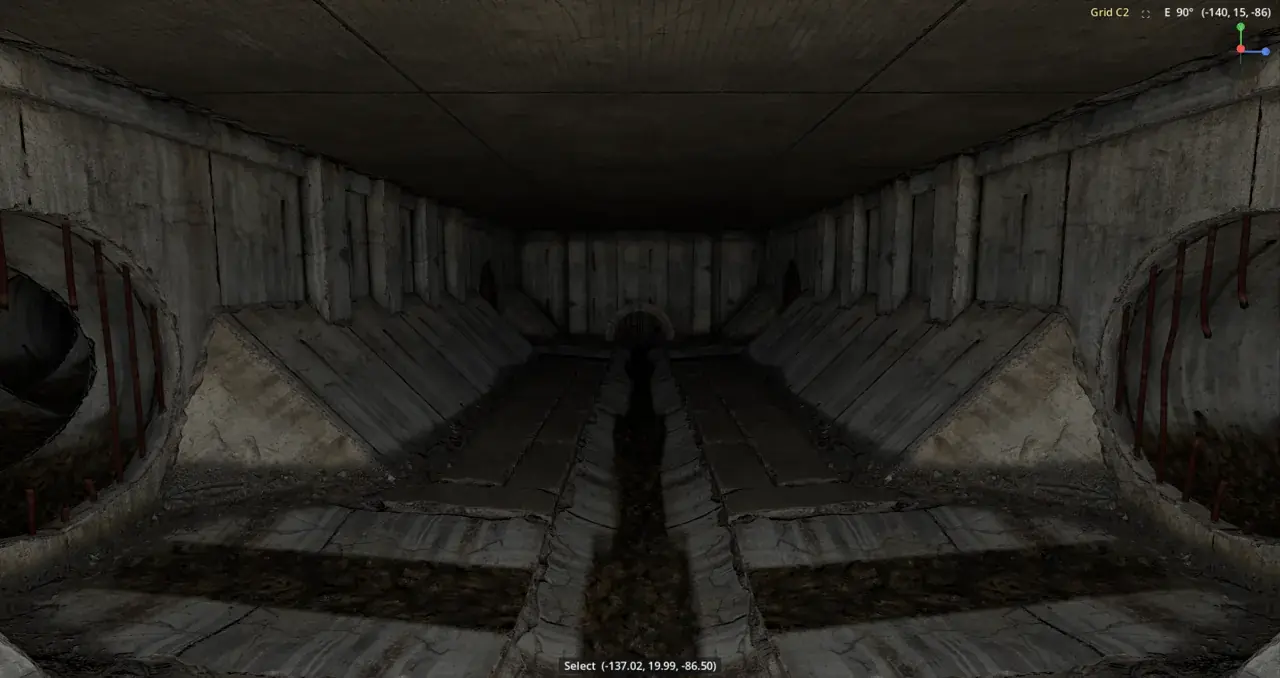
  • Dungeons and sewers: huge mazes from the game's Halloween and Christmas tunnels, or a whole sewer system that stays underground.
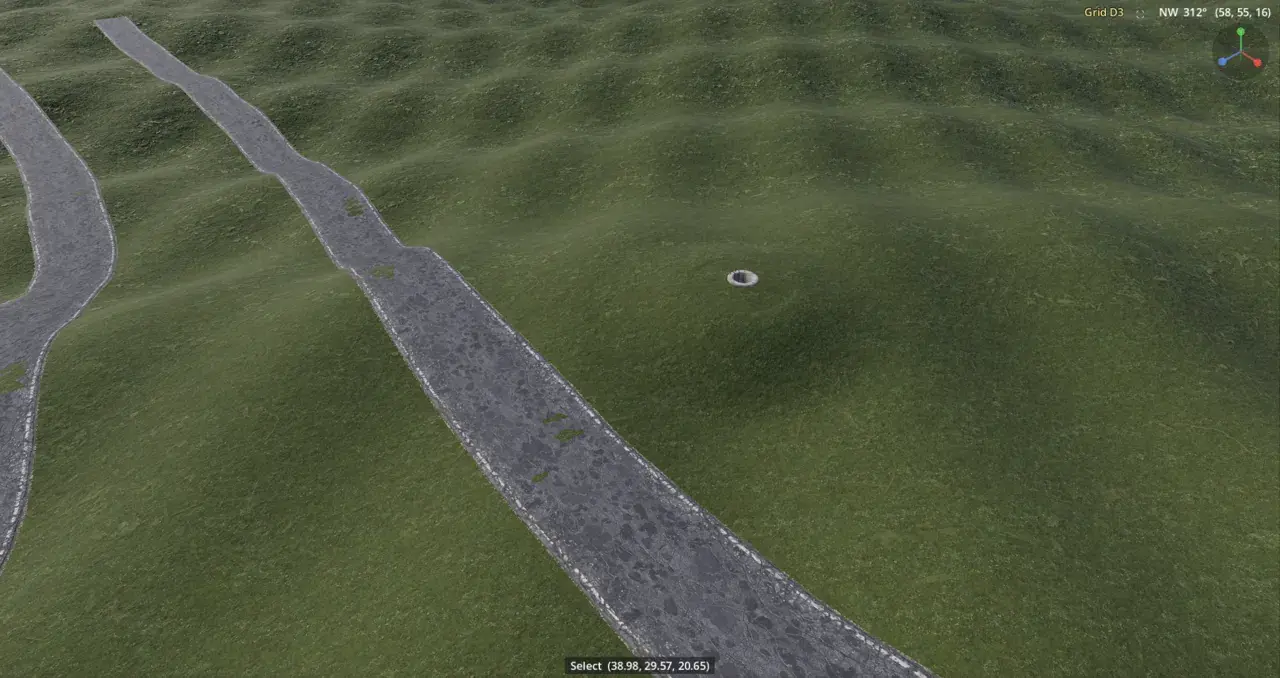
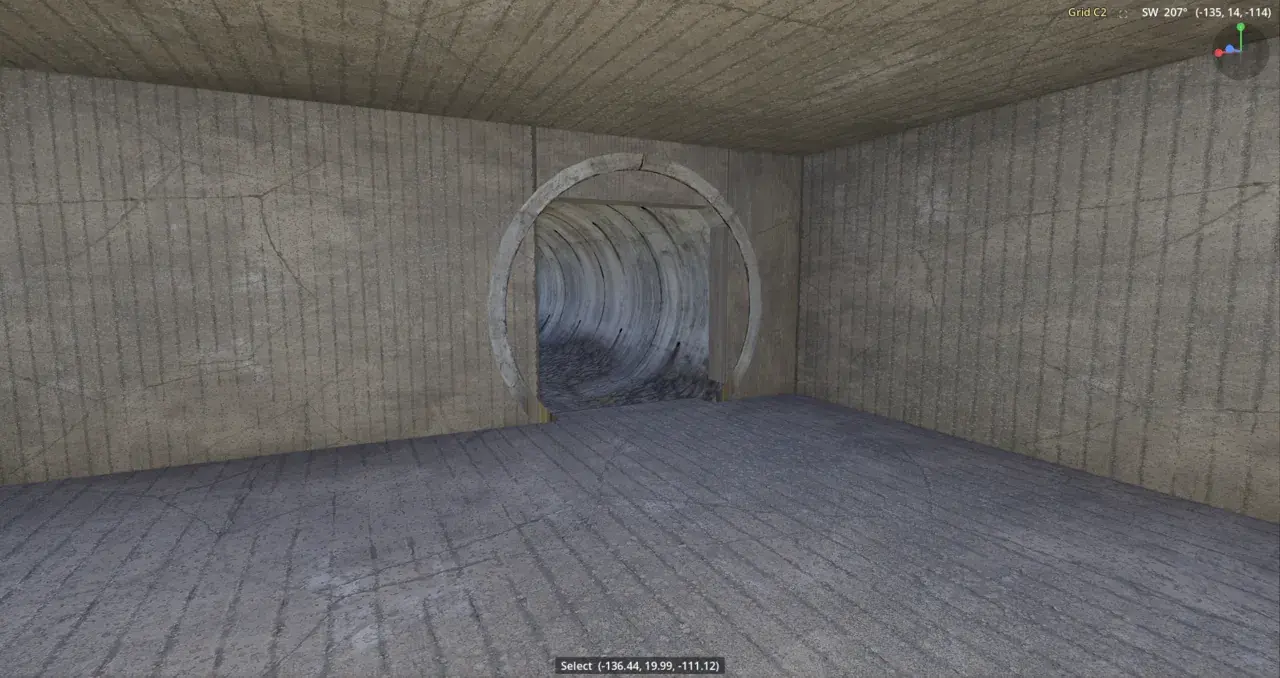
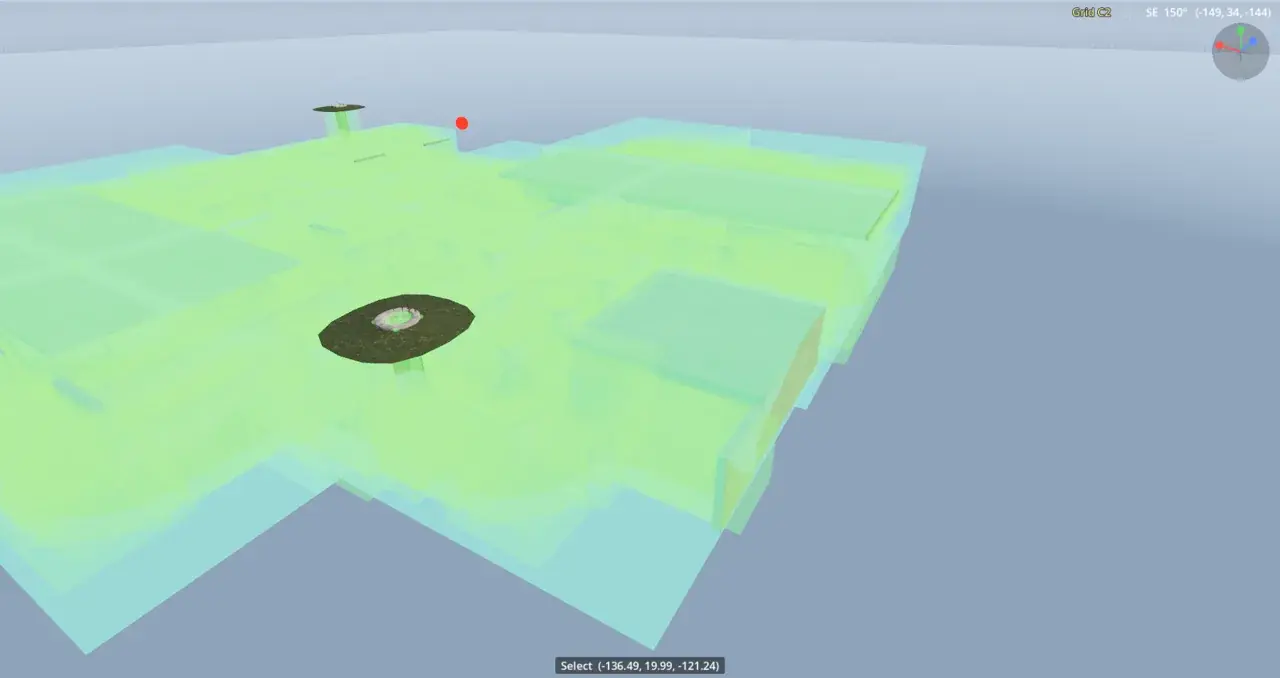
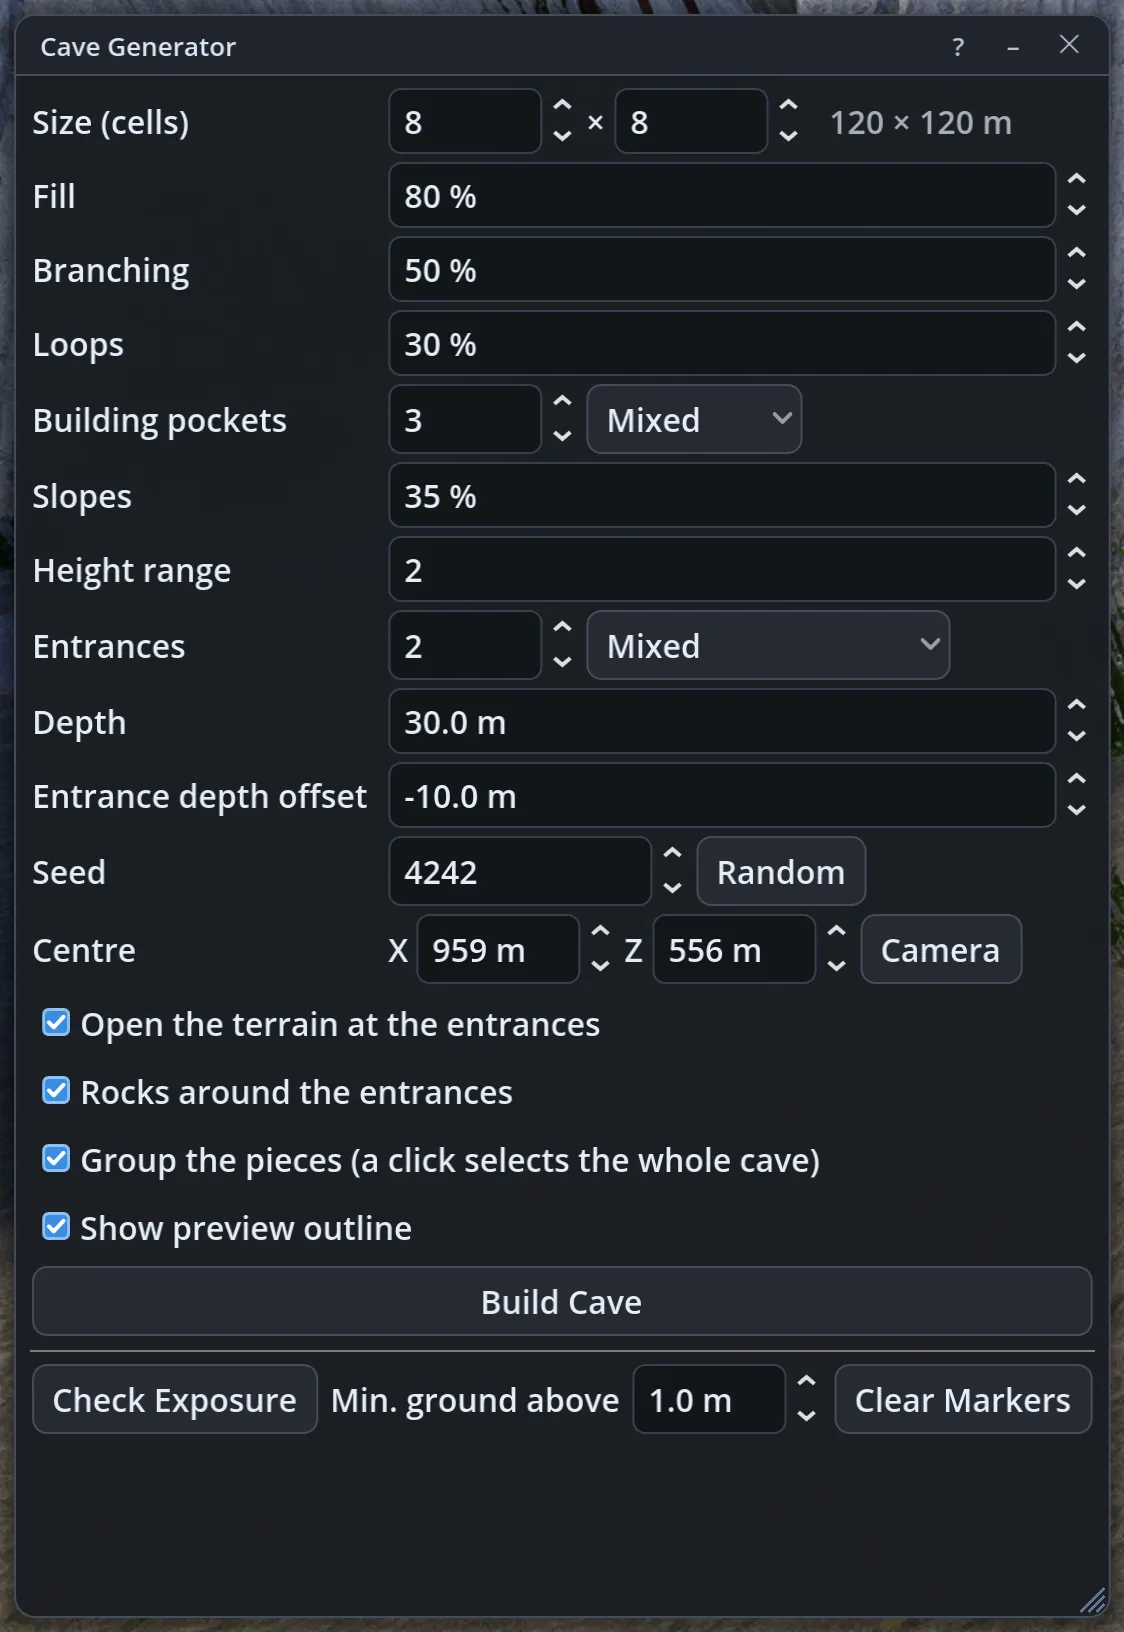
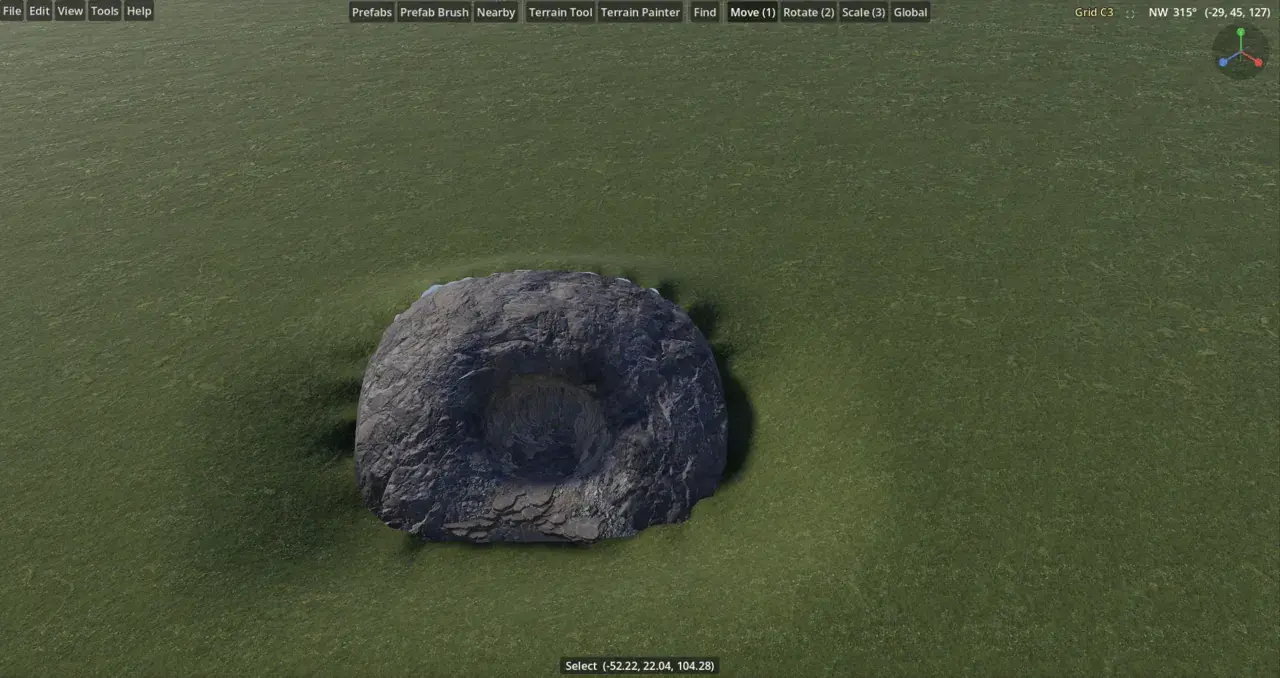
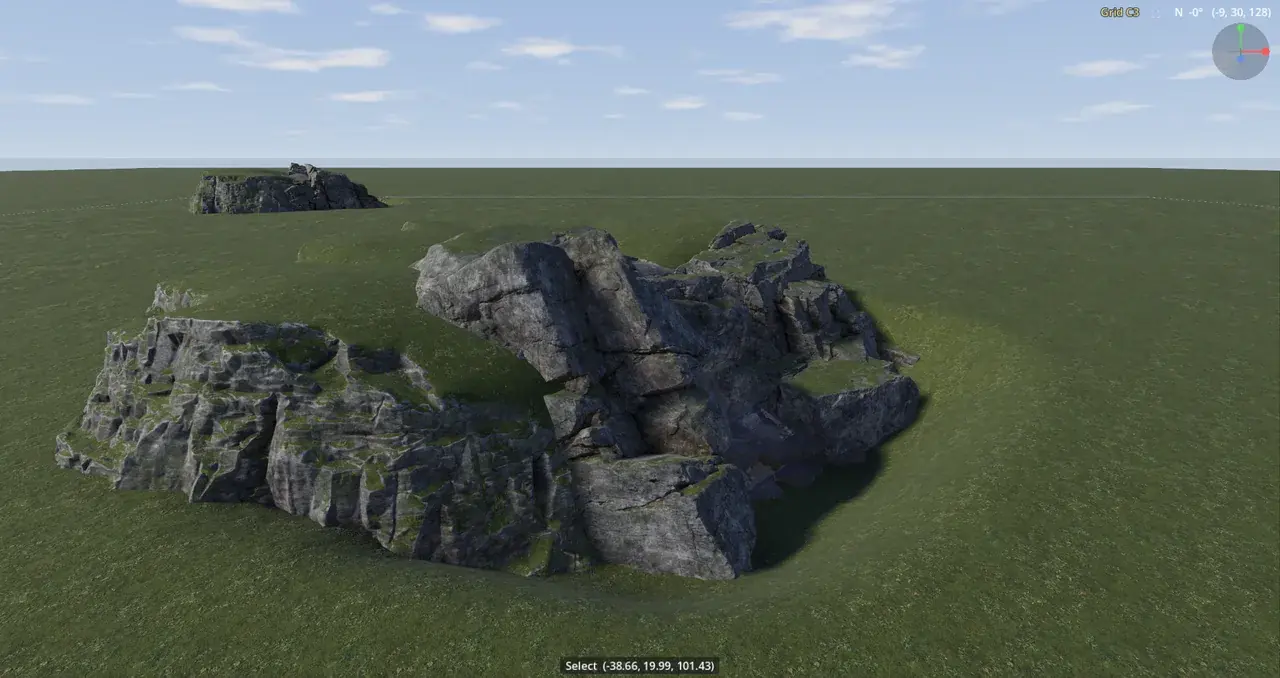
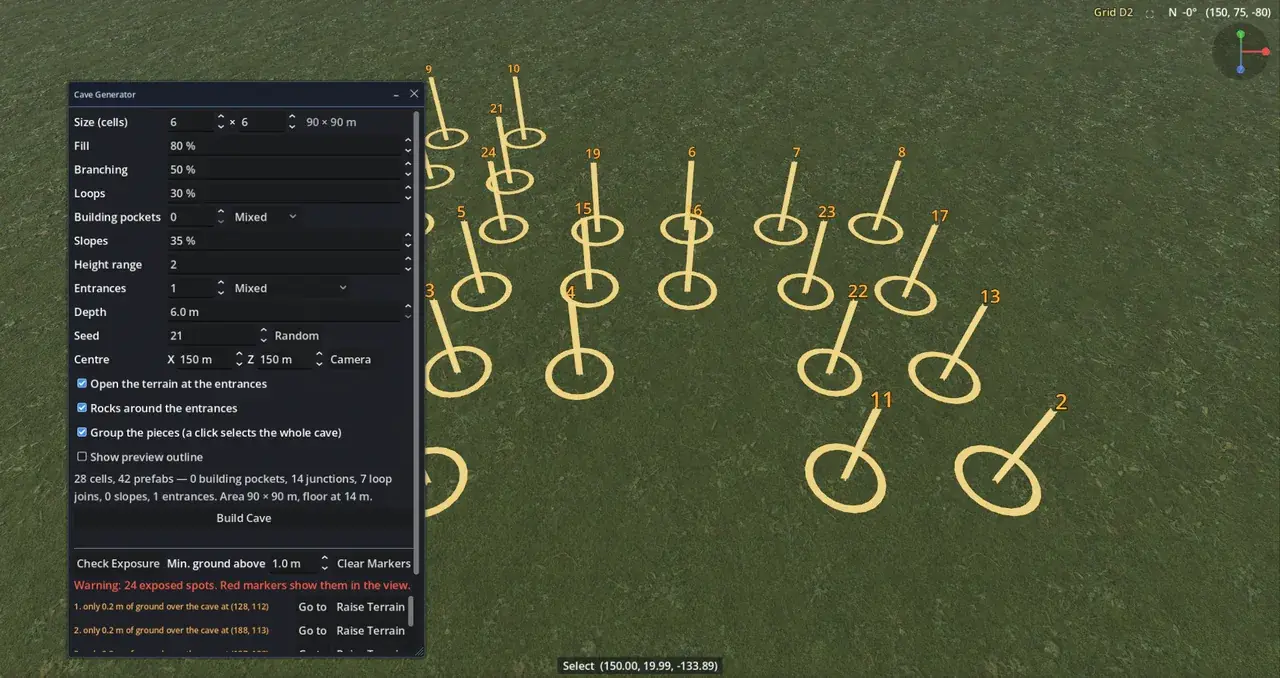
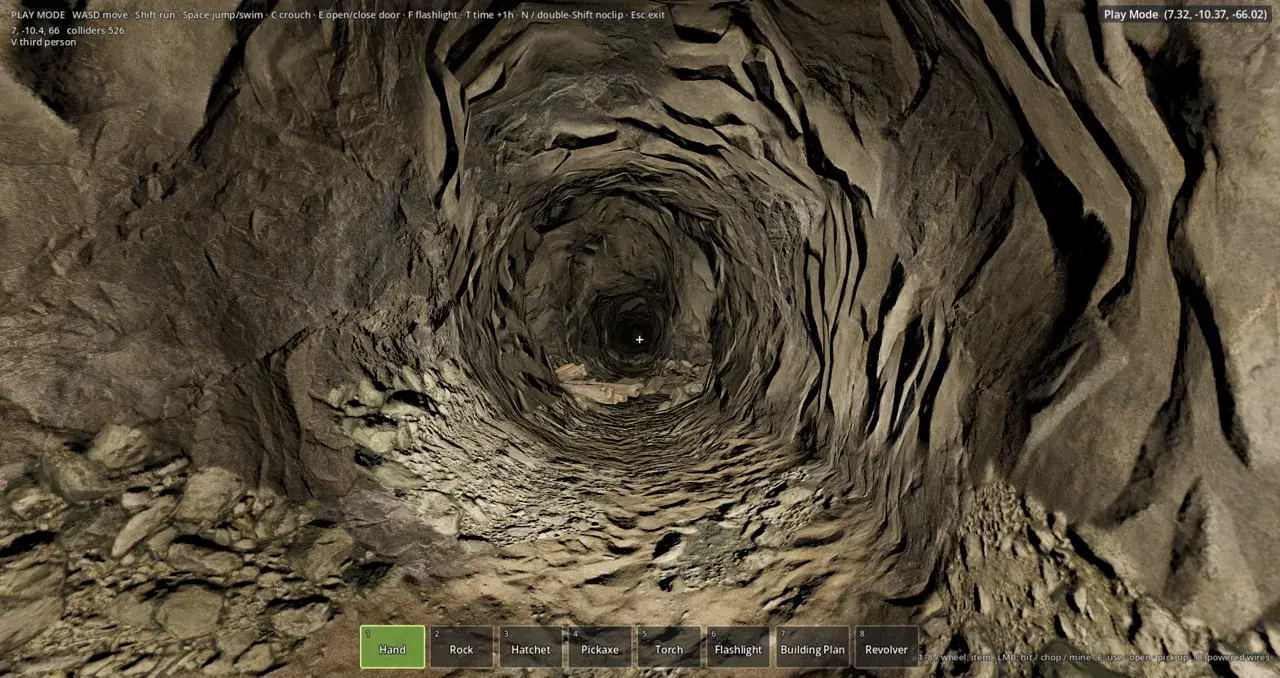
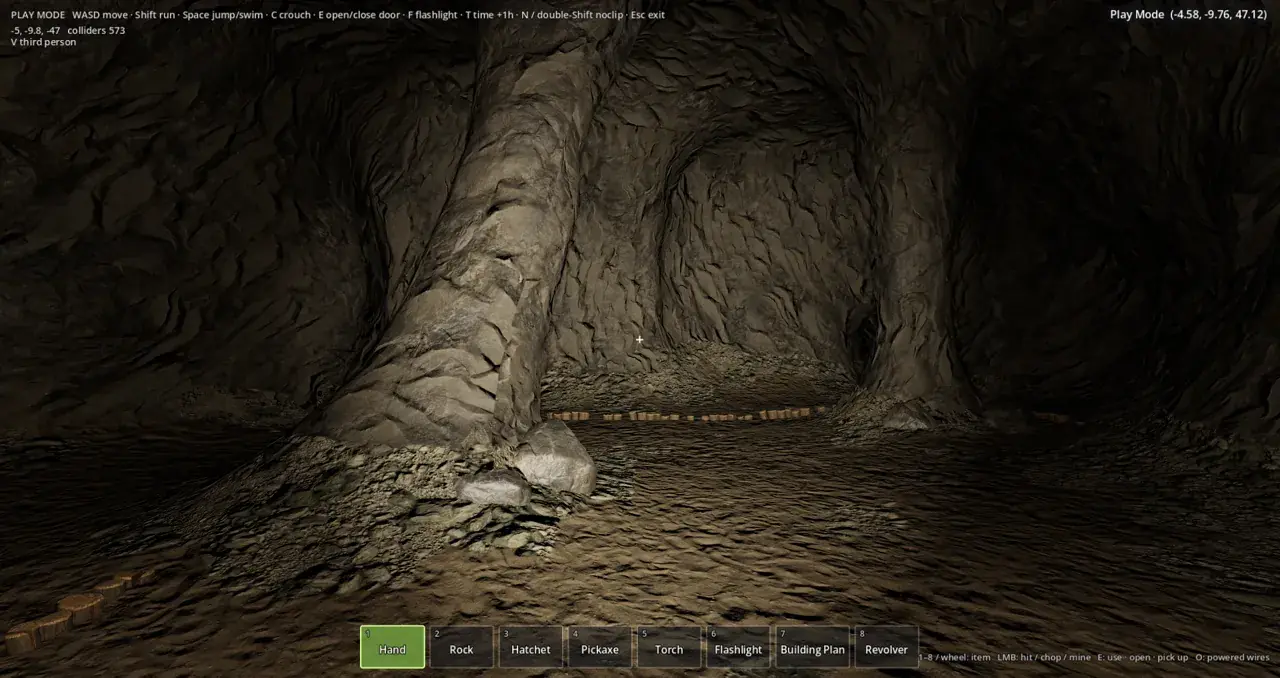
  • Cave Generator: underground cave networks with building pockets and low sinkhole entrances on dry ground; nothing is left floating.
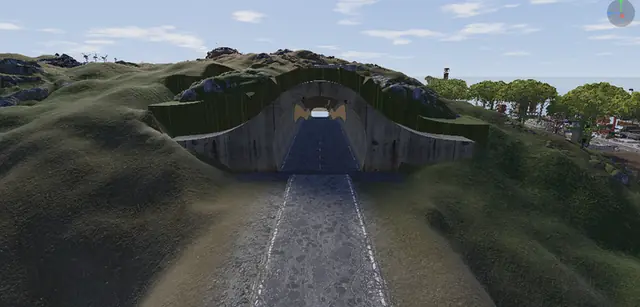
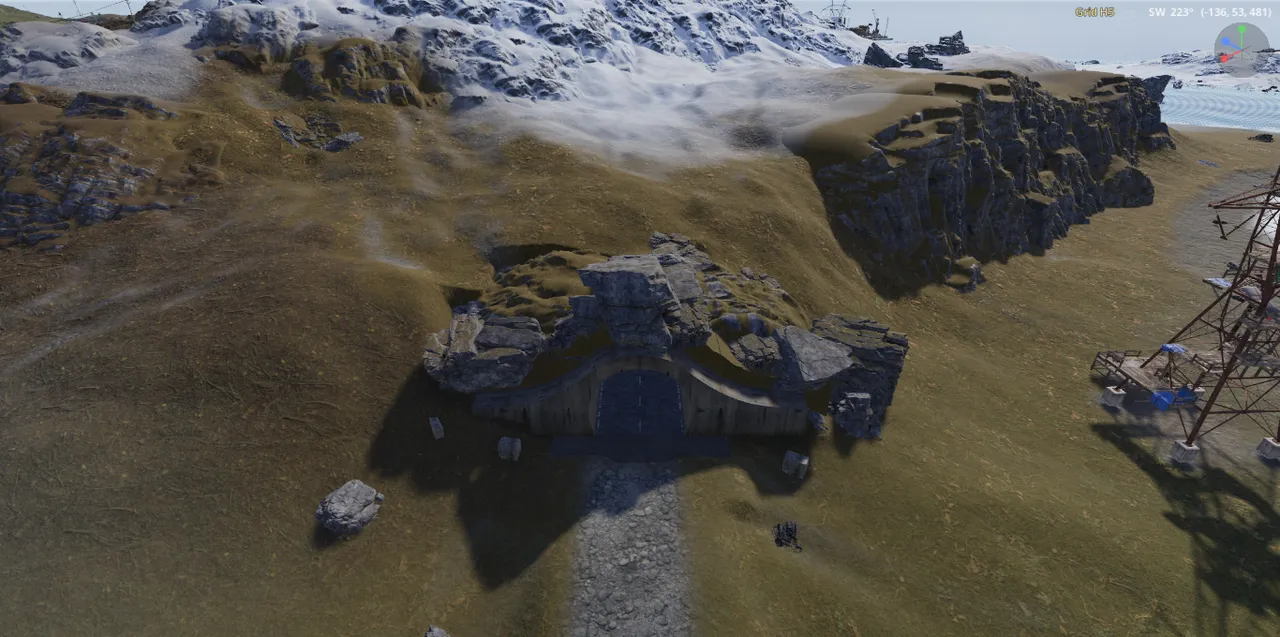
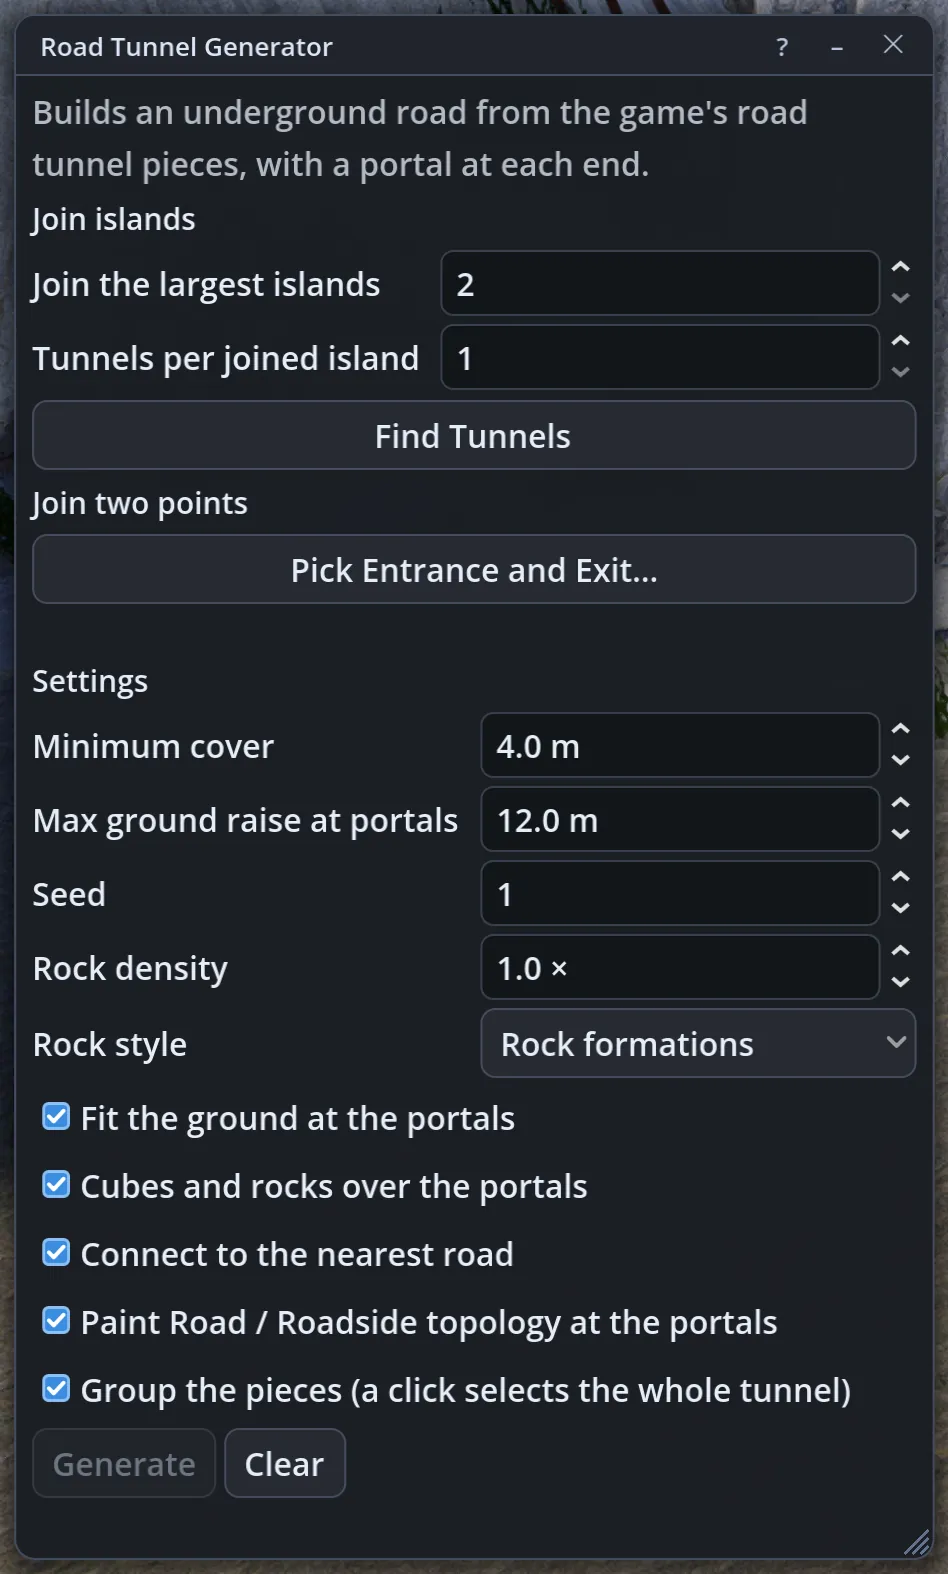
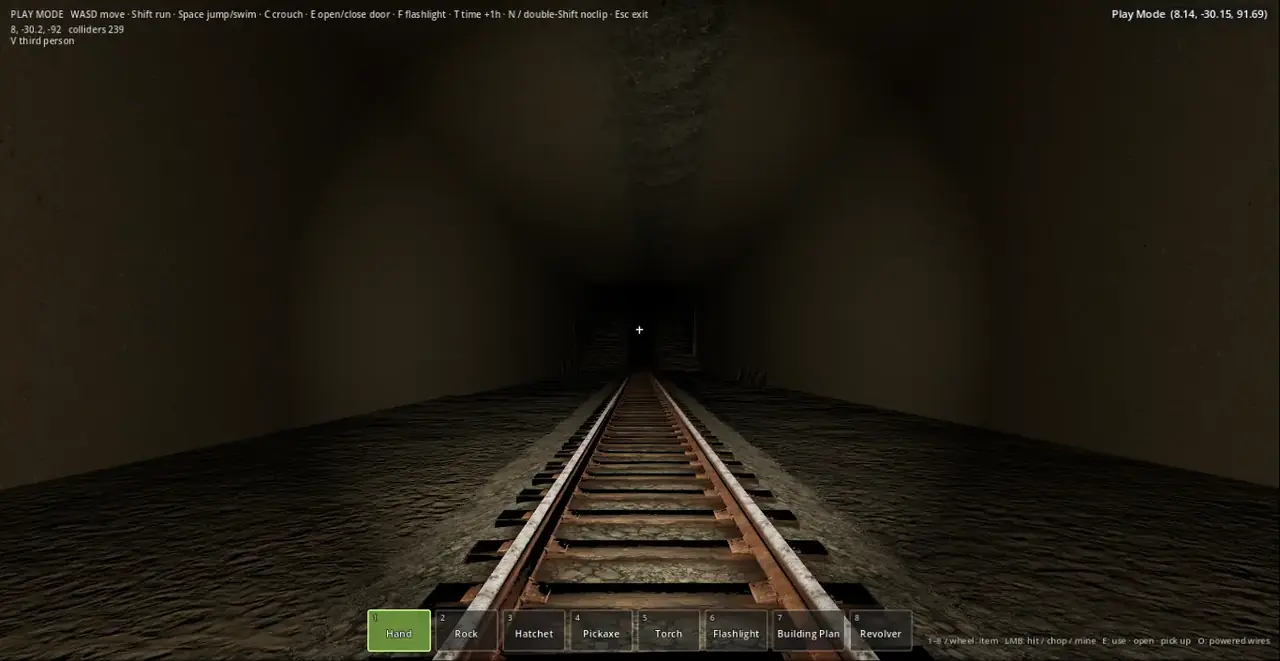
  • Road Tunnel Generator: underground roads with portals dressed in the game's rocks, even under the sea between islands.
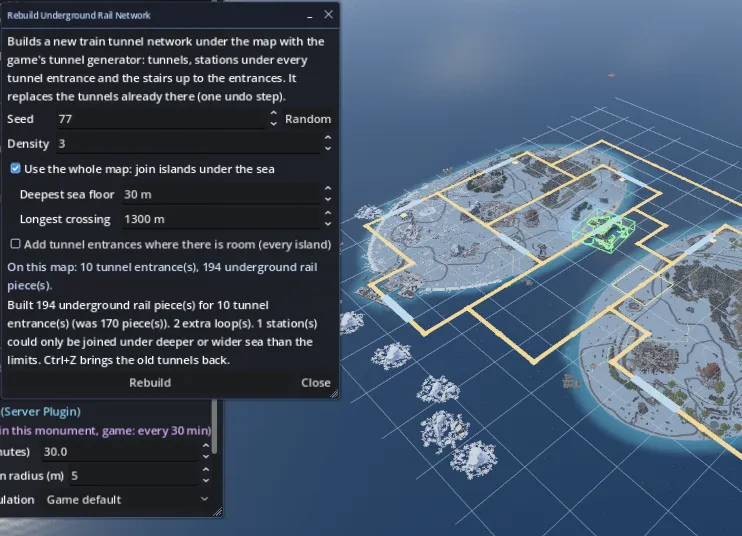
  • Rebuild Underground Rail Network: a new train tunnel network under any map, with more loops if you like and tunnels that join islands under the sea.
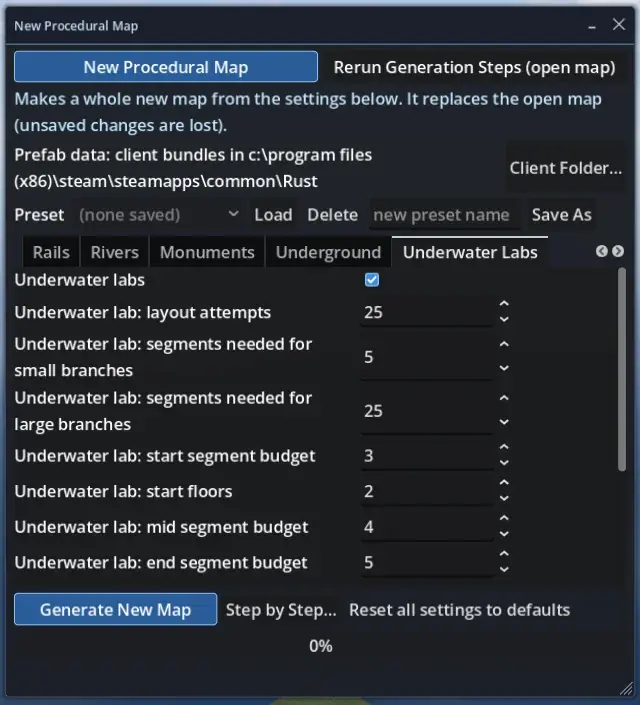
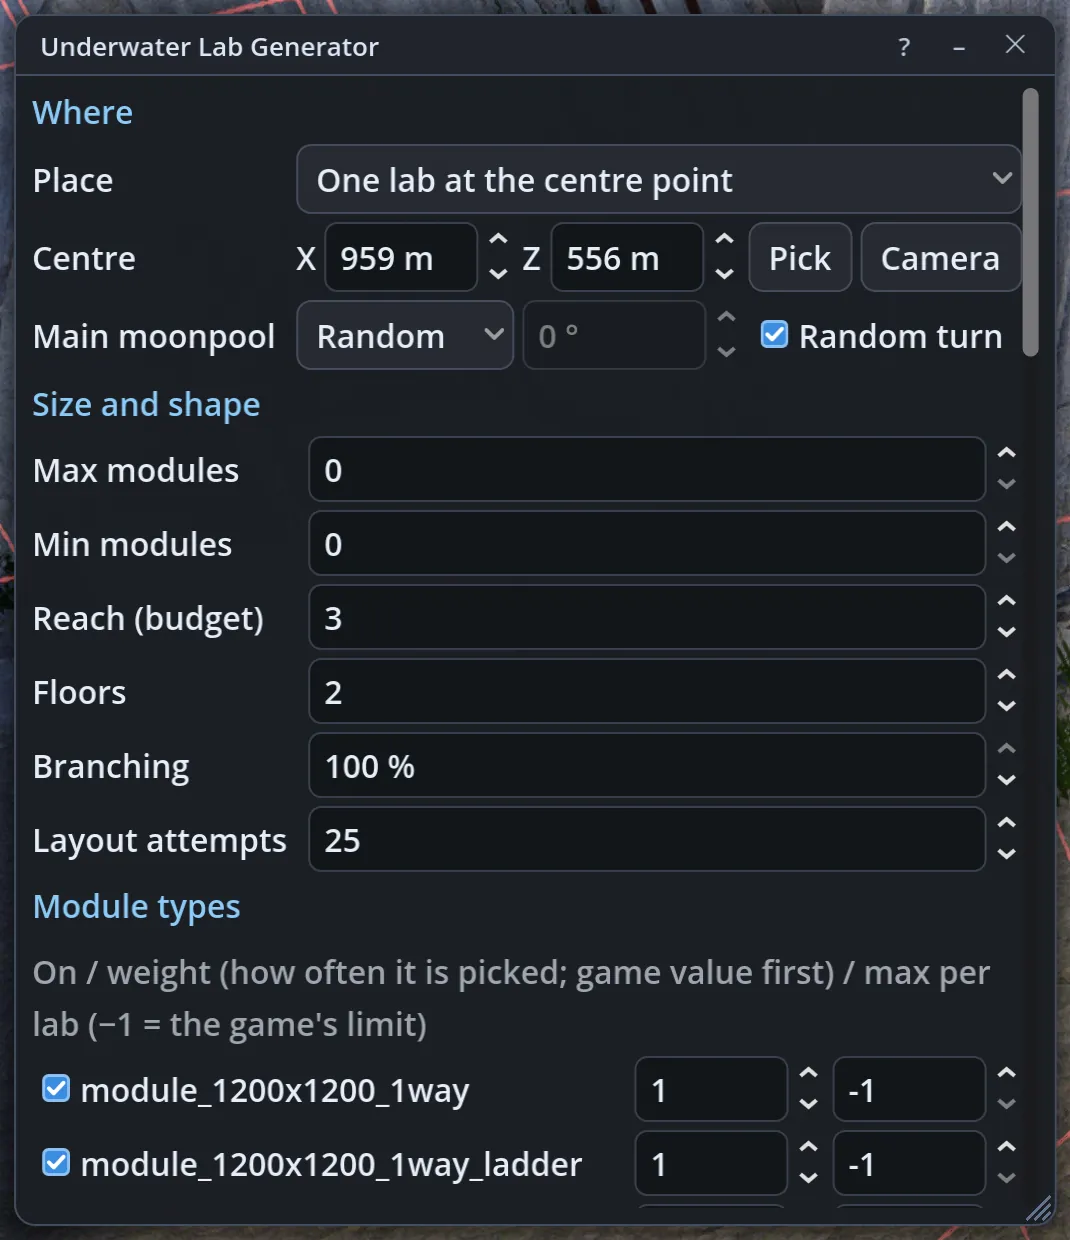
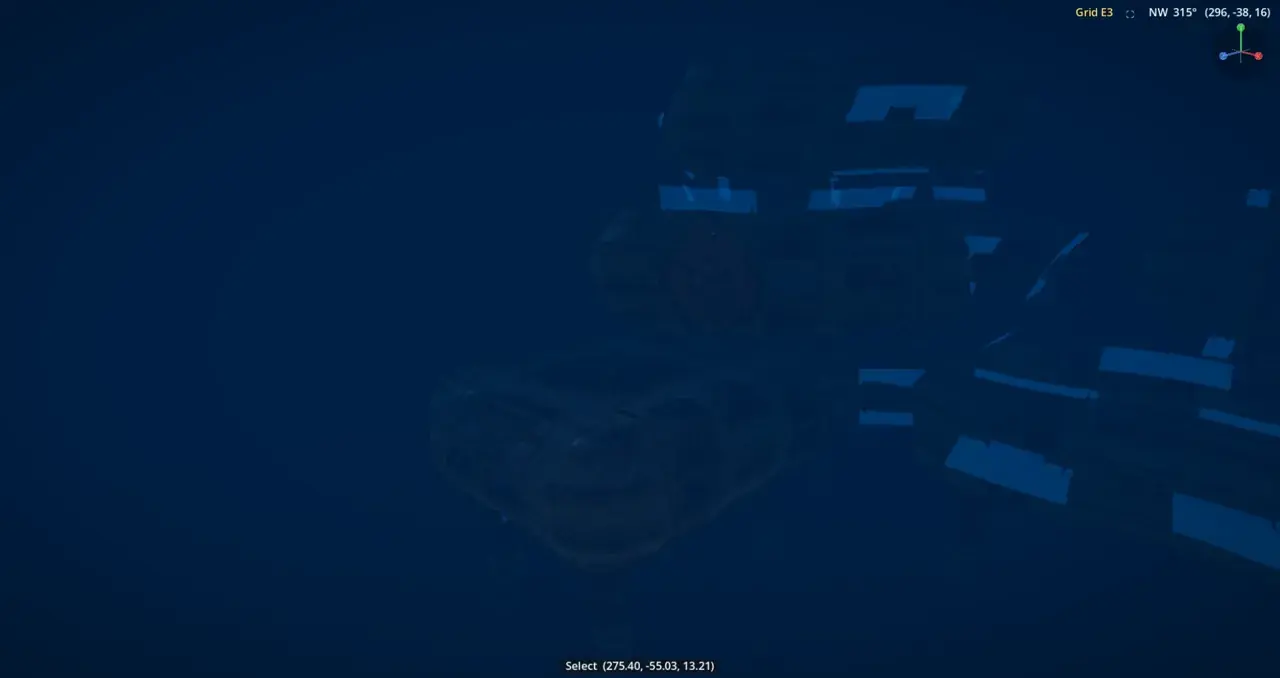
  • Underwater Lab Generator: labs where you want them, with your choice of size, floors, modules, entrances, crates and NPCs.
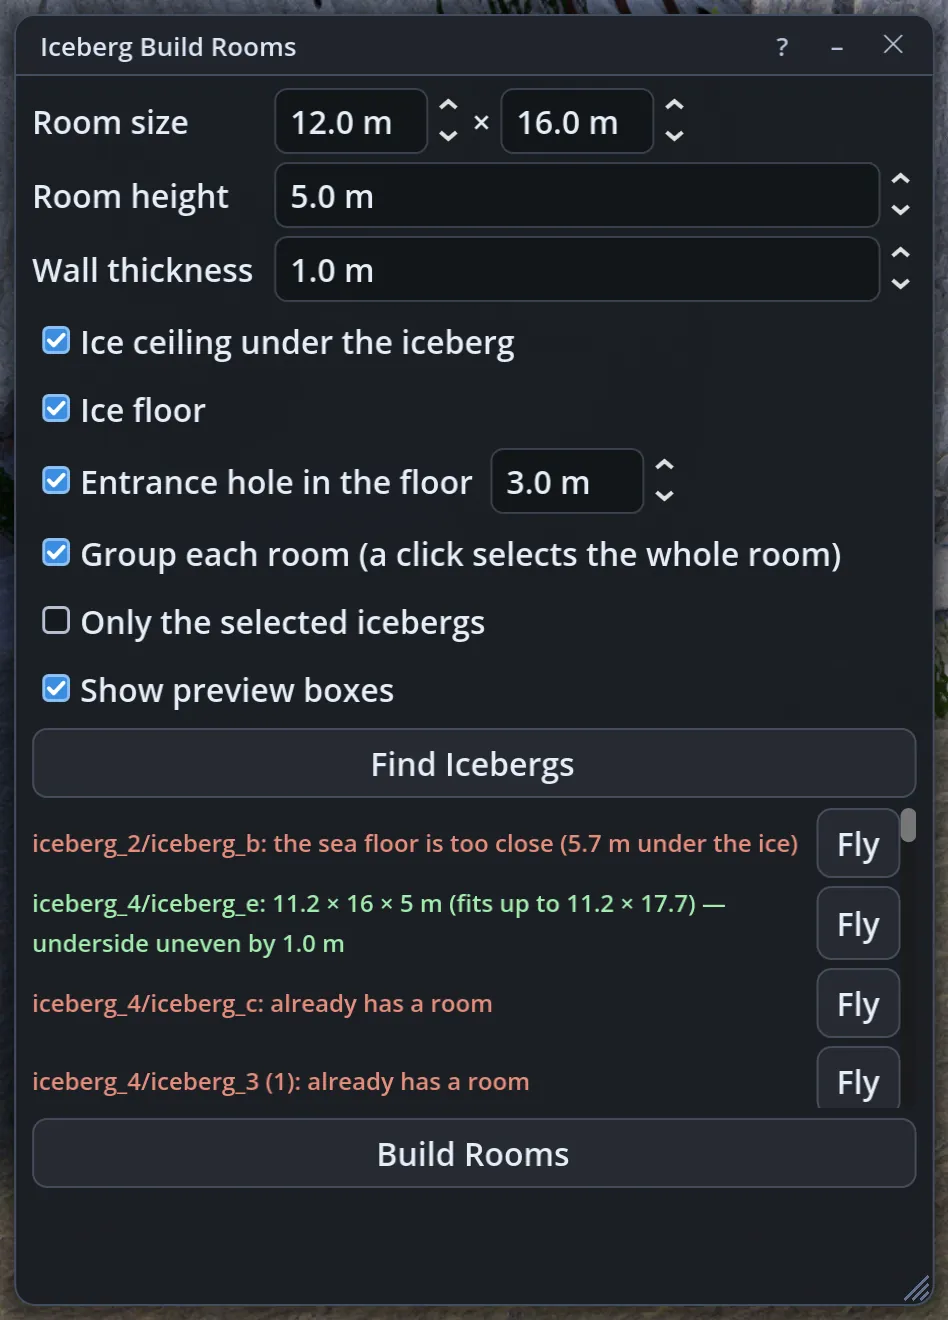
  • Iceberg Build Rooms: dry rooms under icebergs where players can build.
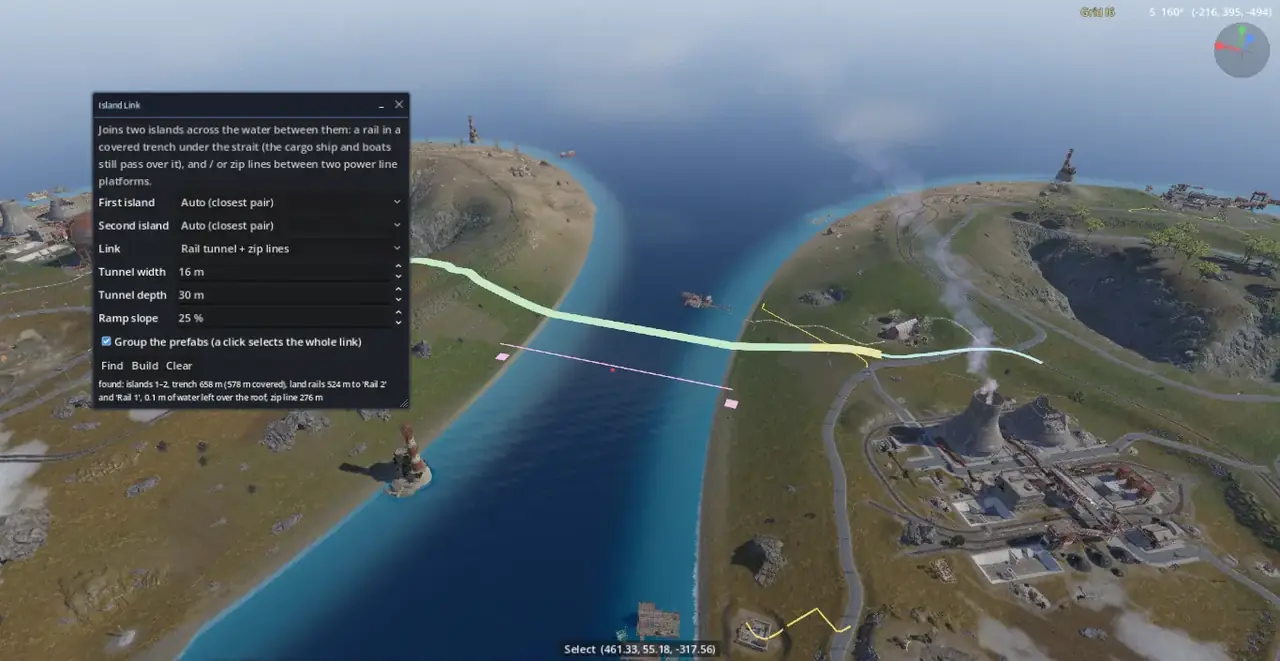
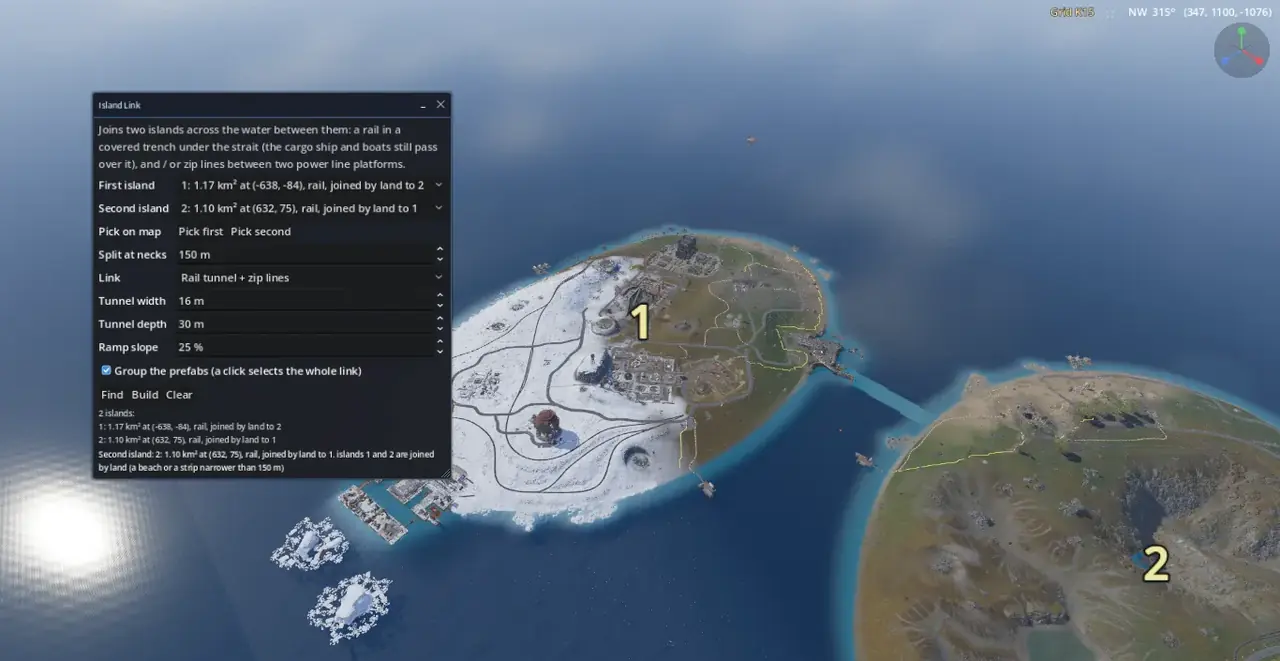
  • Island Link: a rail under the strait and zip lines join two islands, while ships still sail over.
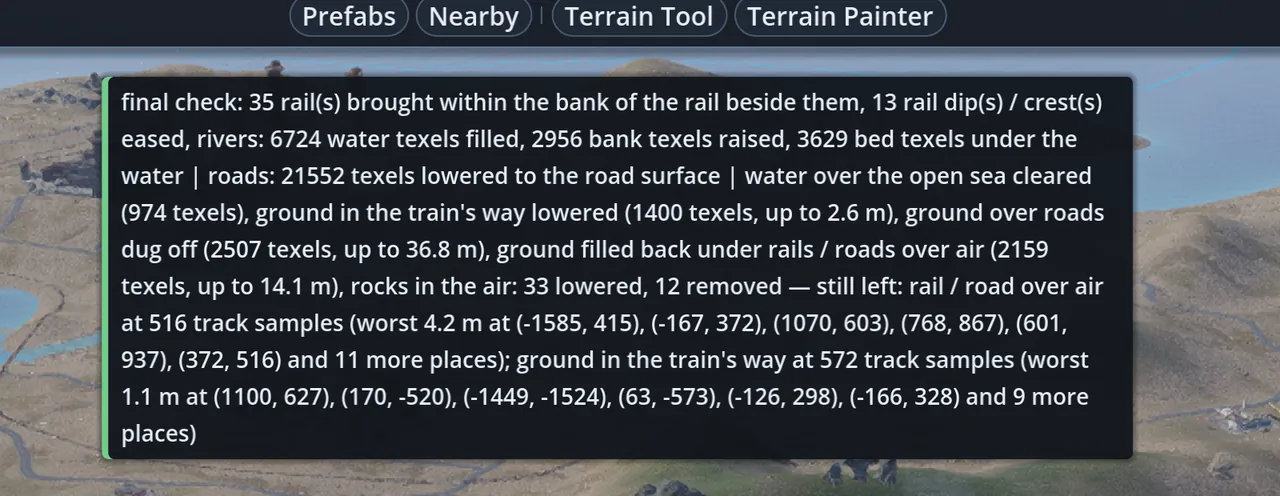
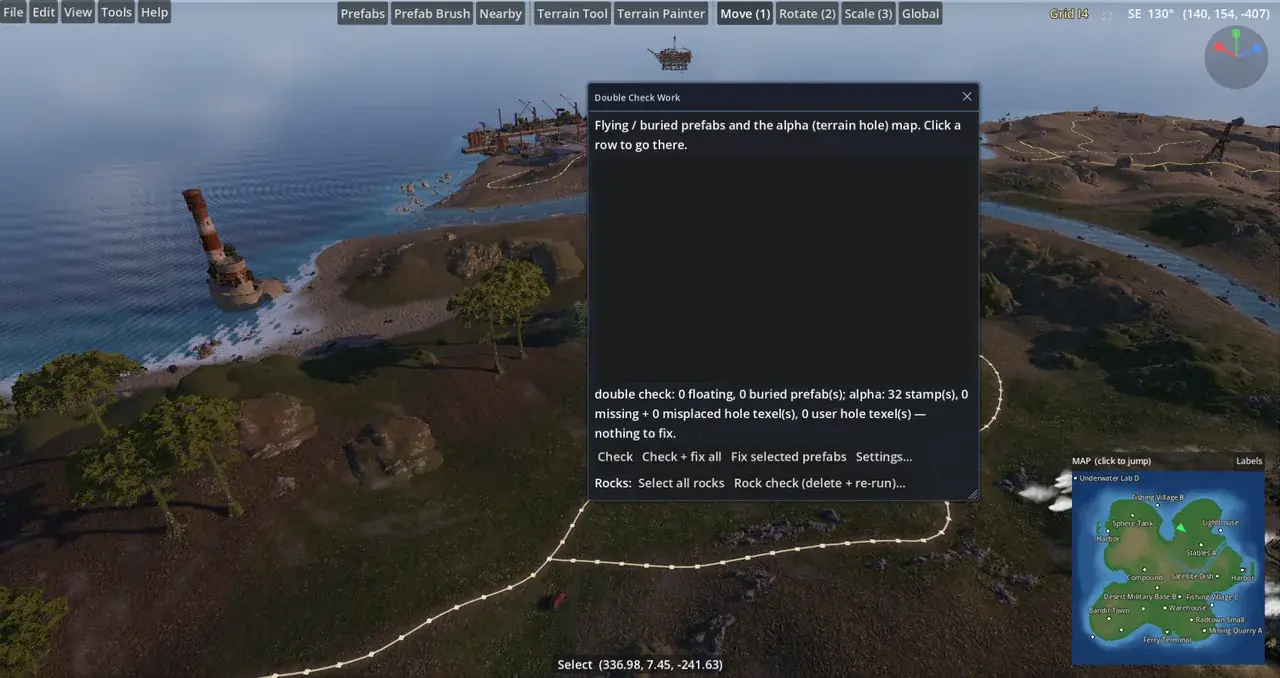
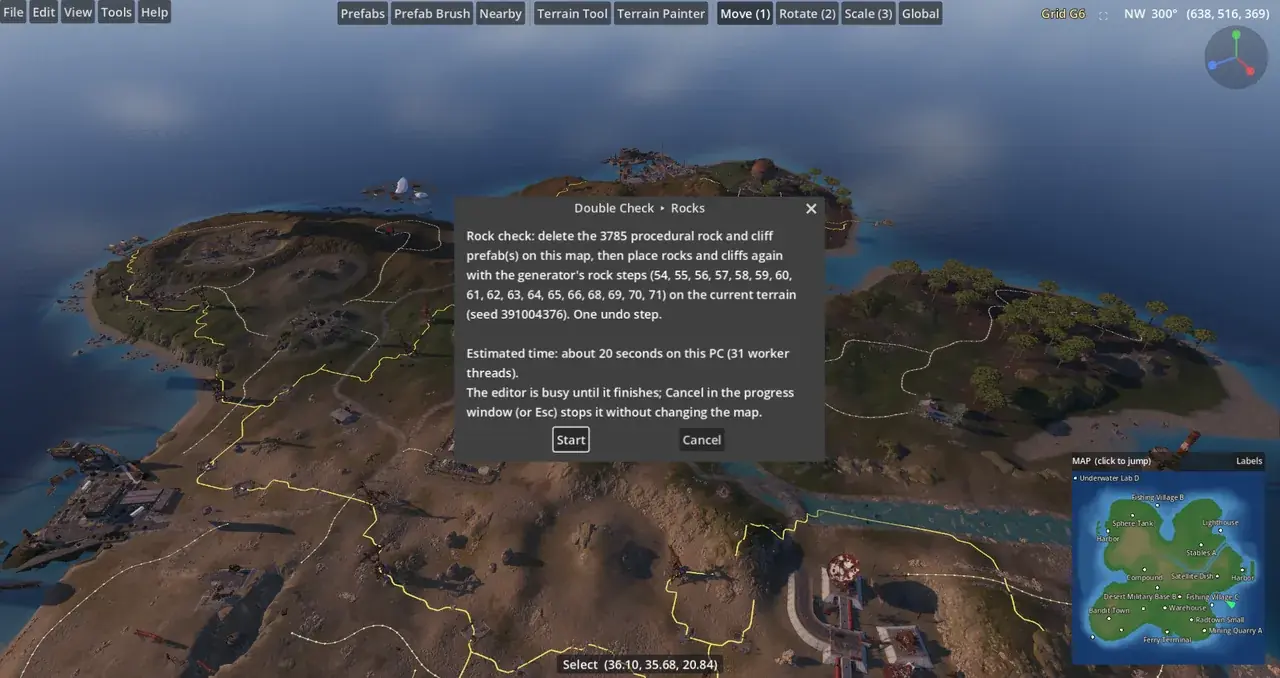
  • Double Check Work: finds and fixes floating or buried prefabs and broken terrain holes on any map.
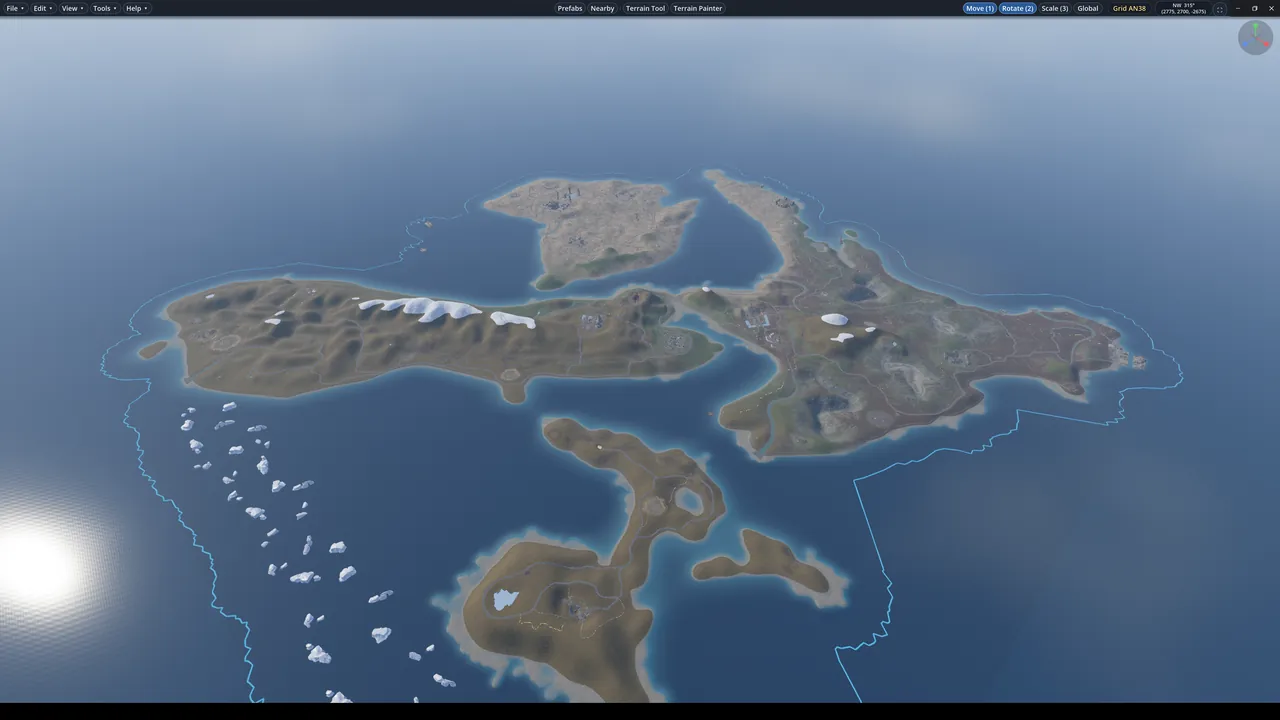
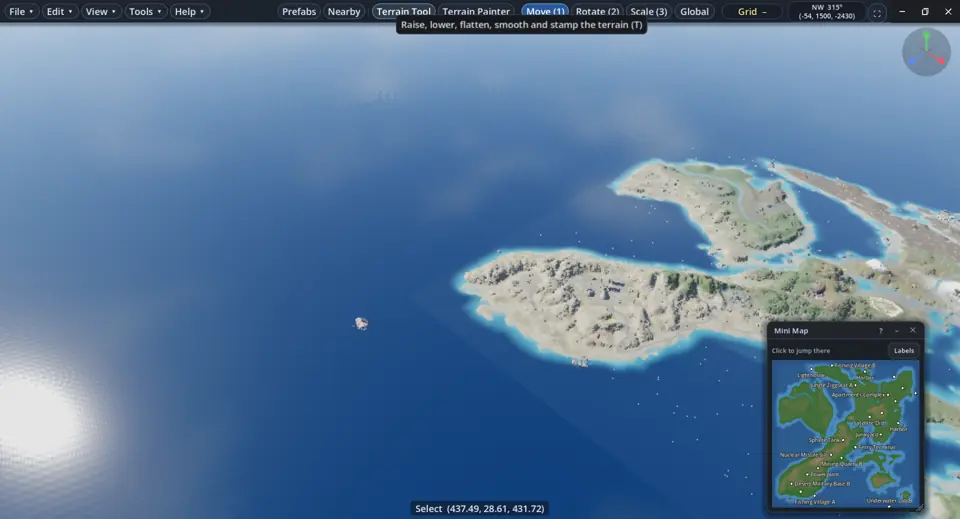
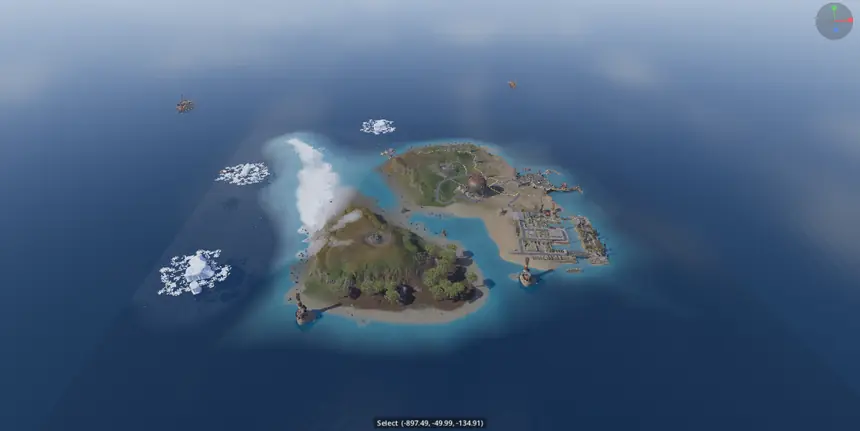
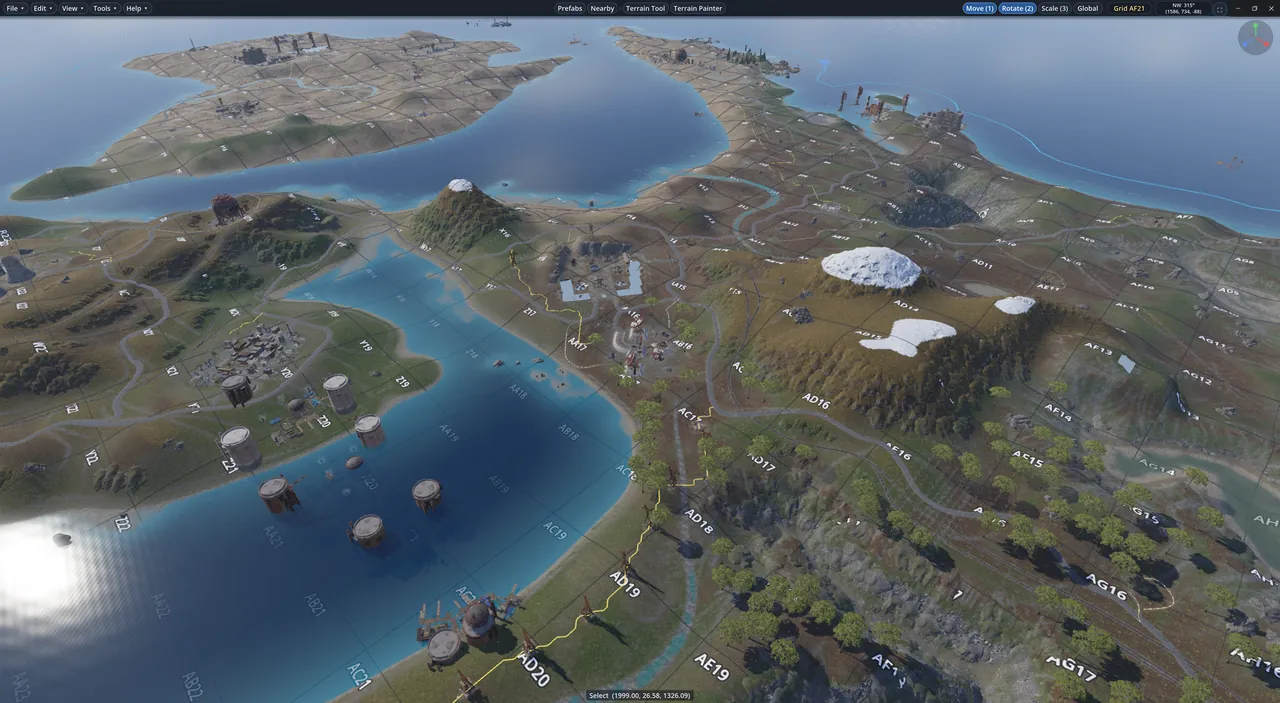
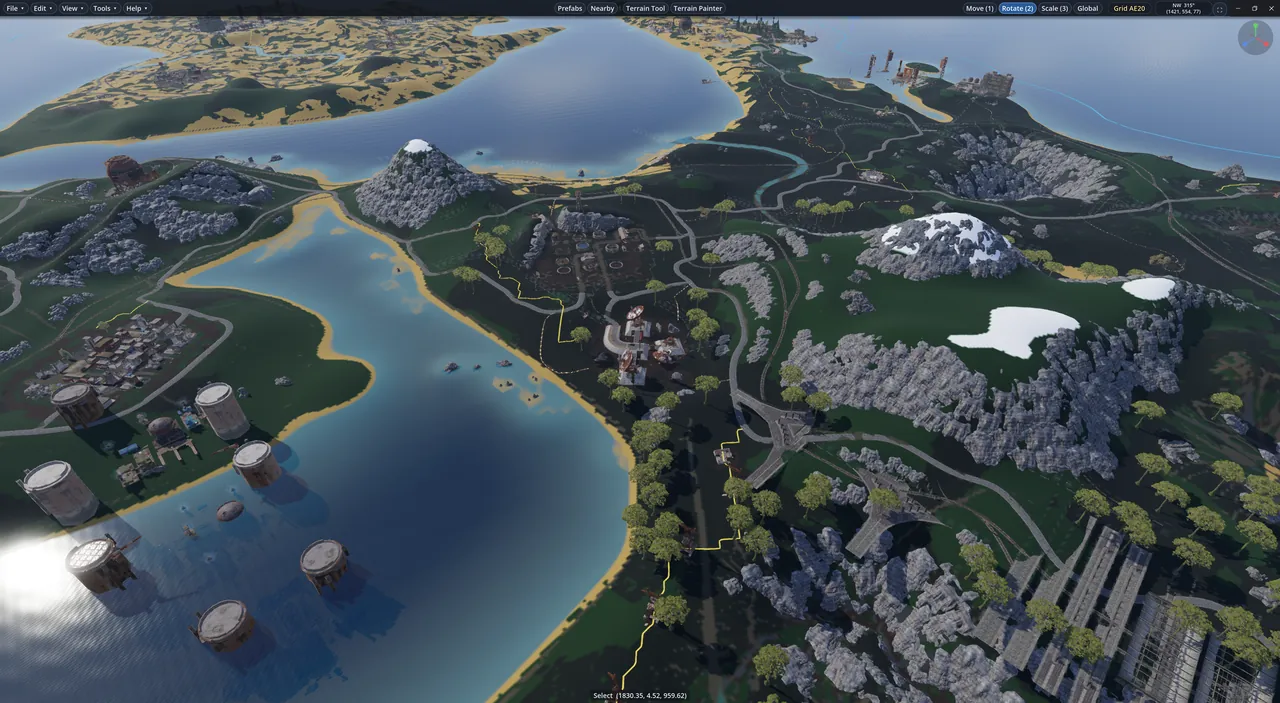
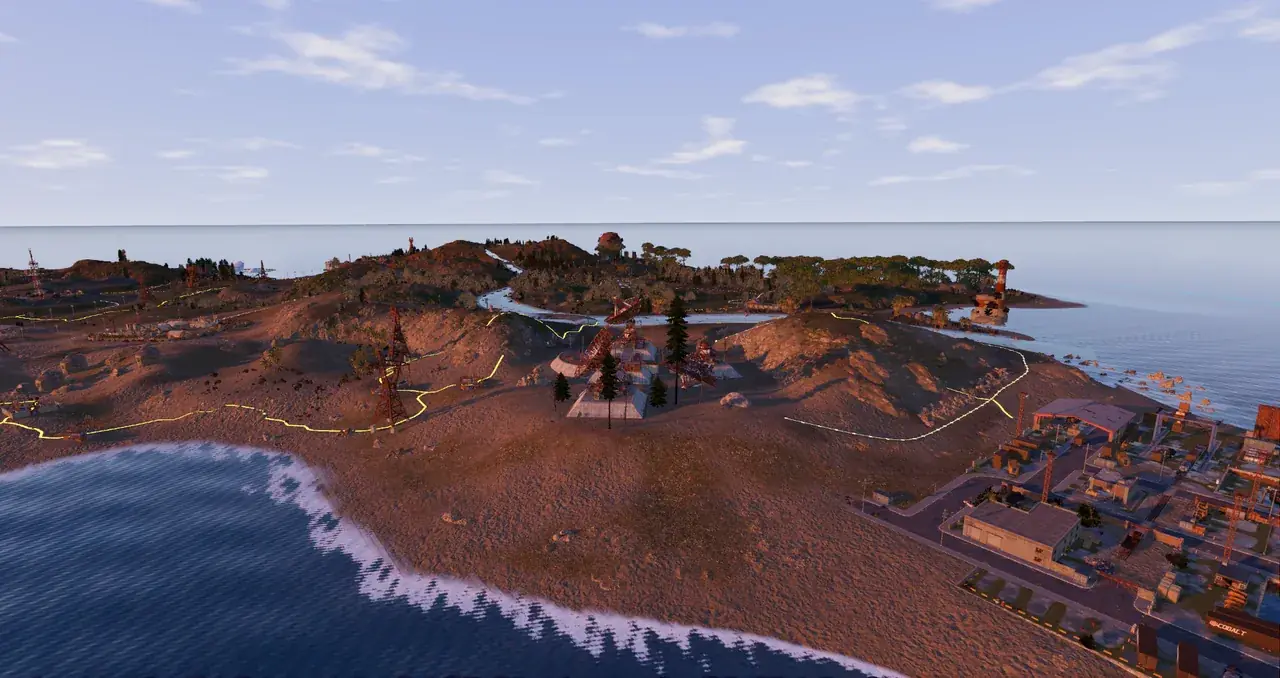
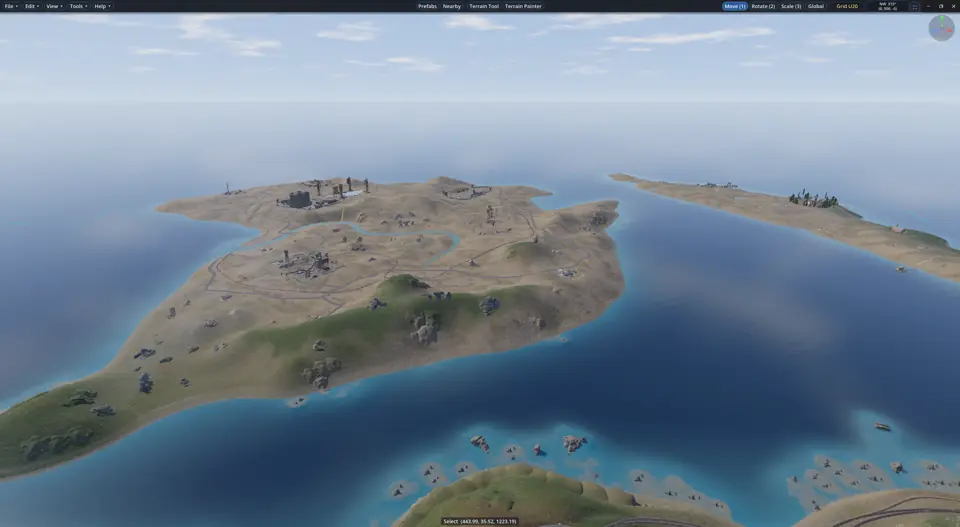
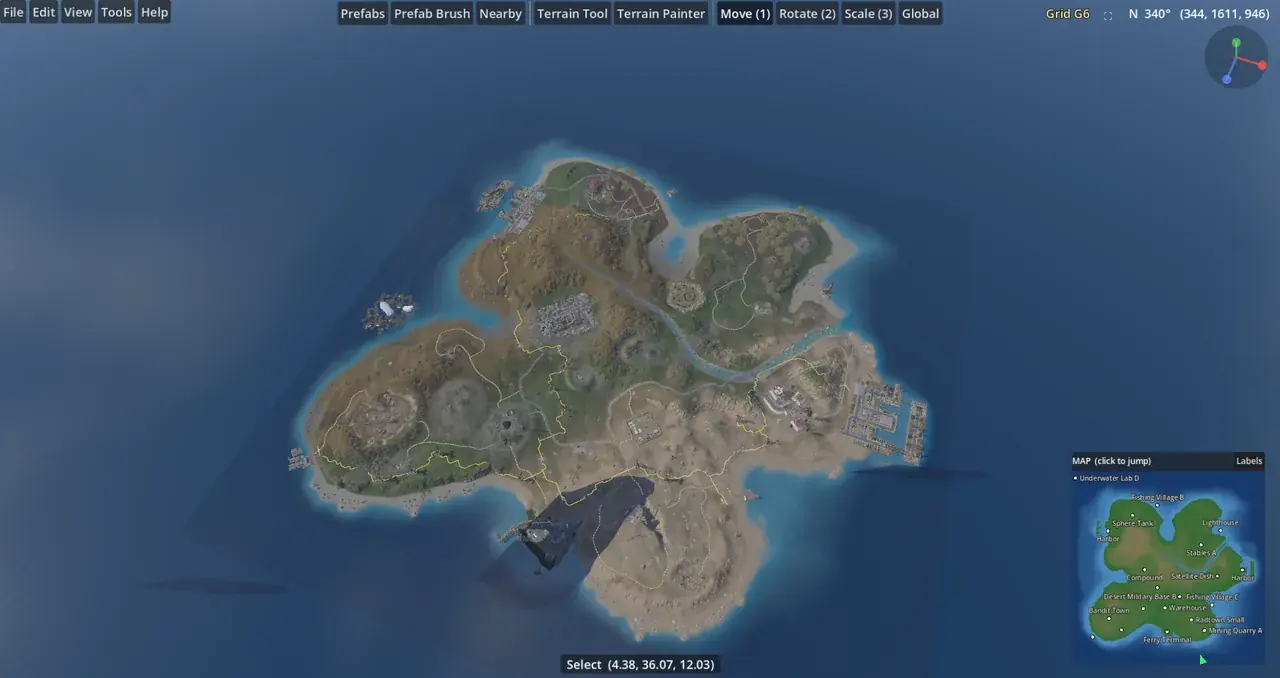
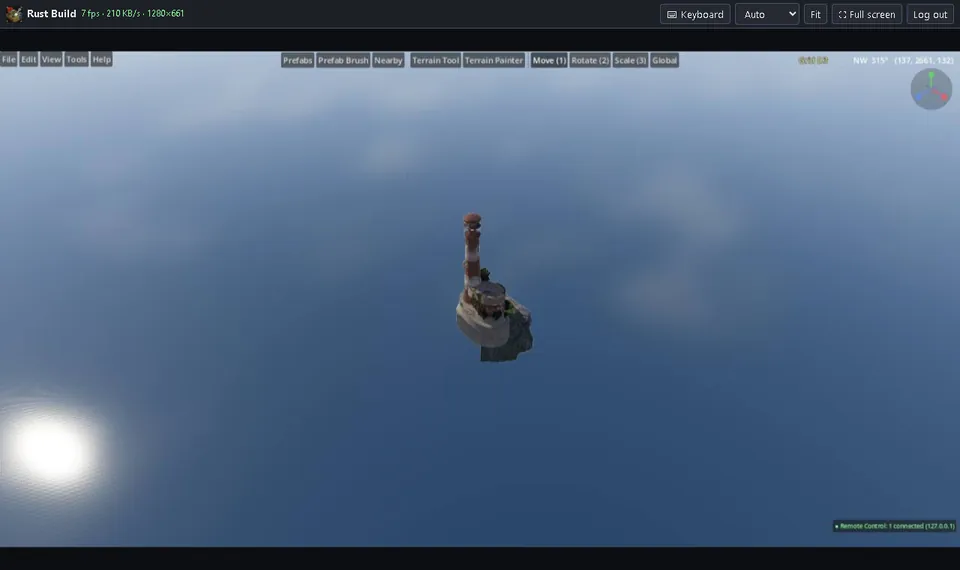
Orbiting the generated 3000 m map

Monuments, prefabs and building 14

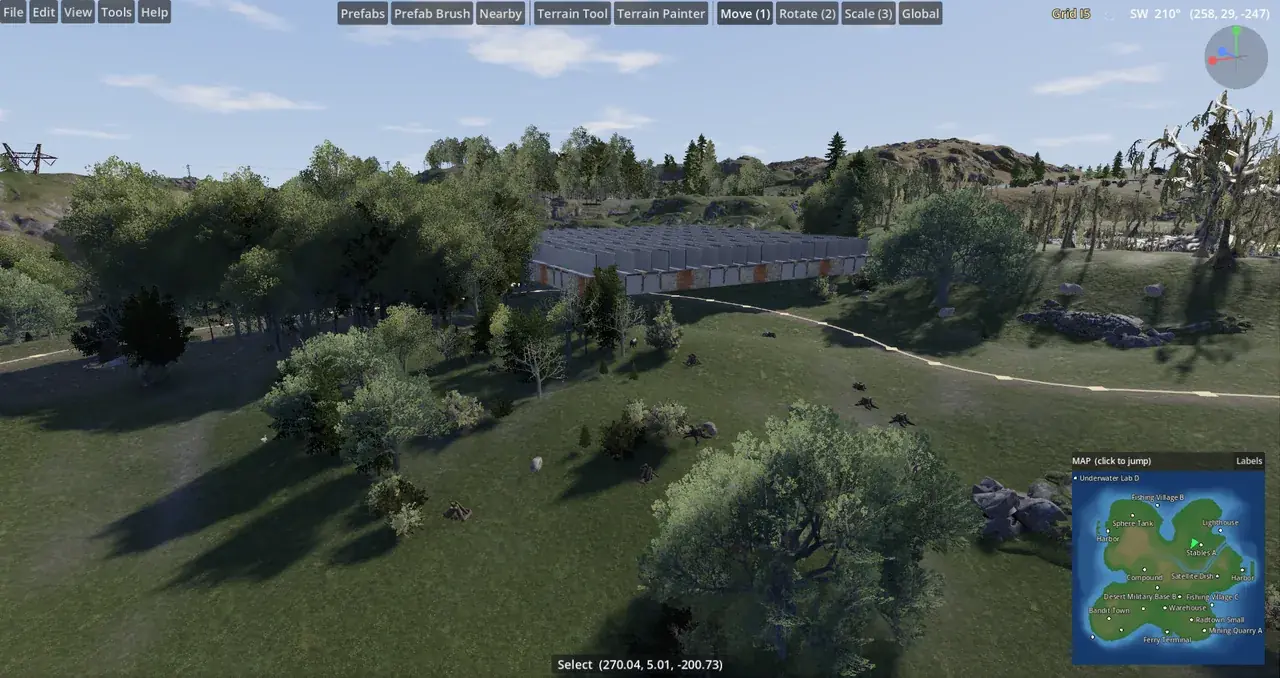
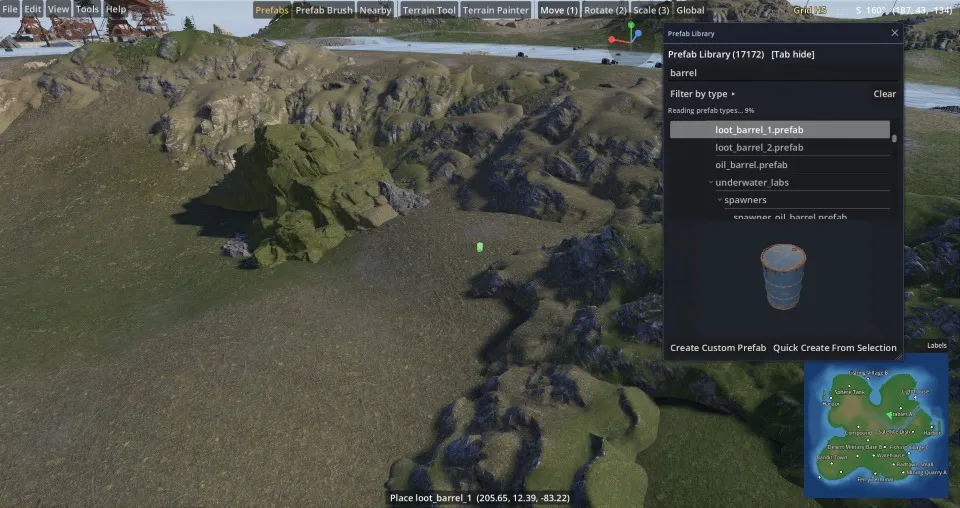
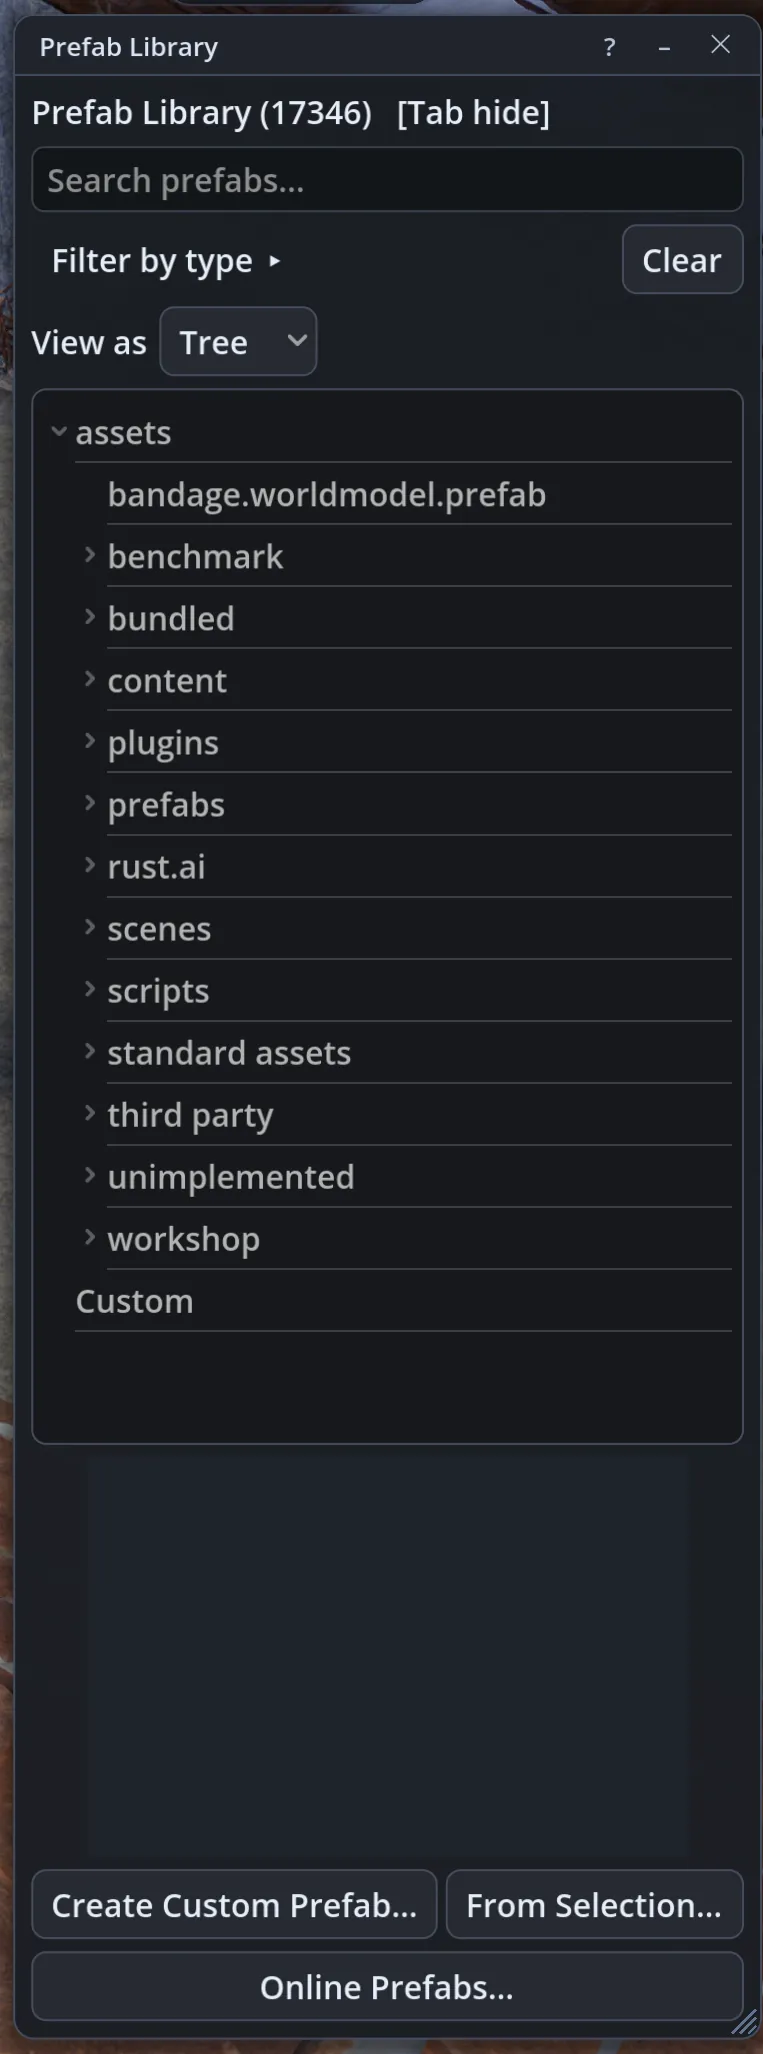
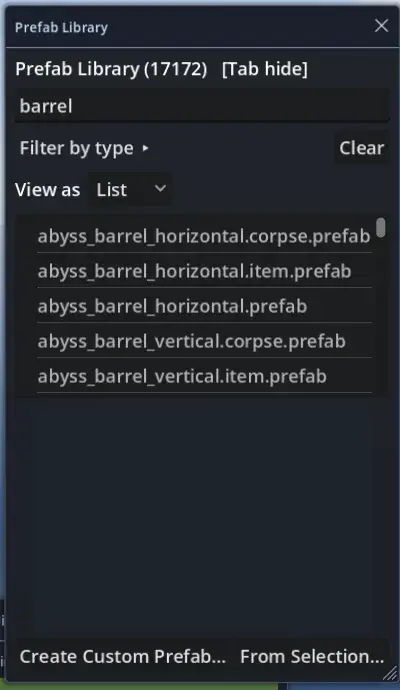
  • Prefab Library: every prefab of the game in a searchable tree with a 3-D preview: drag it onto the map.
  • Monument Breaker: any game monument in pieces on a new map, ready to become your own.
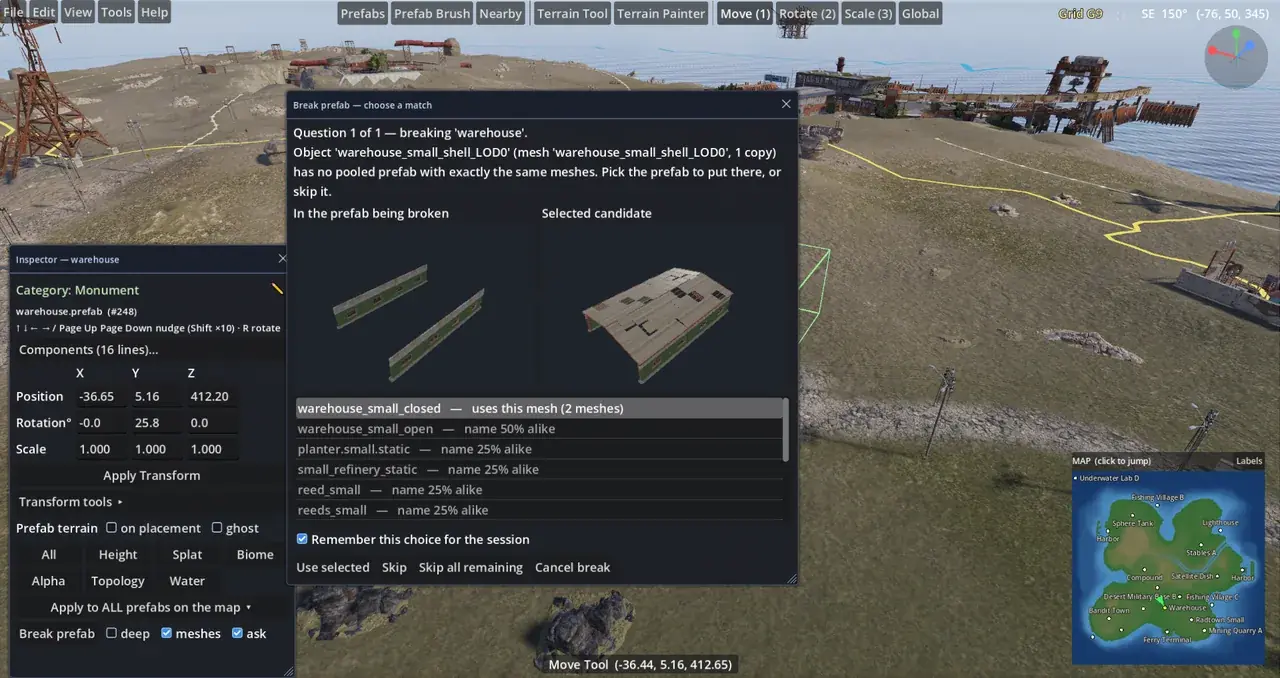
  • Break into parts: split a monument or group into the prefabs it is made of and edit it piece by piece.
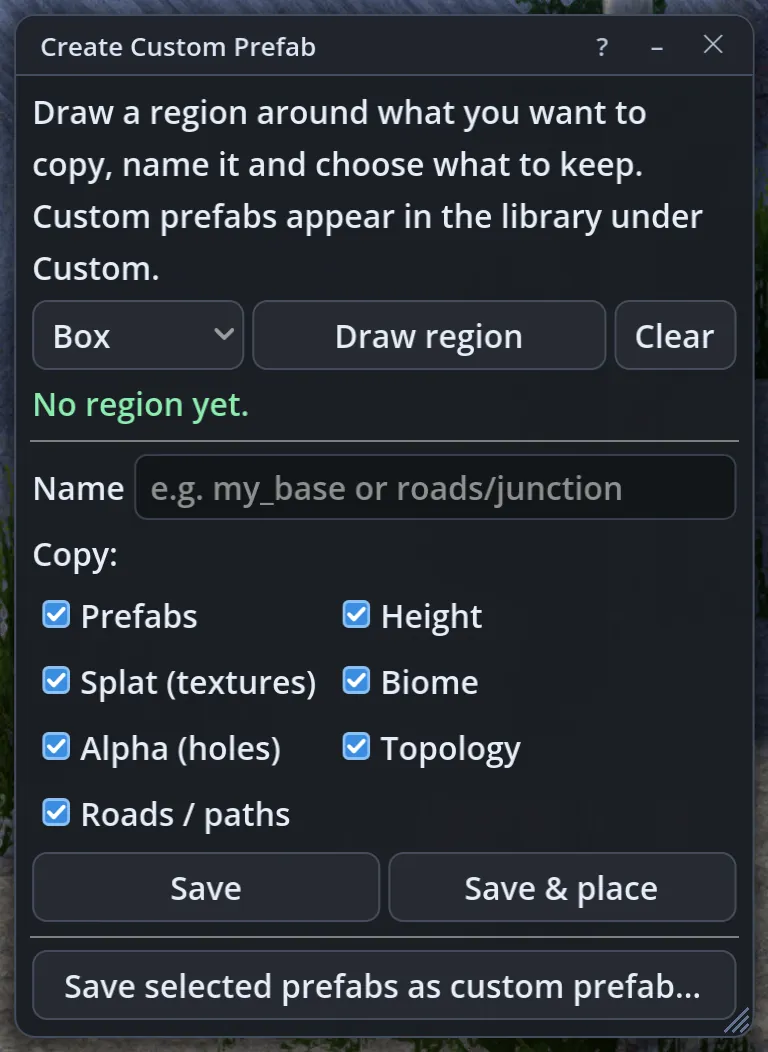
  • Create Custom Prefab: copy a whole area with its terrain, textures and roads and place it again anywhere.
  • Prefab Brush: paint forests, rocks and debris from a list of prefabs, each with its own settings.
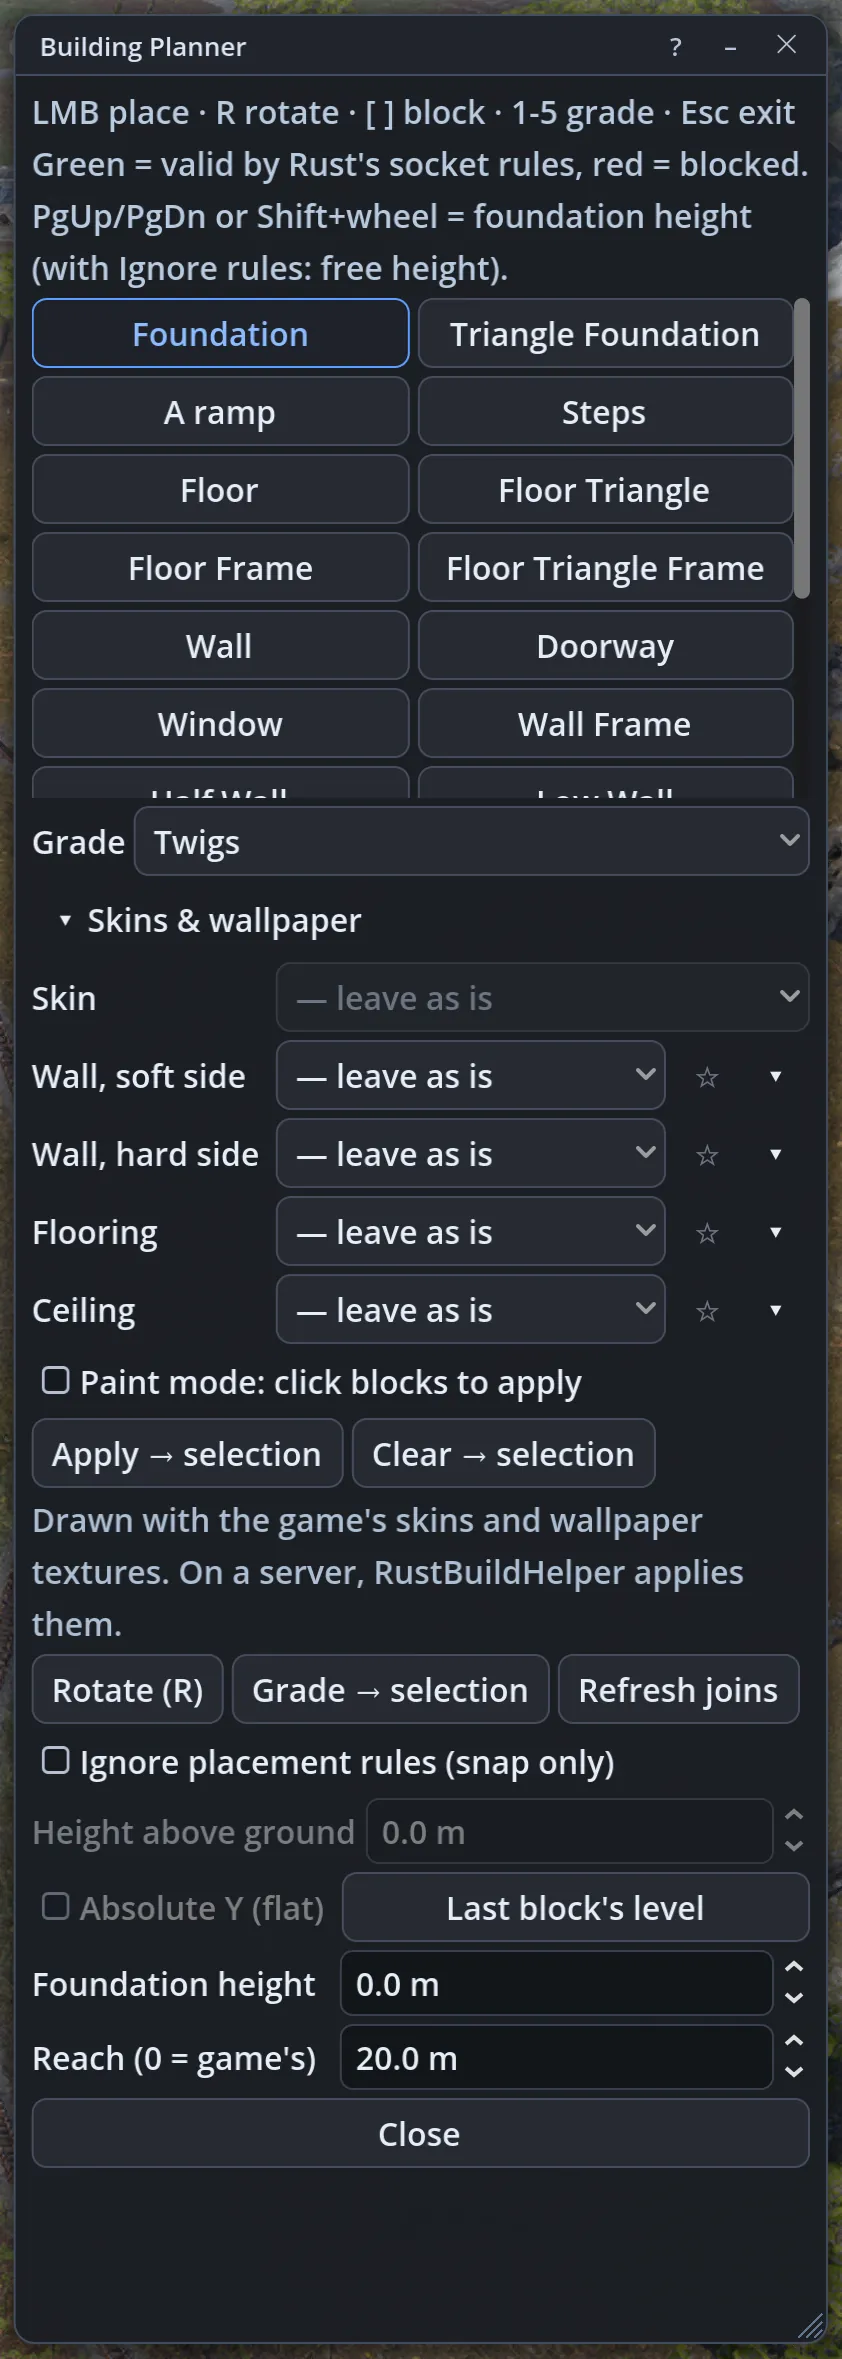
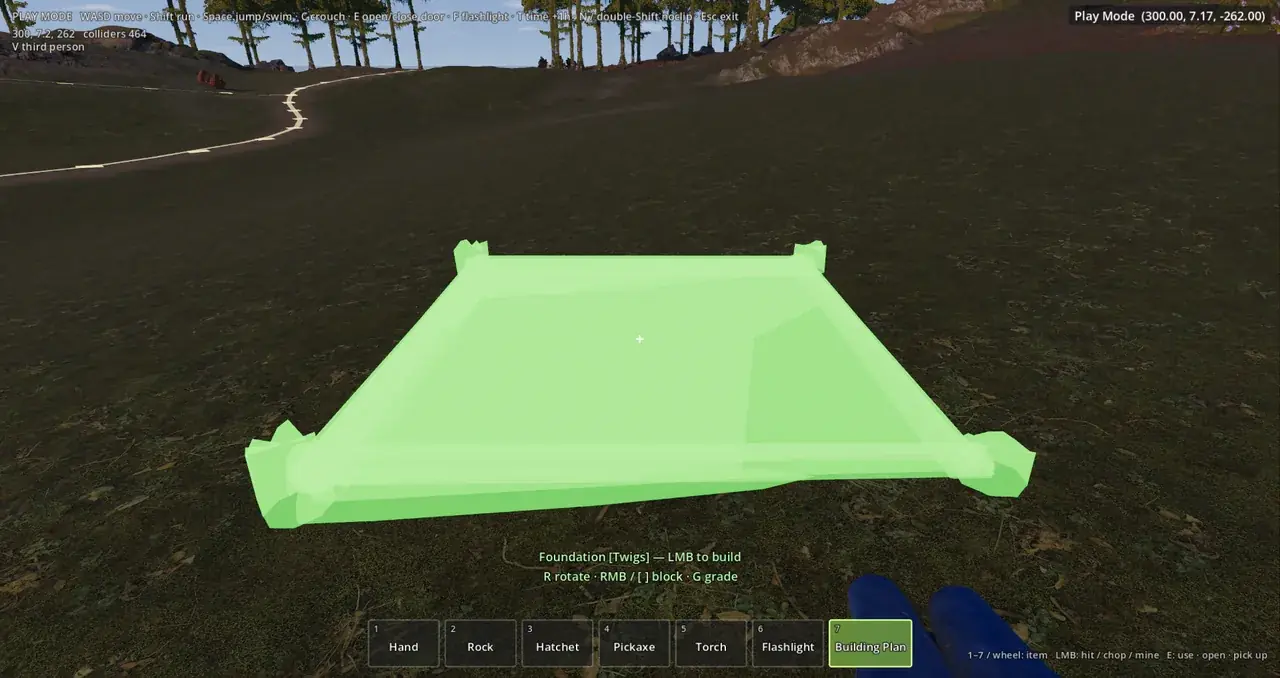
  • Building Planner: build bases block by block with Rust's own socket rules, on the ground or in the air.
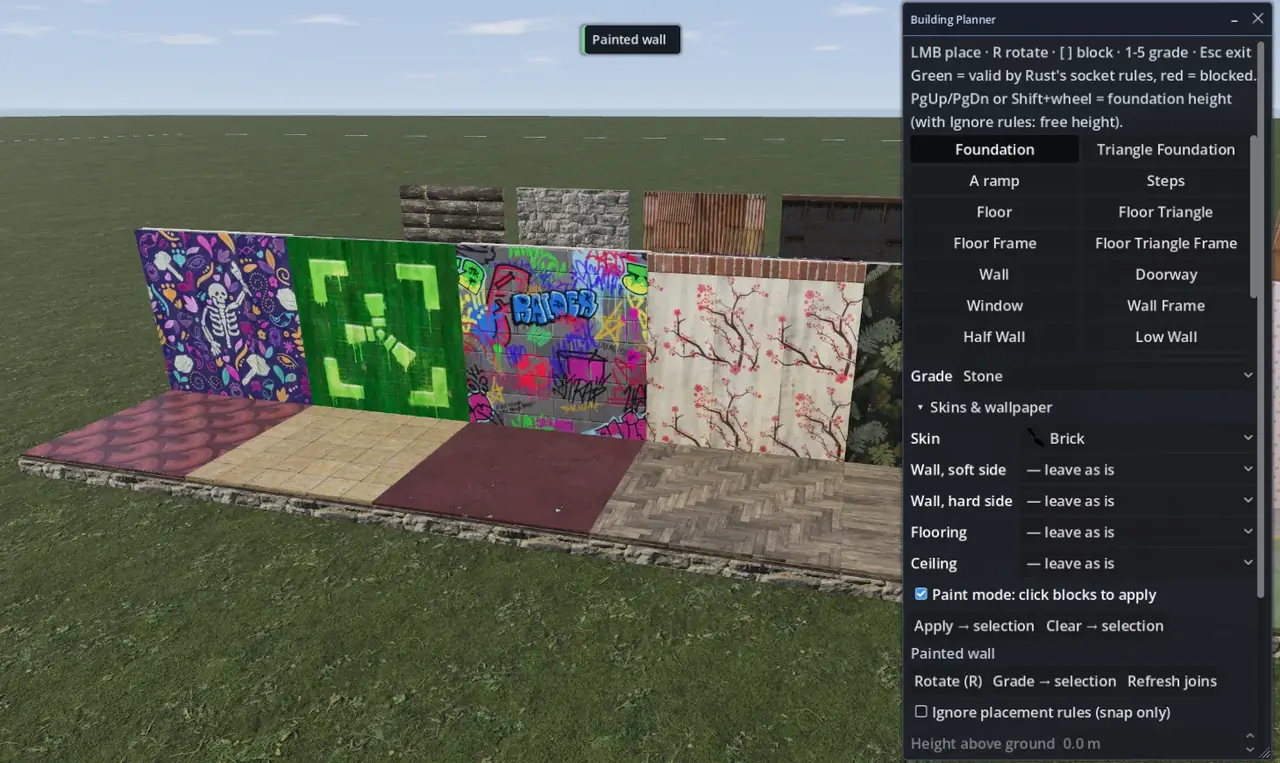
  • Building skins and wallpaper: Adobe, Brick, Brutalist, Jungle, Gingerbread, containers in 16 colours and more, put on by your server.
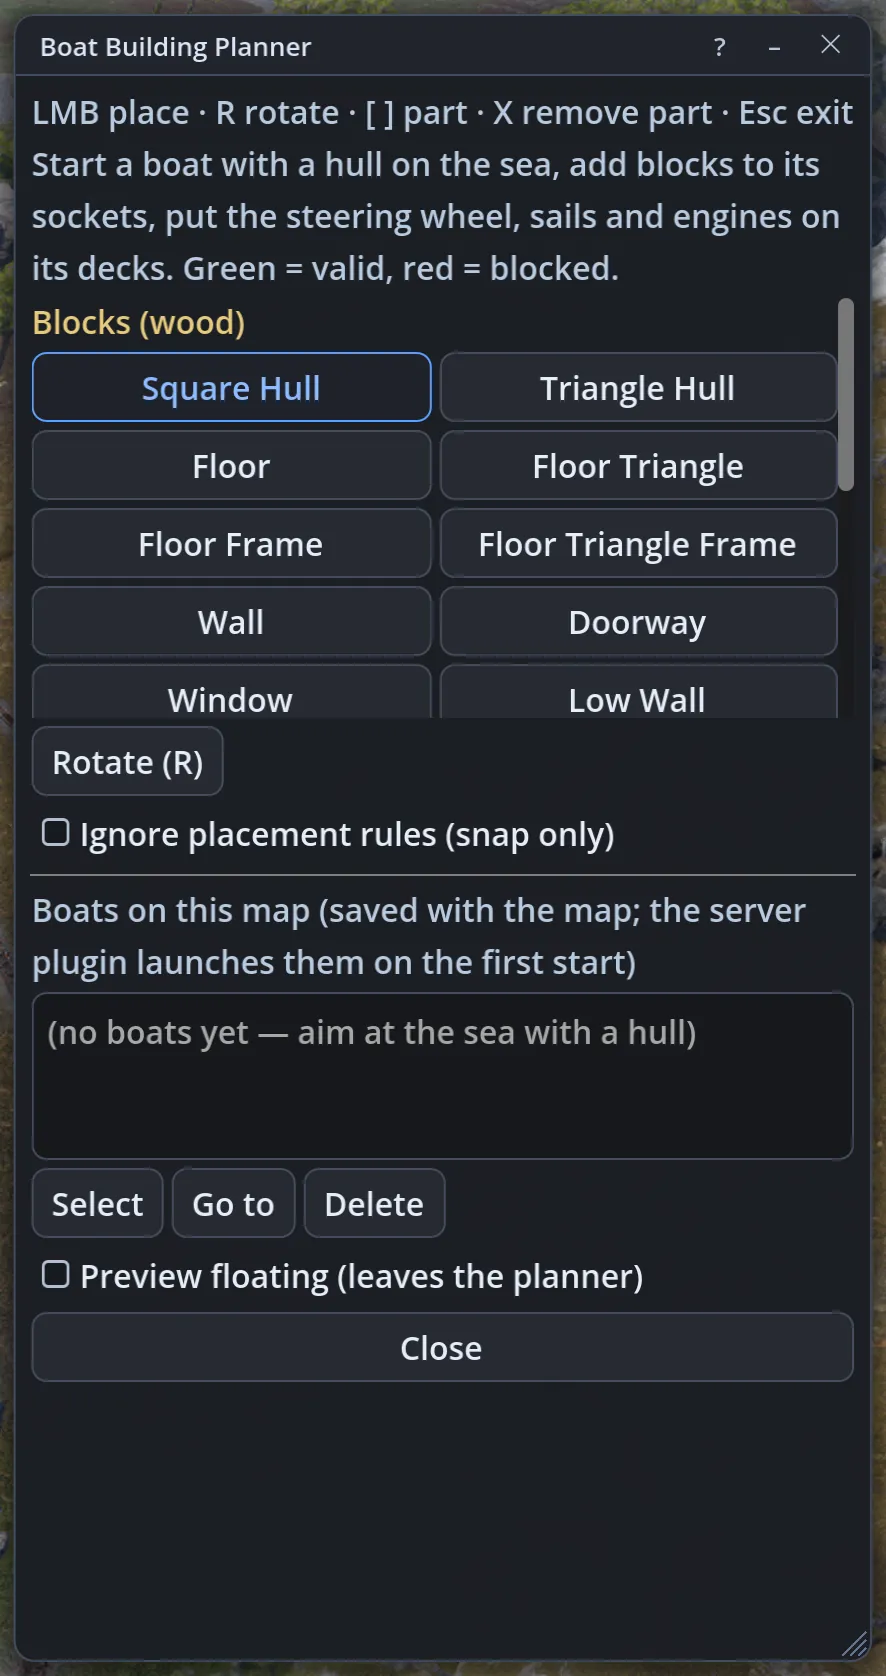
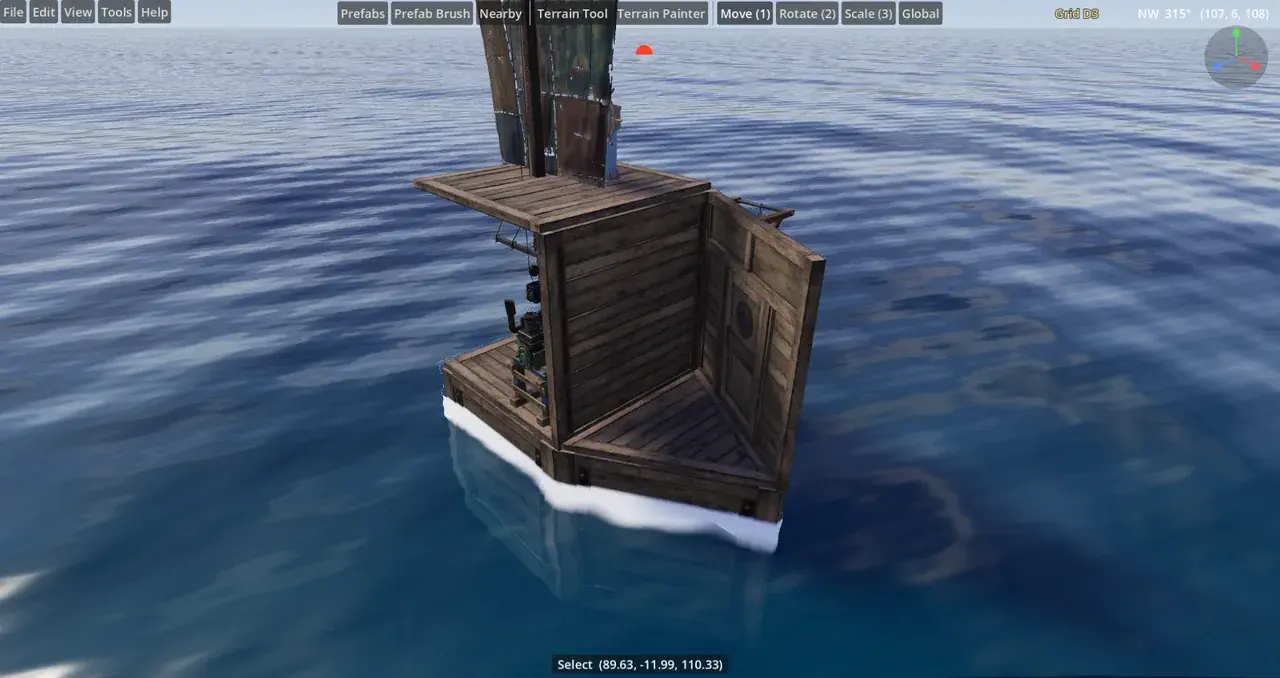
  • Boat Building Planner: player boats built on the sea that float for real on your server.
  • Prefab sockets: snap rails, sewer tunnels and underwater lab modules end to end.
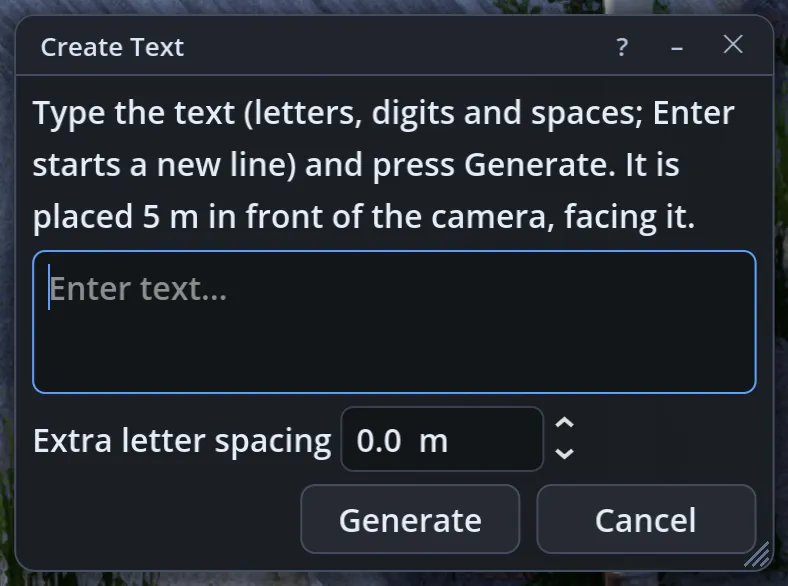
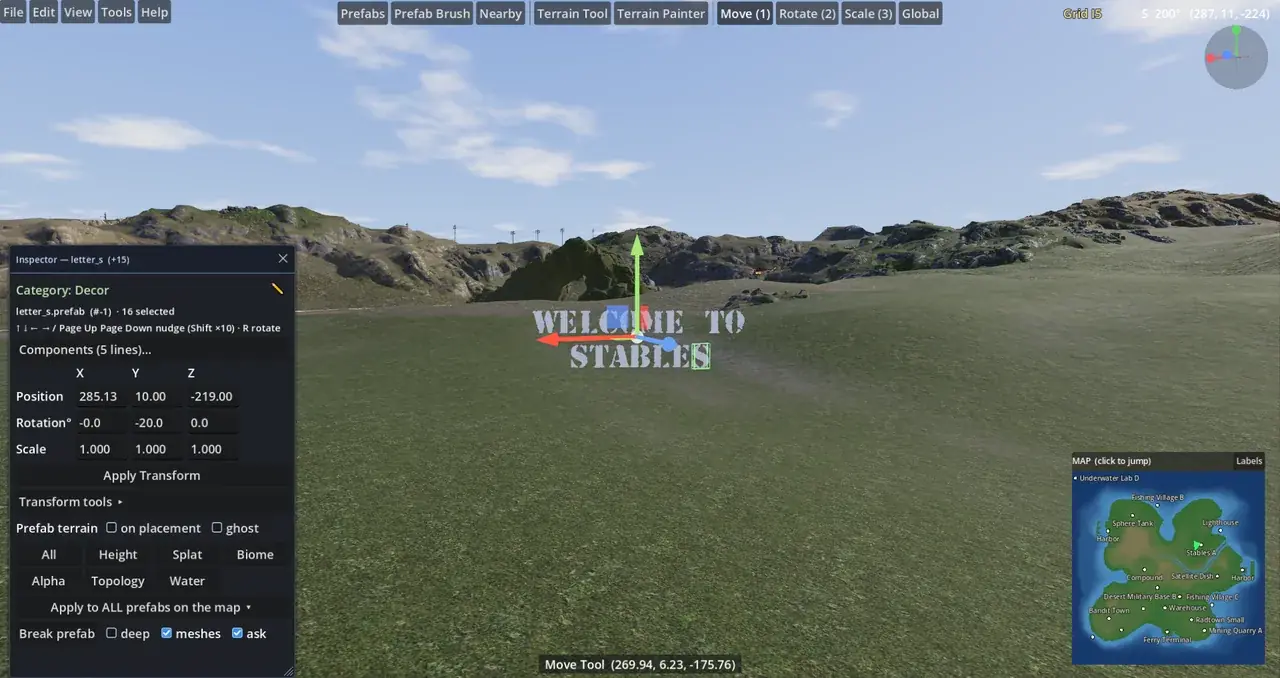
  • Text prefabs: write words with Rust's sign letters and numbers.
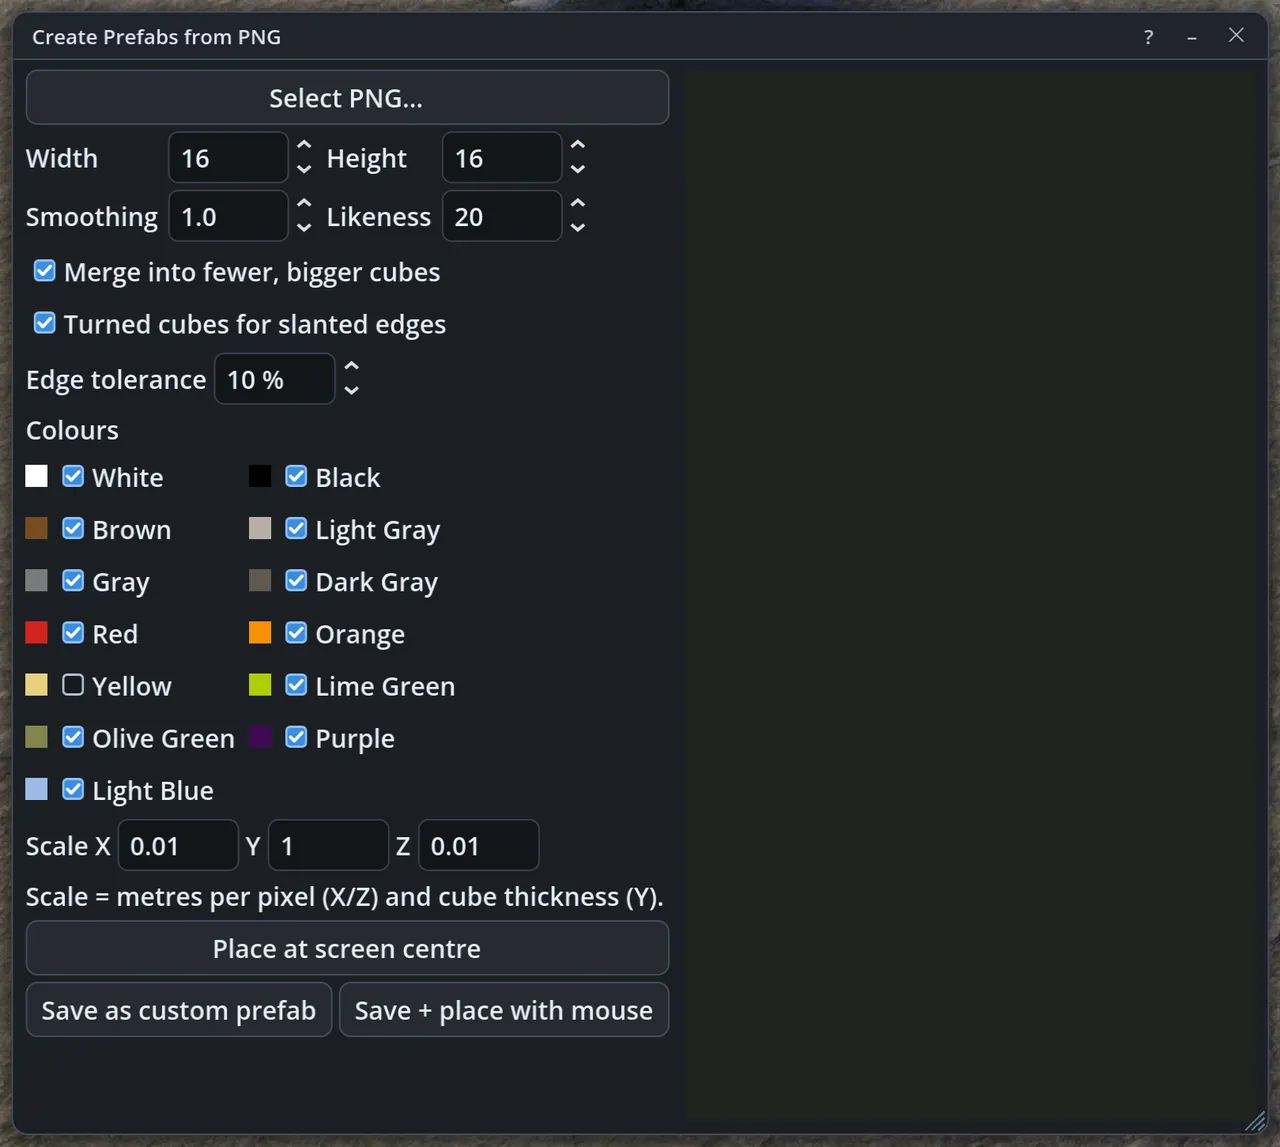
  • Pictures to prefabs: turn a PNG into coloured cubes: logos, signs and pixel art.
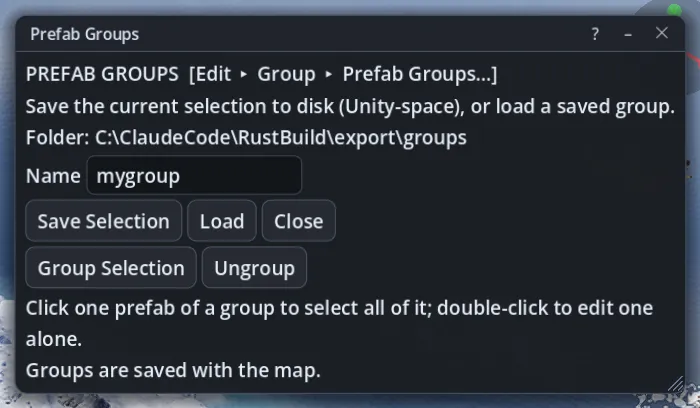
  • Groups: move, turn and scale many prefabs as one, saved with the map and reusable on other maps.
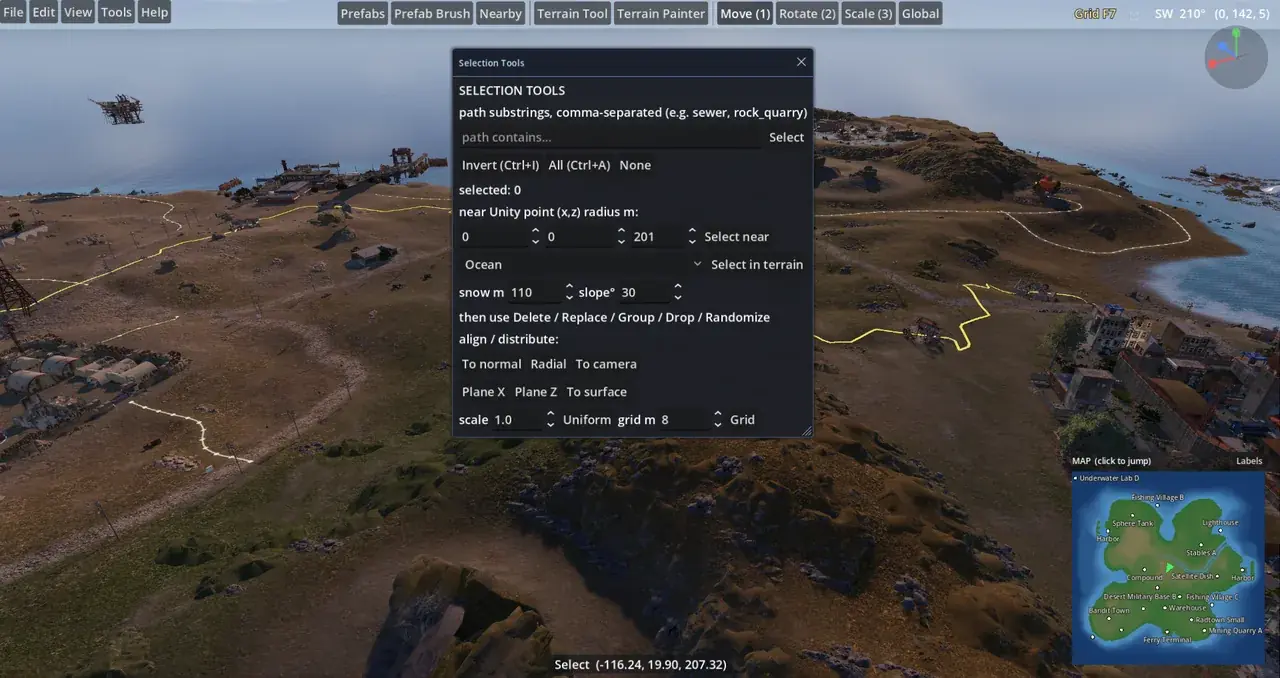
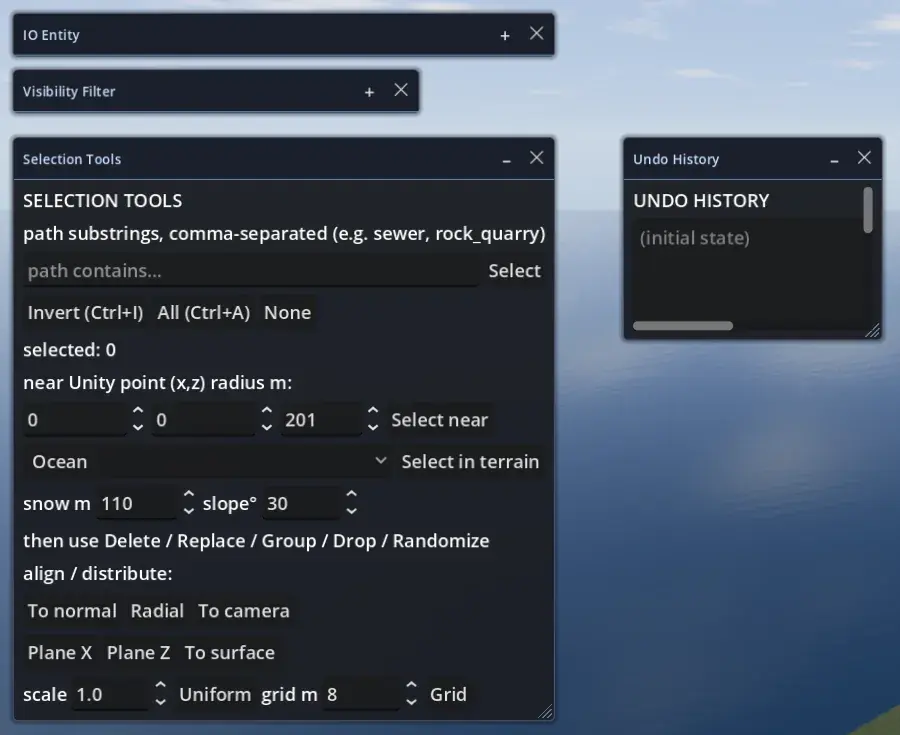
  • Exact placement: drop to the ground, align to the slope, snap to the grid or type exact numbers.
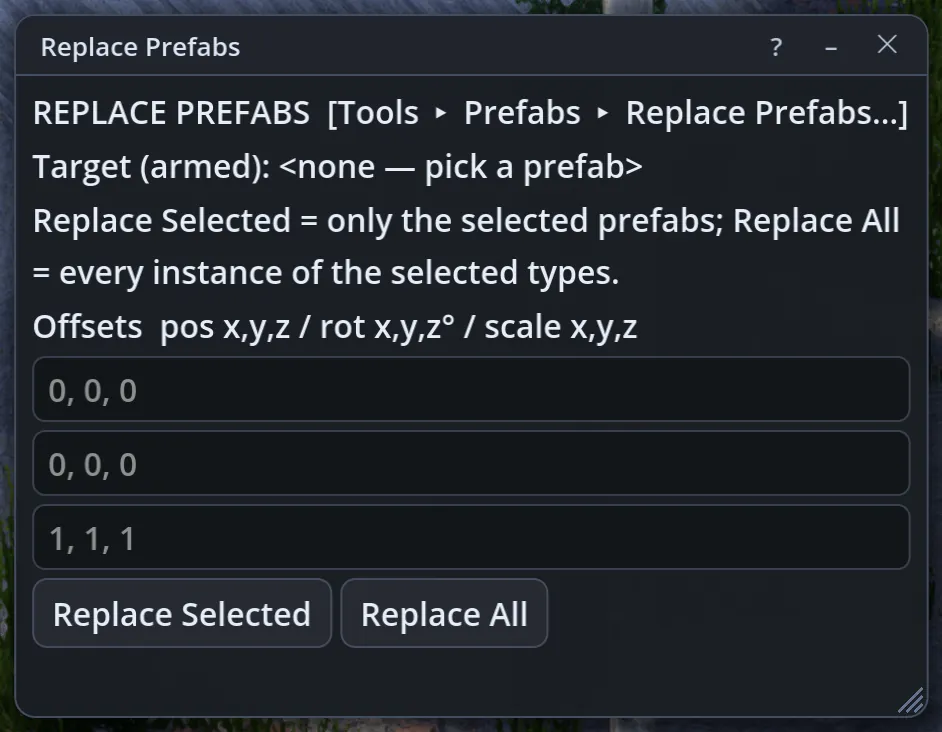
  • Replace prefabs: swap prefabs for another one and keep their position, rotation and scale.
Dragging a monument out of the Prefab Library

Roads, rails, rivers and tunnels 9

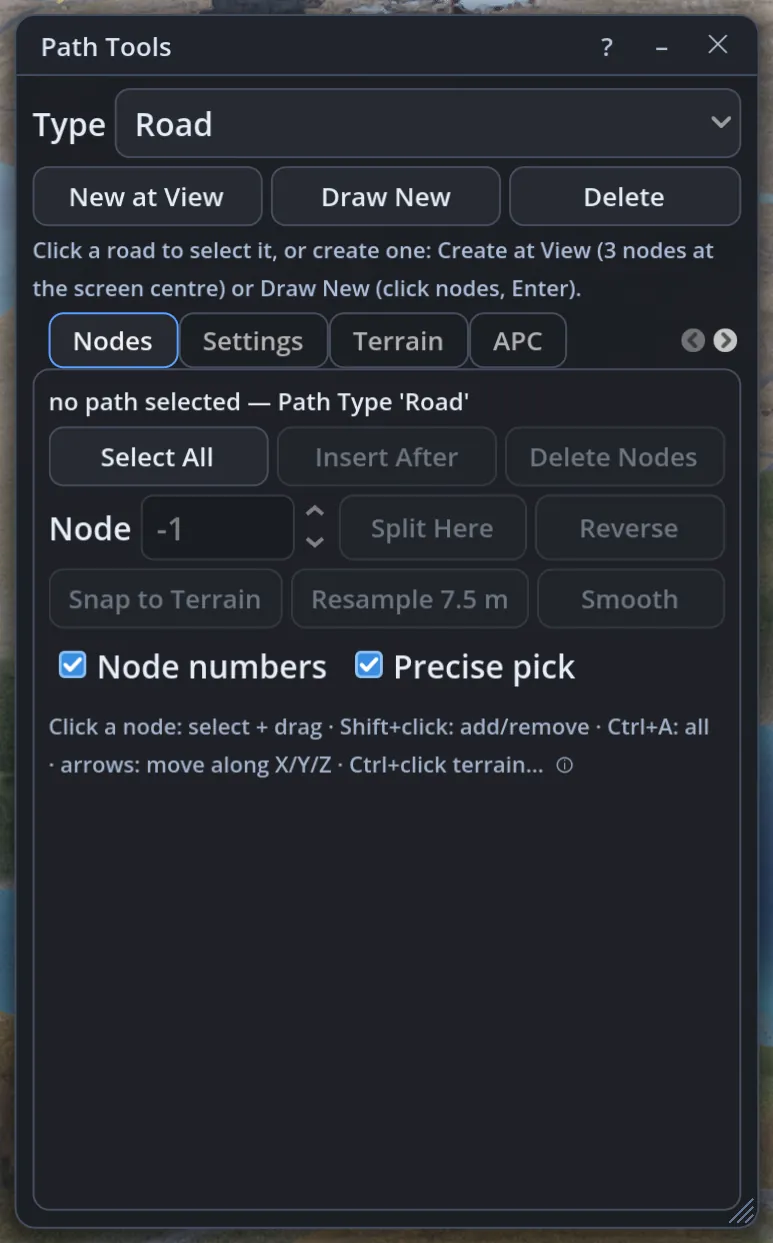
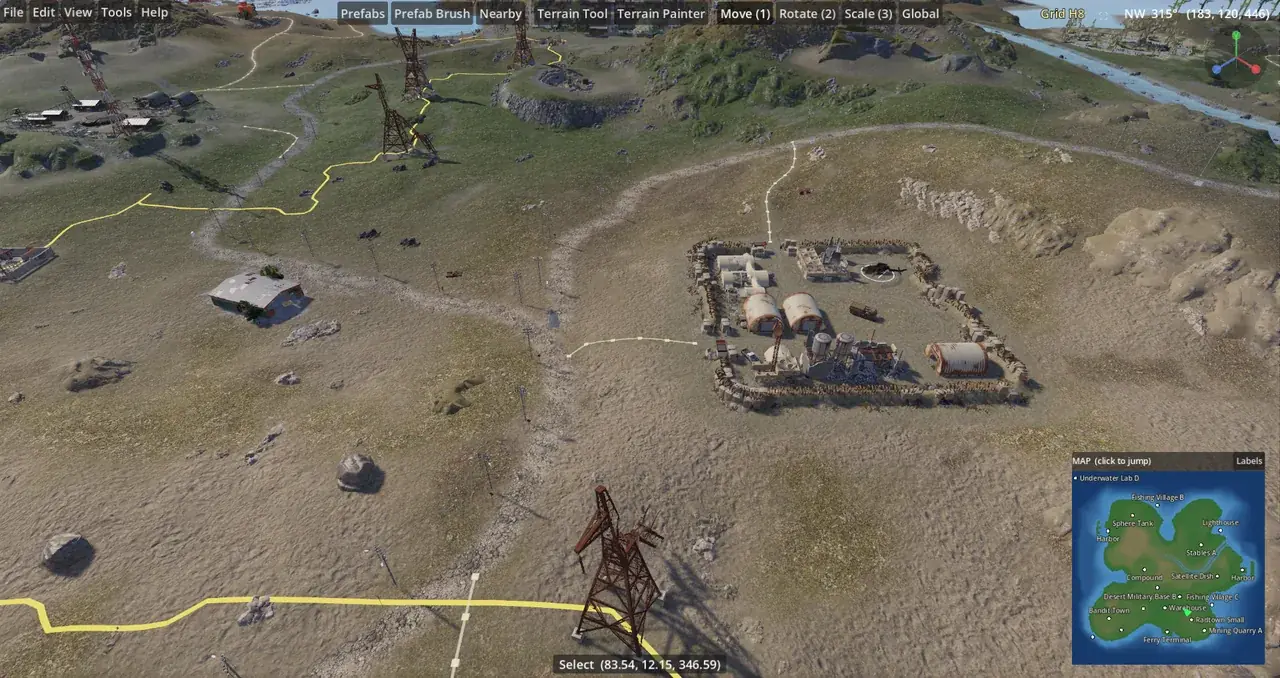
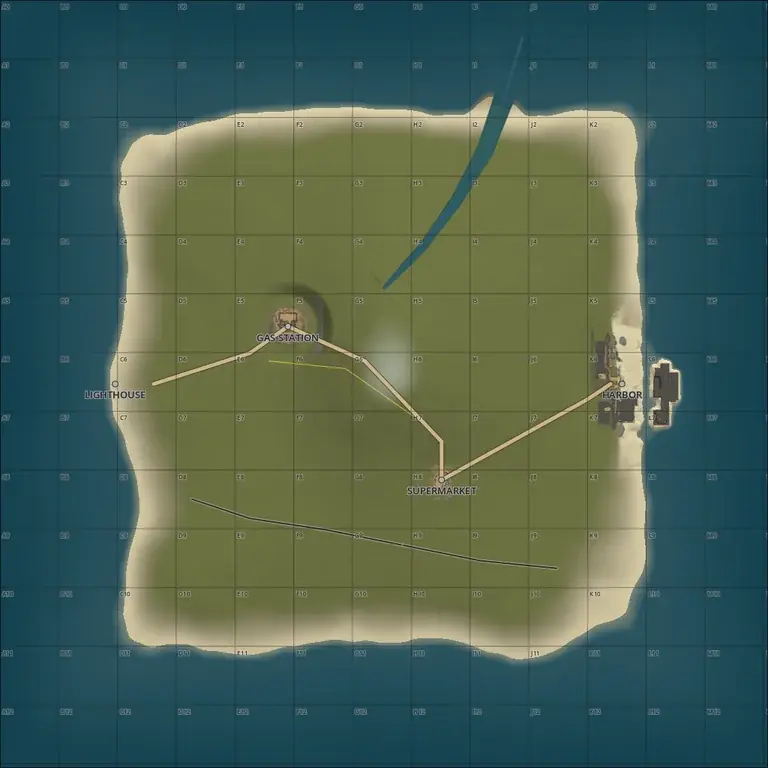
  • Path Tools: roads, rails and rivers with Rust's real meshes; trails, power lines and the cargo and APC routes too.
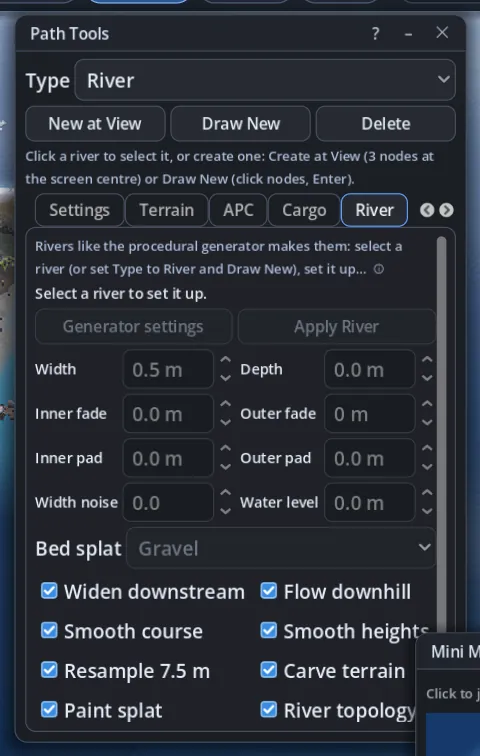
  • Rivers like the generator: a river you draw gets a carved bed, soft banks and a wide mouth.
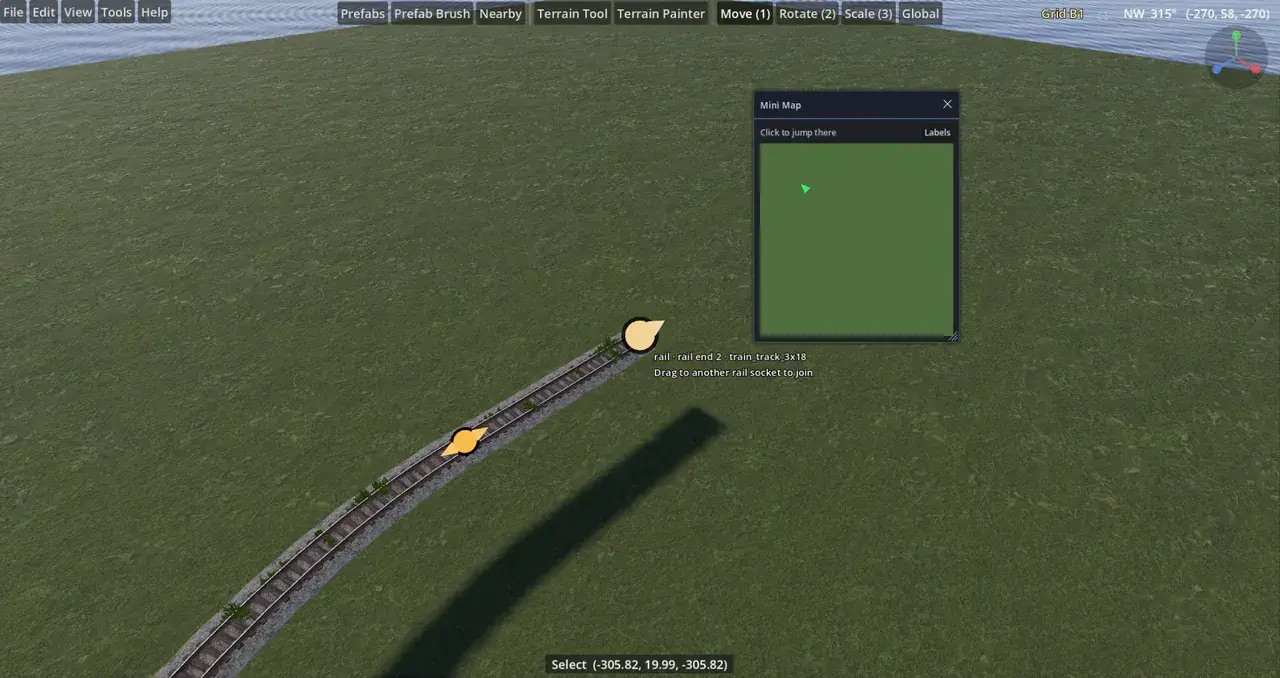
  • Rails that join: snap a rail node exactly onto the end of another rail or a train yard's track.
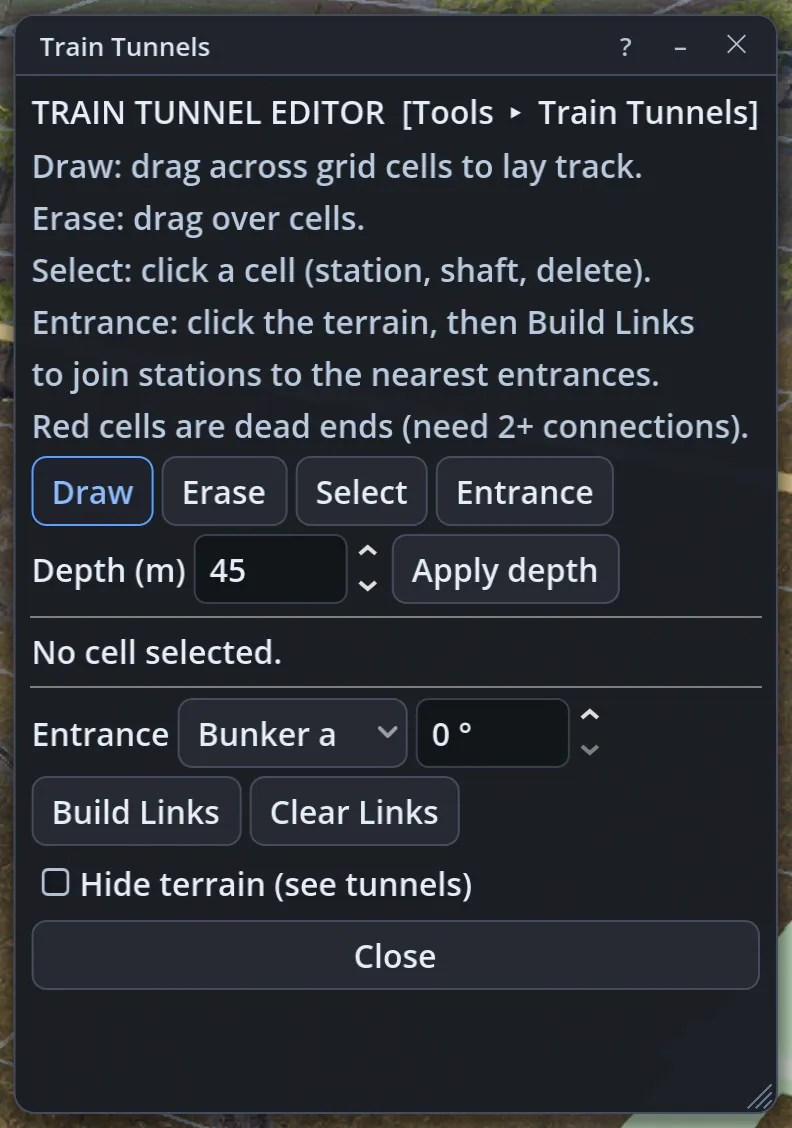
  • Train Tunnels: the underground train network on Rust's grid, with stations and shafts; pieces are chosen for you.
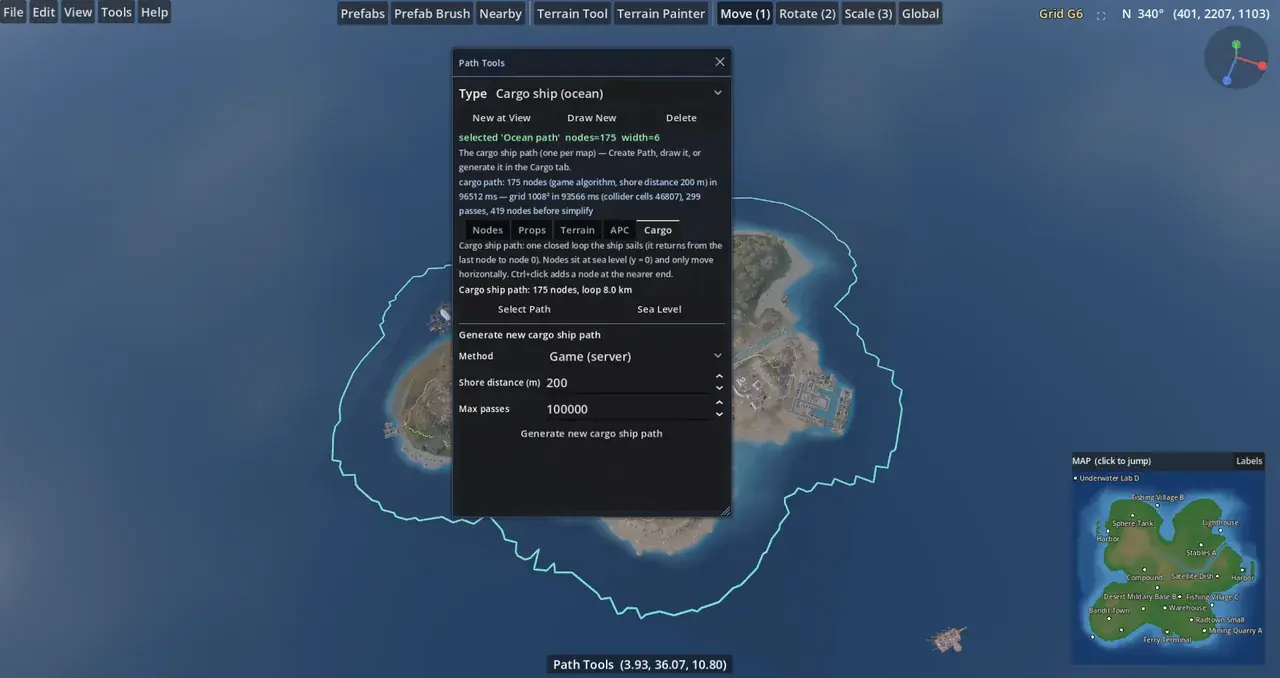
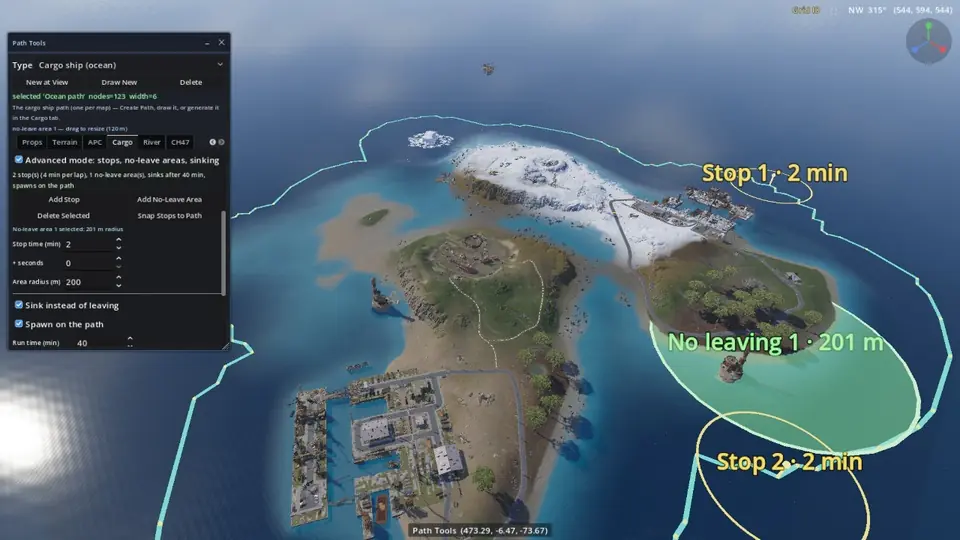
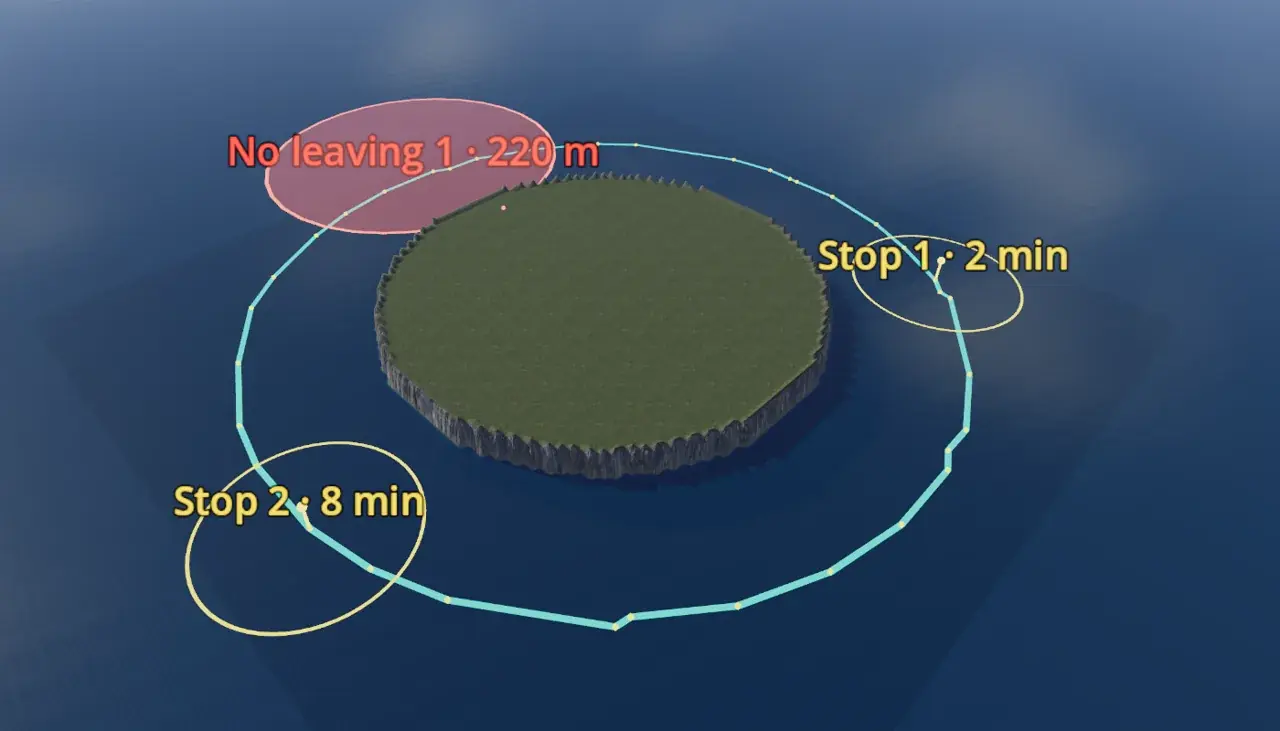
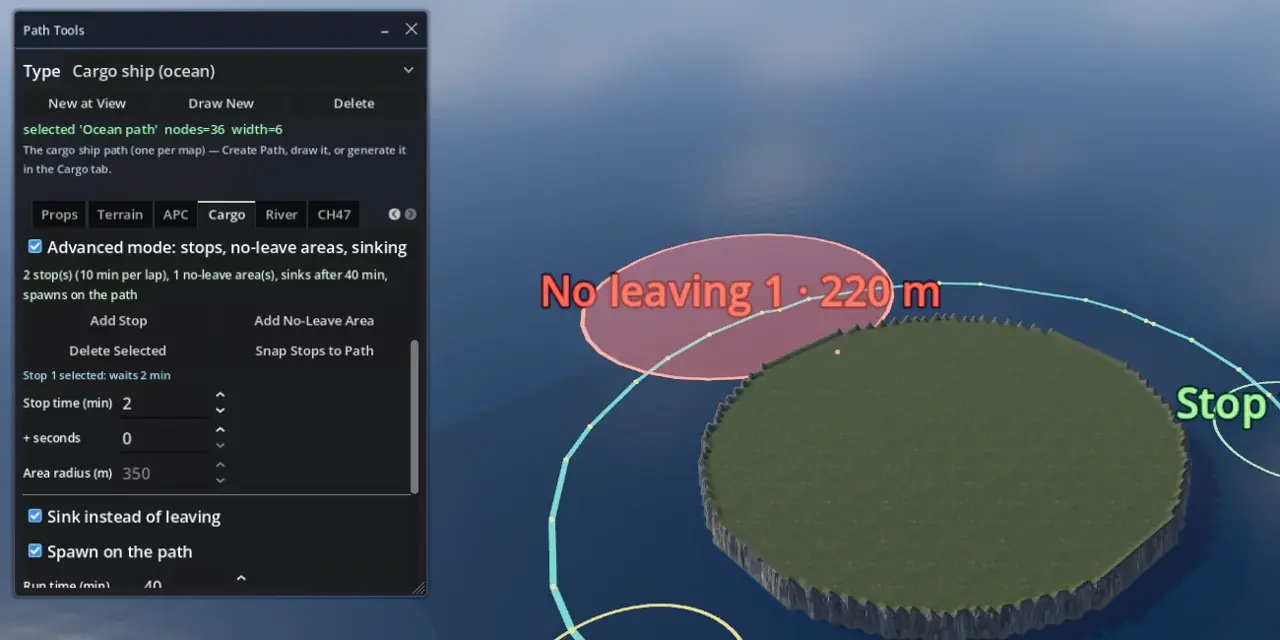
  • Cargo ship stops: make it stop where you want, keep it on the map in chosen areas and let it sink at the end.
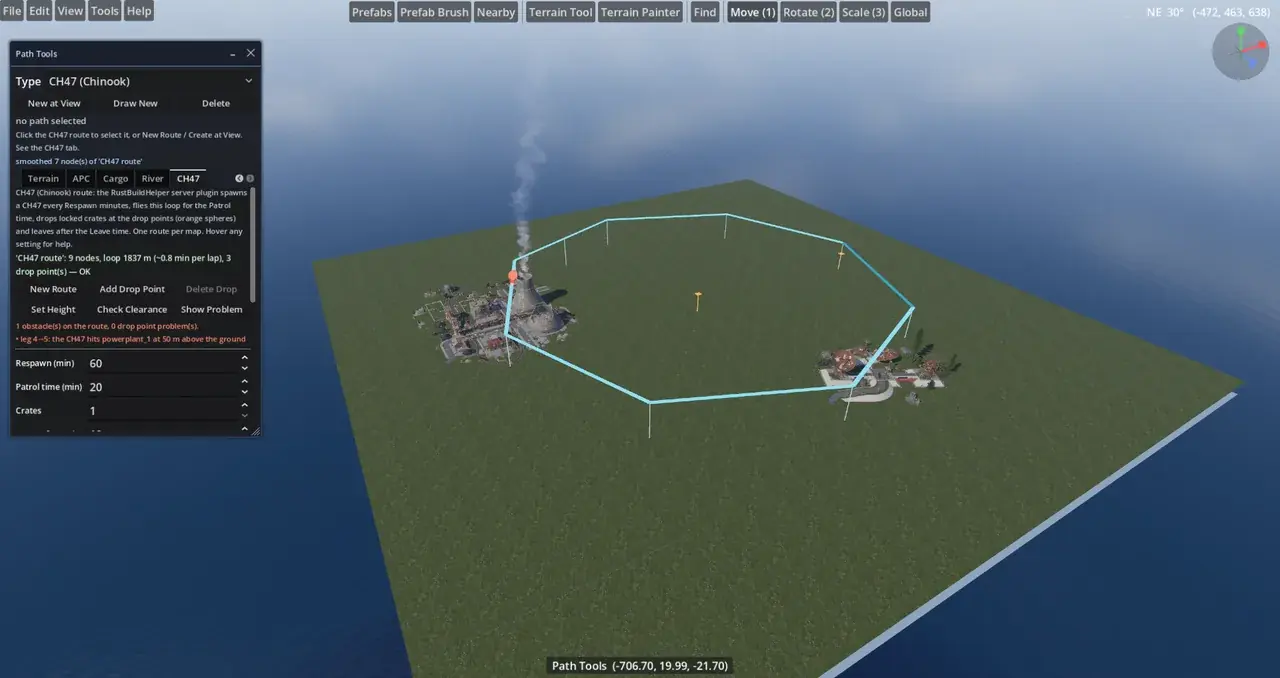
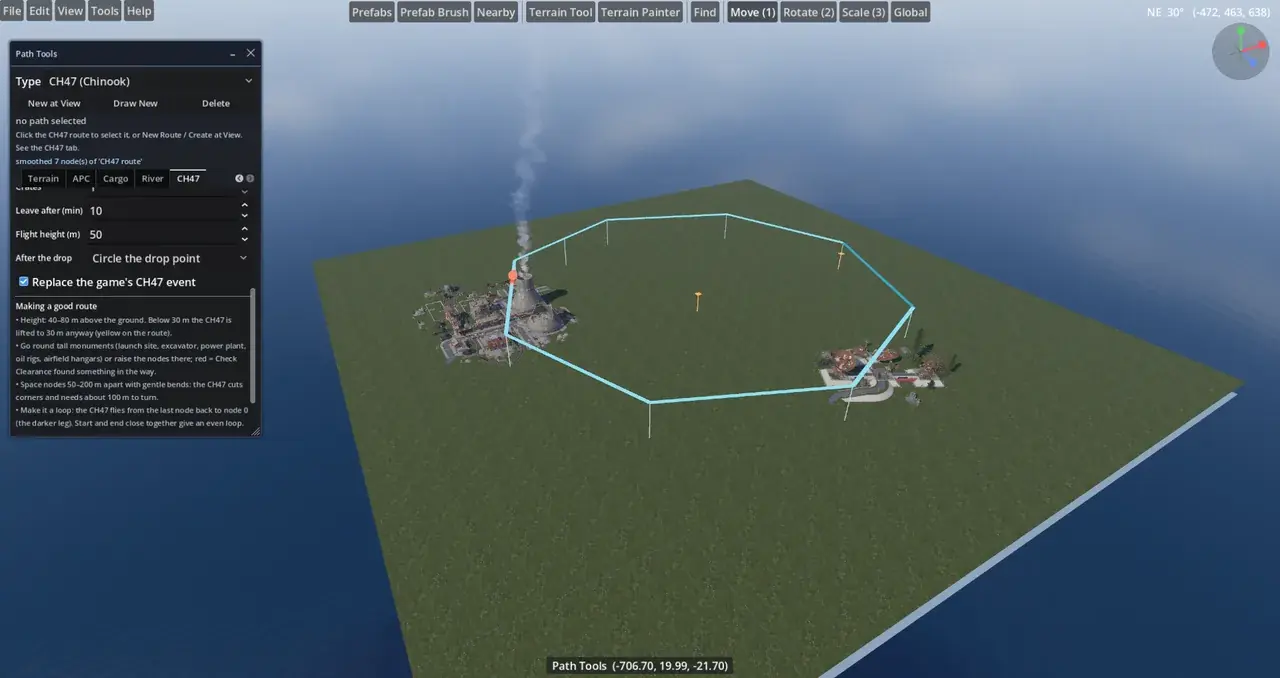
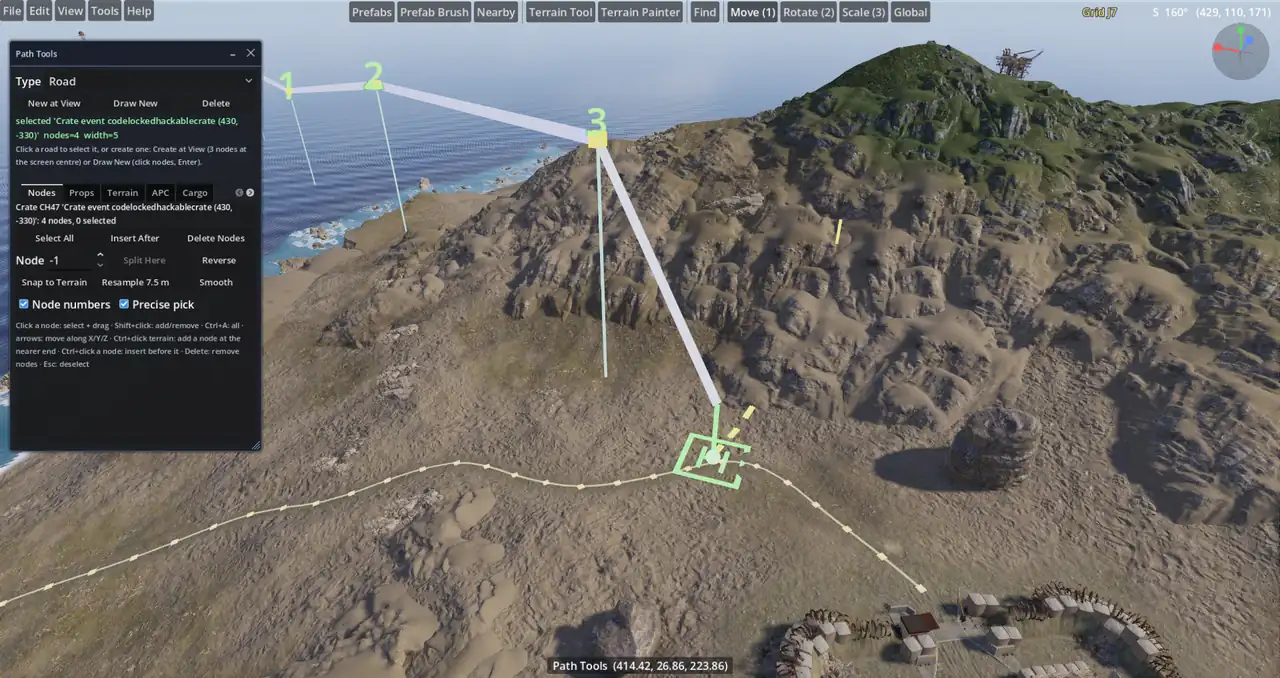
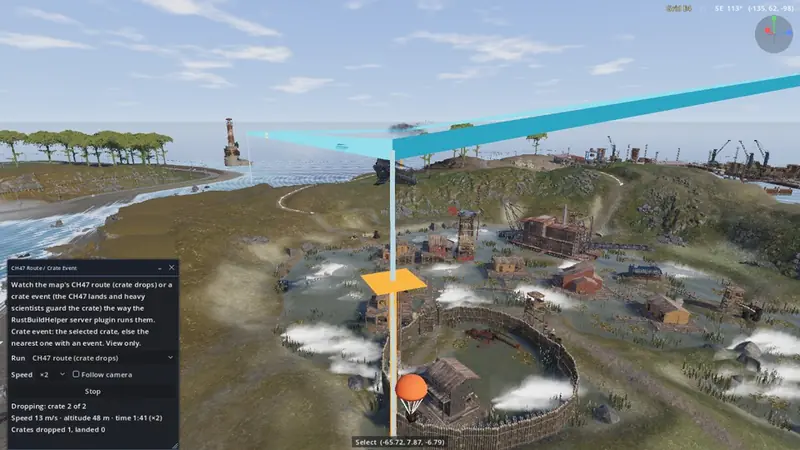
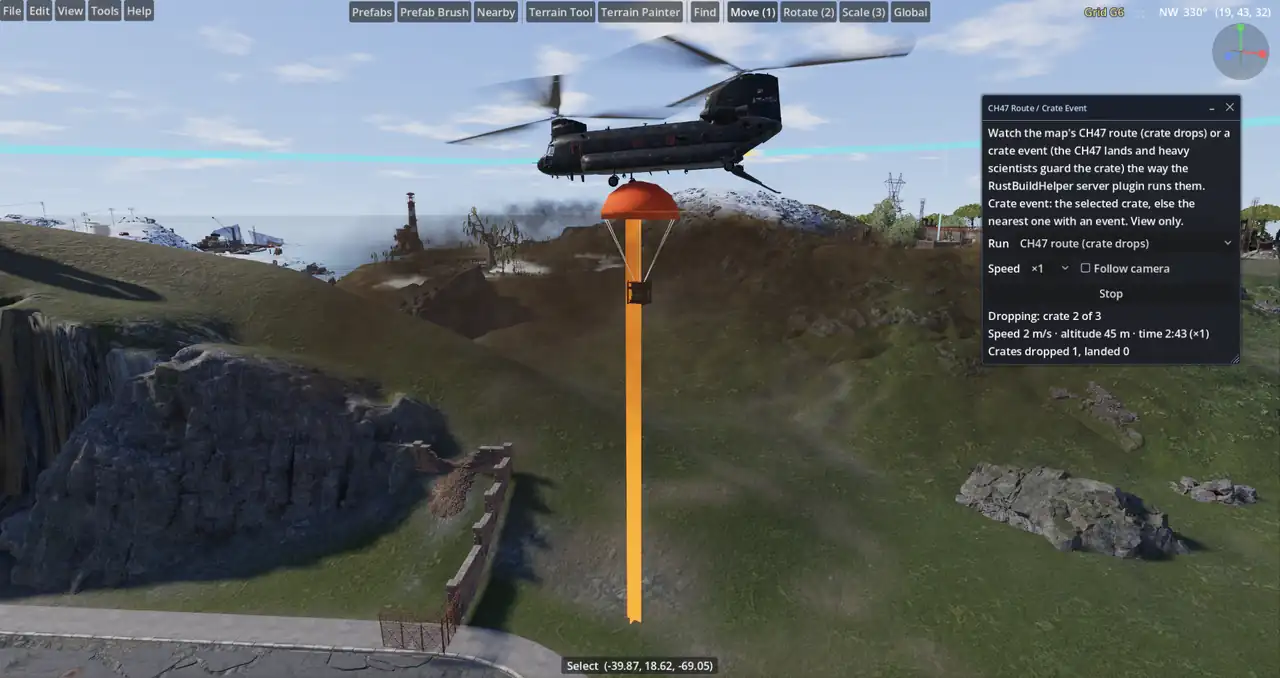
  • CH47 route: decide where the Chinook flies and where it drops its locked crates.
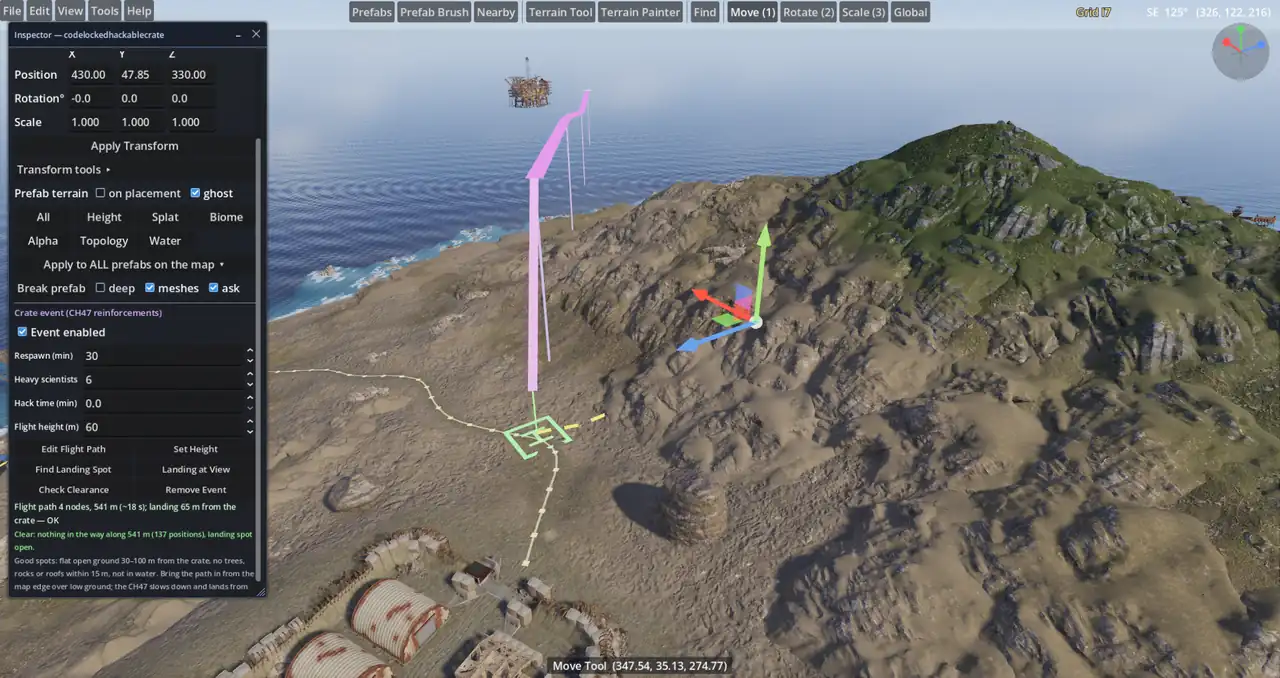
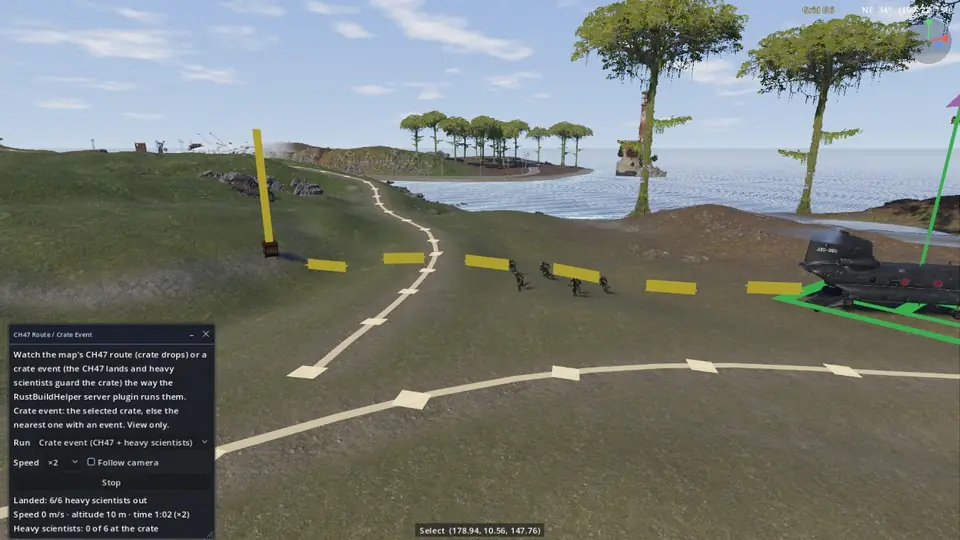
  • Crate events: your own oil rig style event anywhere: hack a crate and a CH47 brings in heavy scientists.
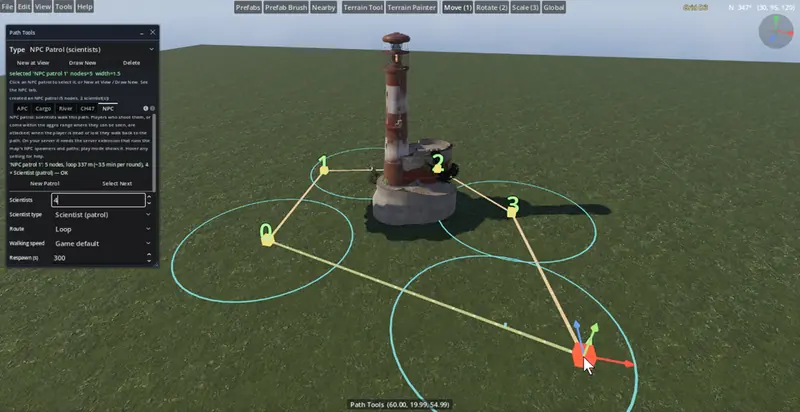
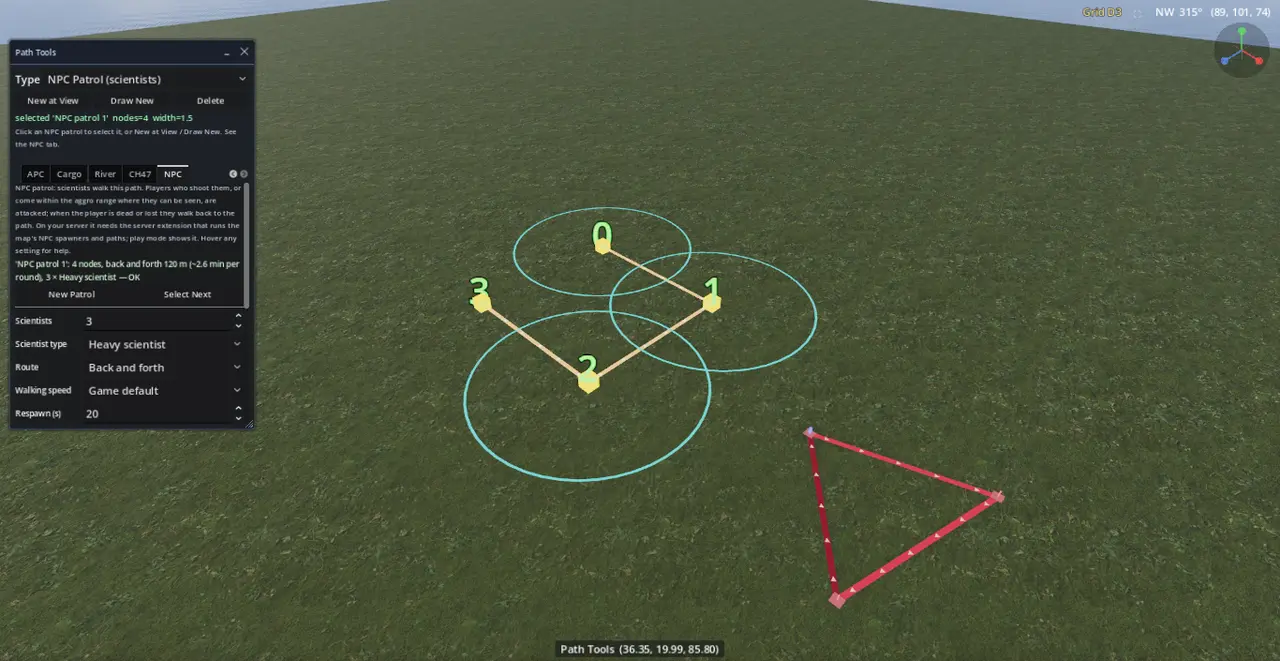
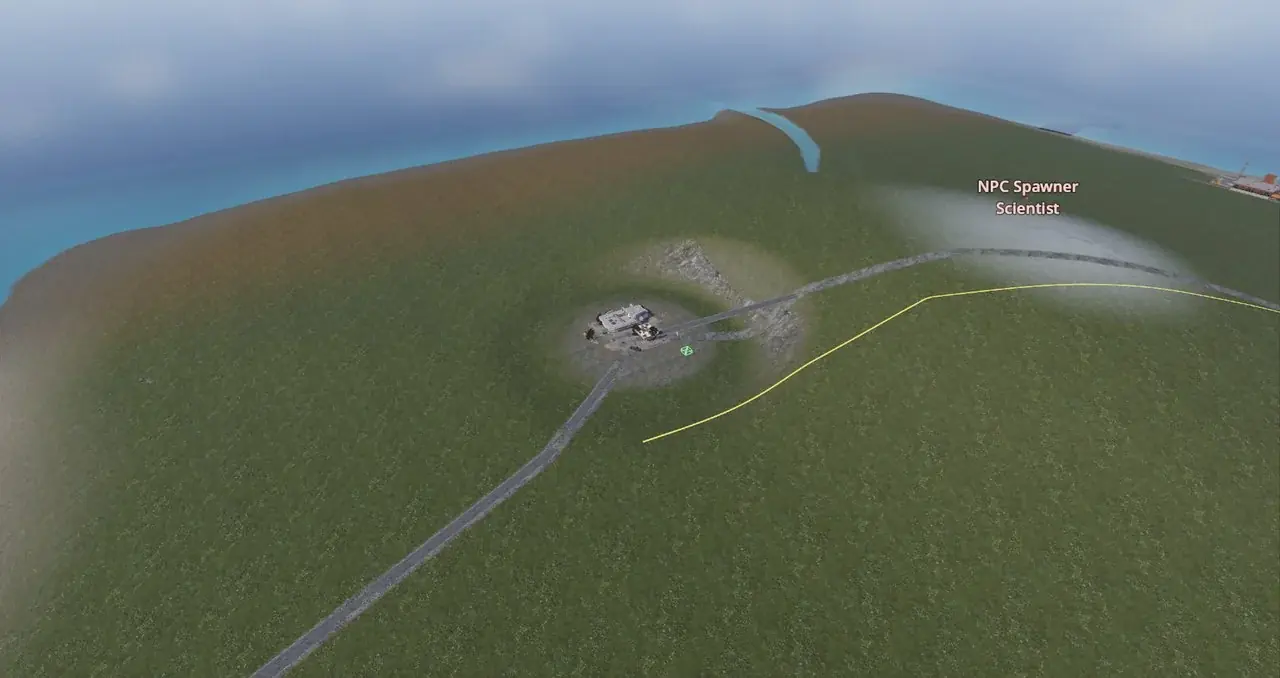
  • NPC patrols: draw a path and scientists walk it on your server, and attack when they see a player.
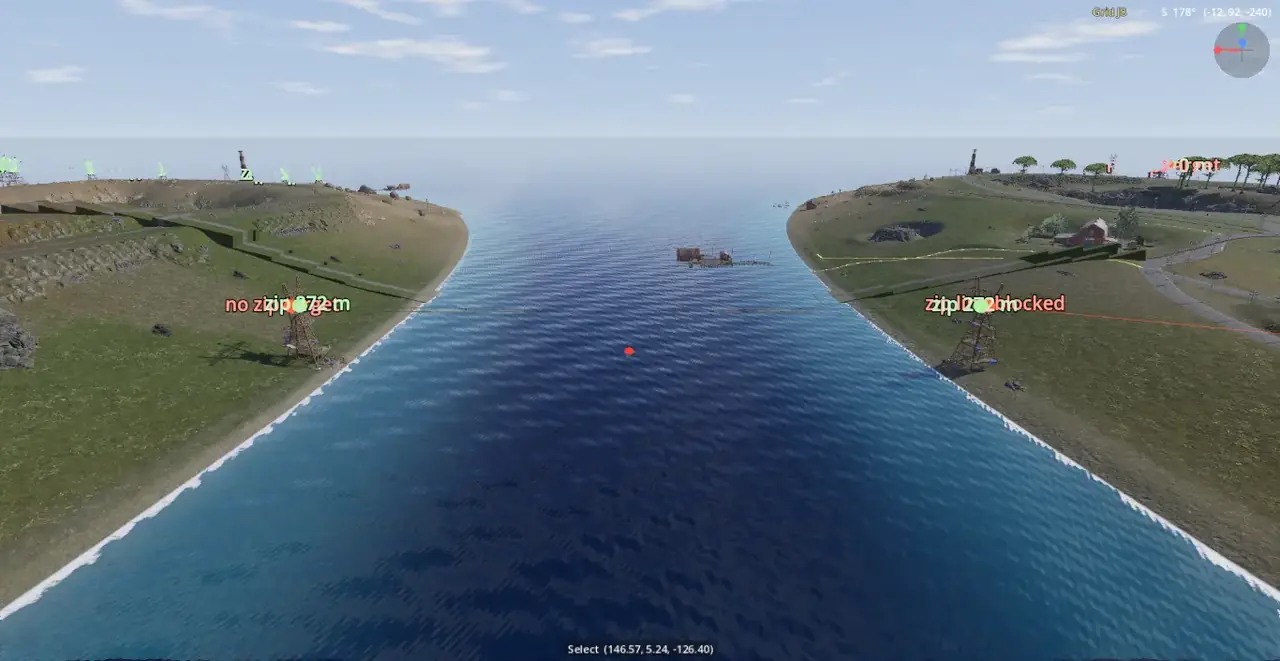
  • Zip lines: the game's own cable search shows the zip lines a server would make.
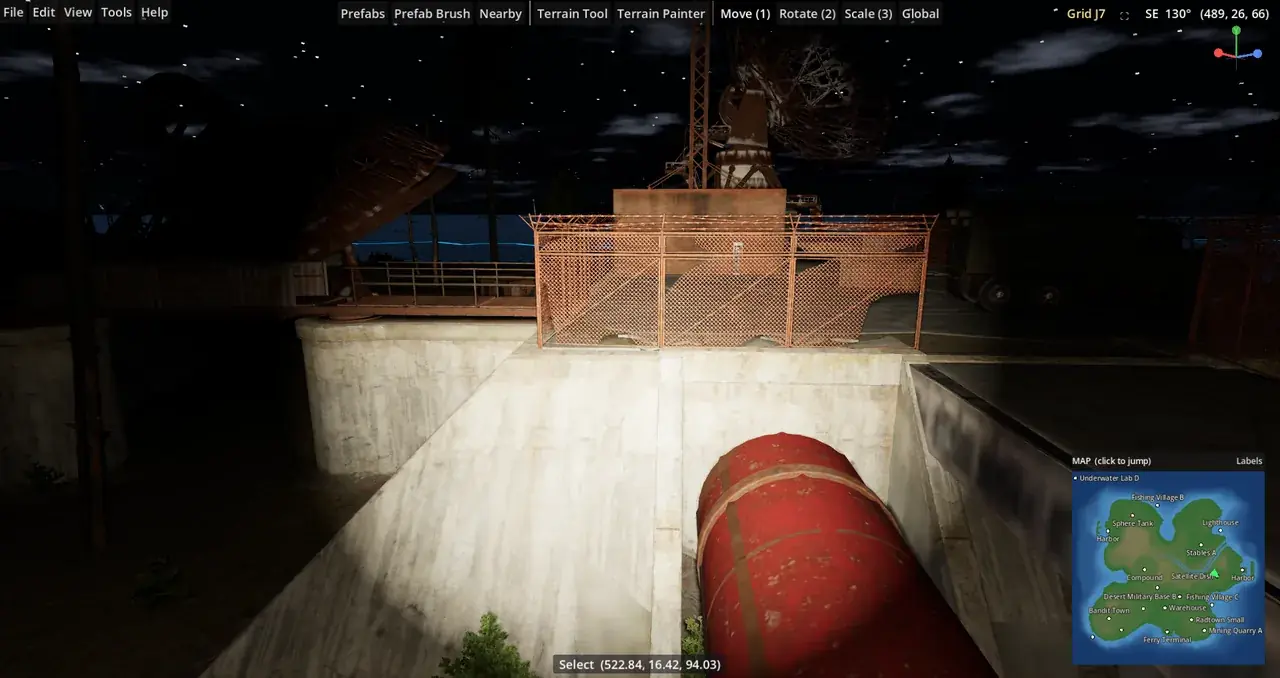
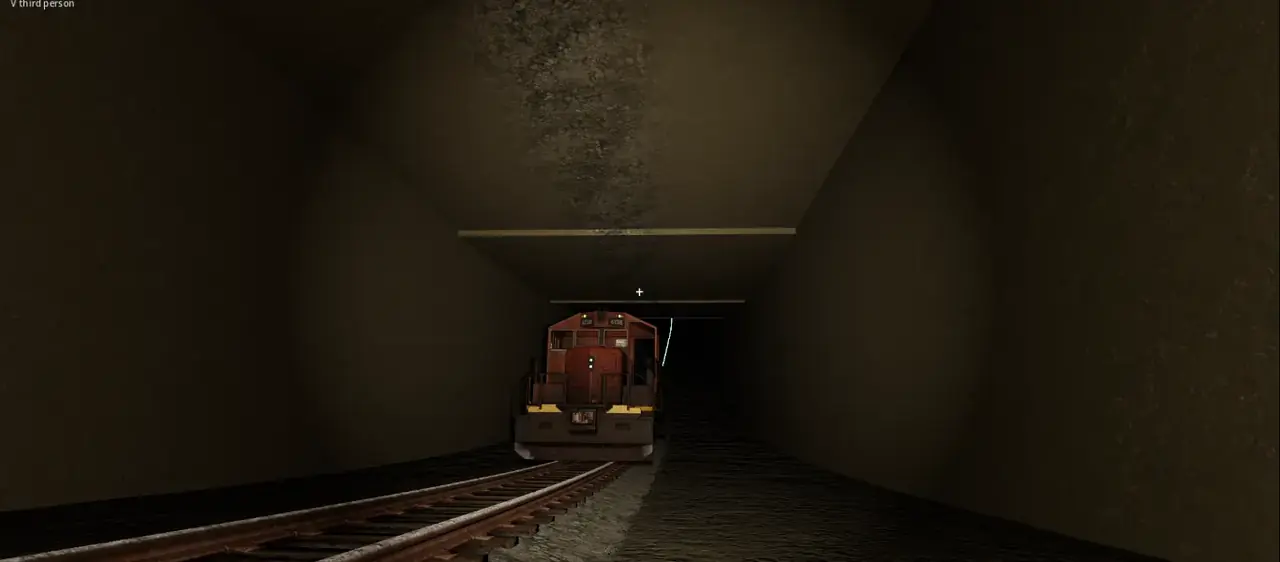
Driving into a generated road tunnel

Entities, IO, loot, NPCs and vehicles 14

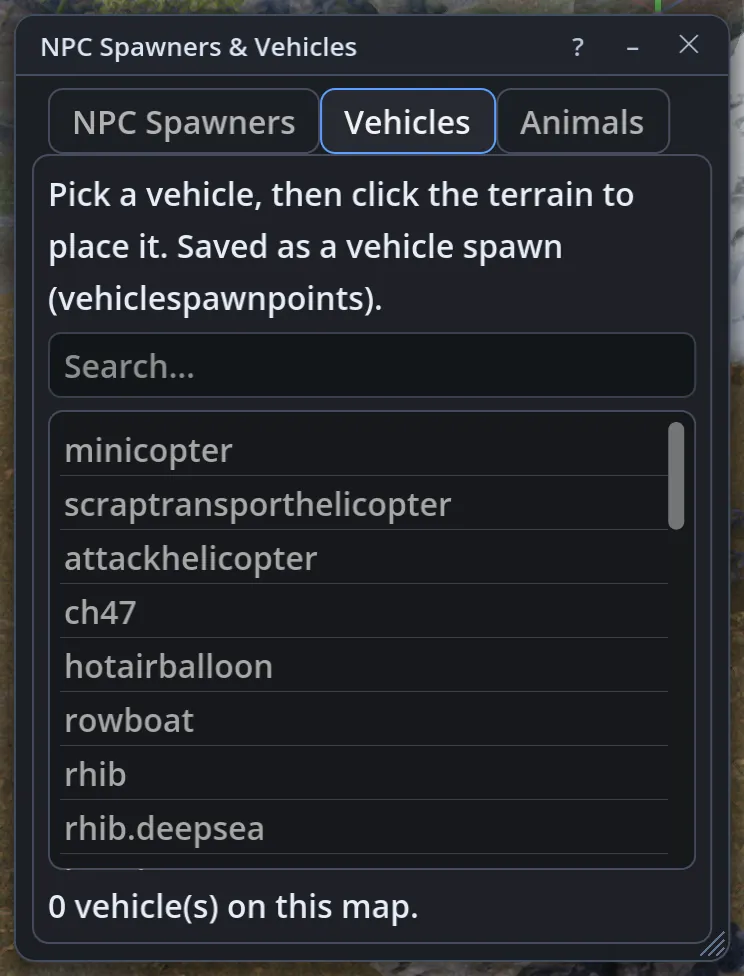
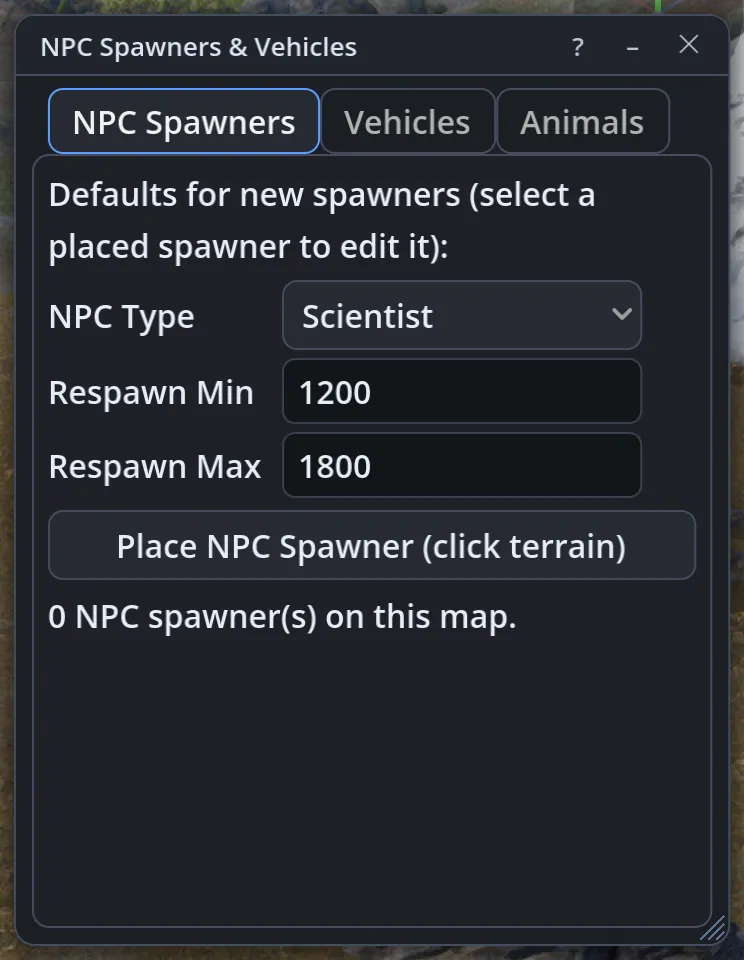
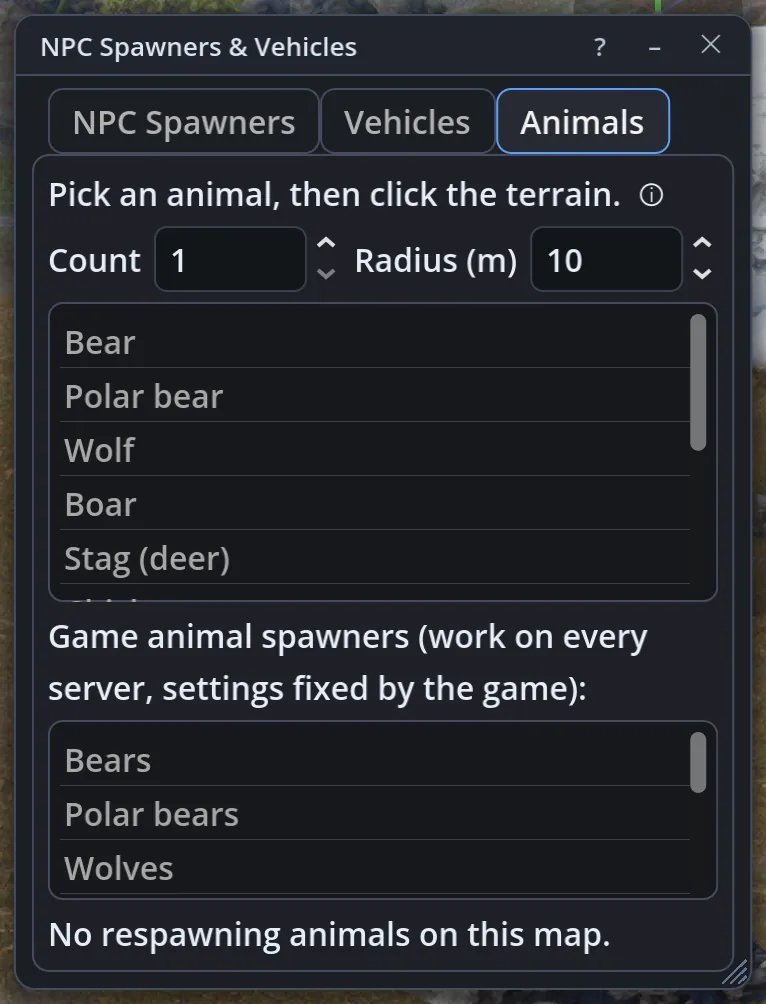
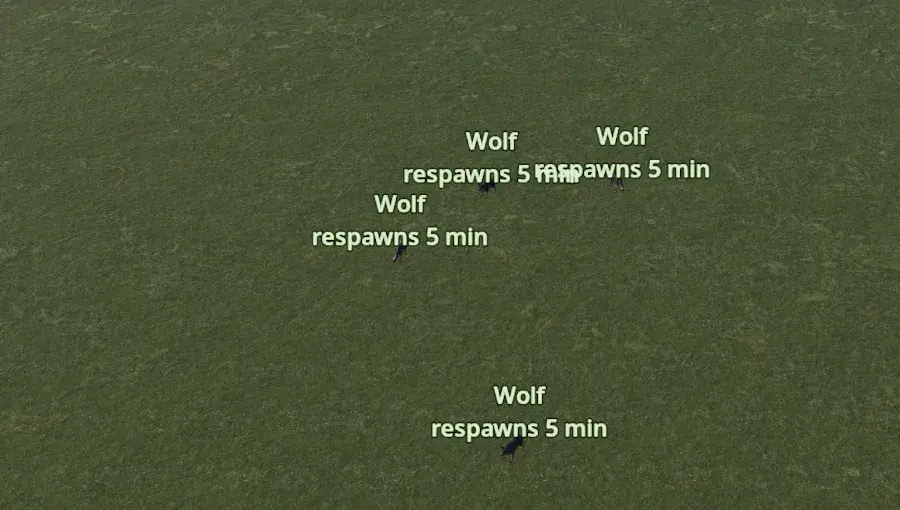
  • NPCs, vehicles and animals: scientists and bandits, minicopters, boats, cars and horses, and respawning bears, wolves and more.
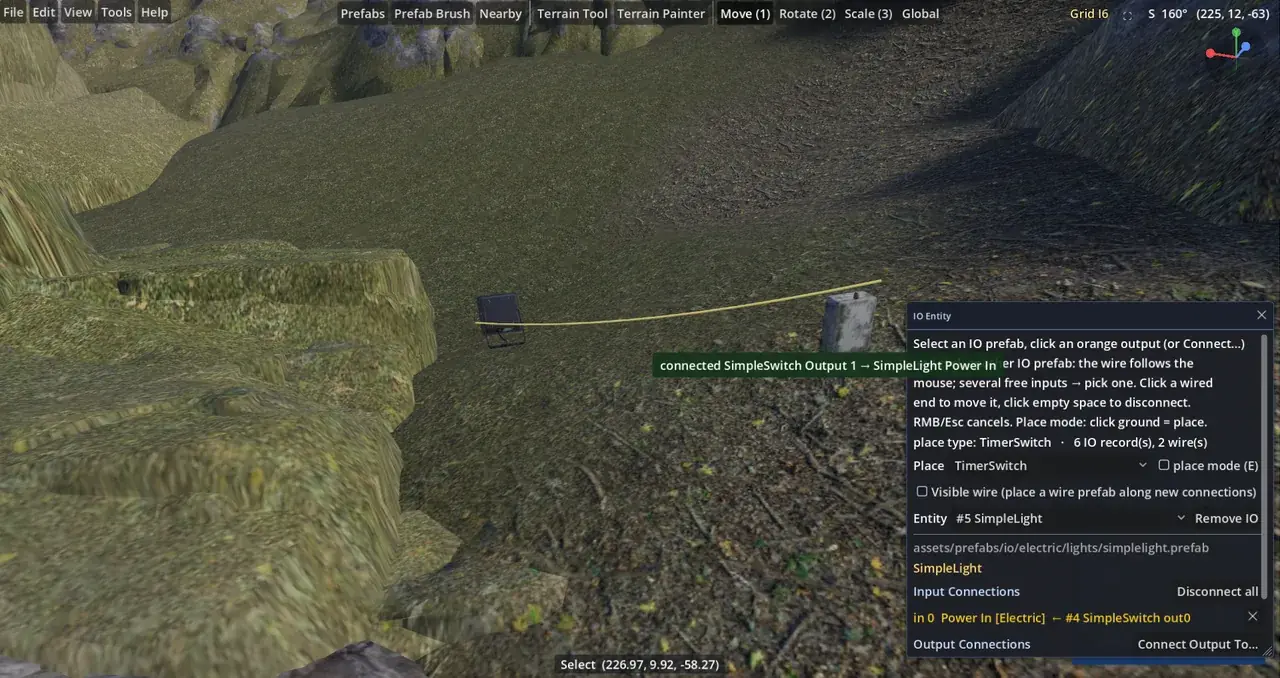
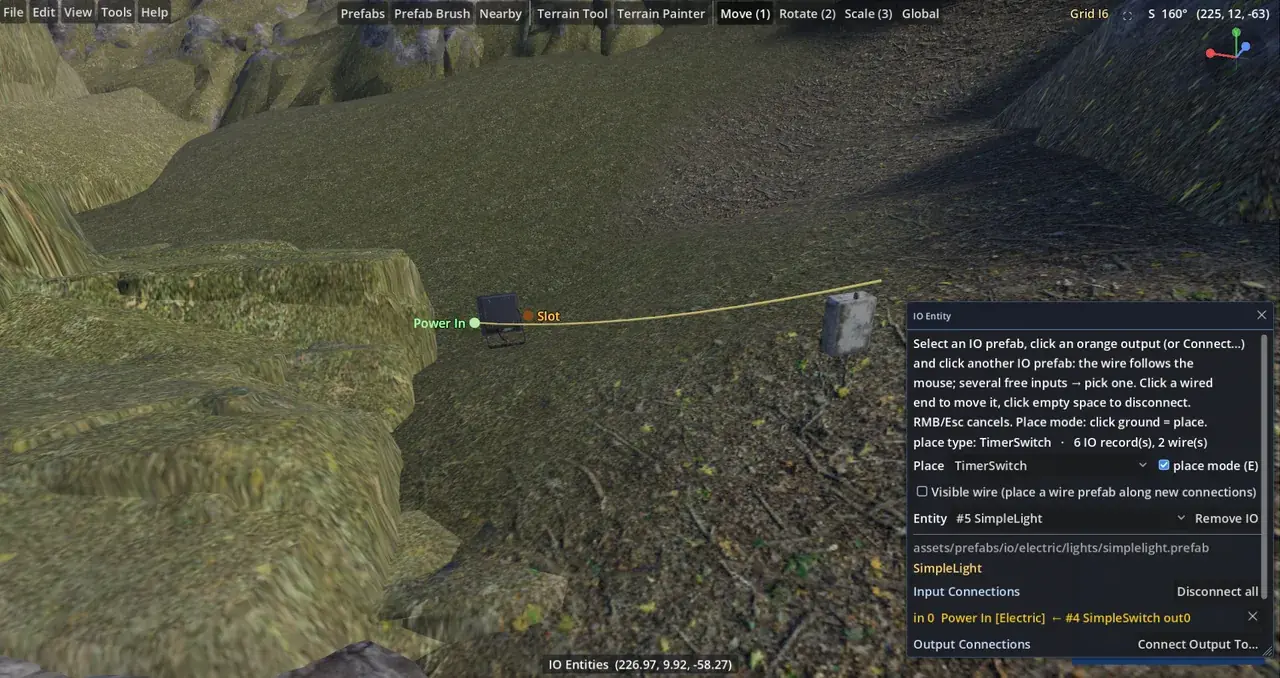
  • IO wiring: switches, lights, timers, generators, doors and conveyors, wired and saved in the map.
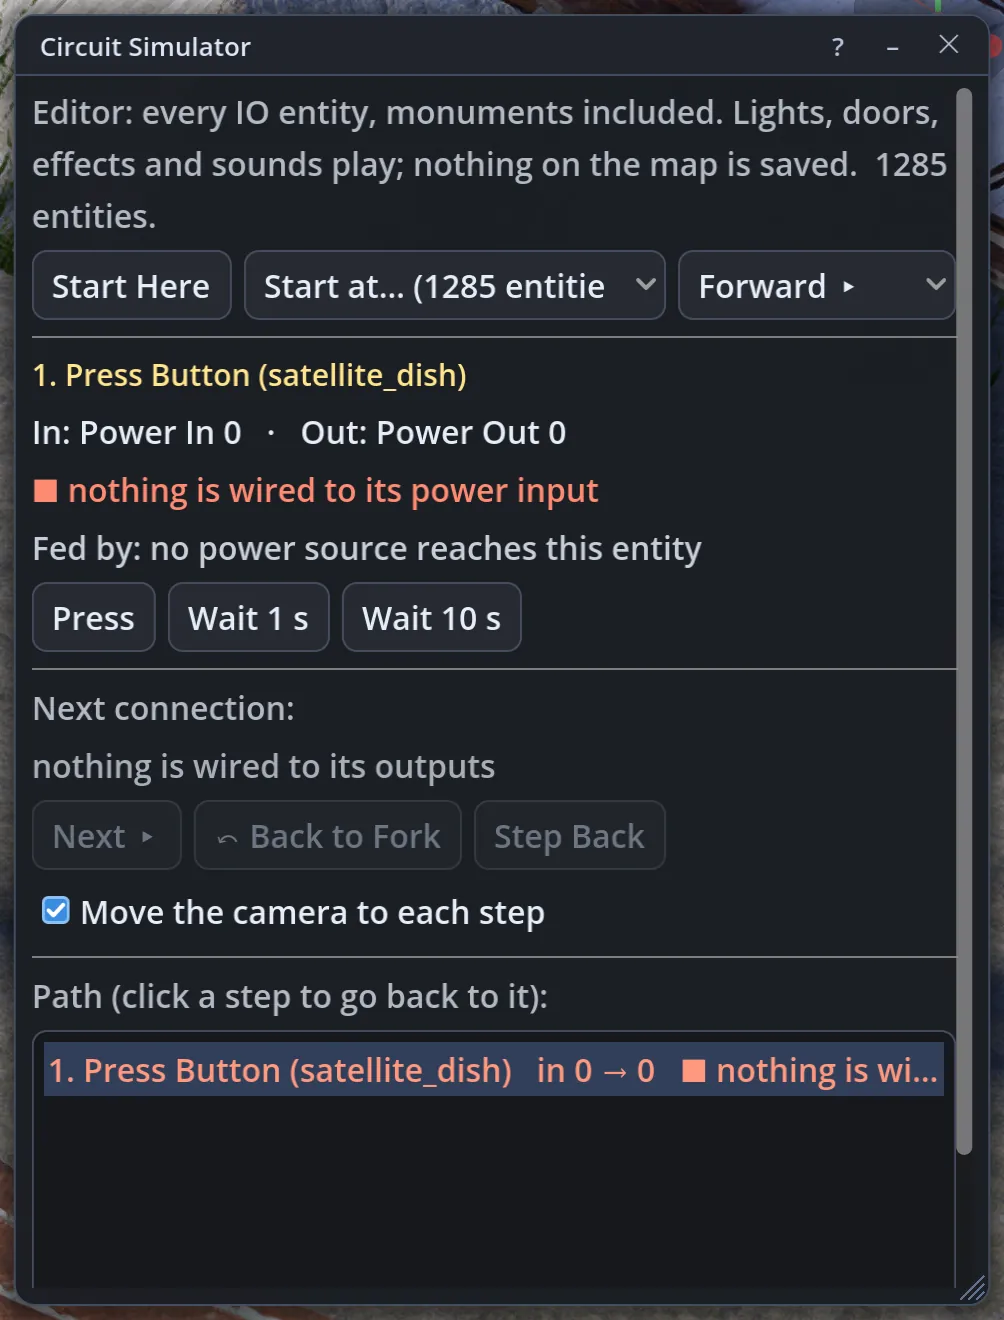
  • Circuit Simulator: step through a circuit forwards or back to its power source, with the power left at every step.
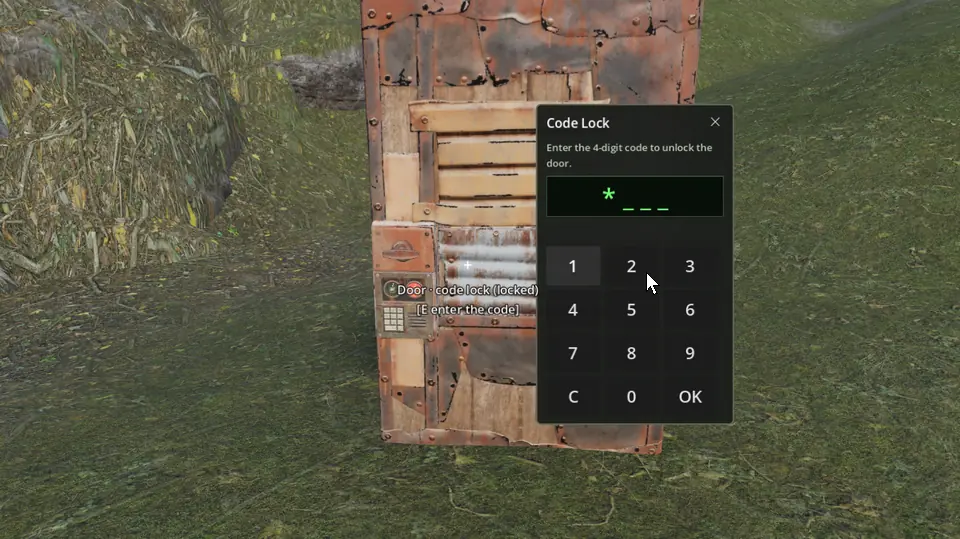
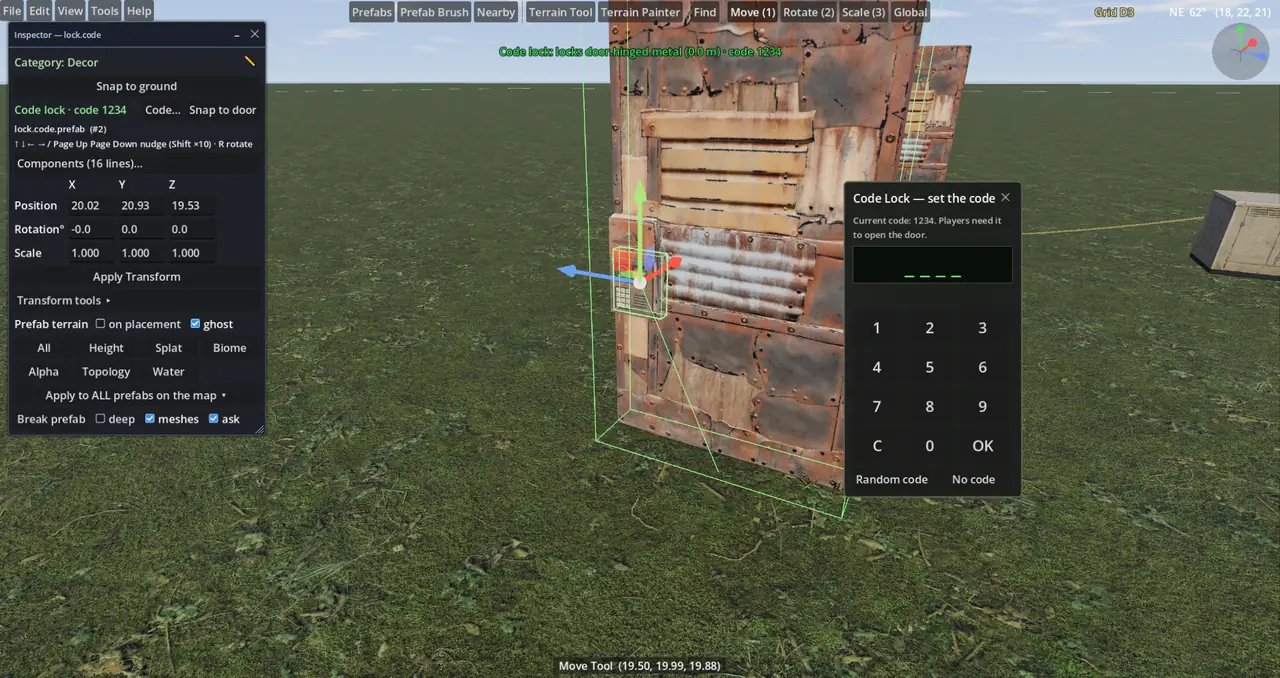
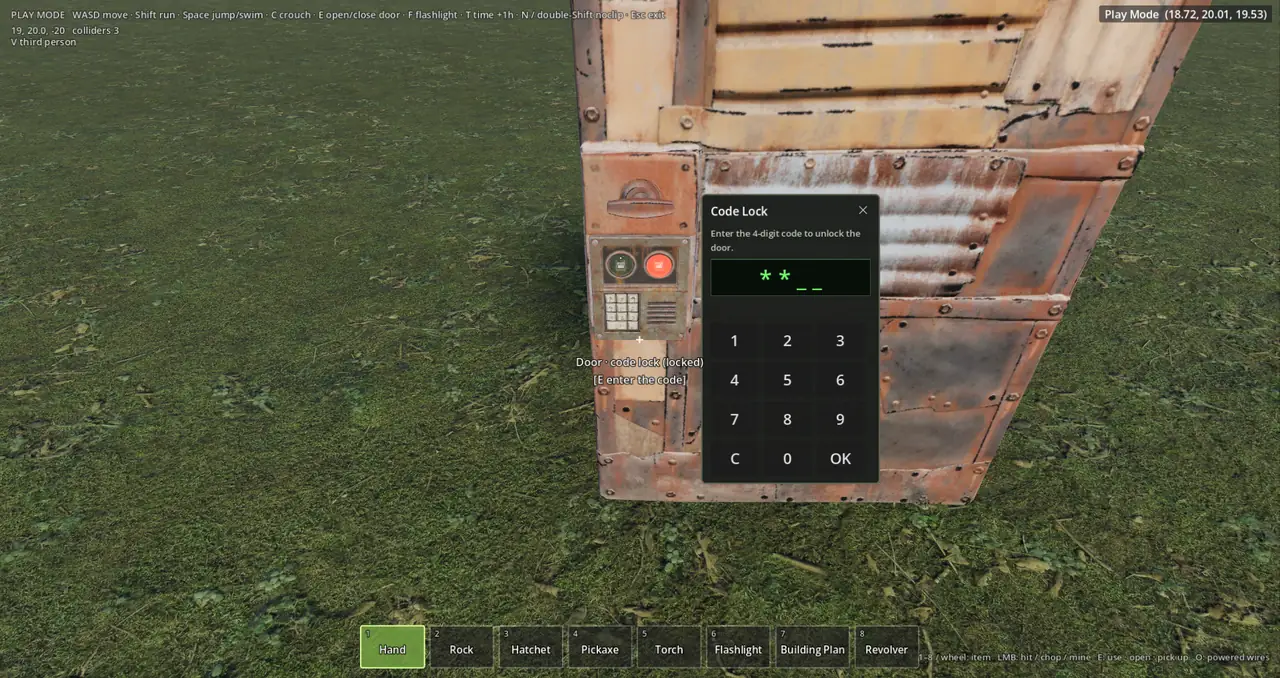
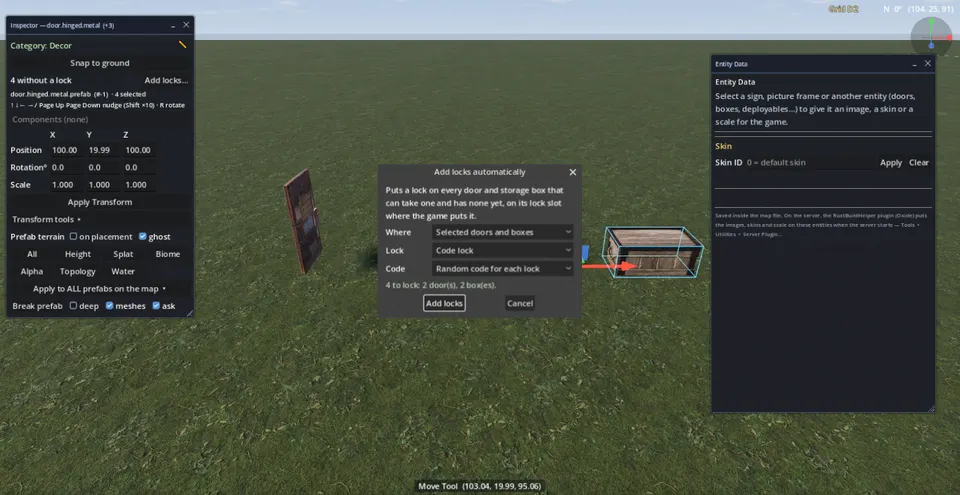
  • Key locks and code locks: on any door or box, one by one or on all of them in one go.
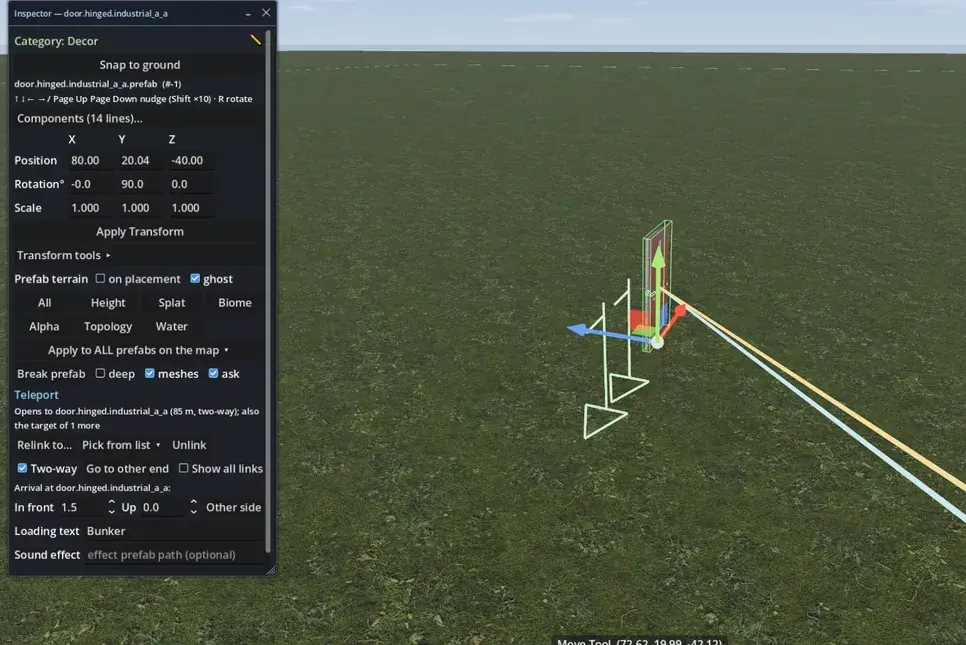
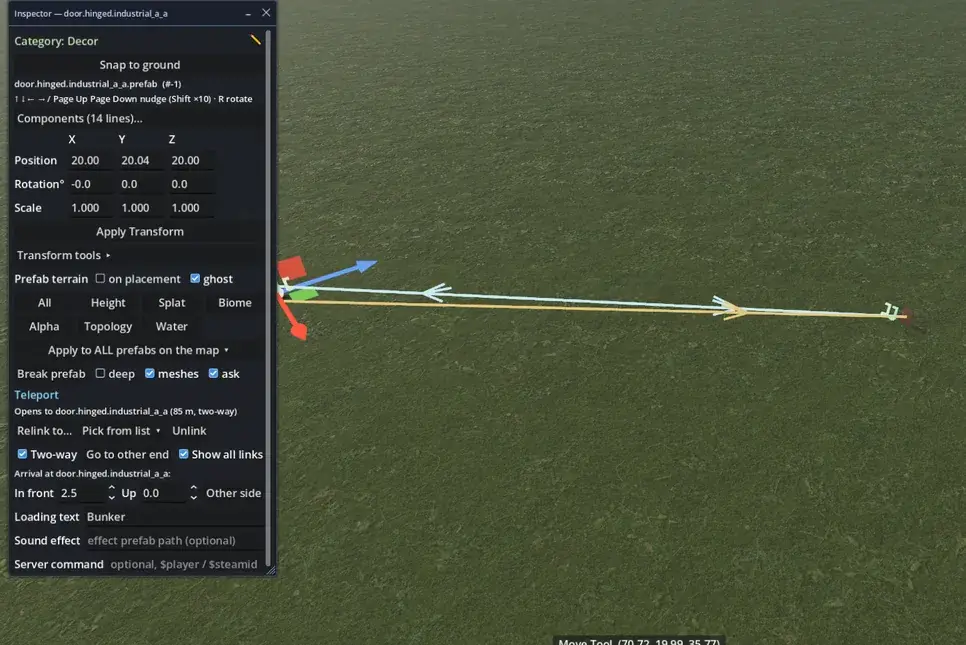
  • Teleport doors: open a door or press a button and arrive at another door.
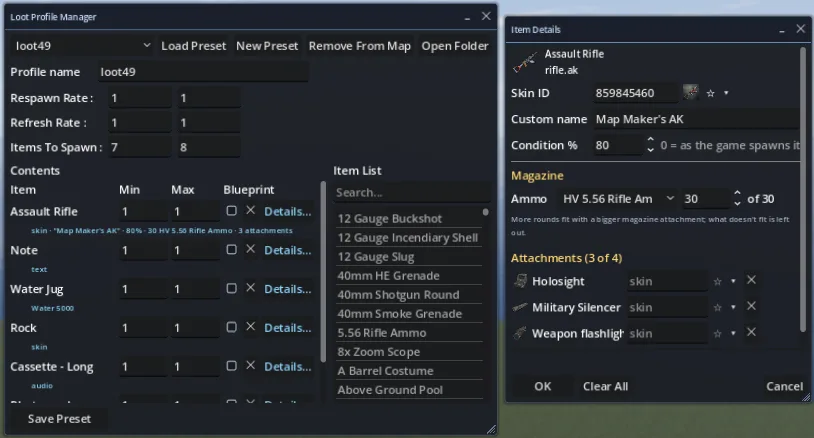
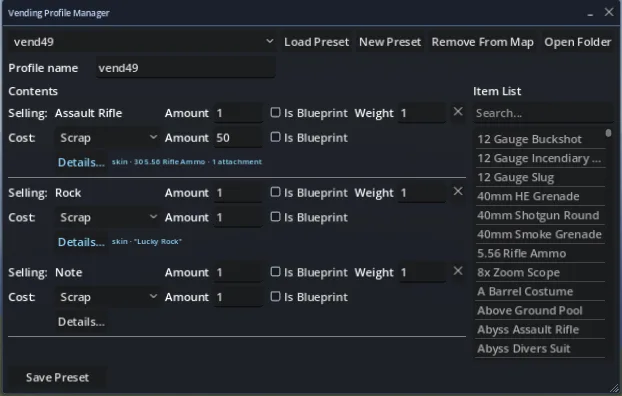
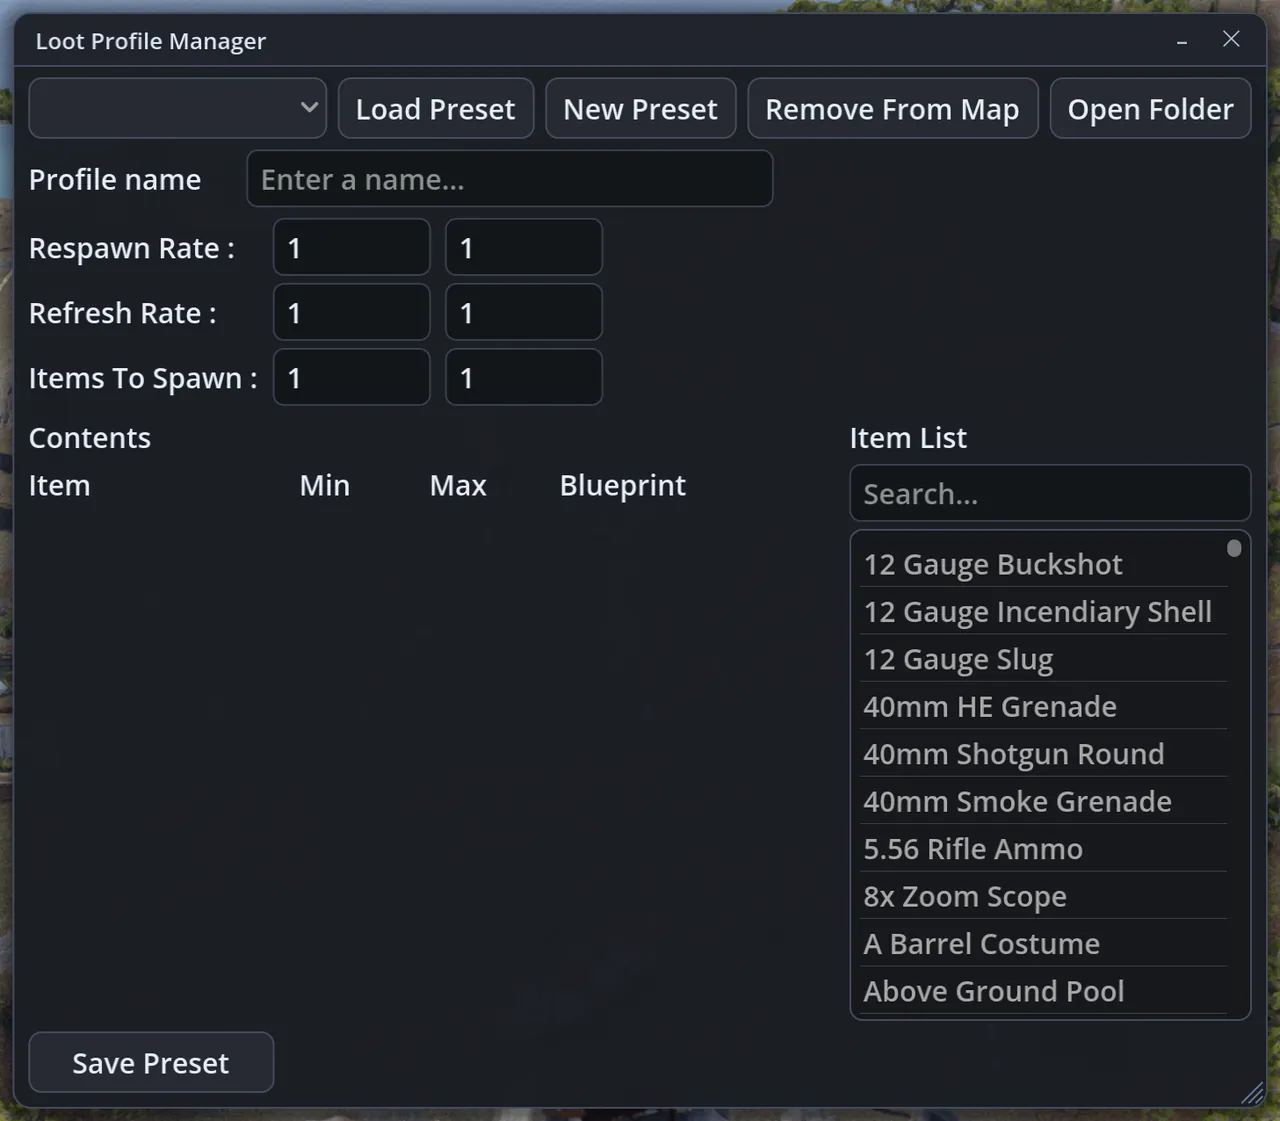
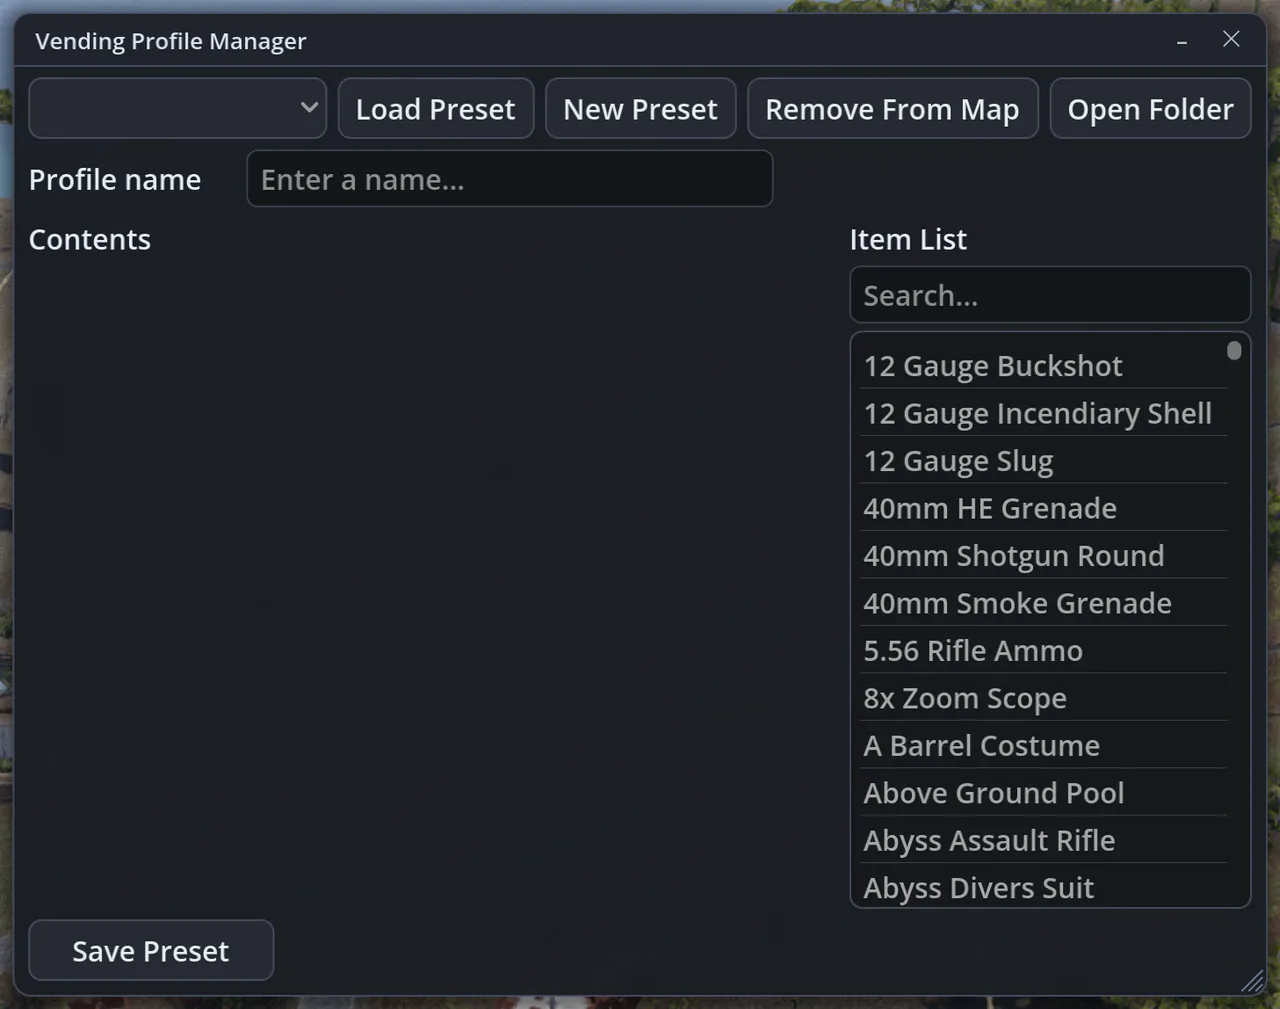
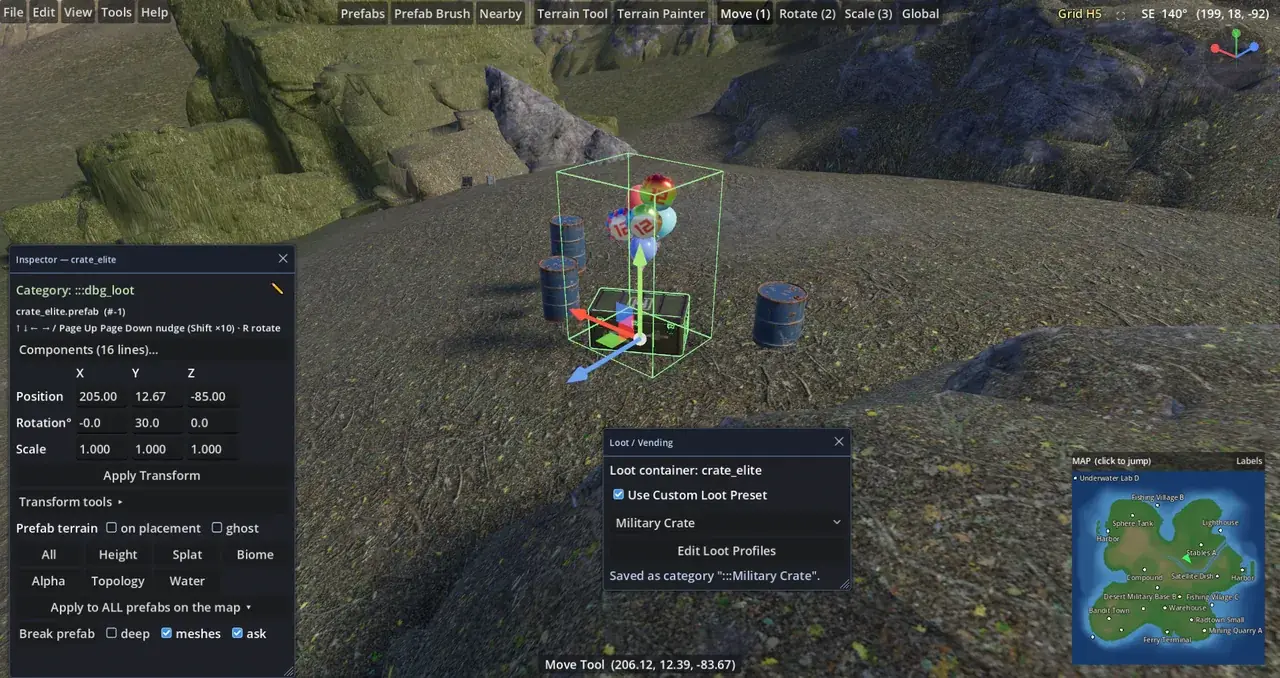
  • Loot and vending profiles: your own loot tables and vending machine offers.
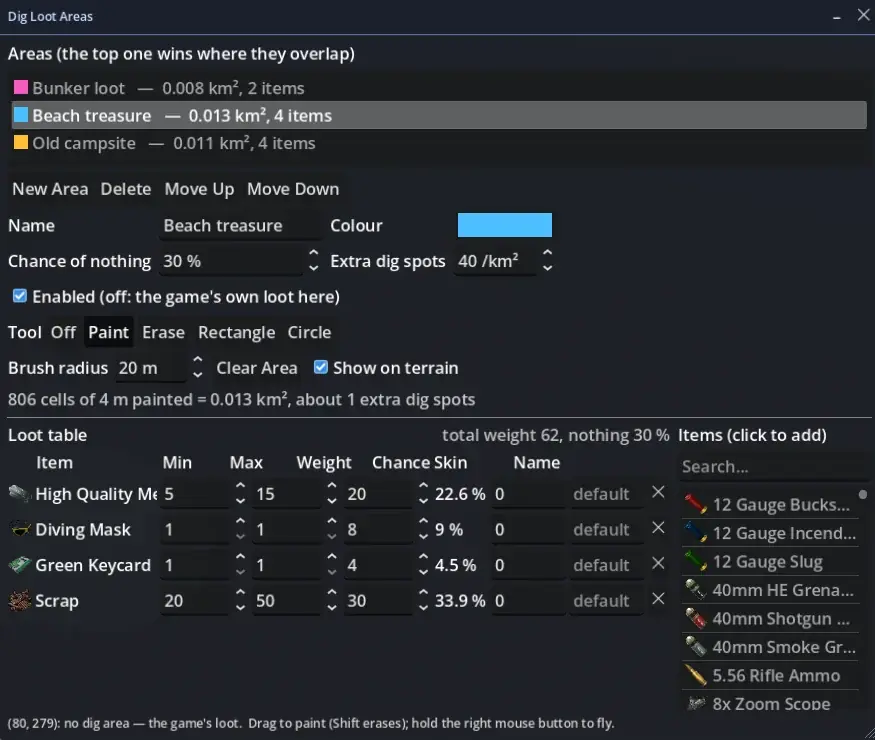
  • Dig loot areas: give metal detector finds their own loot table per area.
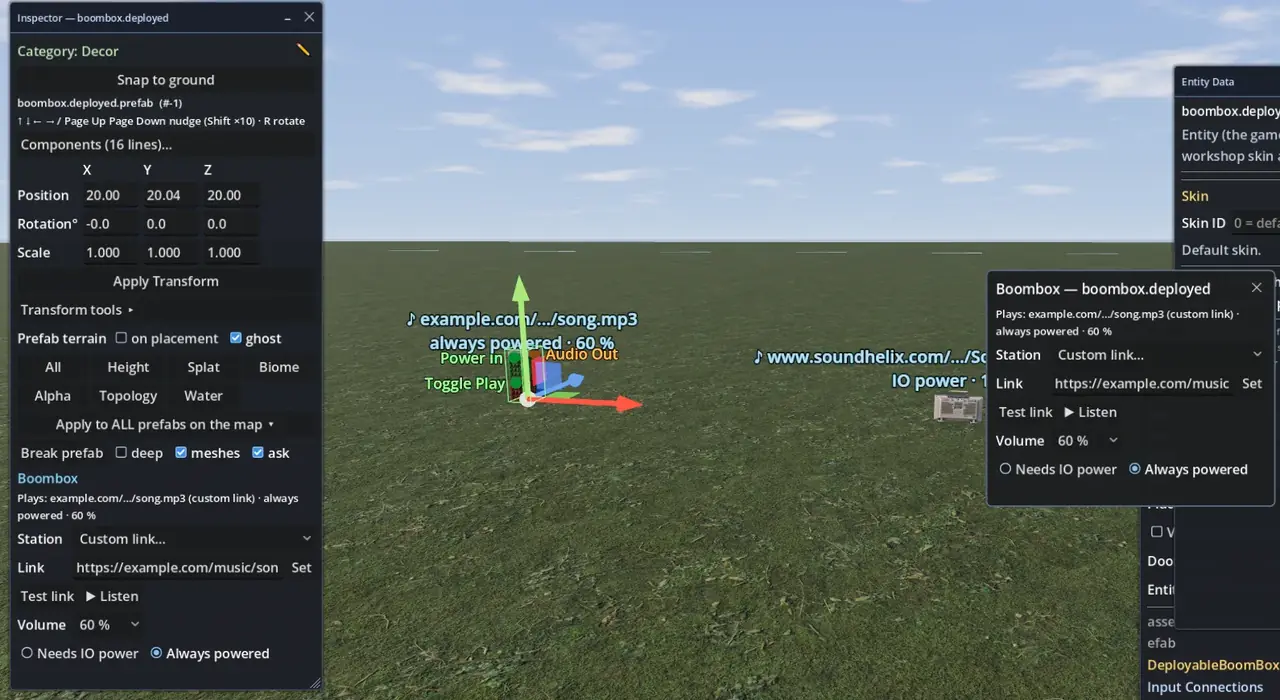
  • Boombox stations: built-in radio stations or your own stream, with or without electricity.
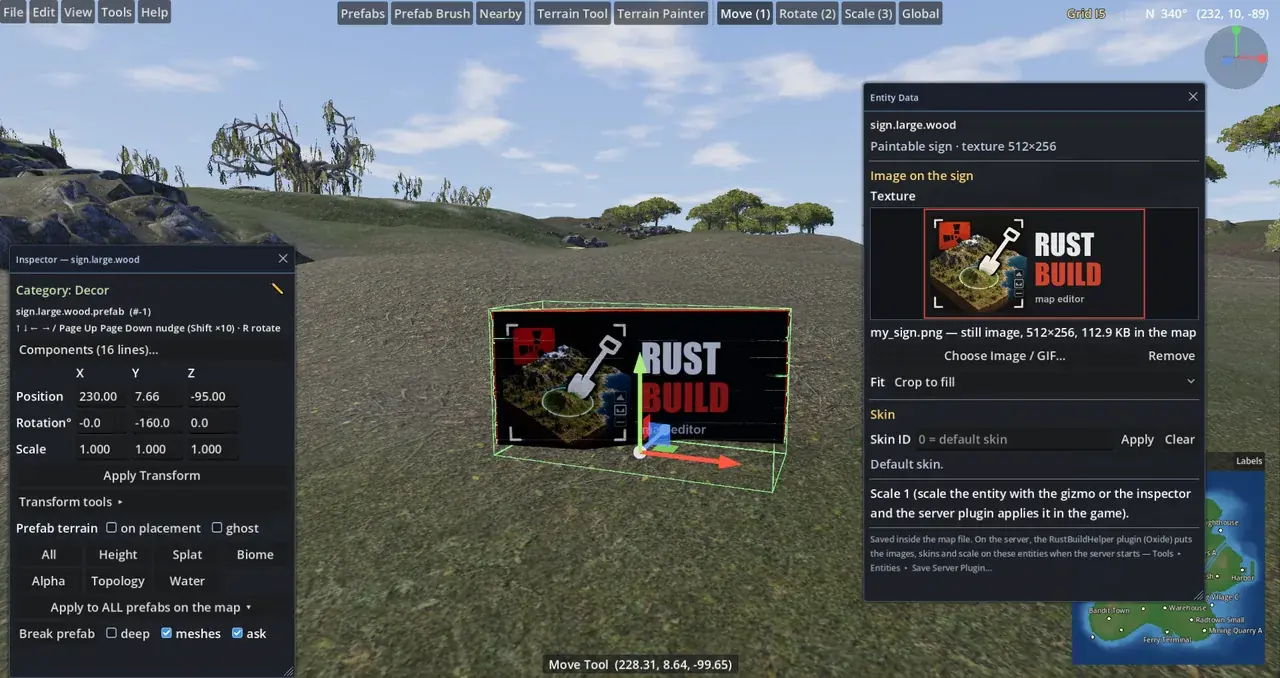
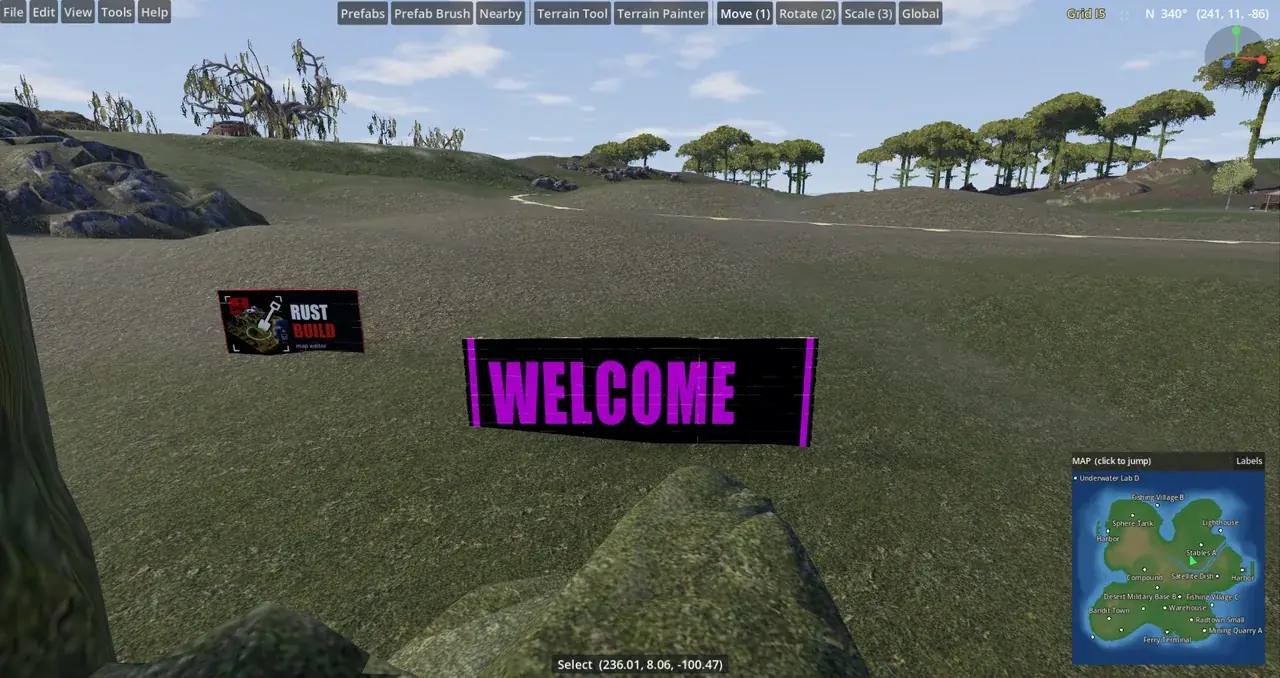
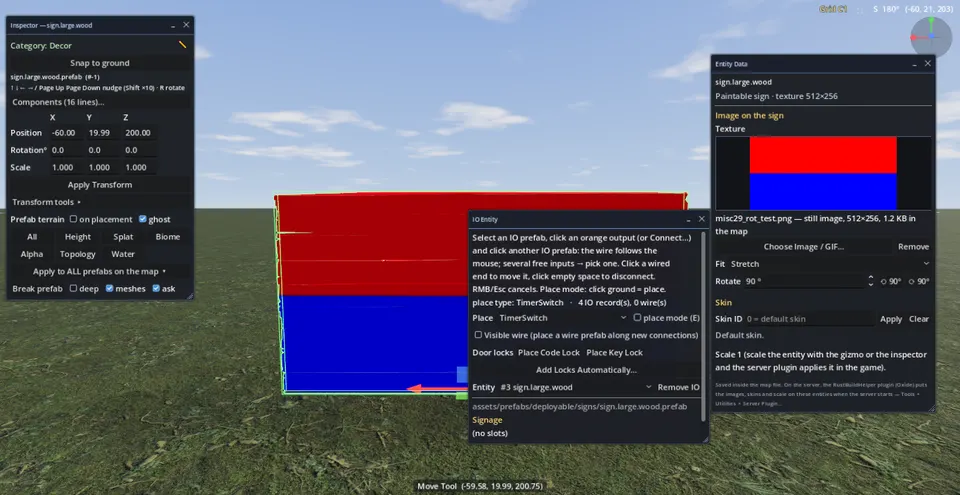
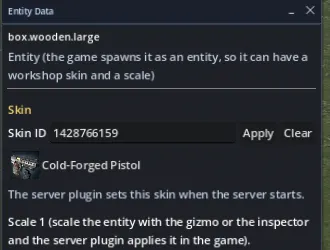
  • Sign pictures and skins: pictures and animated GIFs on signs, workshop skins with their picture, and scaled entities.
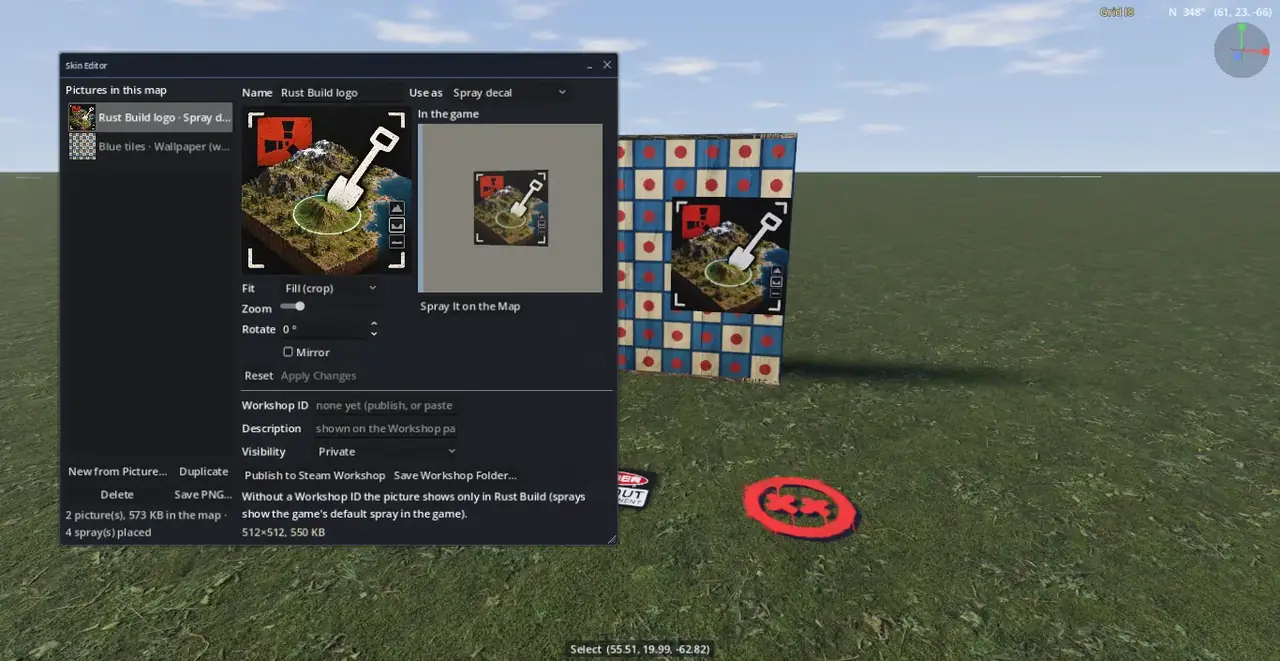
  • Skin Editor: turn your own pictures into sprays, wallpapers and icons, and publish them to the Steam Workshop.
  • Saved and recent skin IDs: star a skin ID once and pick it again in every skin field, with Workshop pictures.
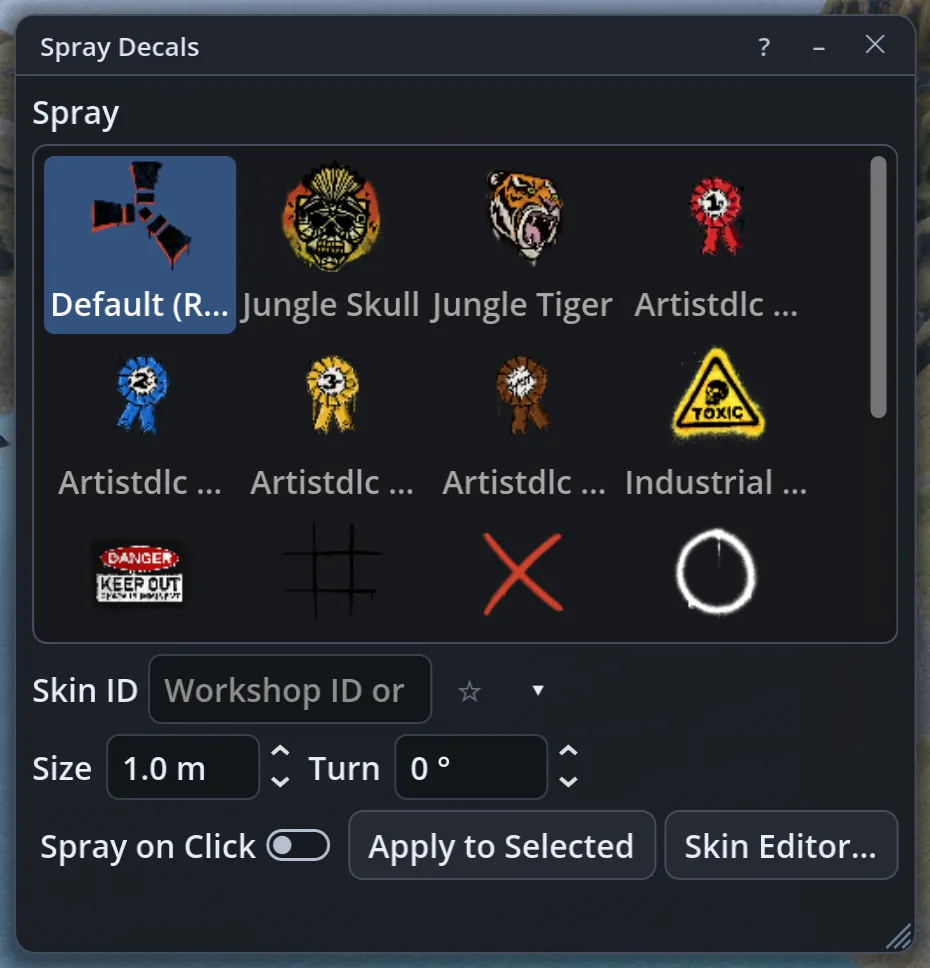
  • Spray decals: spray the game's sprays, any Workshop spray (ID or link) or your own pictures on any surface, kept in the map.
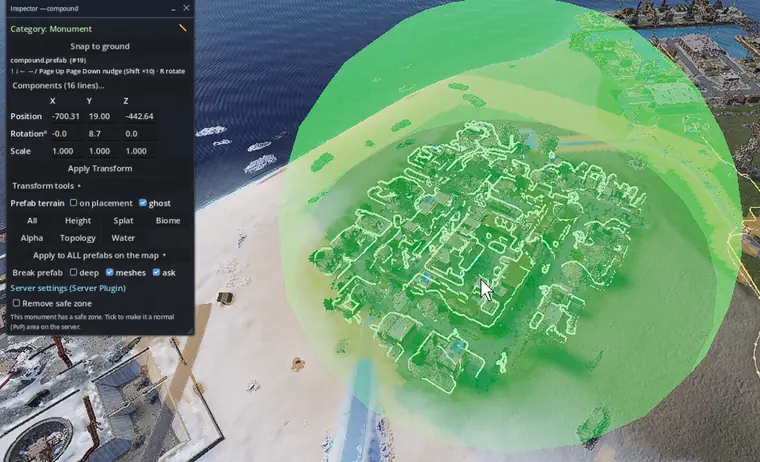
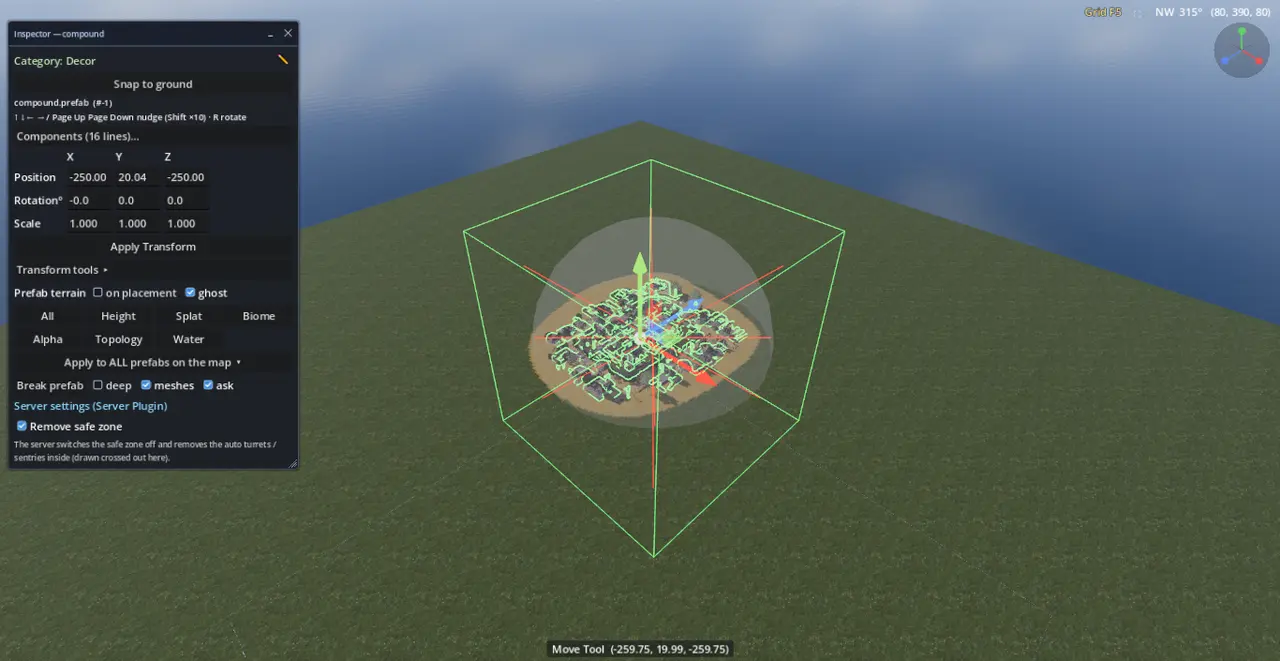
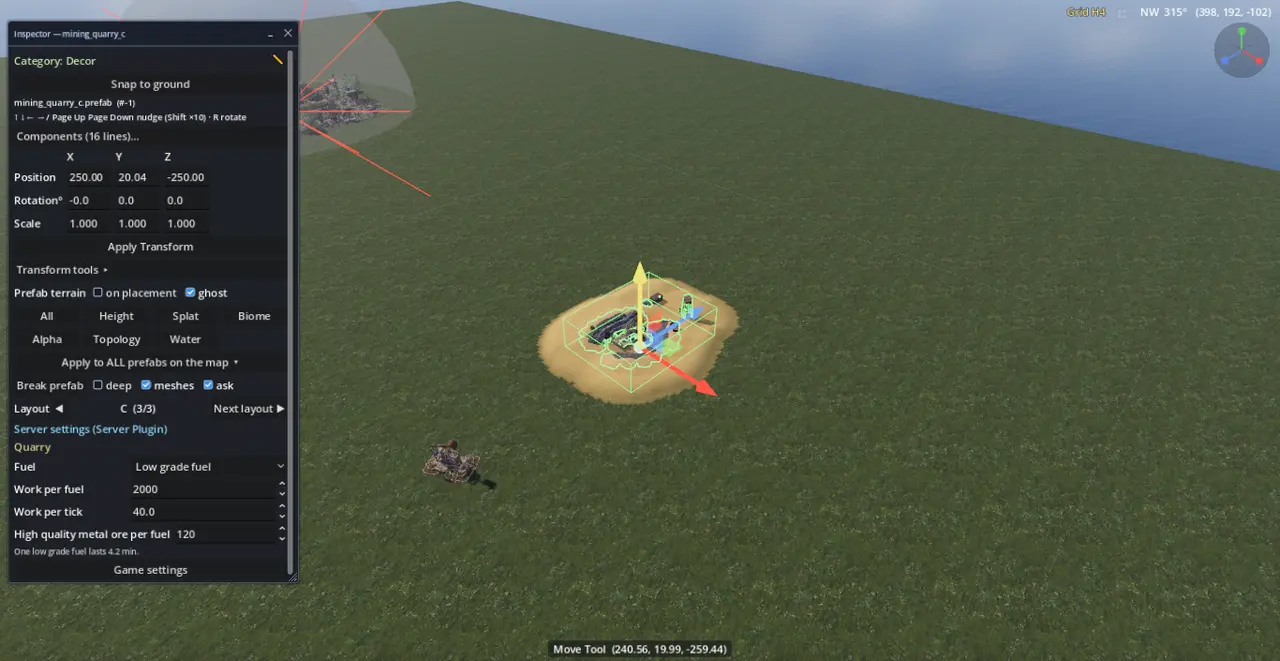
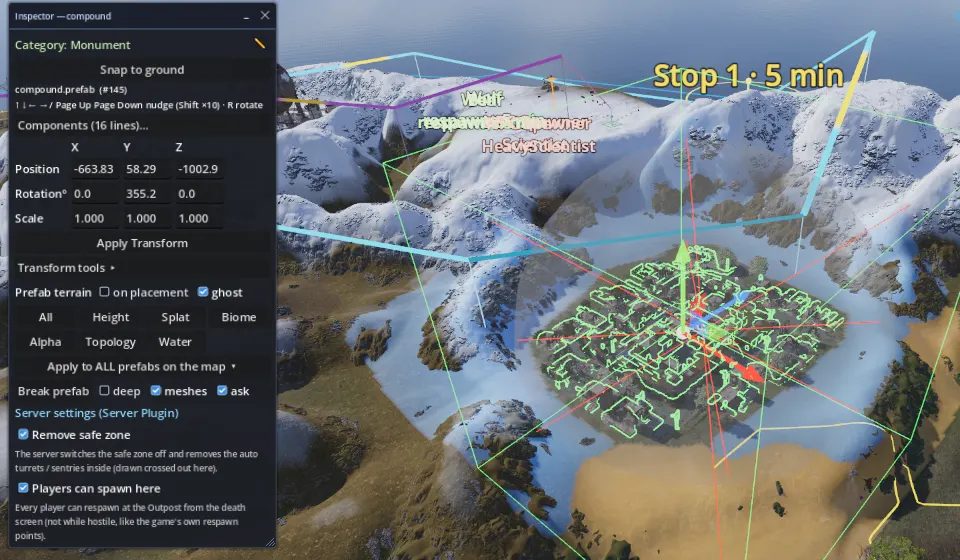
  • Monument server settings: remove a safe zone, tune a quarry, change puzzle resets or let players respawn at the Outpost.
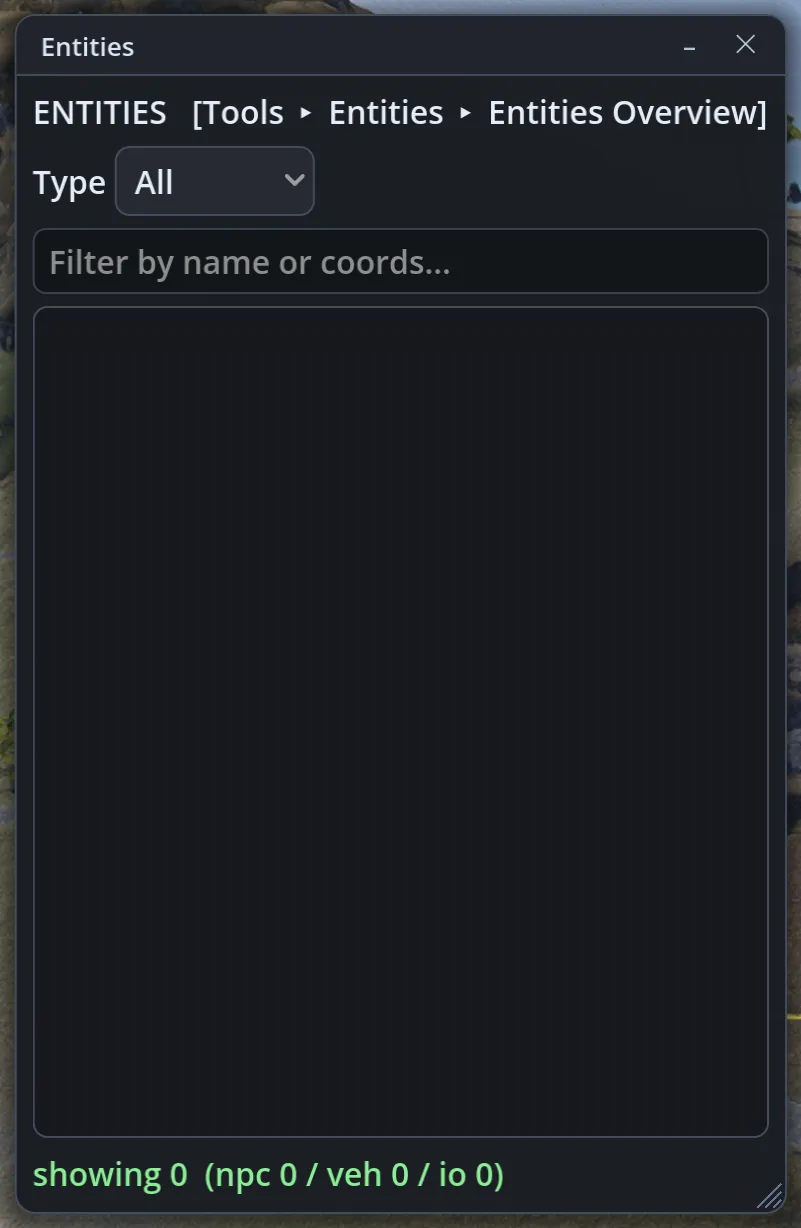
  • Entities Overview: every NPC spawner, vehicle spawn and IO entity in one list.
Drawing an NPC patrol

For server owners and live servers 15

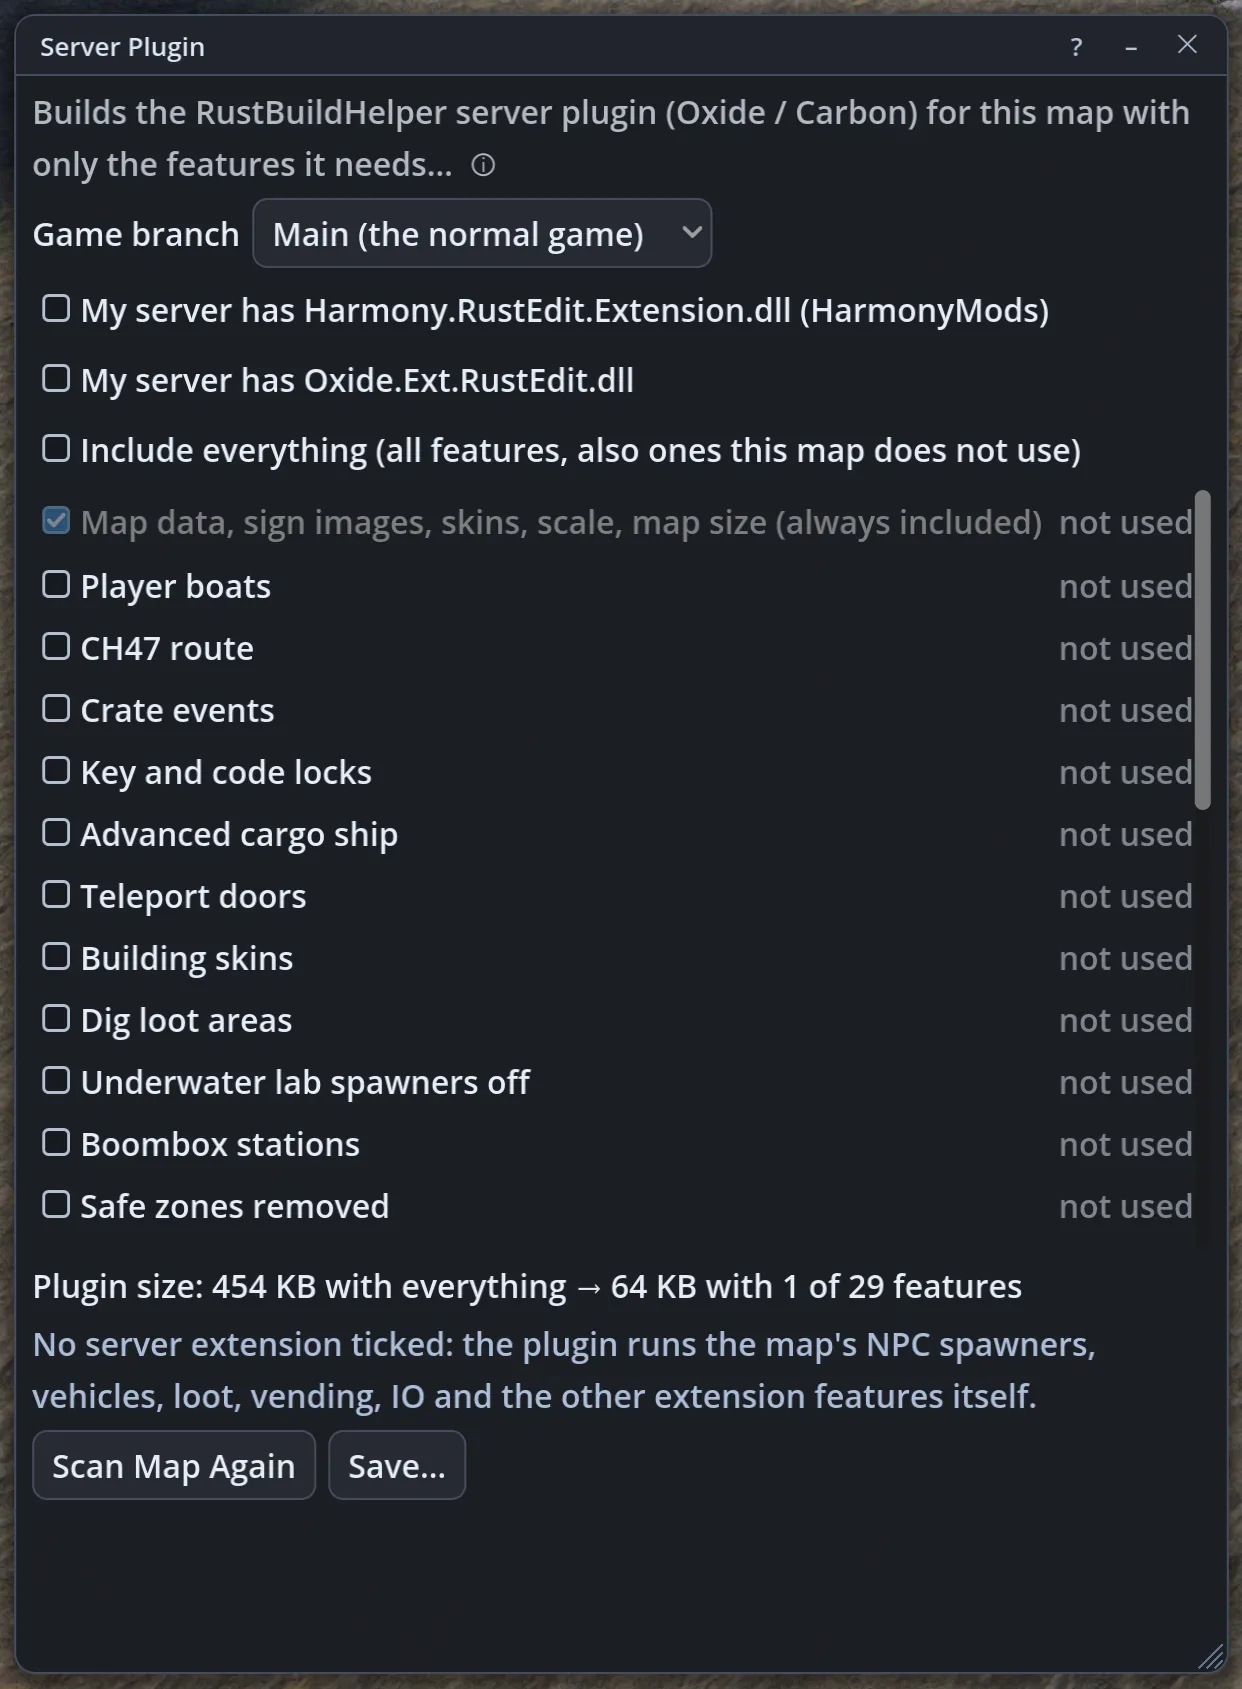
  • Server Plugin: one small plugin with only the features your map uses, for the Main or Staging branch, each one switchable in its config file.
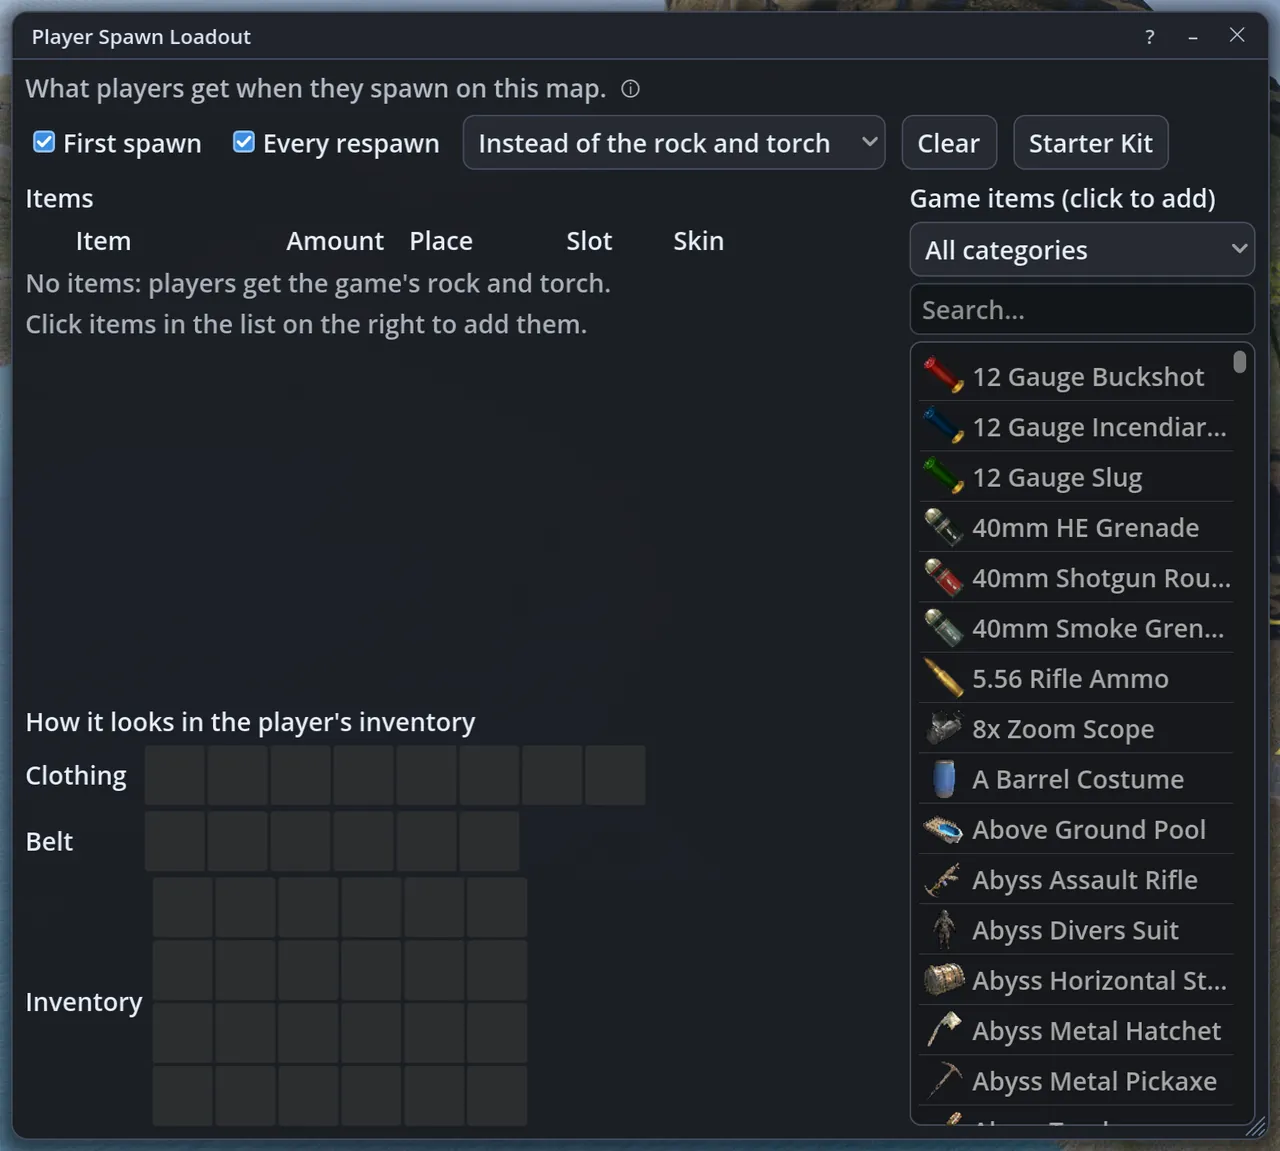
  • Player spawn loadout: choose the clothes, tools, weapons and food players spawn with, workshop skins included.
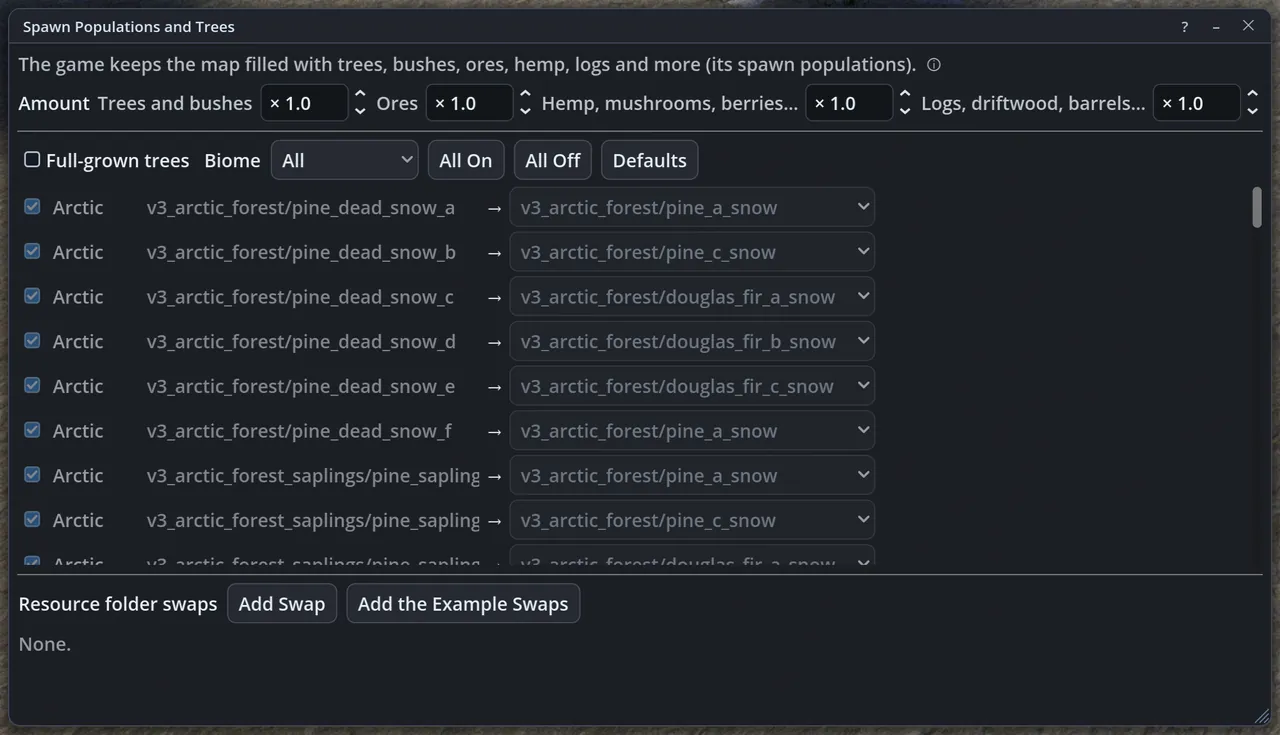
  • Full-grown trees and spawn amounts: trees that come up full-grown, and how many trees, ores and collectables the game keeps on your map.
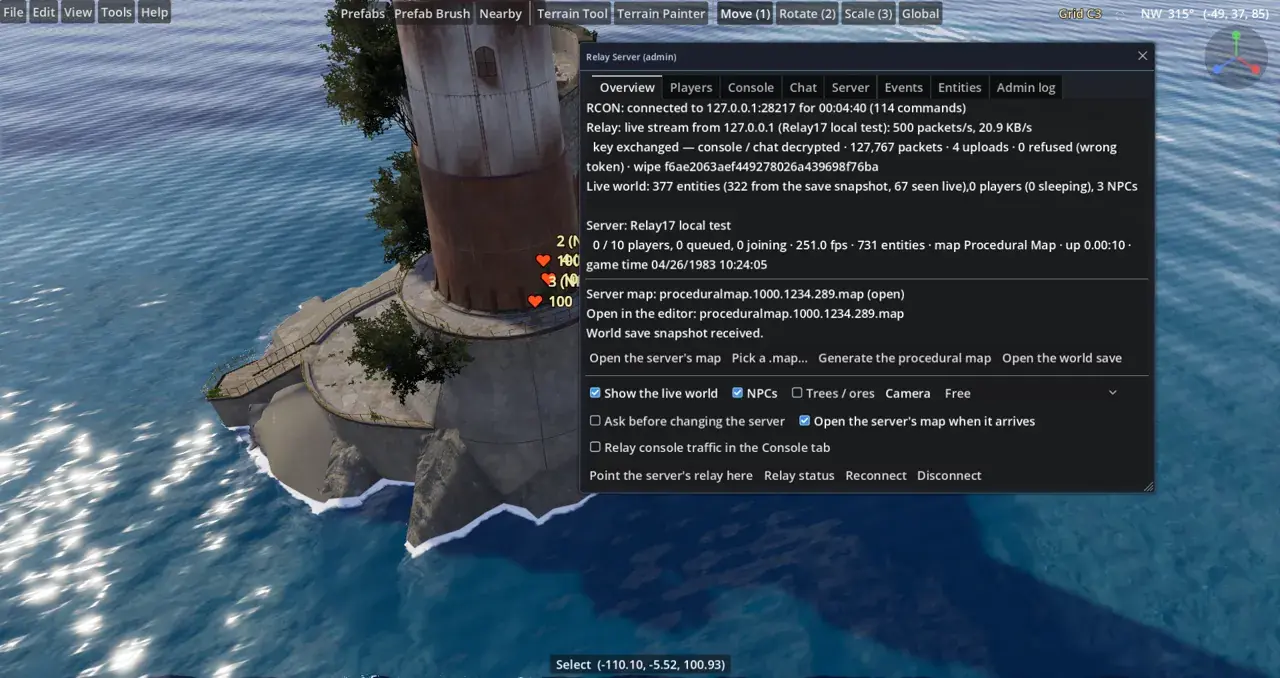
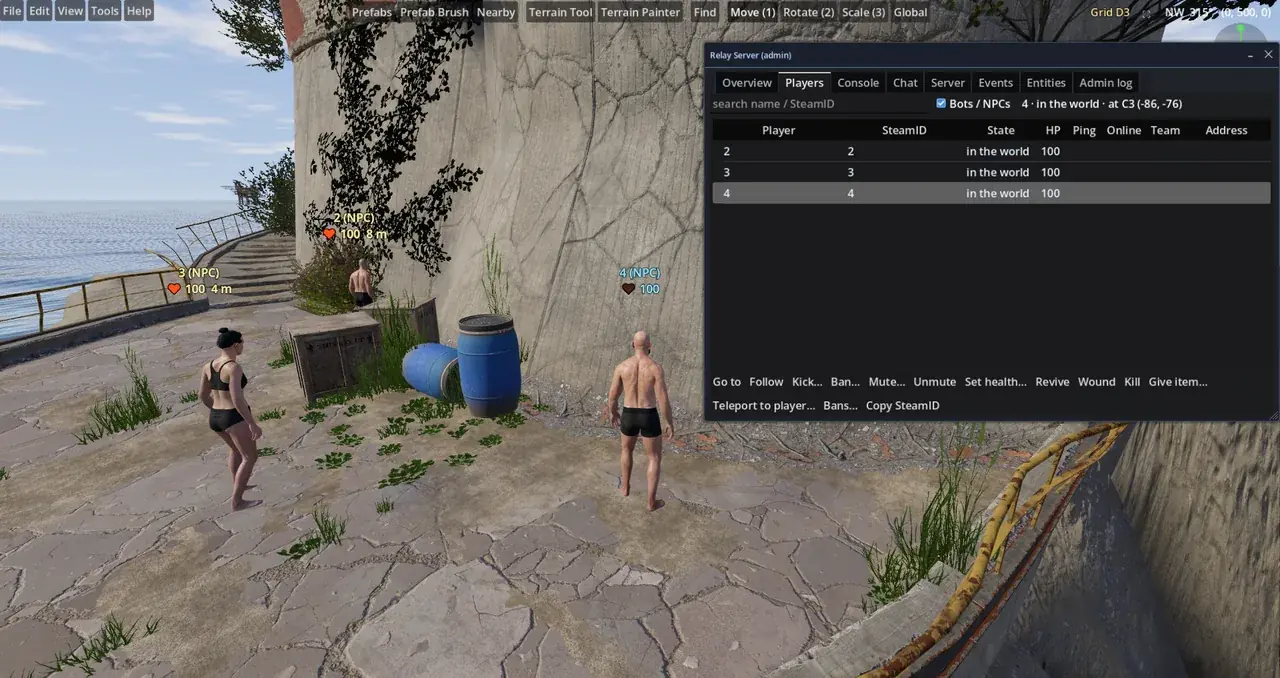
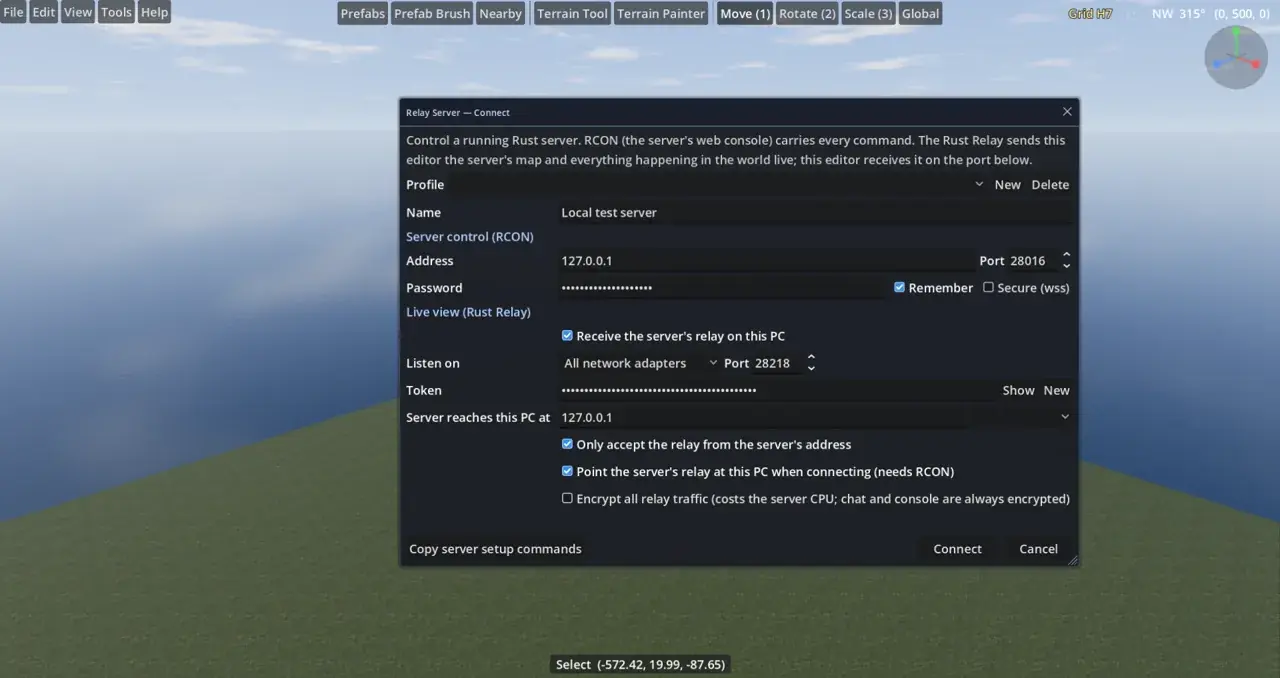
  • Relay Server: run a live server without joining: players and entities in 3-D, the console, chat and the player list.
  • Demos and saves from the start screen: open a .dem or .sav straight away: its map is found, generated or replaced by a blank one for you.
  • Open server saves: every entity of a save with its real model: bases, boxes, vehicles, sleepers, trees and ores.
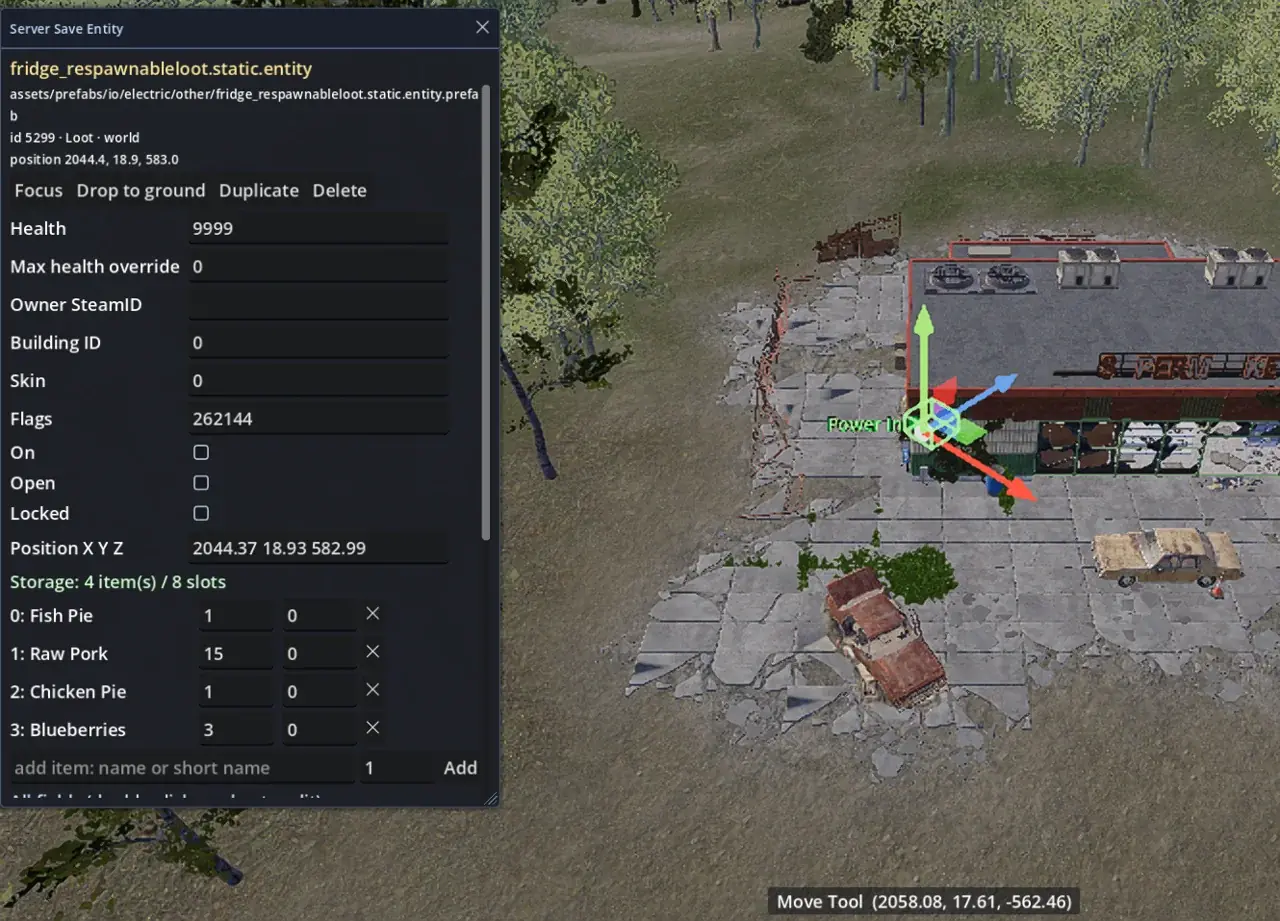
  • Edit save entities: click any entity of a save and change what is stored about it.
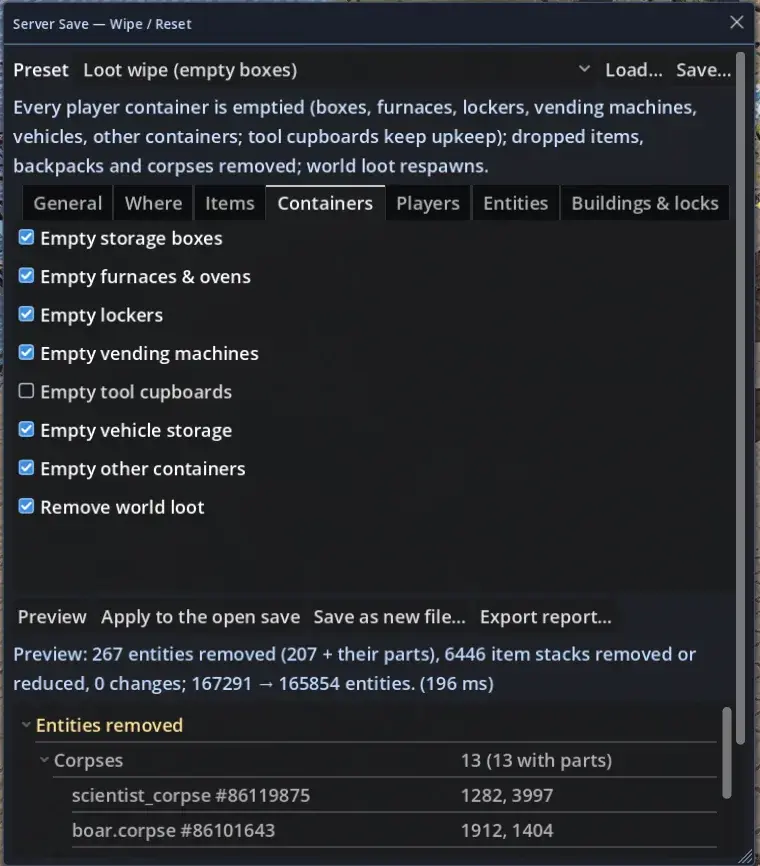
  • Wipe or reset a save: empty boxes, take guns or explosives, remove bases or sleeping bags without a fresh map.
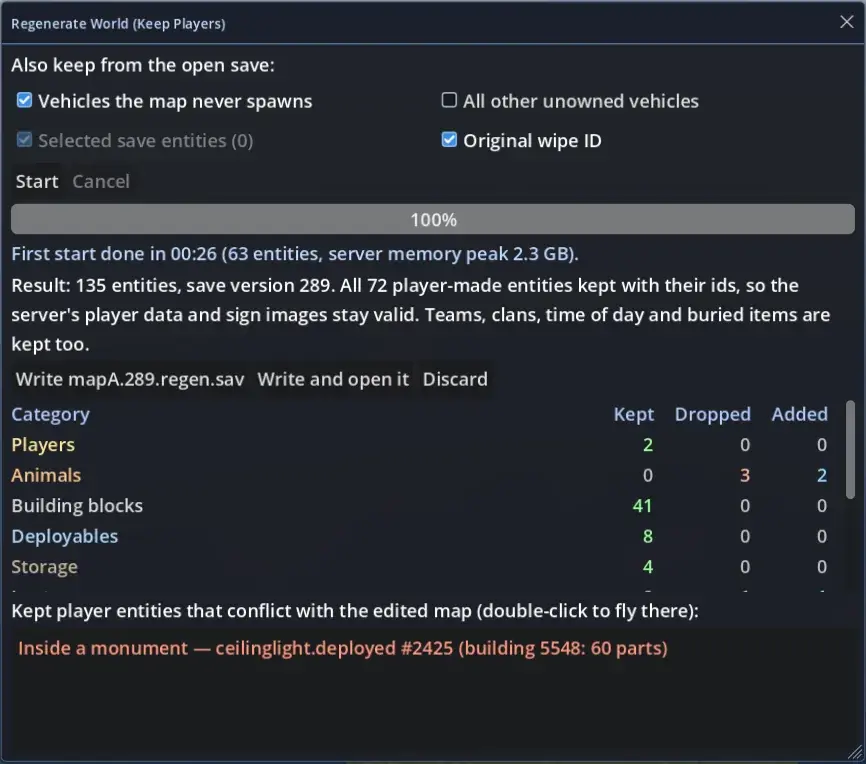
  • Regenerate the world, keep the players: a fresh world for the map as you edited it, while every base, sleeper and owned vehicle stays.
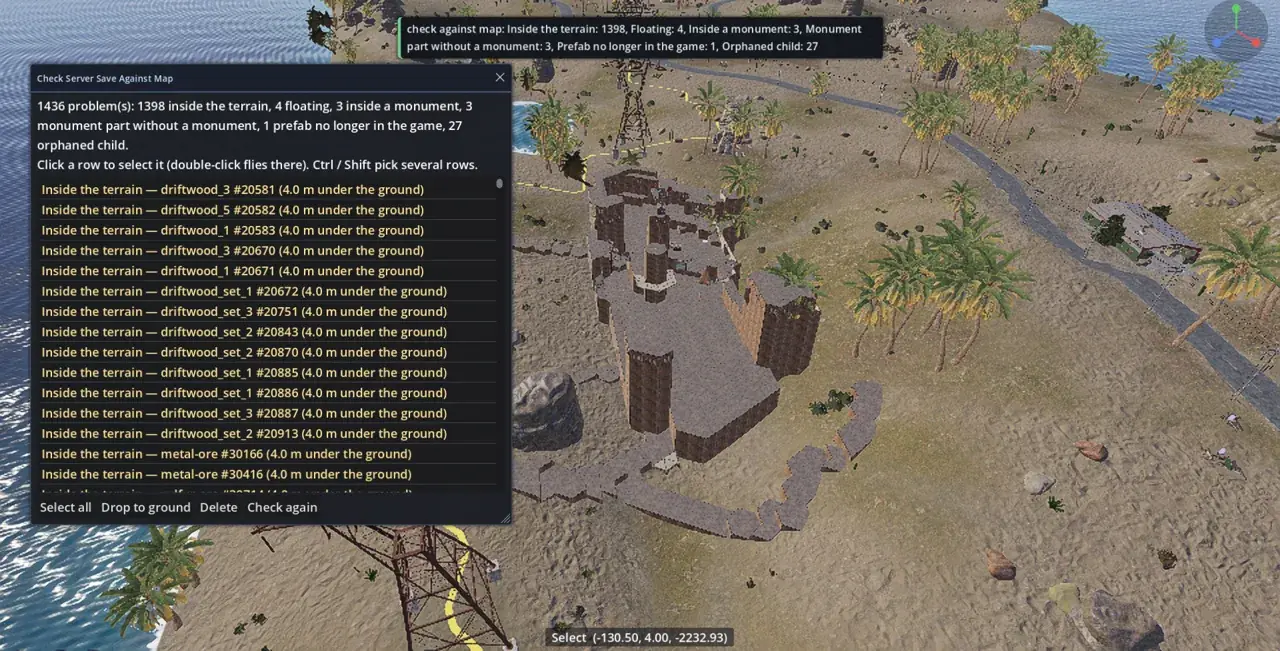
  • Check a save against the map: see what your map edits broke before the server starts.
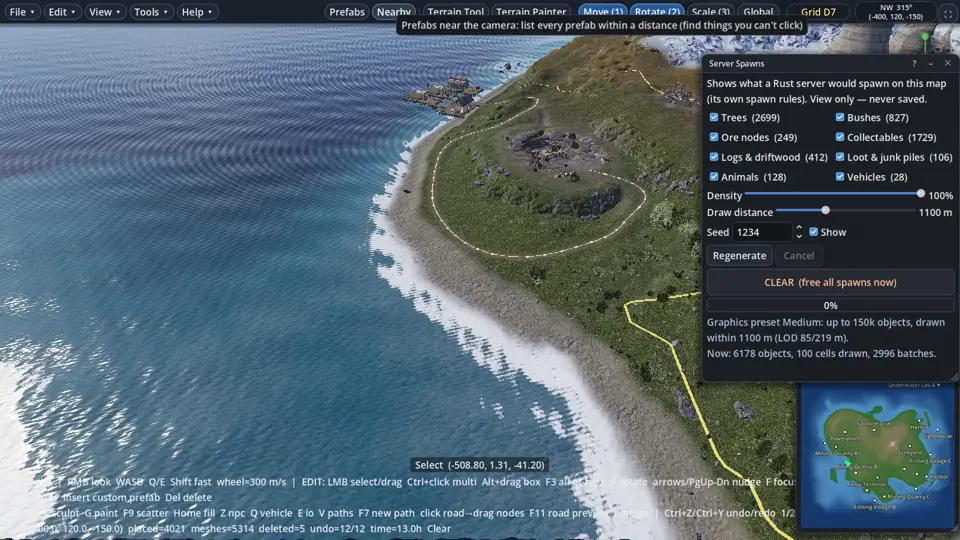
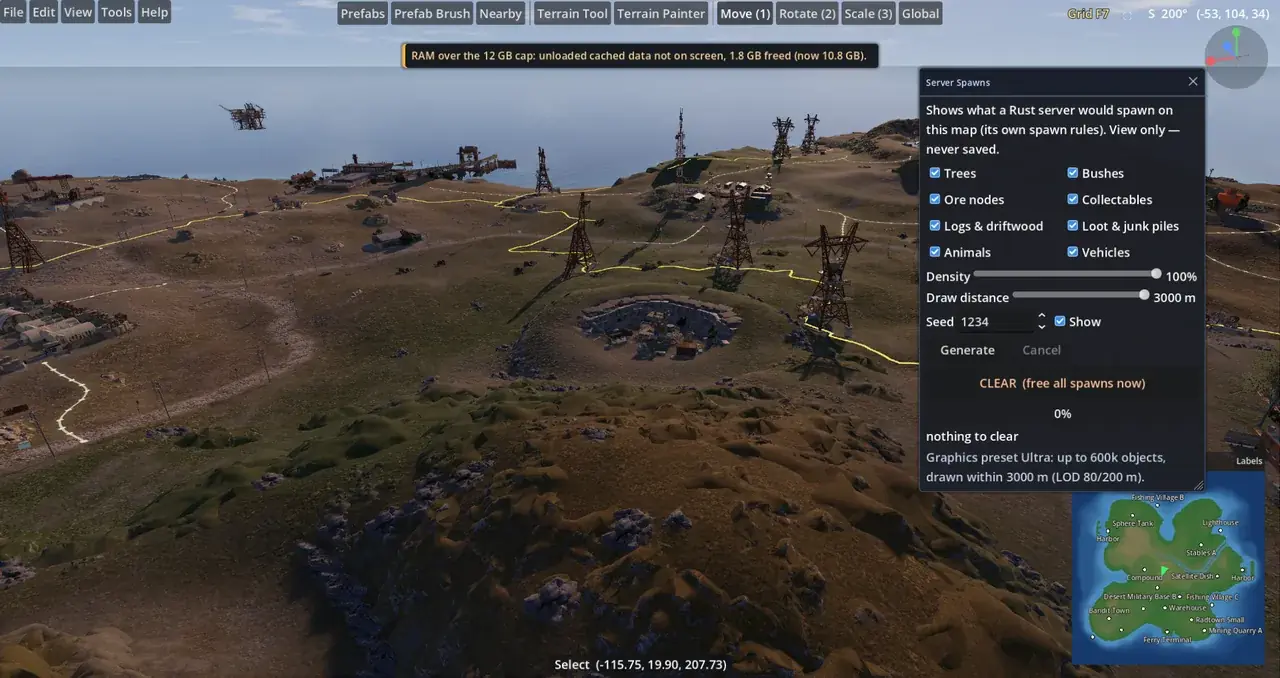
  • Server Spawns: see the trees, bushes, ores, loot, animals and vehicles a server would spawn.
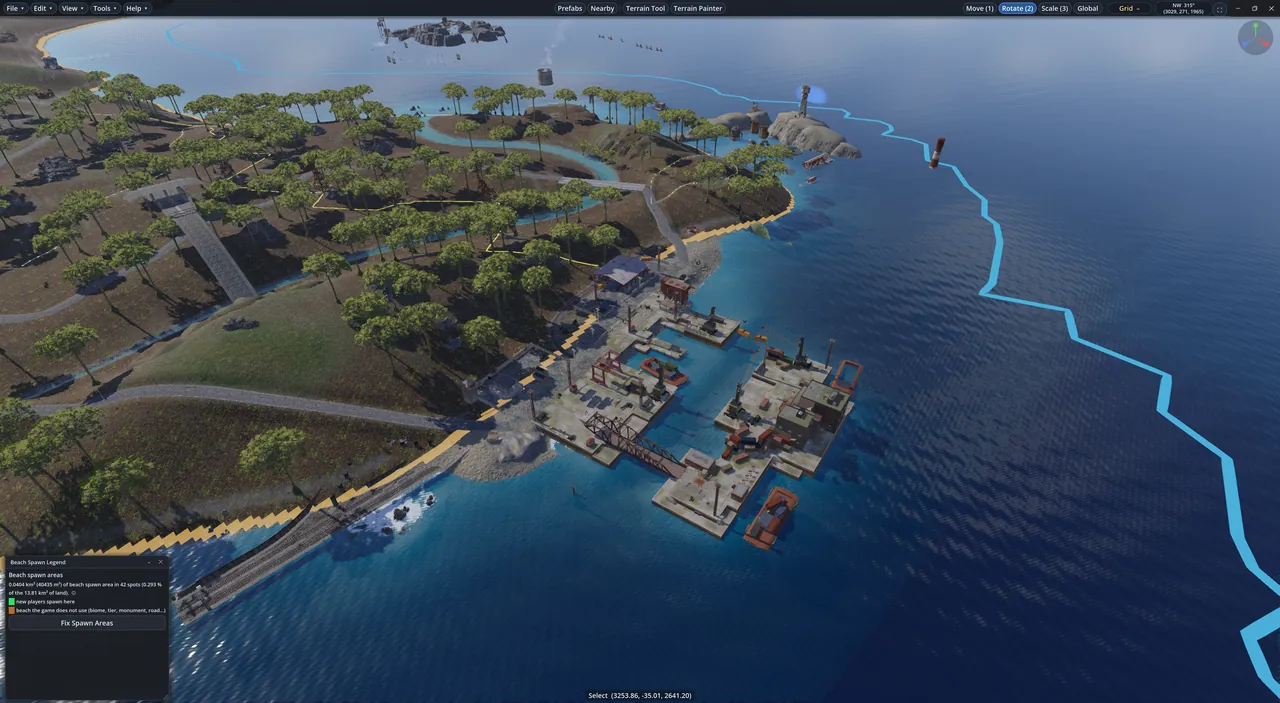
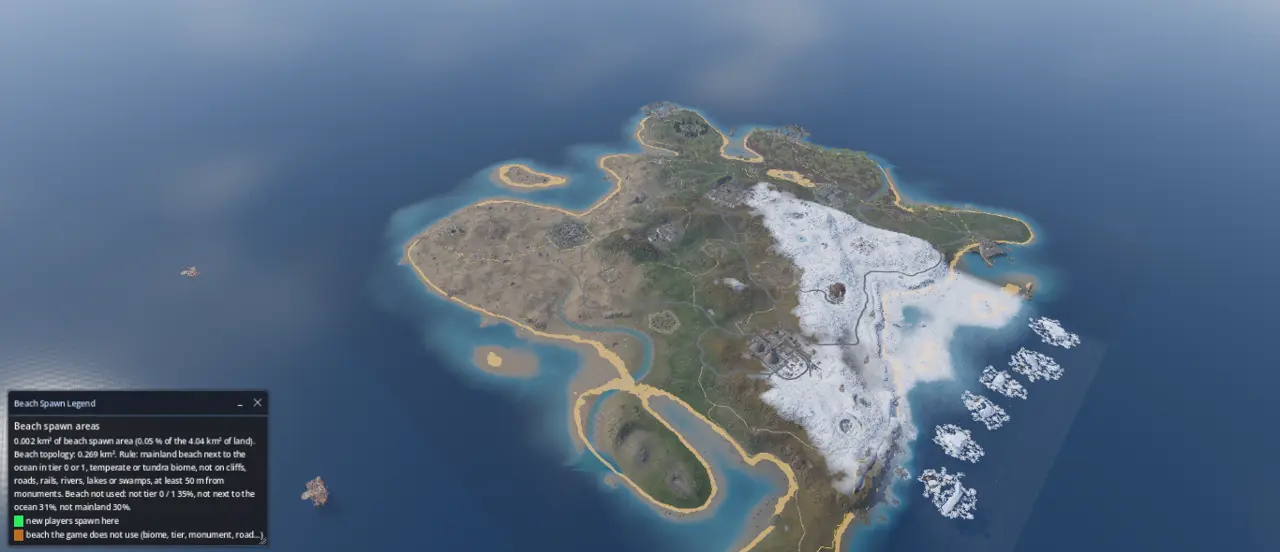
  • Beach spawn areas: see where new players spawn and fix maps where they would spawn in the ground.
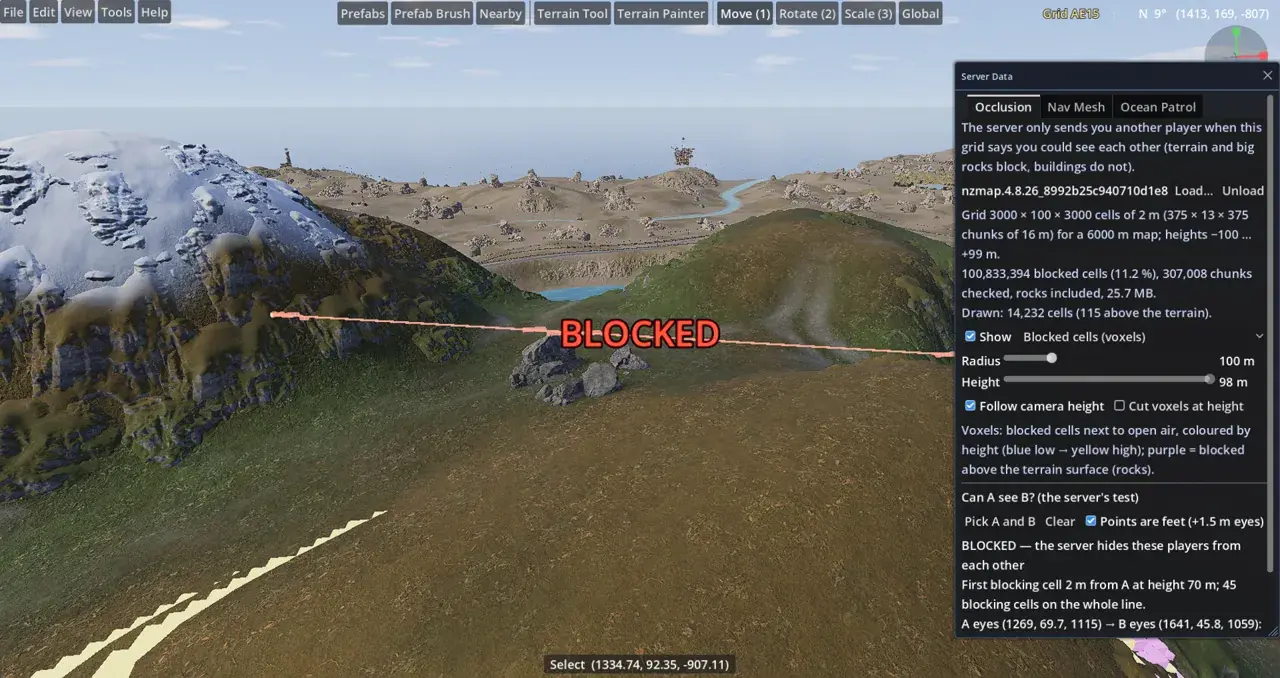
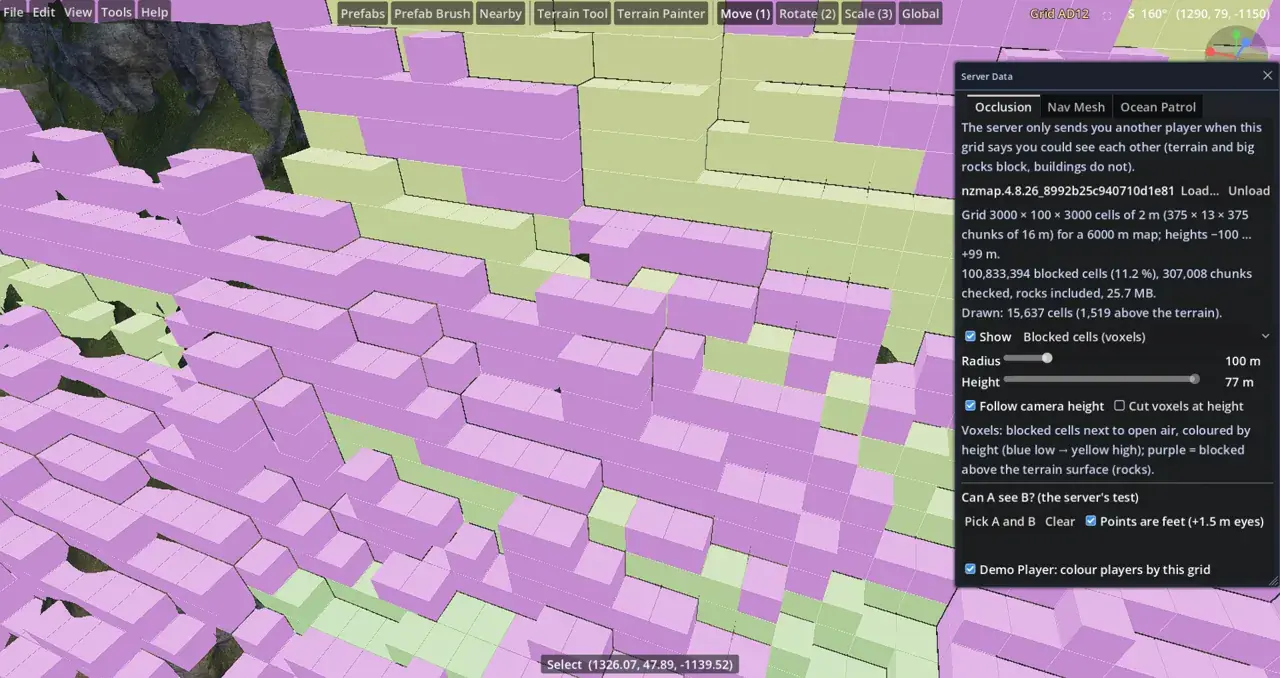
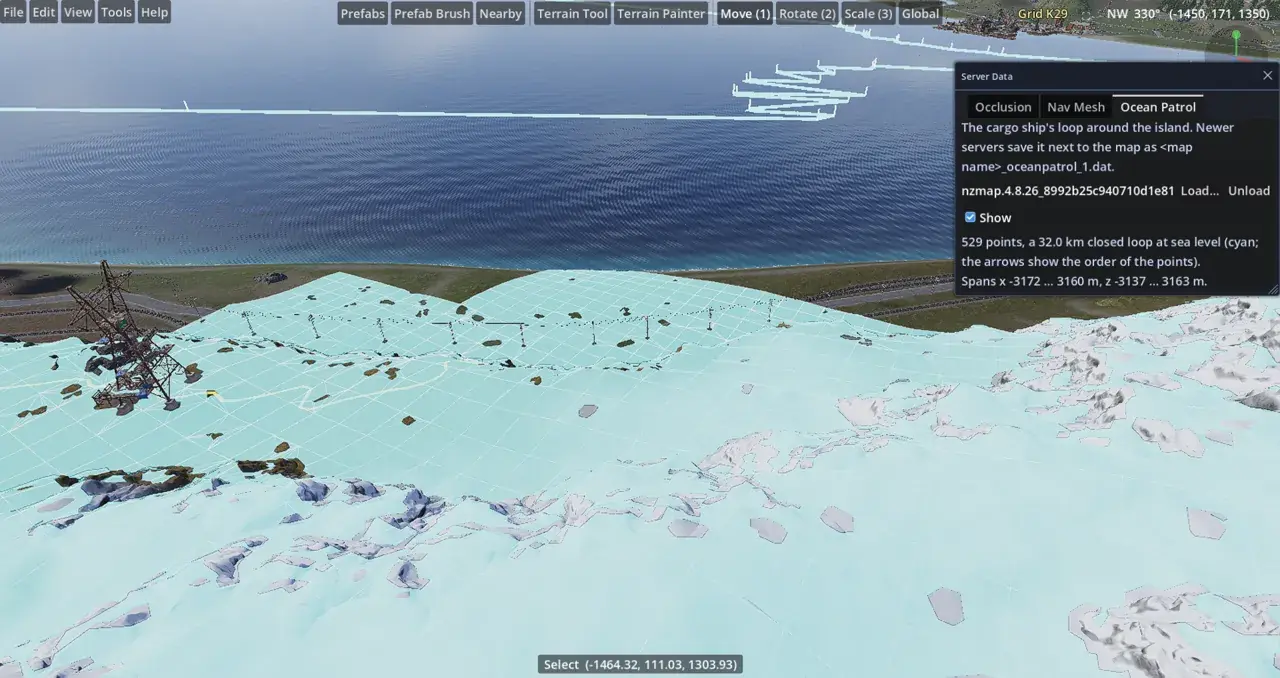
  • Server occlusion and nav mesh: see the helper files a server makes for your map.
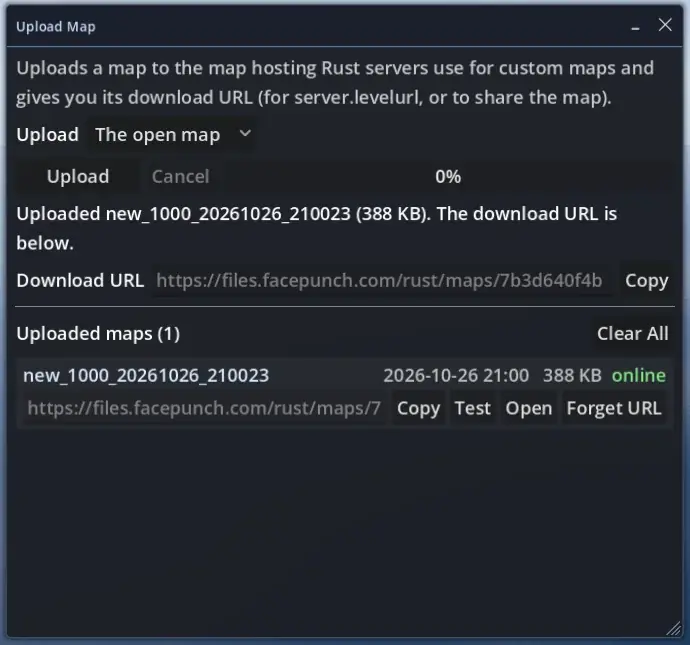
  • Upload Map: upload a map and get the download link for your server.
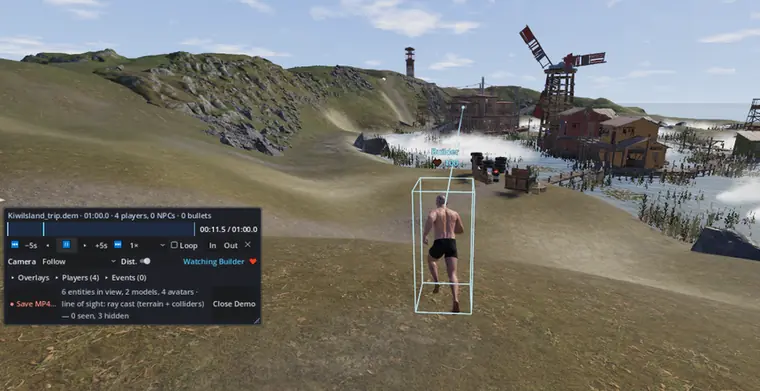
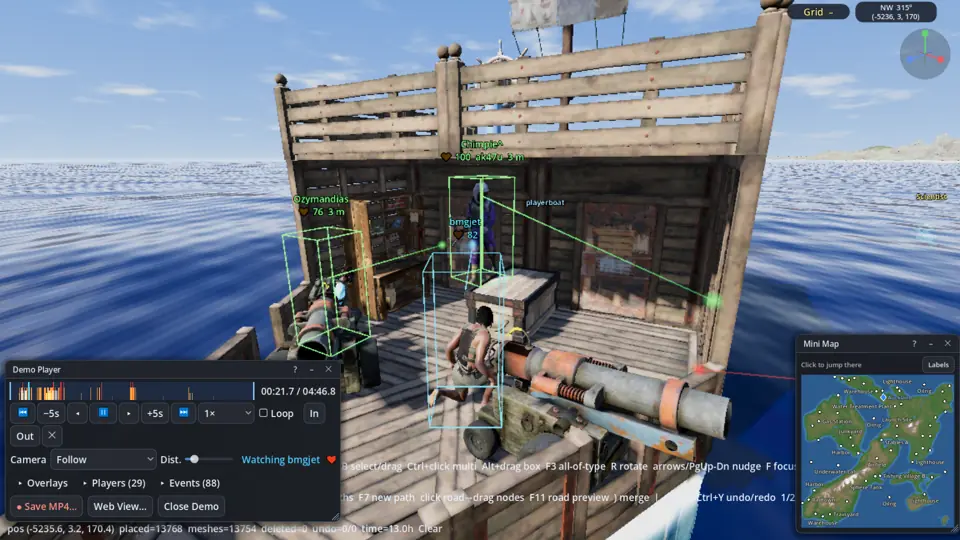
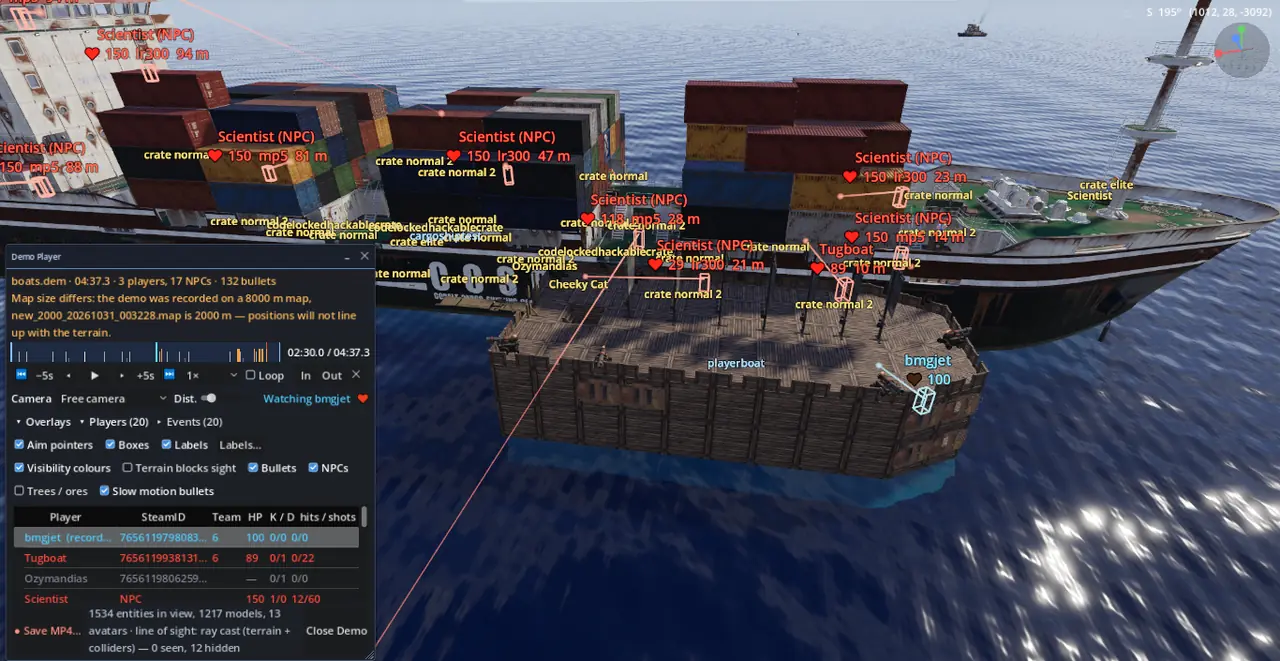
  • Demo Player: review a recorded demo like a video, from any player's point of view.
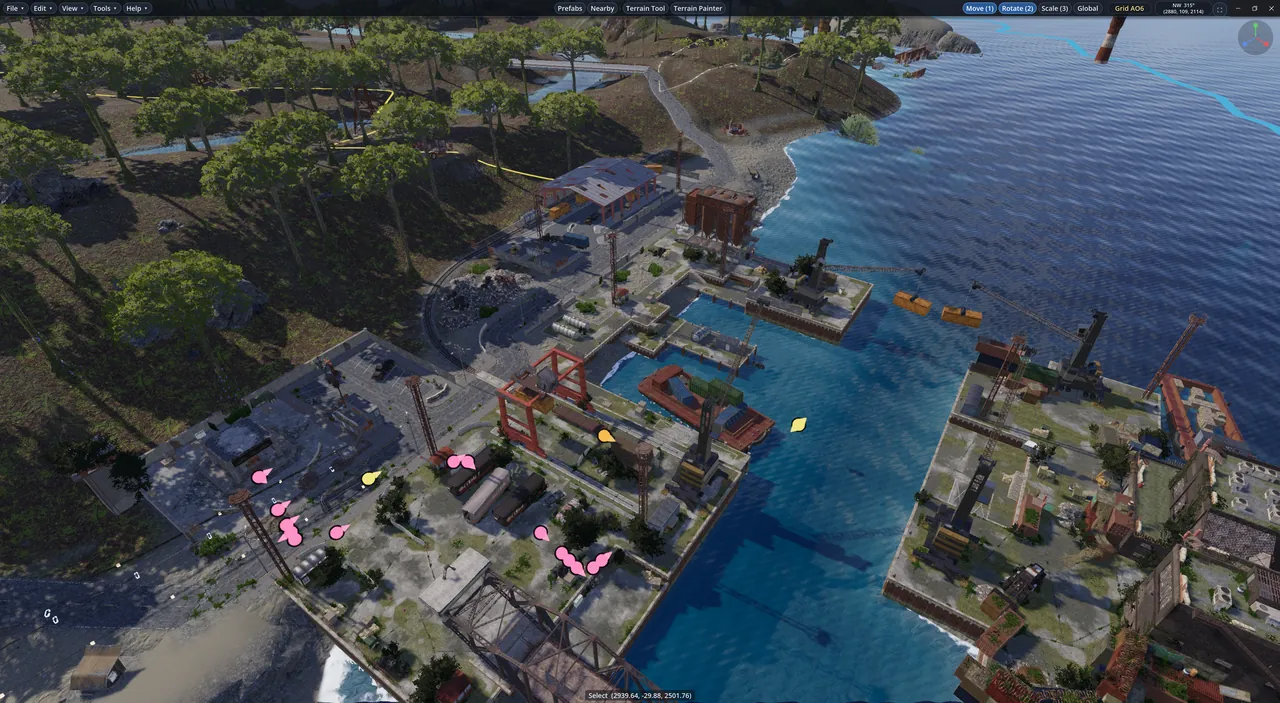
A live server's players and entities in the Relay Server

Play mode and simulations 14

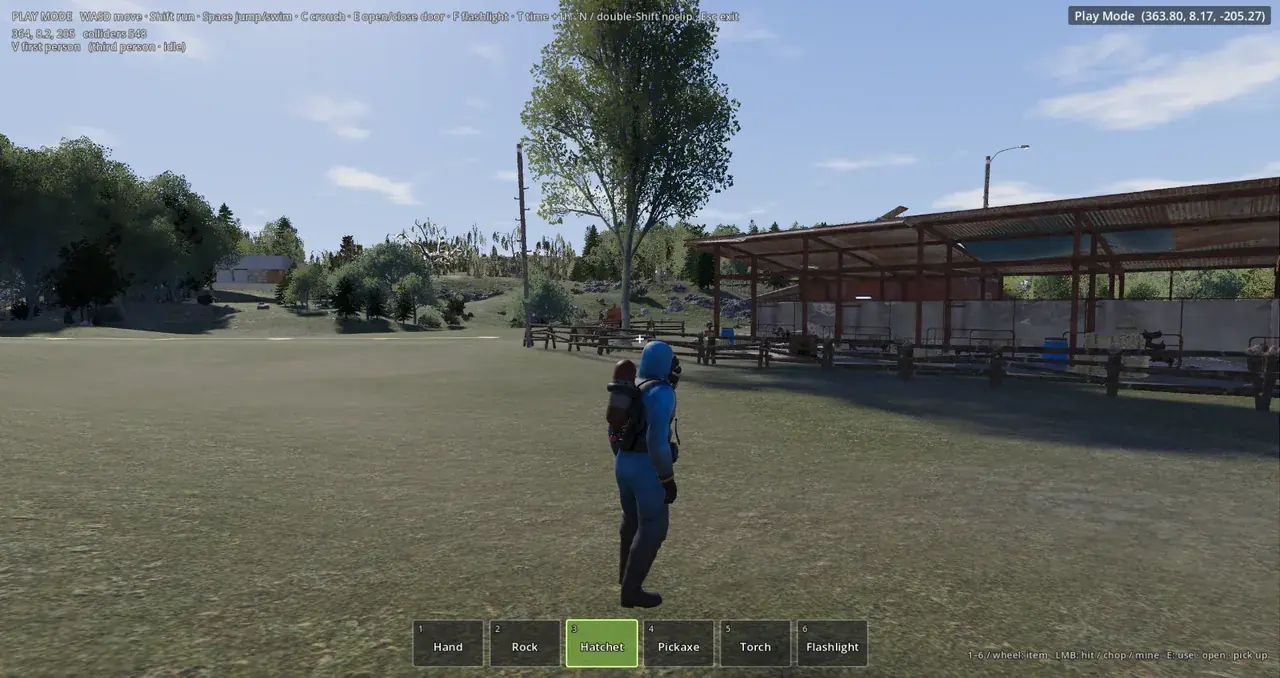
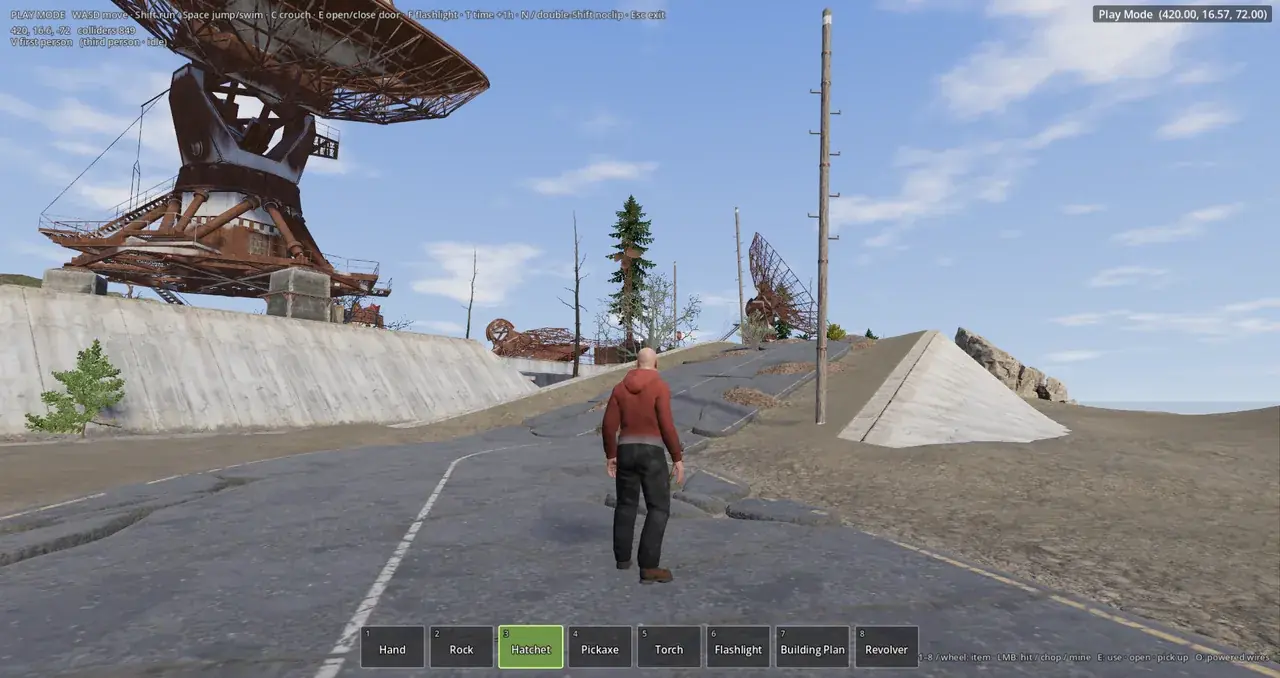
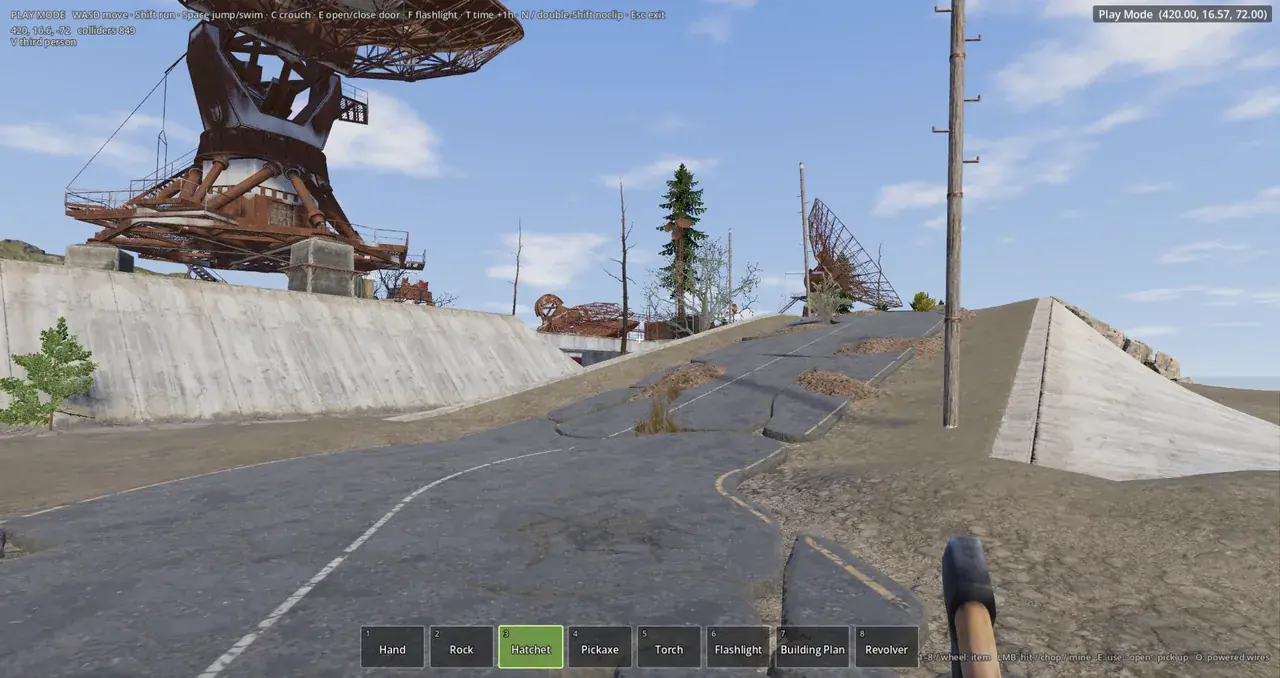
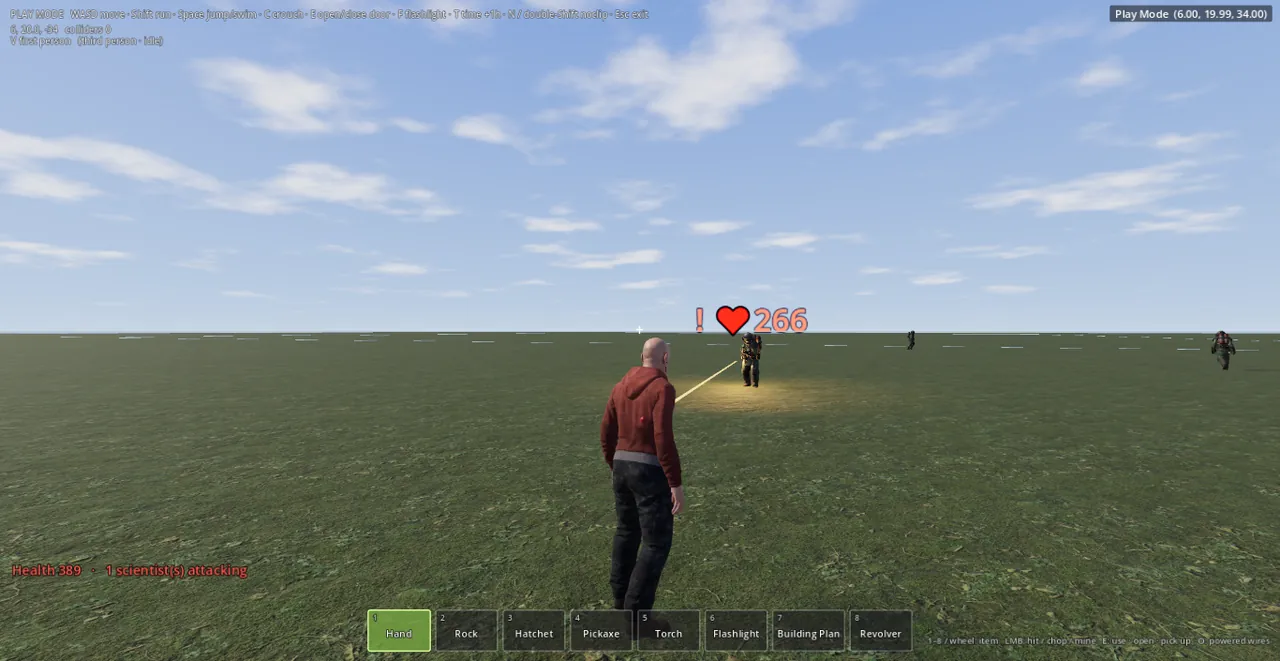
  • Play Mode: walk your map with Rust's real colliders, in first or third person: climb, swim, open doors.
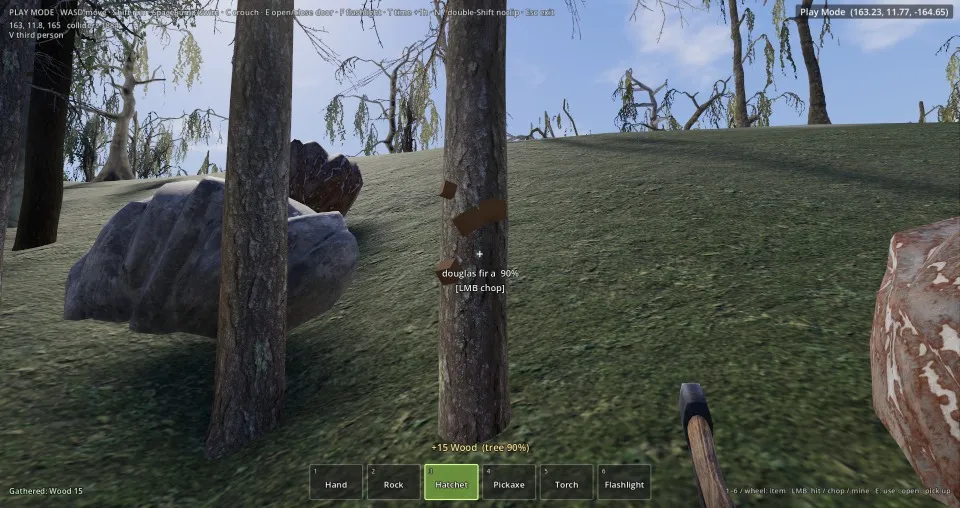
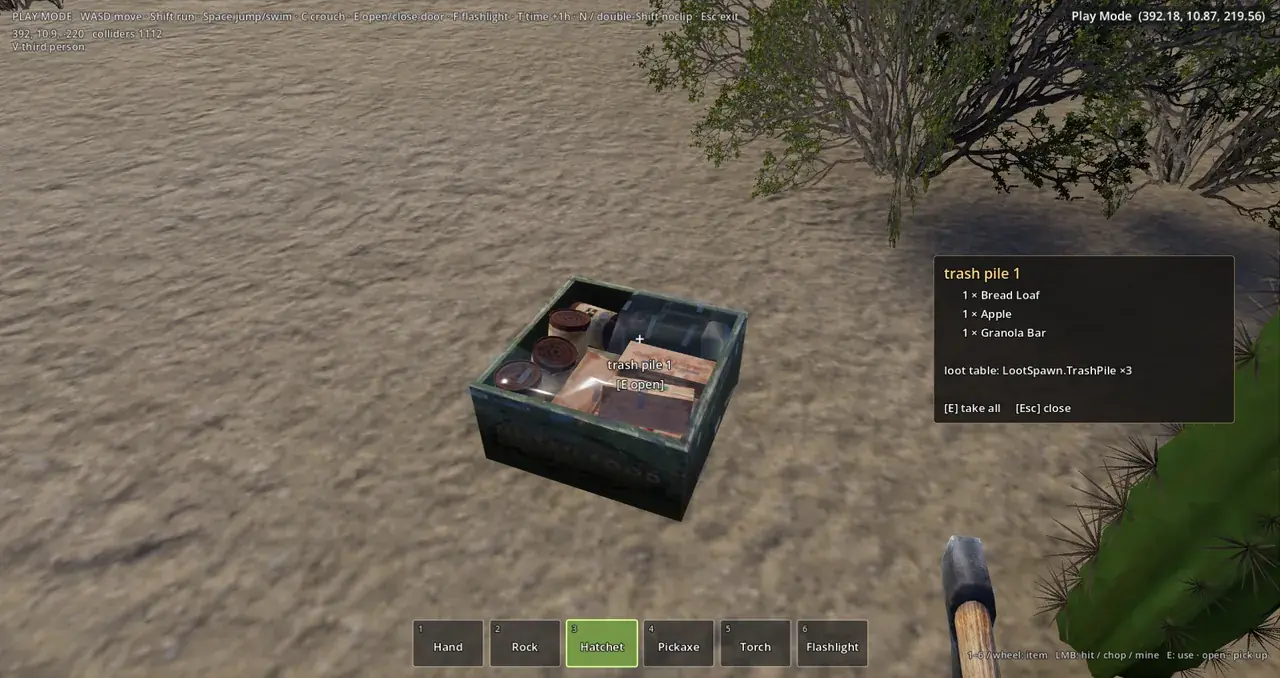
  • Hotbar and resources: chop trees, mine ores, break barrels, open crates and pick up collectables.
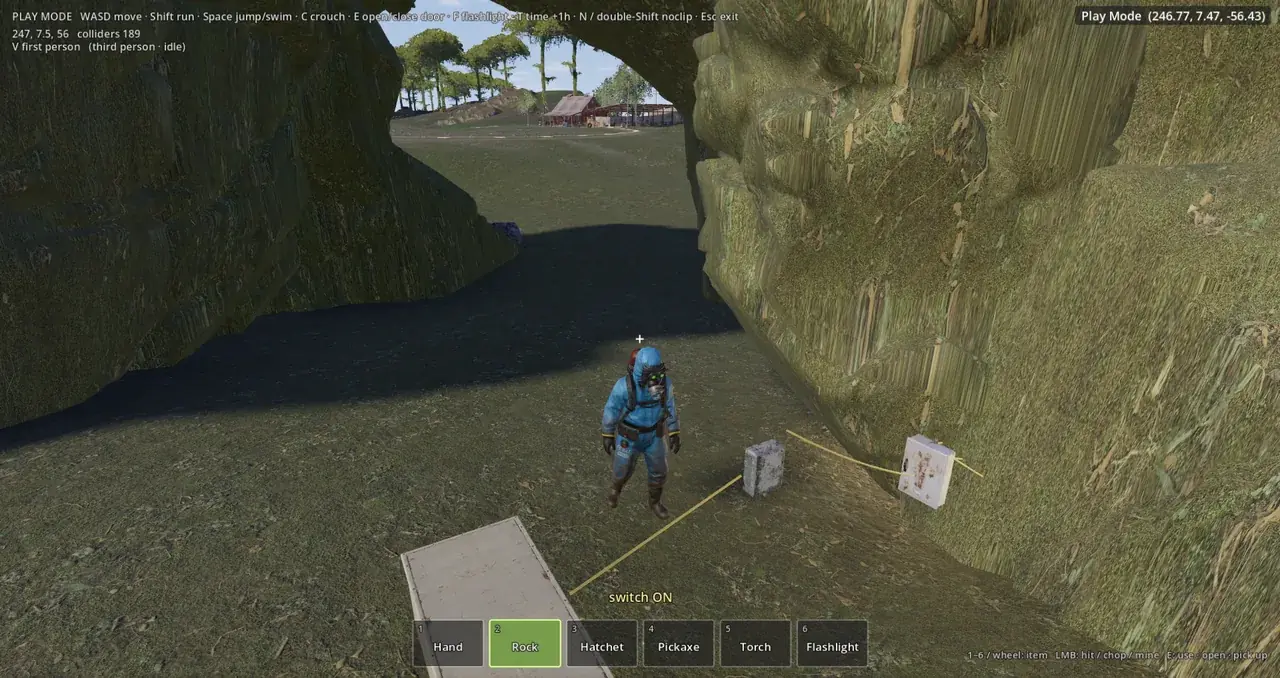
  • Working circuits and puzzles: flip switches, swipe cards and watch lights and doors react, in monuments too.
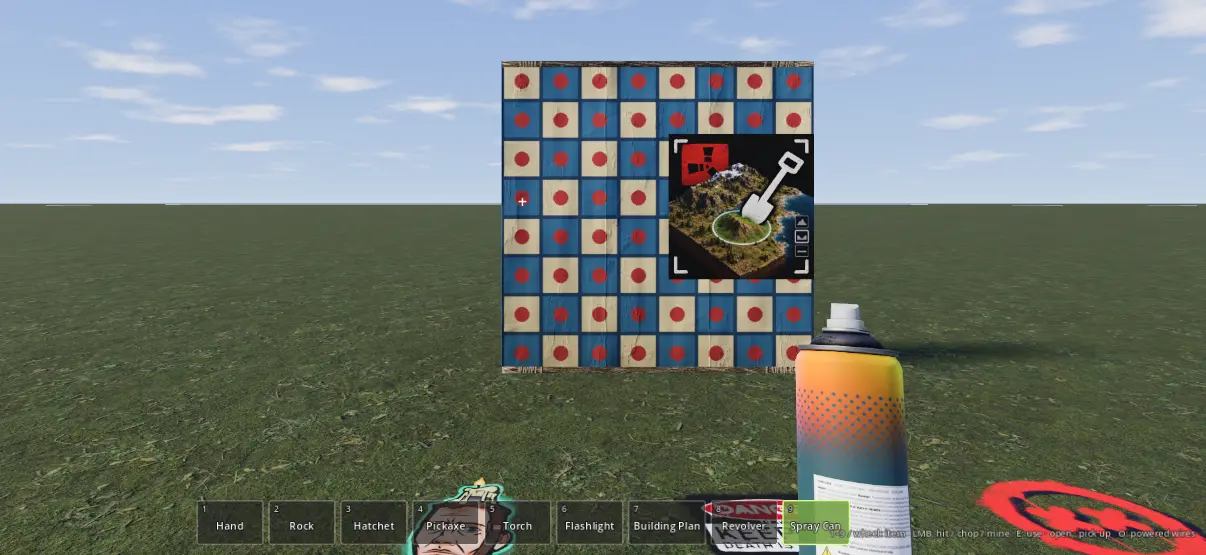
  • Spray can in play mode: walk up to a wall and spray, then keep the sprays in the map or wipe them.
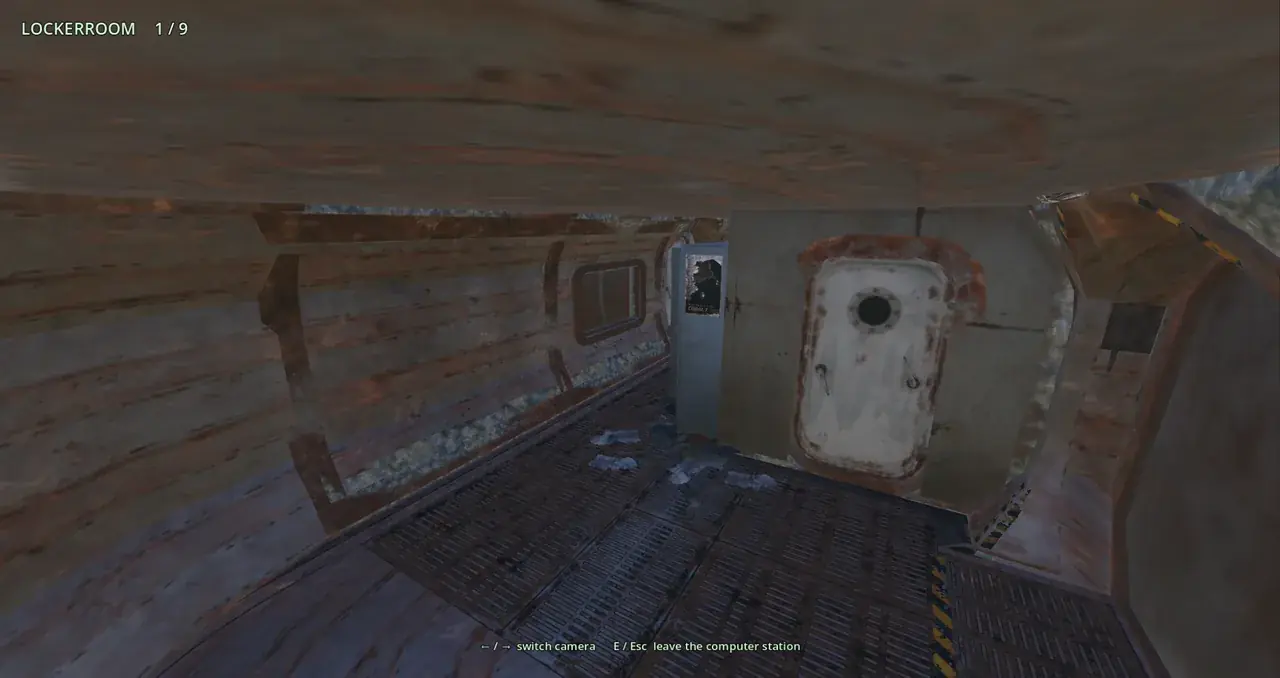
  • Computer stations and CCTV: sit down and look through a monument's cameras.
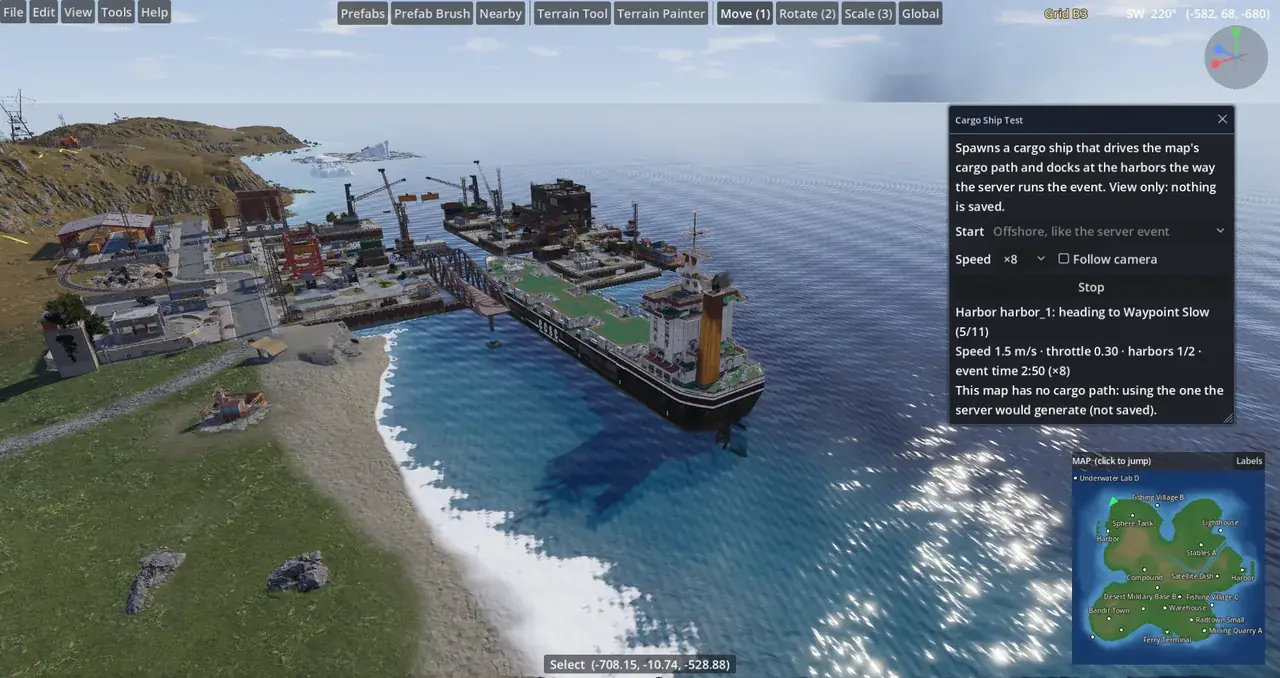
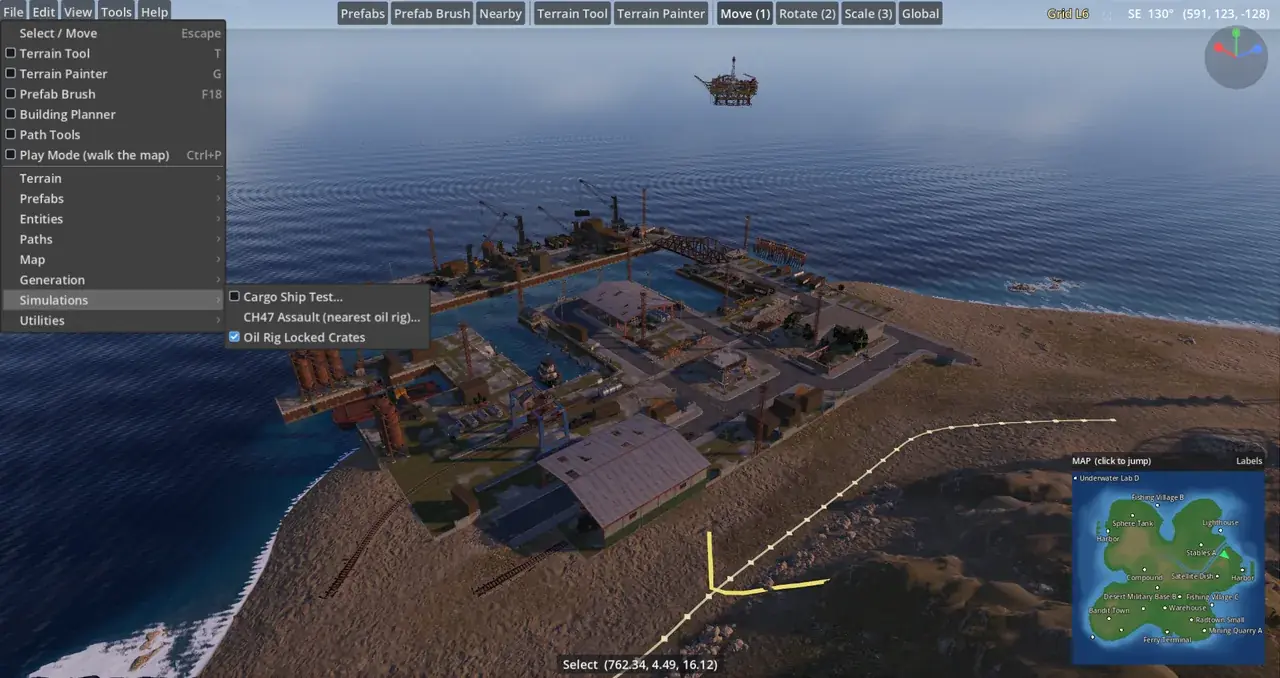
  • Cargo Ship Test: the cargo ship sails your path and docks at the harbors with the server's timings.
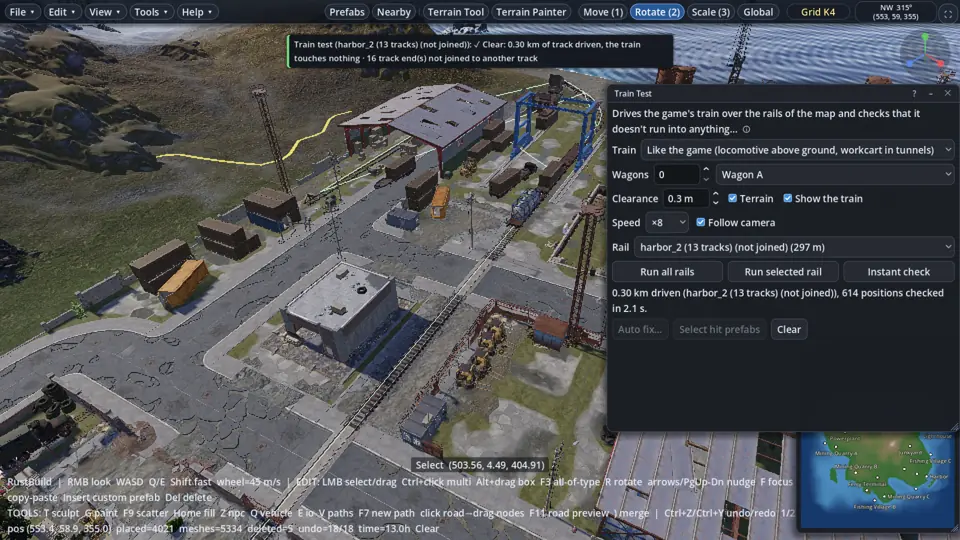
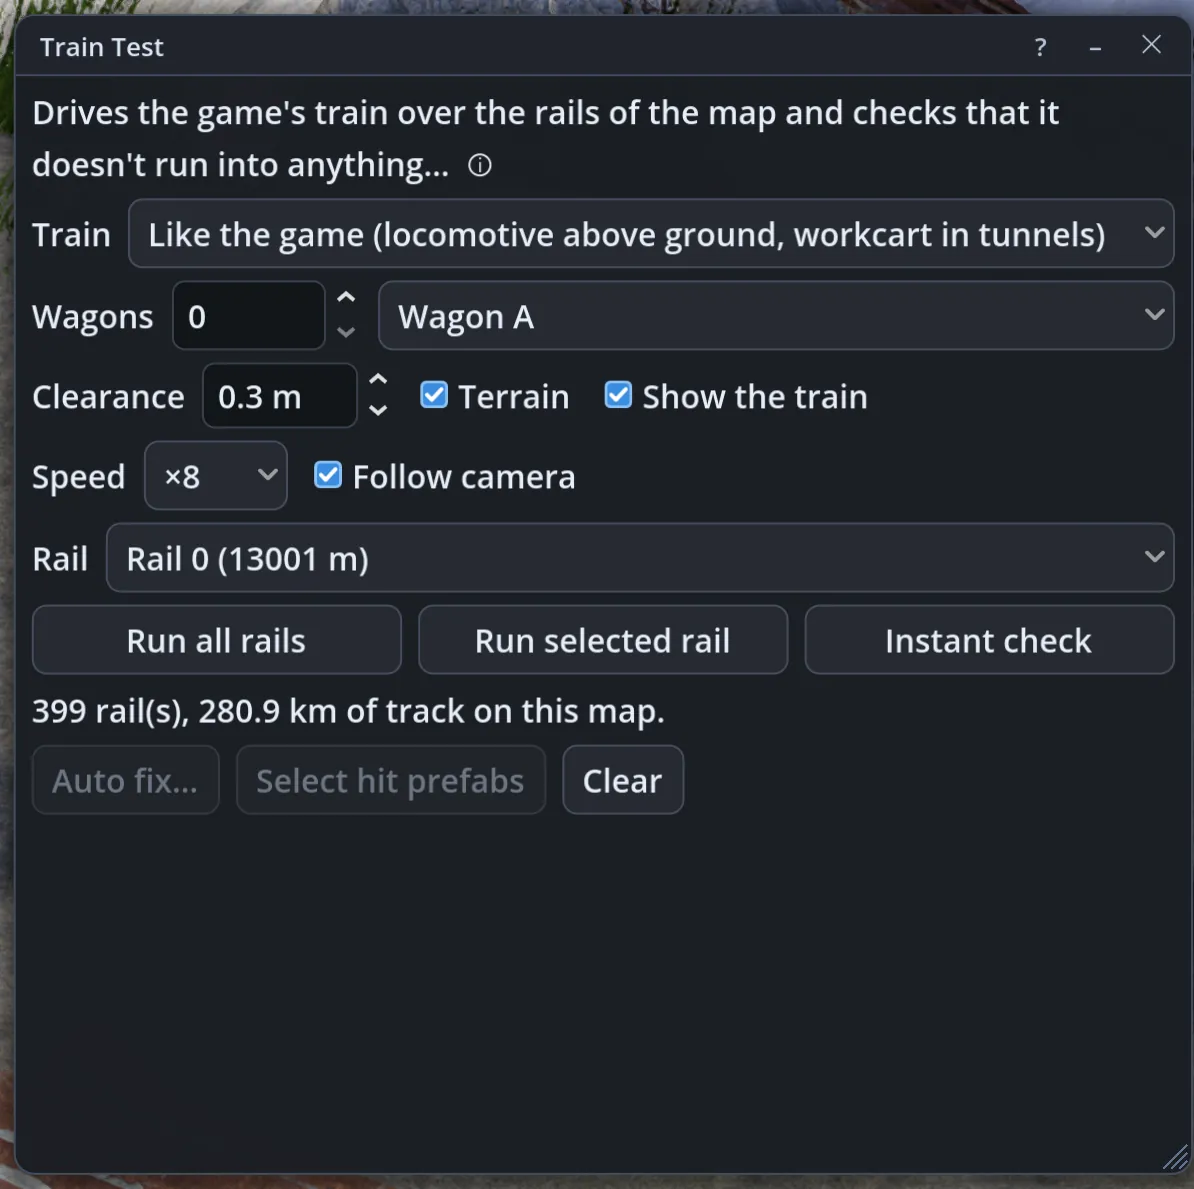
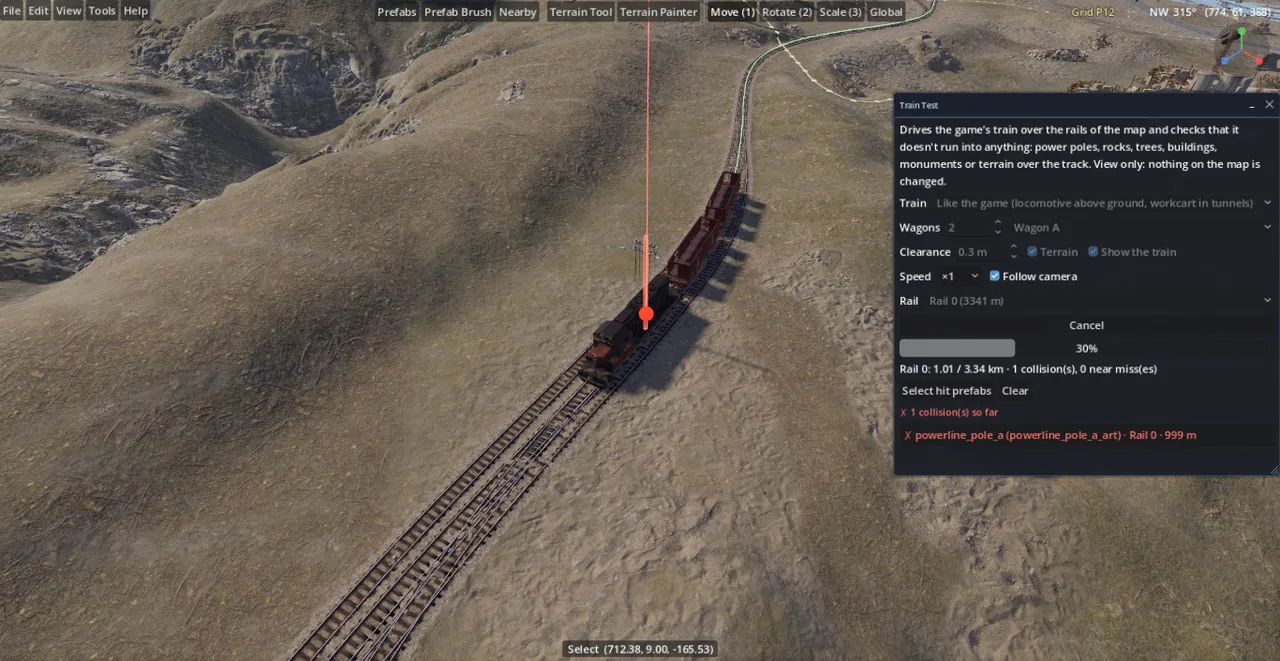
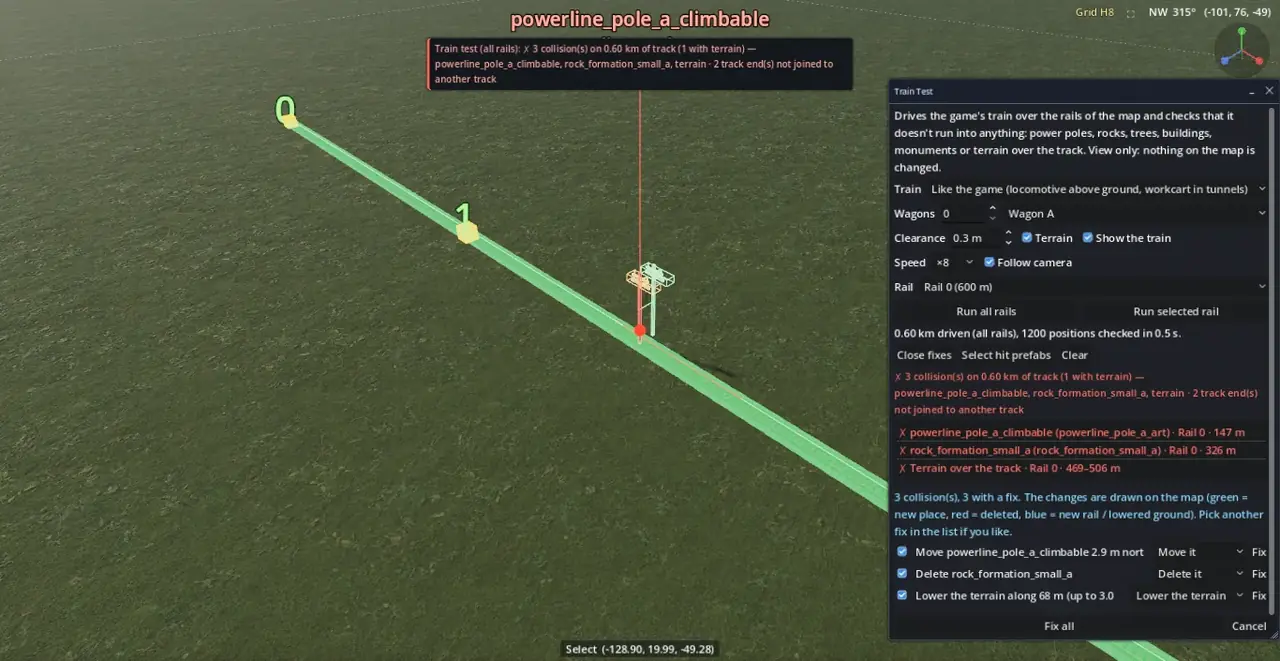
  • Train Test: the train drives every rail, or Instant check tests them all at once; Auto fix clears the way.
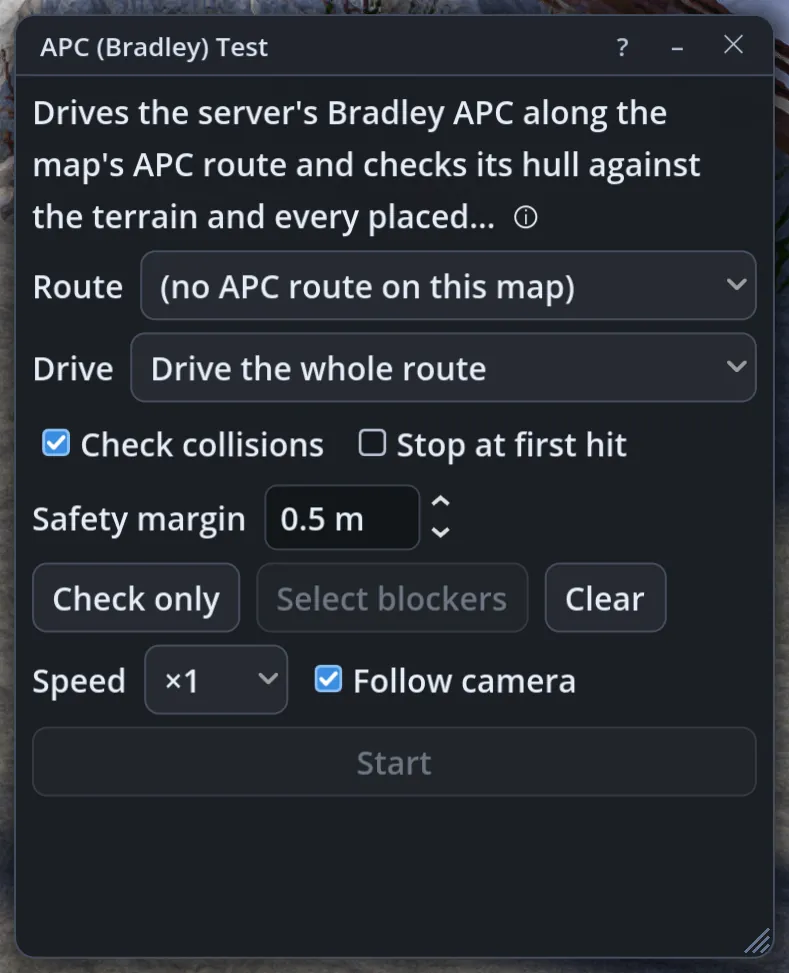
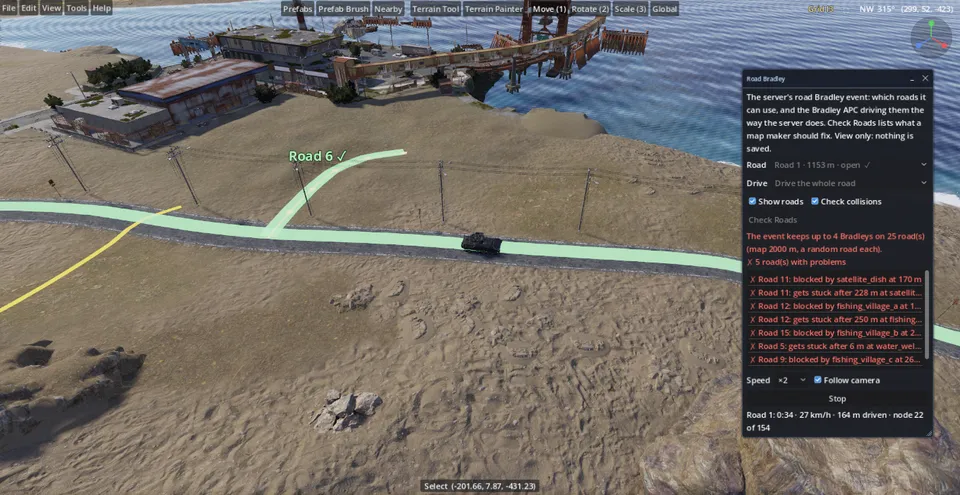
  • APC (Bradley) Test: the Bradley drives its route and is checked against the terrain and every prefab.
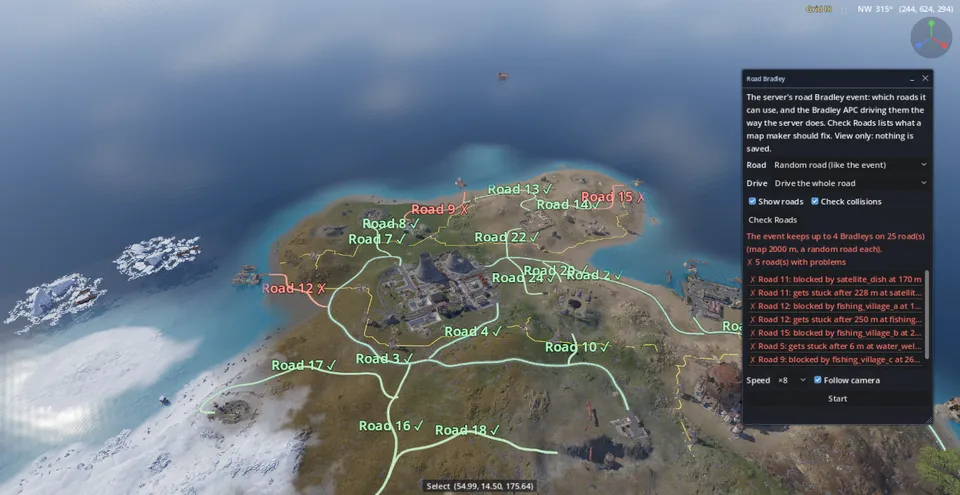
  • Road Bradley: see which roads the road Bradleys can patrol and what to fix.
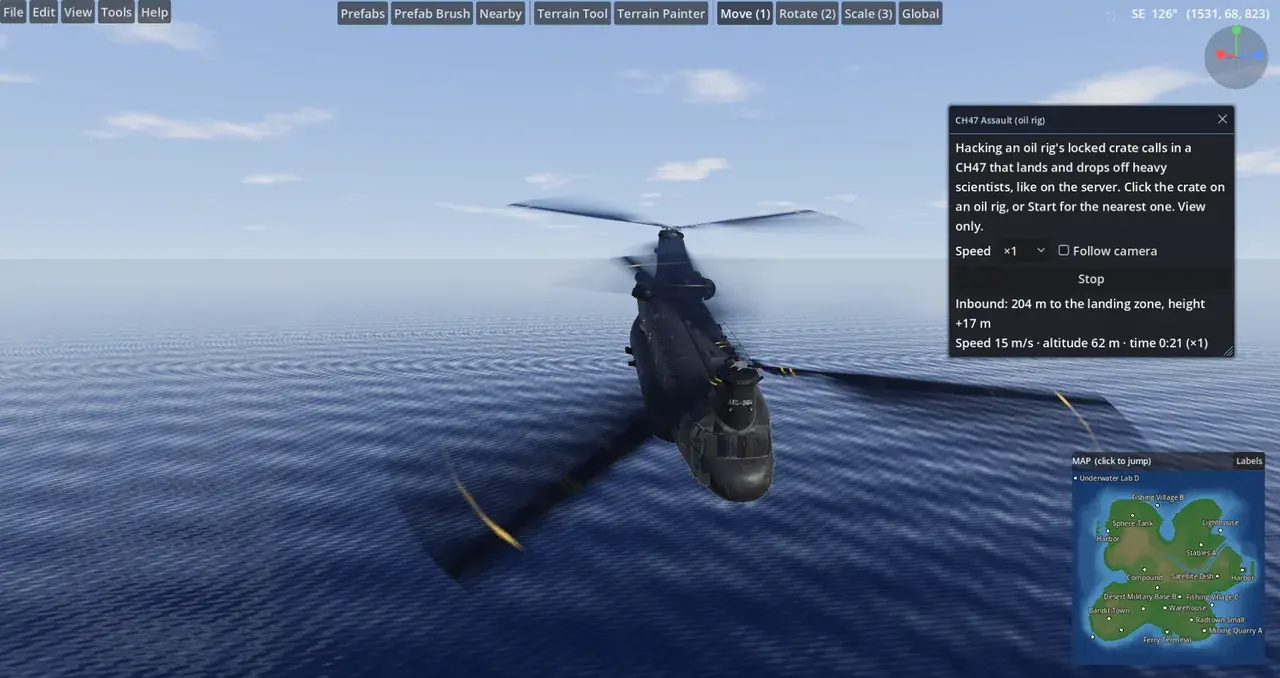
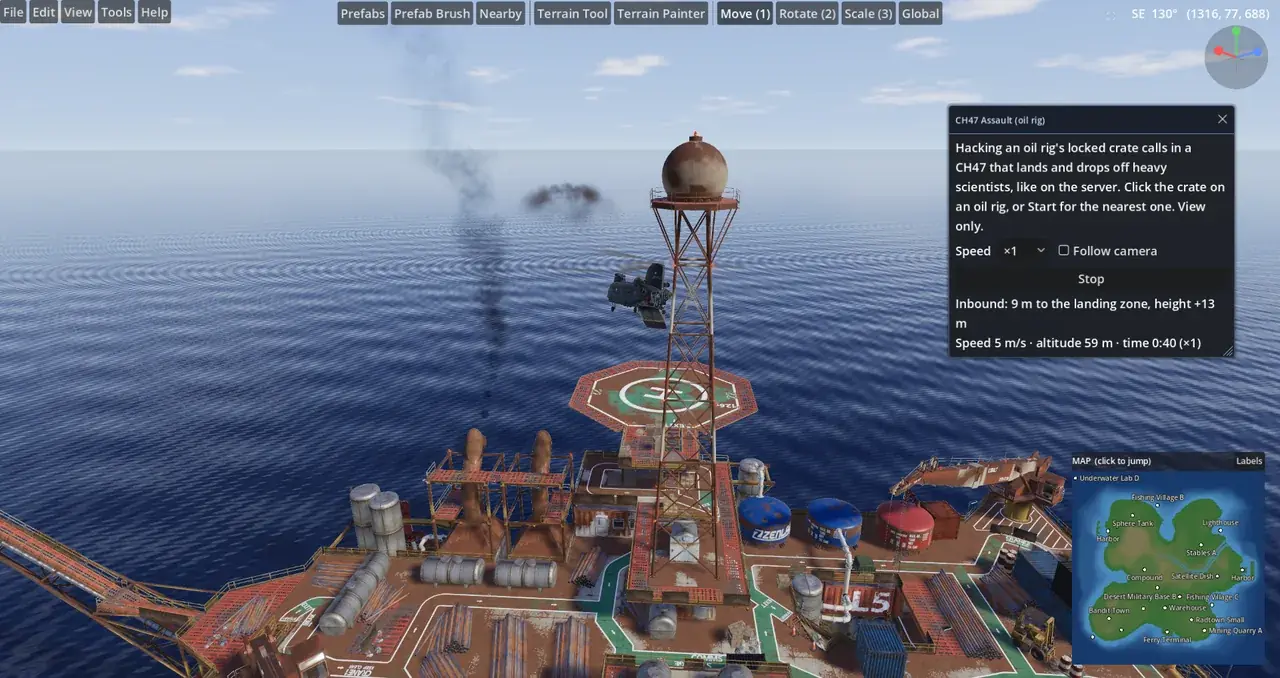
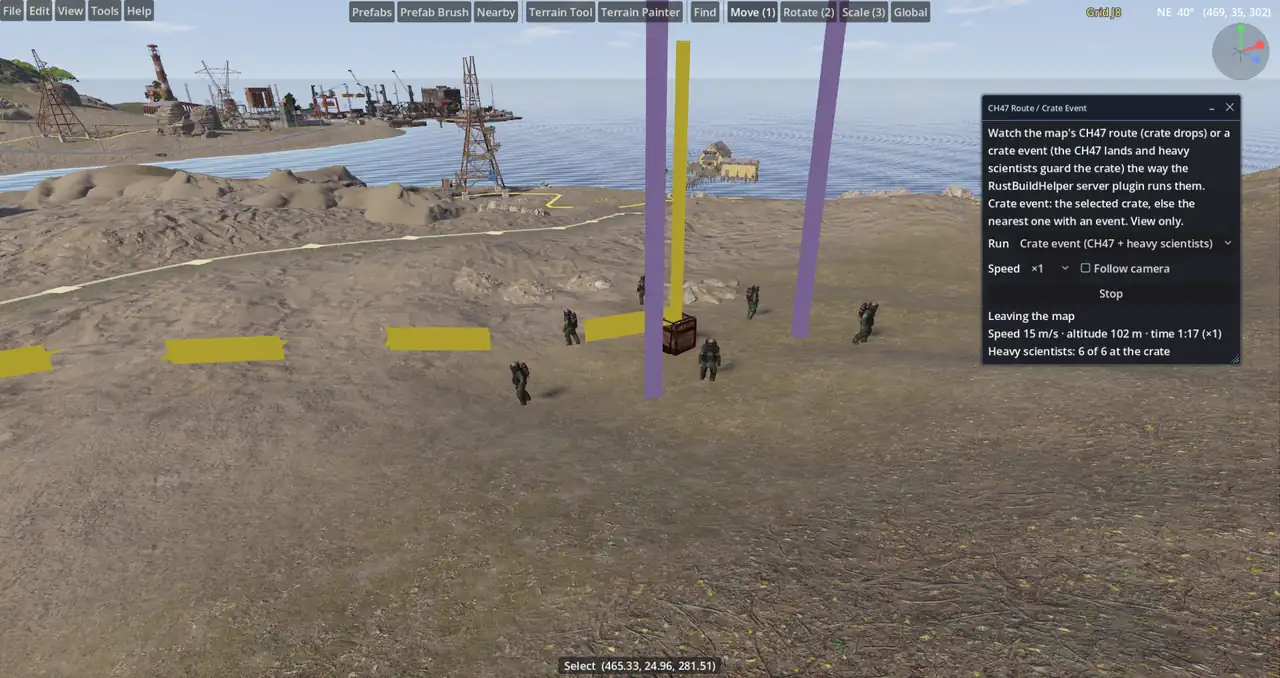
  • Oil rig CH47: hack the oil rig crate and watch the CH47 fly in and drop heavy scientists.
  • CH47 route and crate event runs: watch your own CH47 route and crate events work before you host.
  • Time and weather: check your map at dawn, at night, in fog or in a storm.
  • Tunnel and underwater light: the view changes like in the game in tunnels, buildings and under water.
  • Cinematic Mode: camera paths and smooth MP4 fly-through videos of your map.
Train Test drives the game's train over a rail of the map

Co-op, voice and Remote Control 11

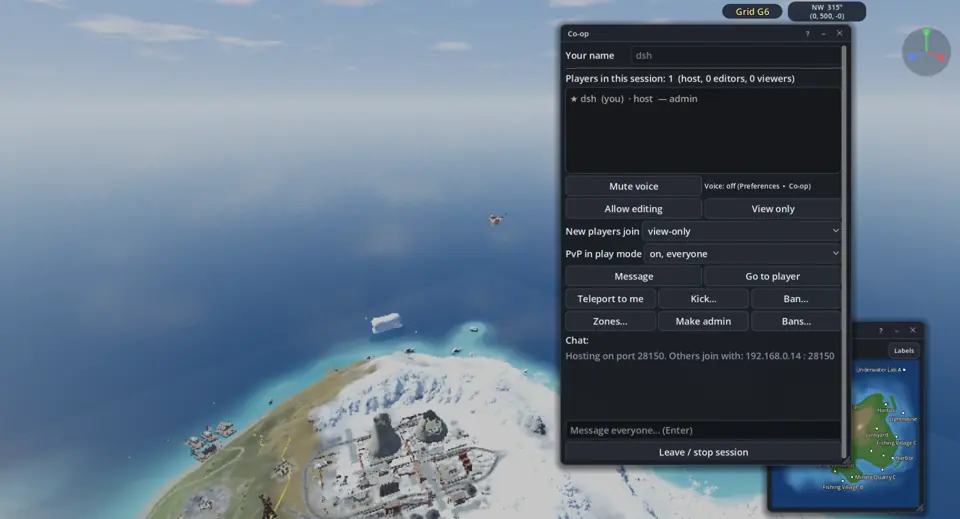
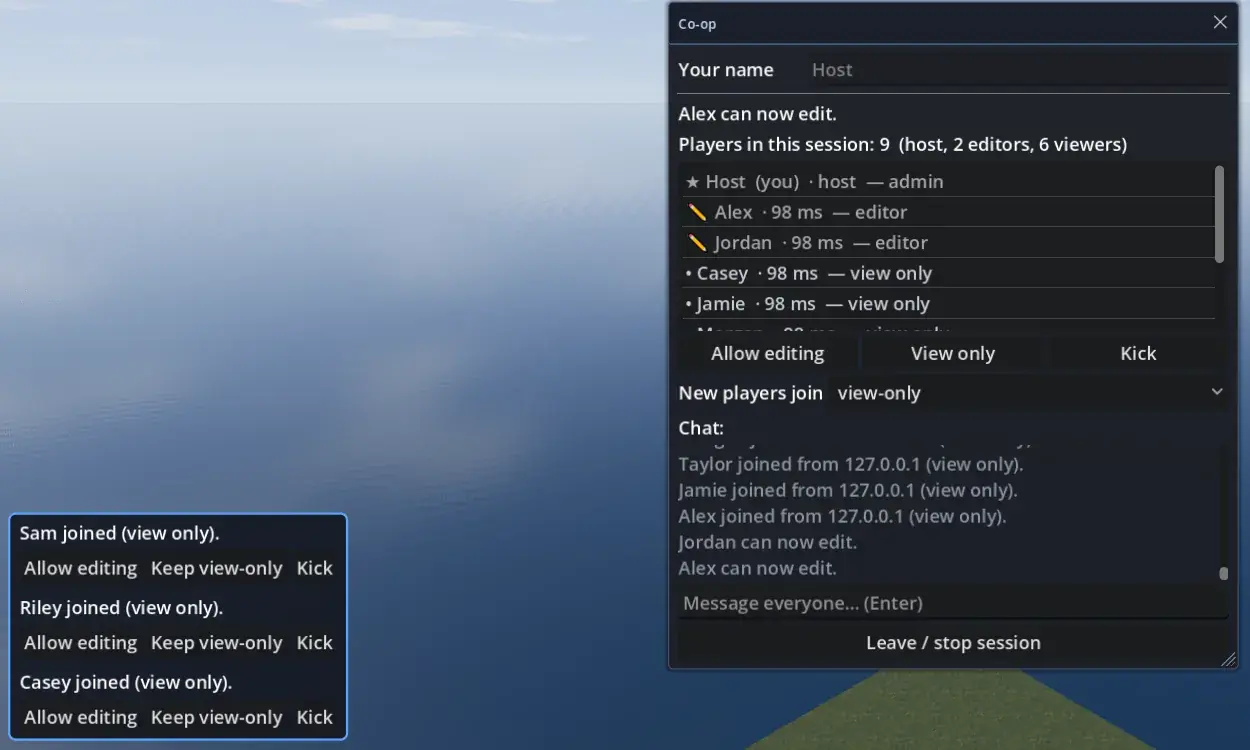
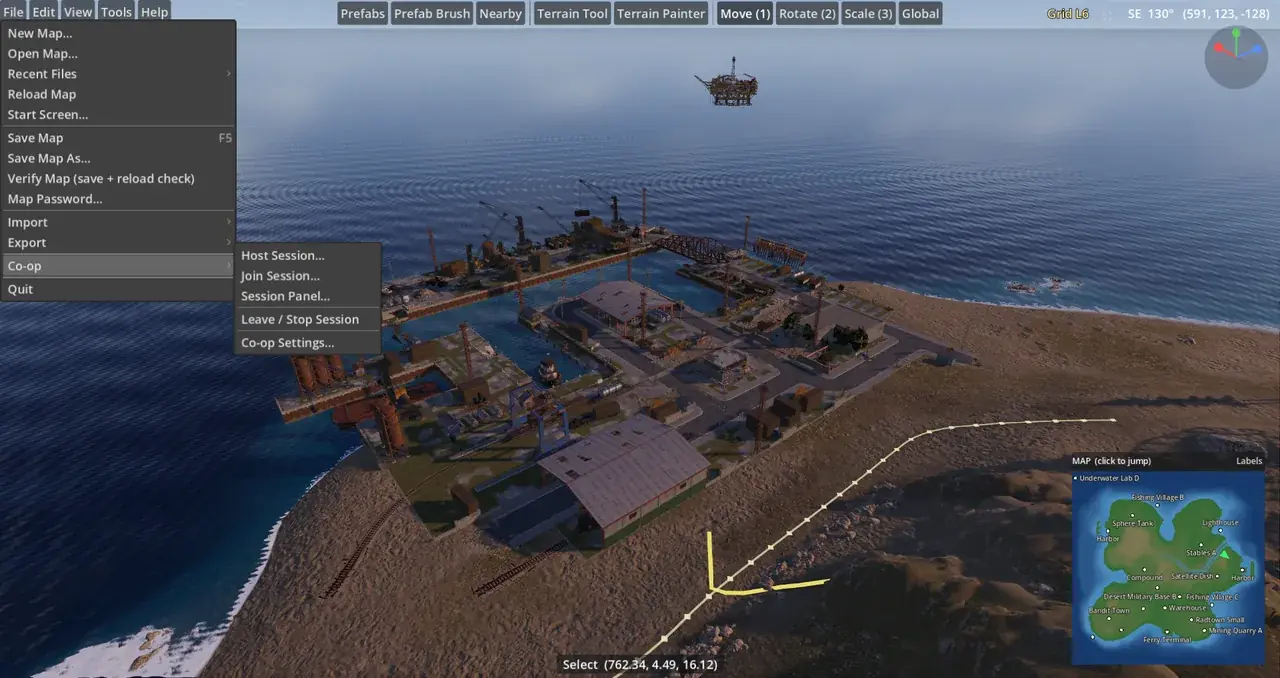
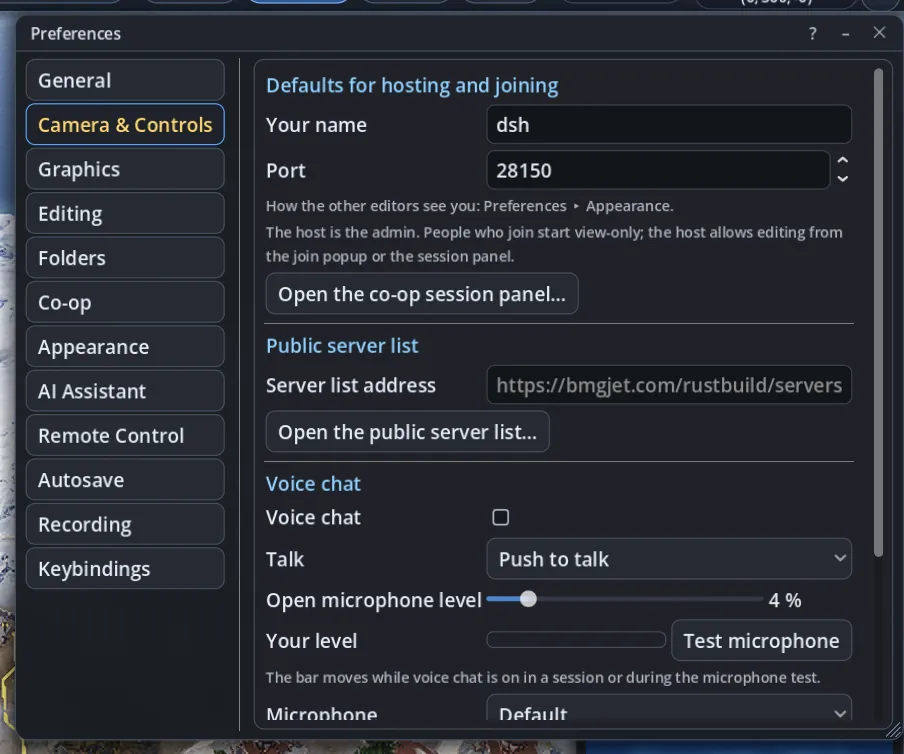
  • Live co-op editing: share the open map and edit it together, every change synced as it happens.
  • Server browser: public sessions anyone can join, plus your favorites: no IP addresses to swap.
  • Roles: host, editors and viewers; the host checks every change.
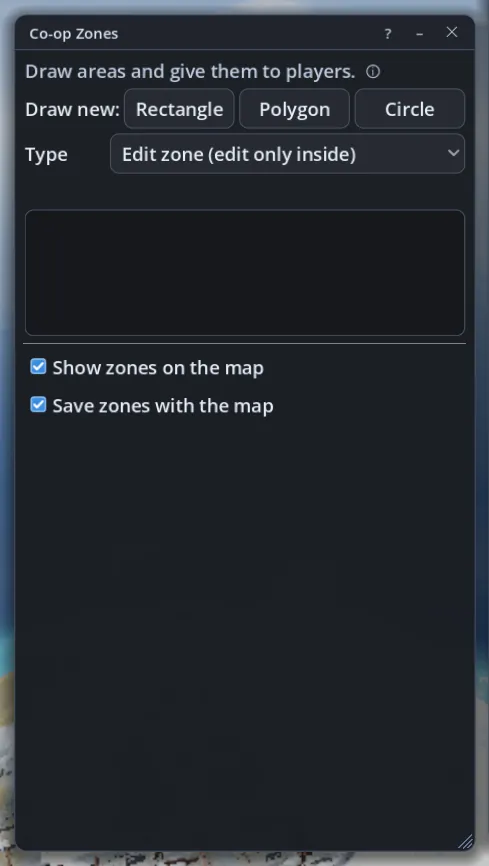
  • Zones: let a player edit only inside an area, or keep them inside it.
  • Admin tools: teleport, go to, kick and ban.
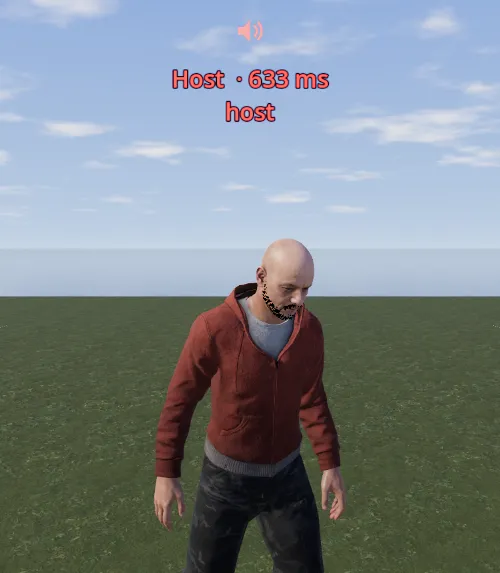
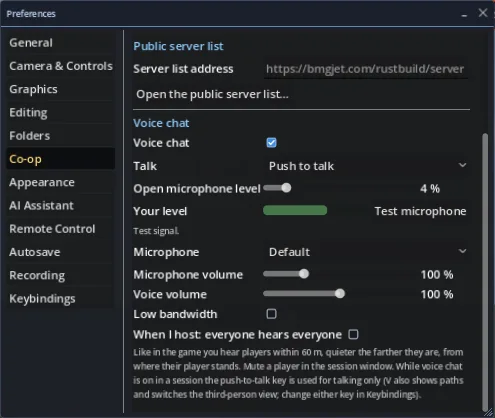
  • Voice chat: hear the players near you from where they stand, and see where they look.
  • Play together: walk the map together in play mode and fight like on a PvP server.
  • Shared simulations: everyone sees the same cargo ship, CH47 or Bradley run and the same spawns.
  • Big sessions: dozens of players in one session, most of them watching.
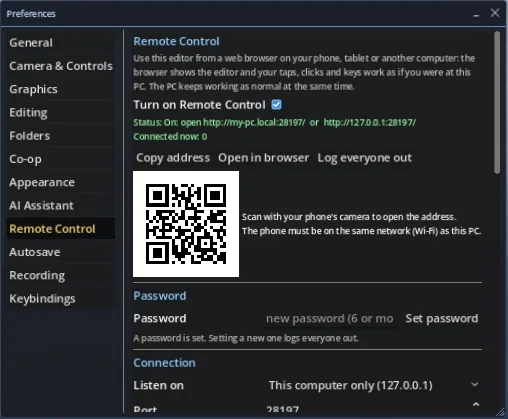
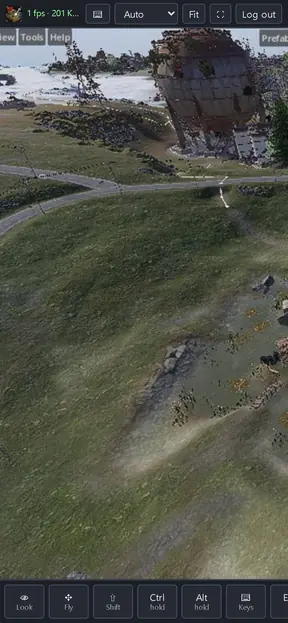
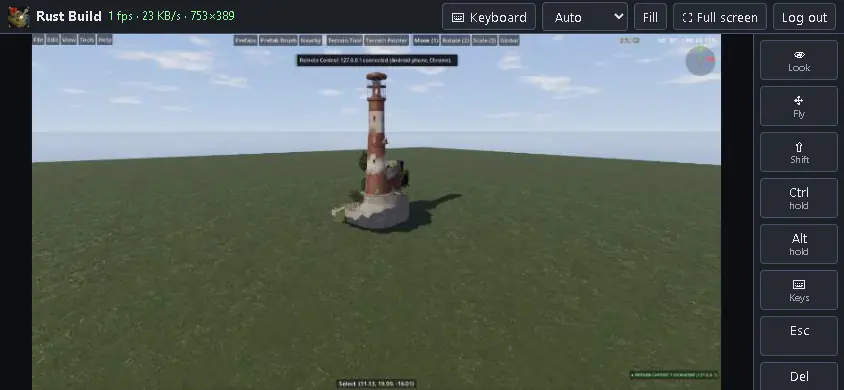
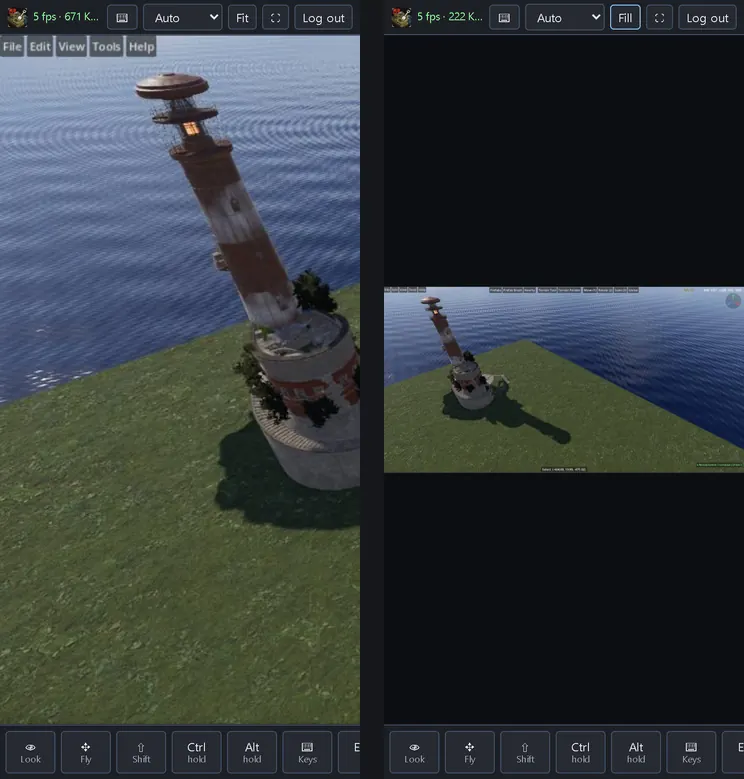
  • Remote Control: use the editor from a phone or tablet with touch controls, or from another PC's browser.
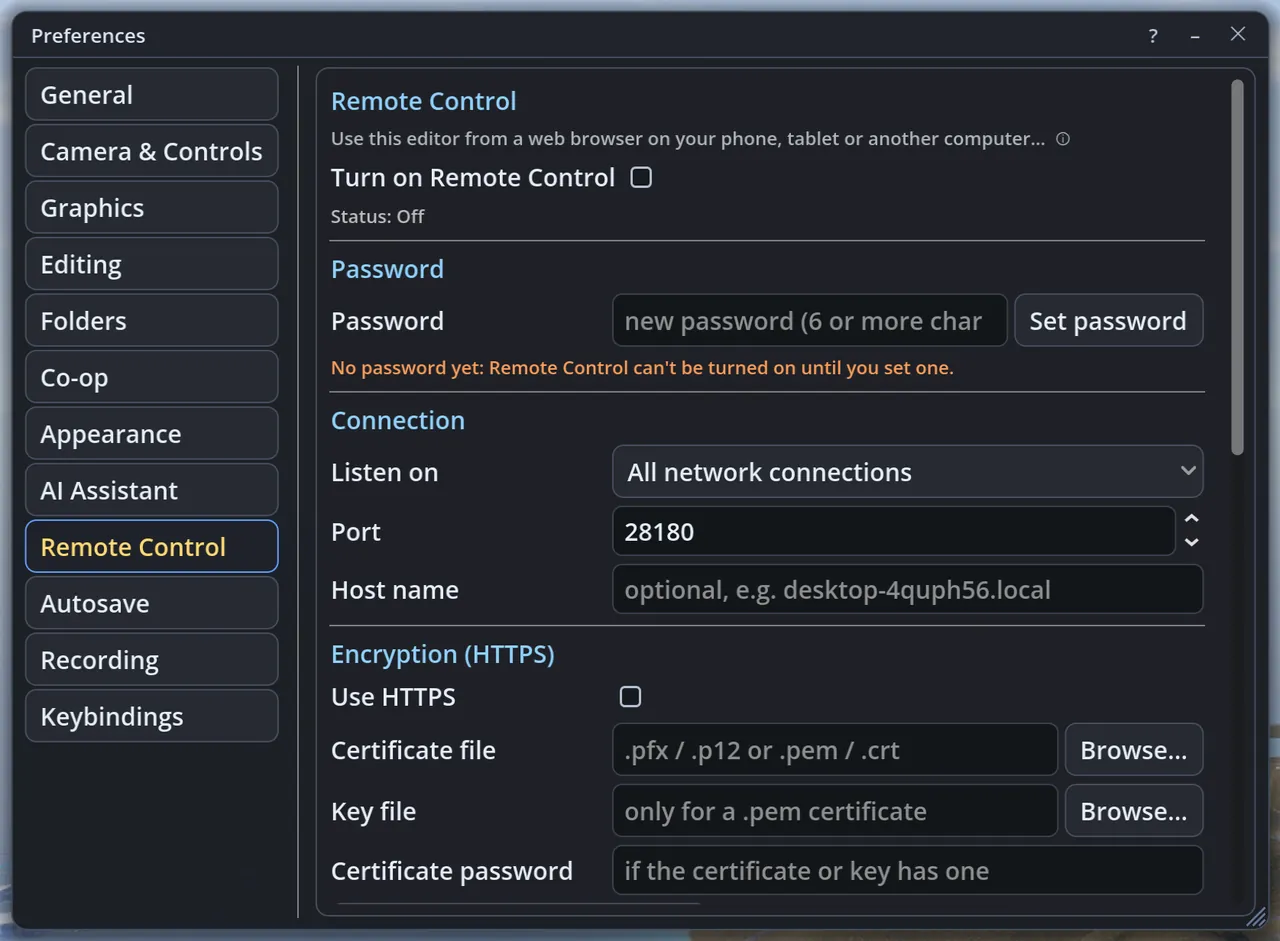
  • Encrypted and password protected: HTTPS and a password keep strangers out.
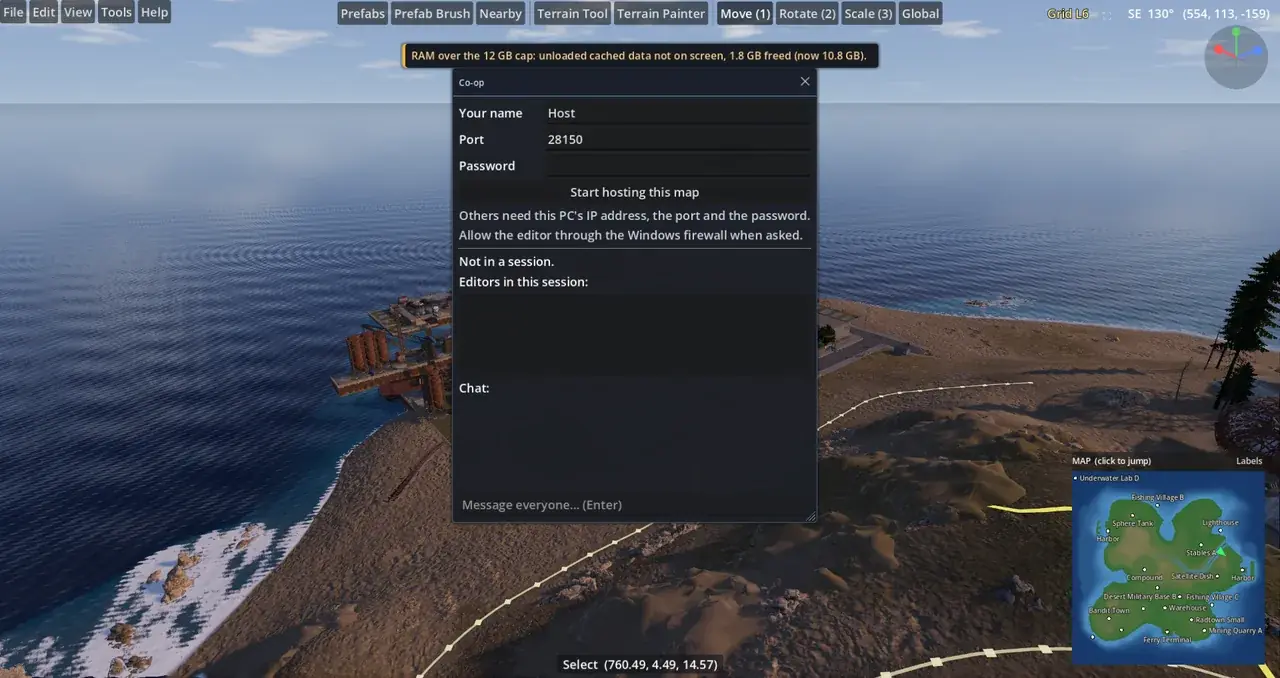
Hosting a session: send a chat message and change what new players may do

Import, export and file formats 18

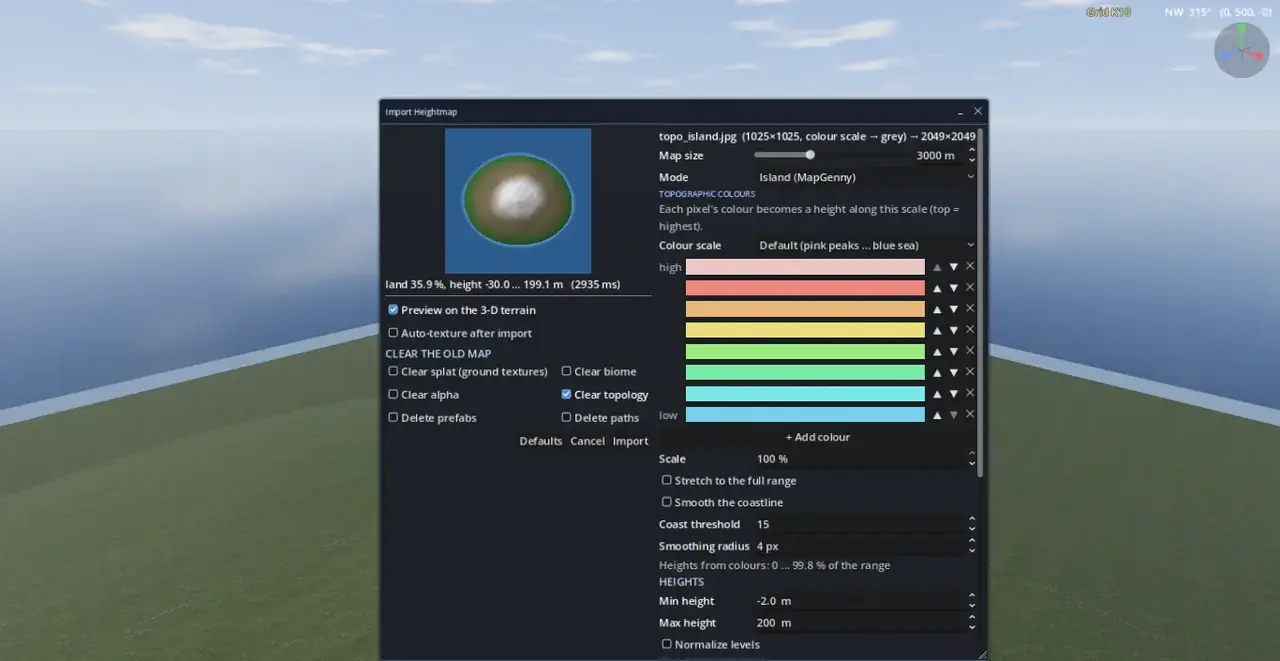
  • Height maps: PNG (8 / 16-bit), RAW / R16, TIFF, terrain data or a topographic colour map, as an island, raw or exactly as is, with a live preview.
  • Terrain layers: edit textures, biomes and holes in an image editor, or move whole layers between maps.
  • World Creator: build a map from a World Creator export.
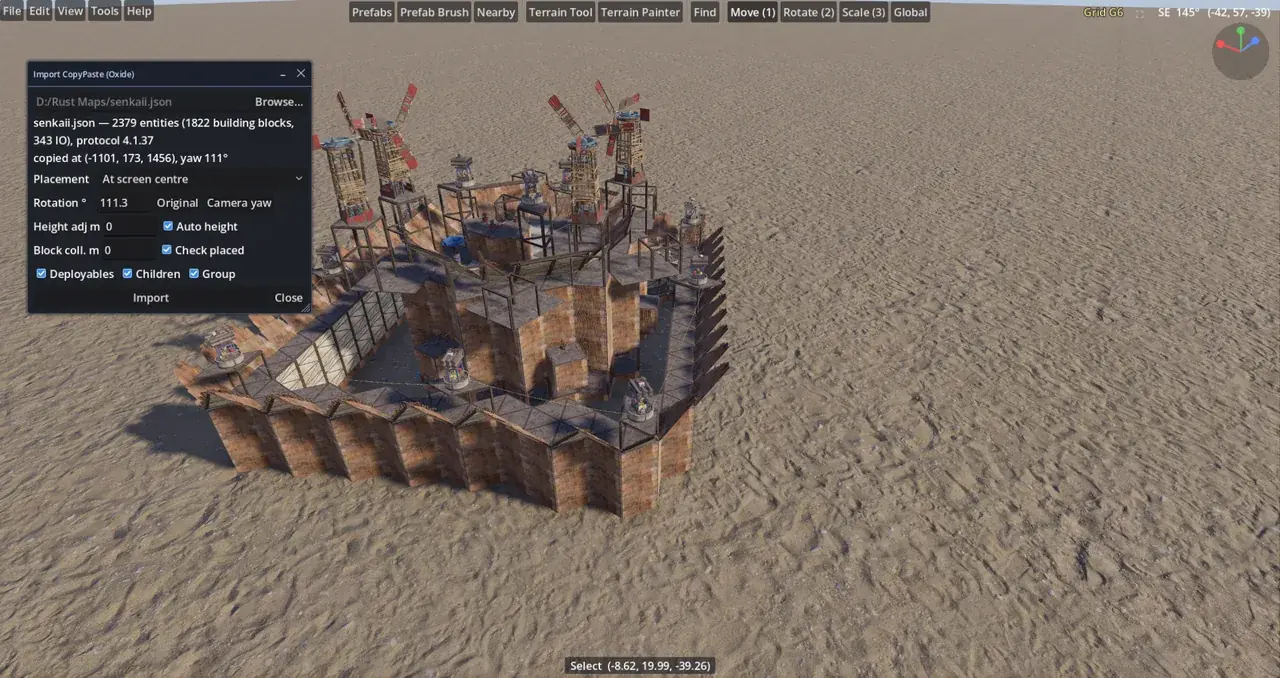
  • CopyPaste bases: paste bases saved with the CopyPaste plugin, or save a selection for it.
  • Custom prefabs: save and load .prefab files that other map editors read too.
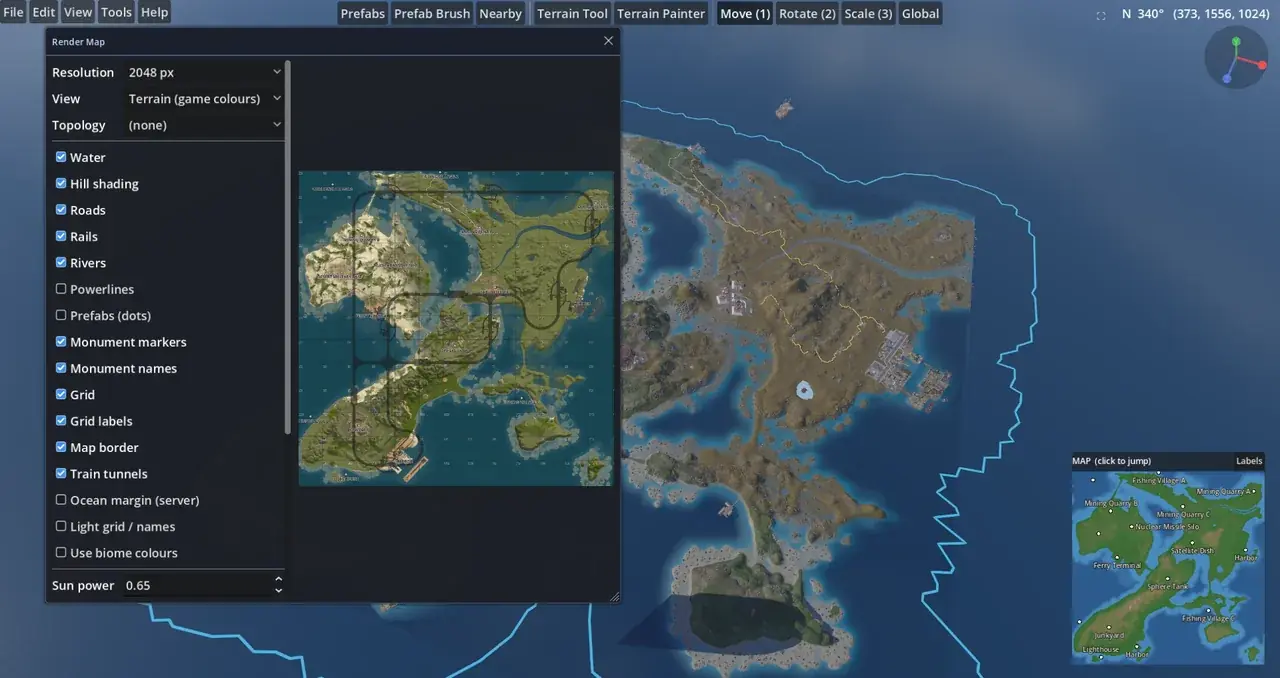
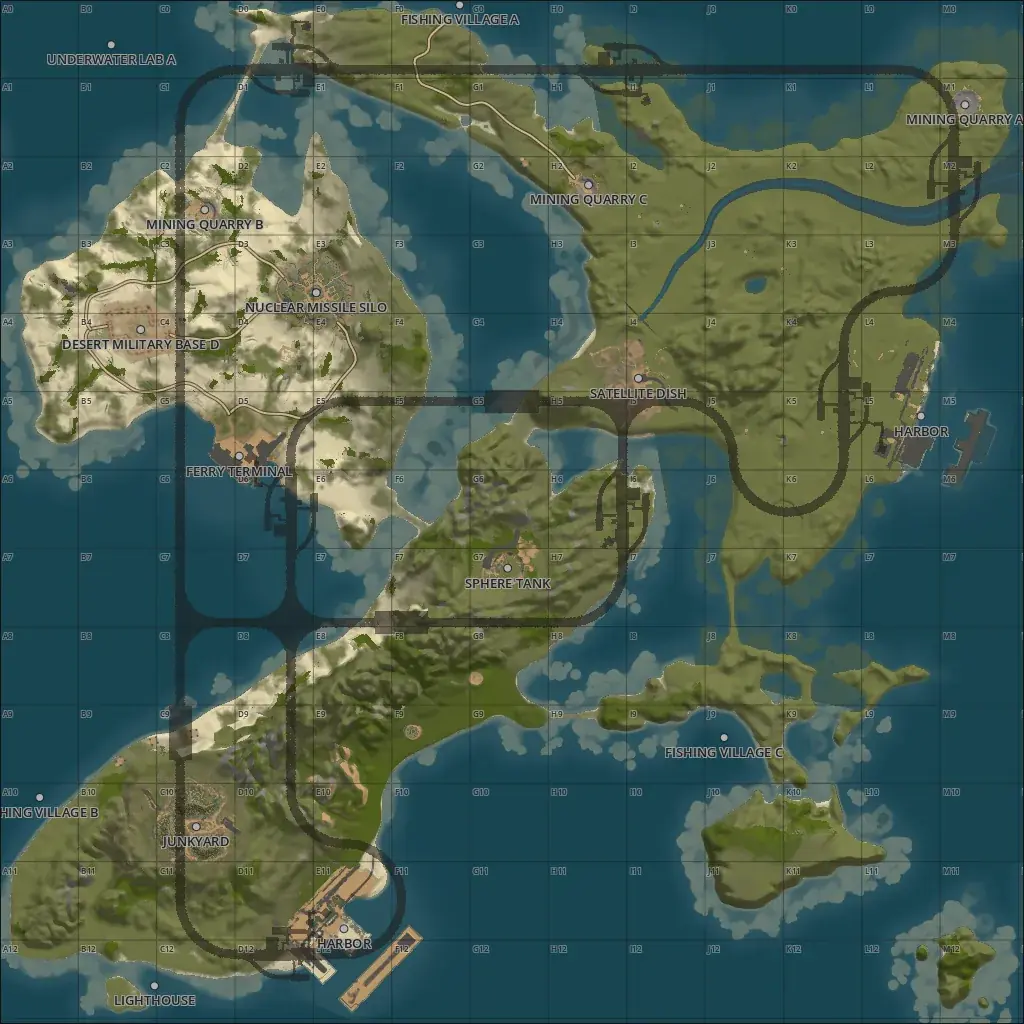
  • Render Map: a server-style map image with monument names and a numbered grid, up to 8192 px.
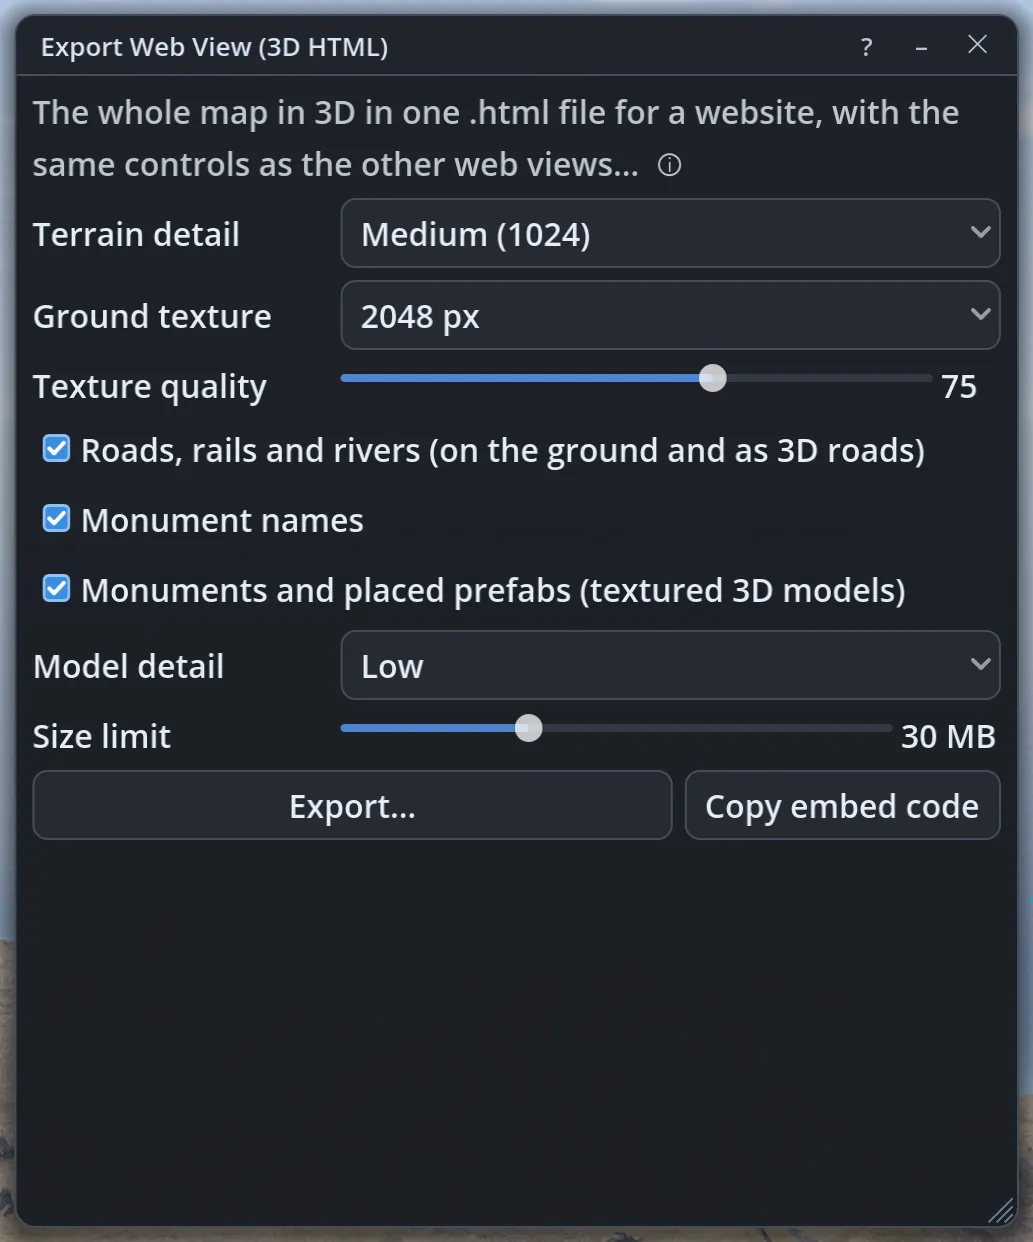
  • 3D Web View: the whole map in 3D for your website: textured monuments, 3D roads, touch controls and an embed code.
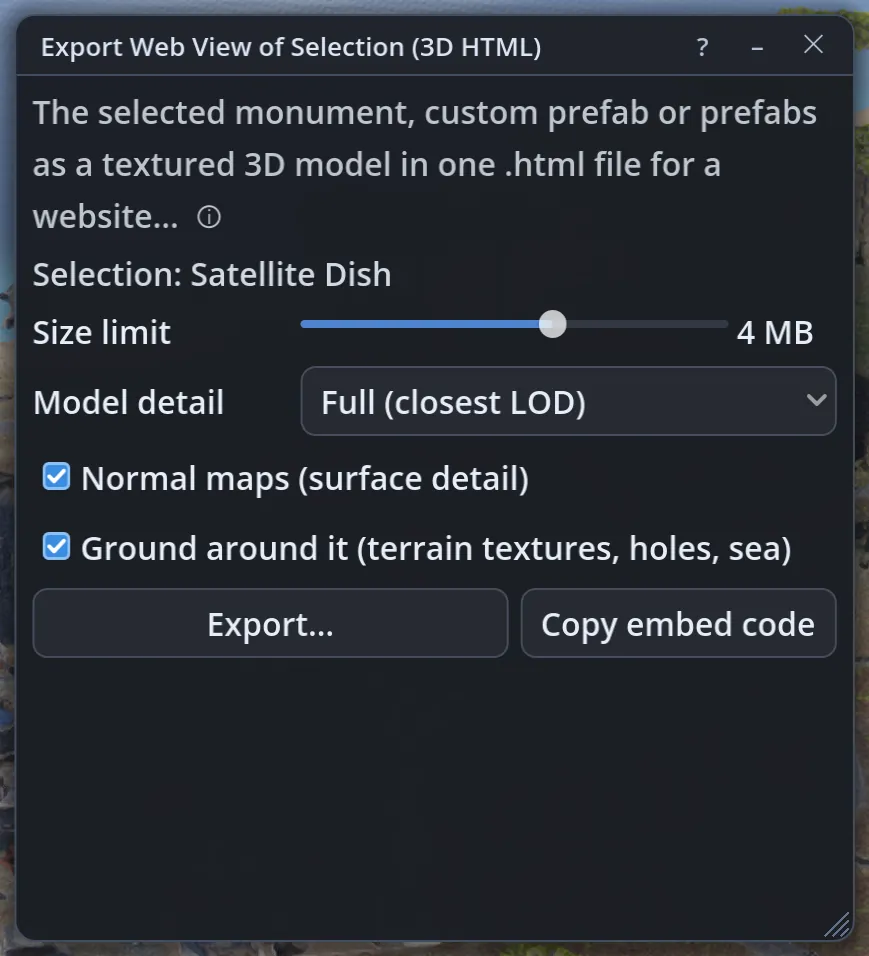
  • 3D monument pages: a monument or custom prefab as a textured 3D page you can walk through, 1 to 6 MB.
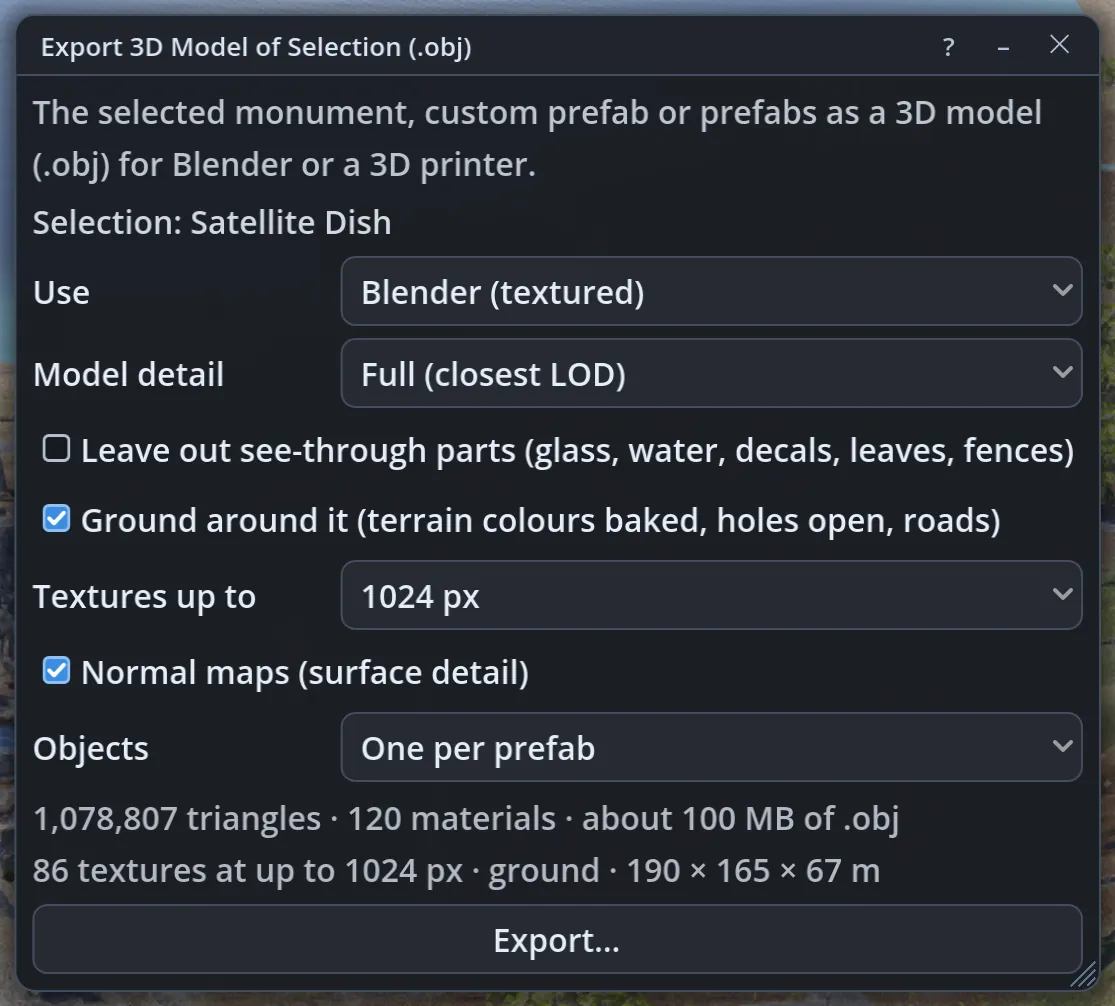
  • 3D models (.obj): a monument or custom prefab as an .obj for Blender with its textures, or a solid model for your 3D printer.
  • 3D demo pages: a demo played back on a web page: third person, first person and free look round a player.
  • 3D base pages: players' bases from a server save as 3D pages you can walk through, doors and all.
  • Export height maps: a 16-bit height PNG for other tools, or a quick picture of the map.
  • Verify Map: check that the saved file reads back exactly.
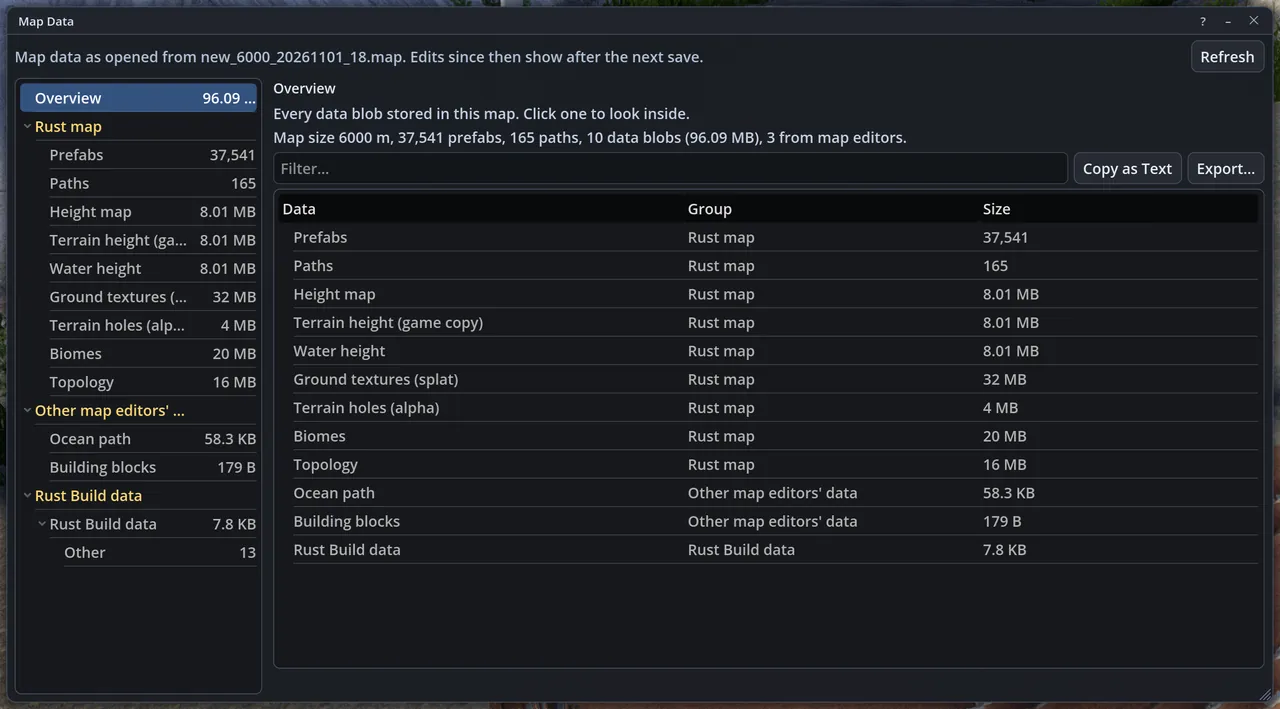
  • Map Data: look inside the map file and see every piece of data with its size.
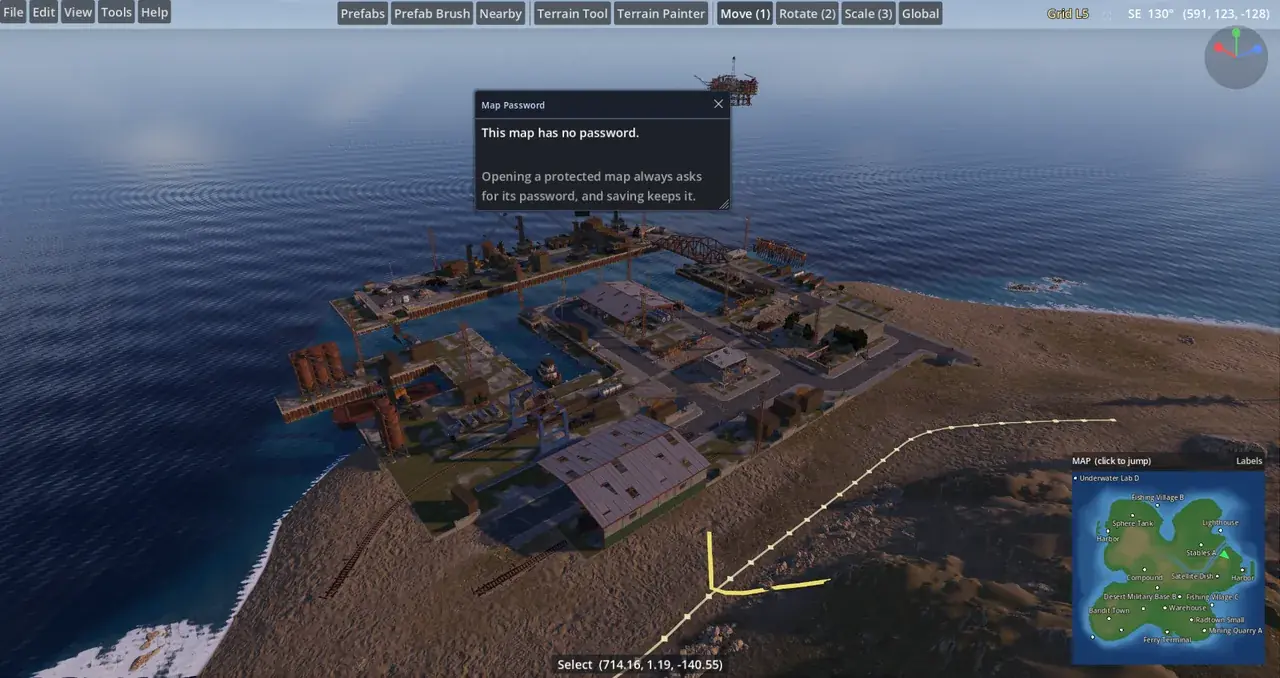
  • Protected maps: maps with a password ask for it before they open, and saving keeps it.
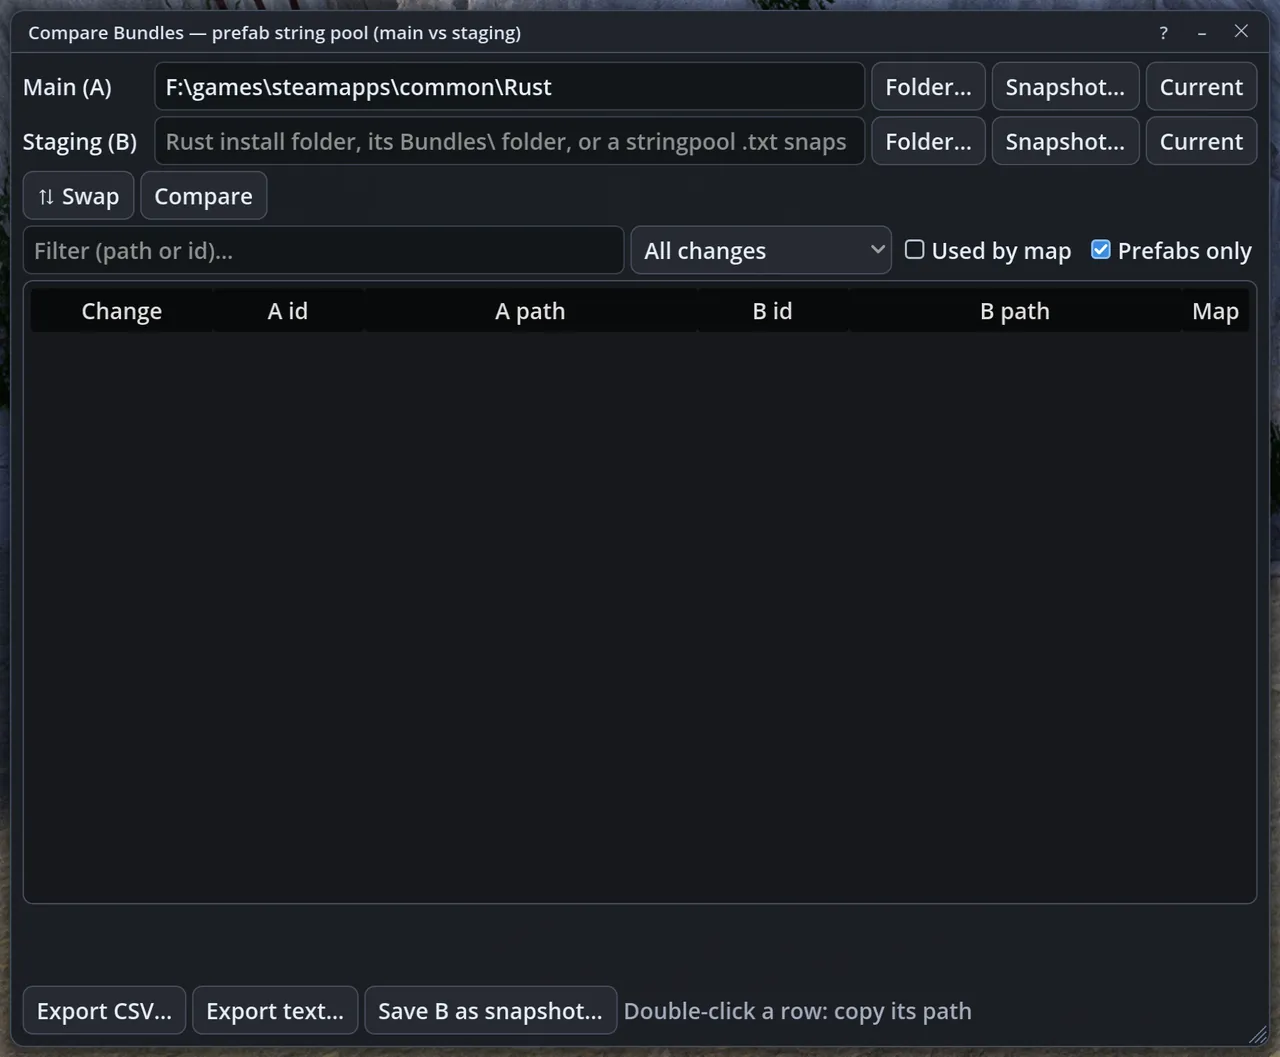
  • Game updates: compare two Rust installs and see which removed or moved prefabs your map uses.
  • High-quality screenshots: one picture at the best quality your PC can make.
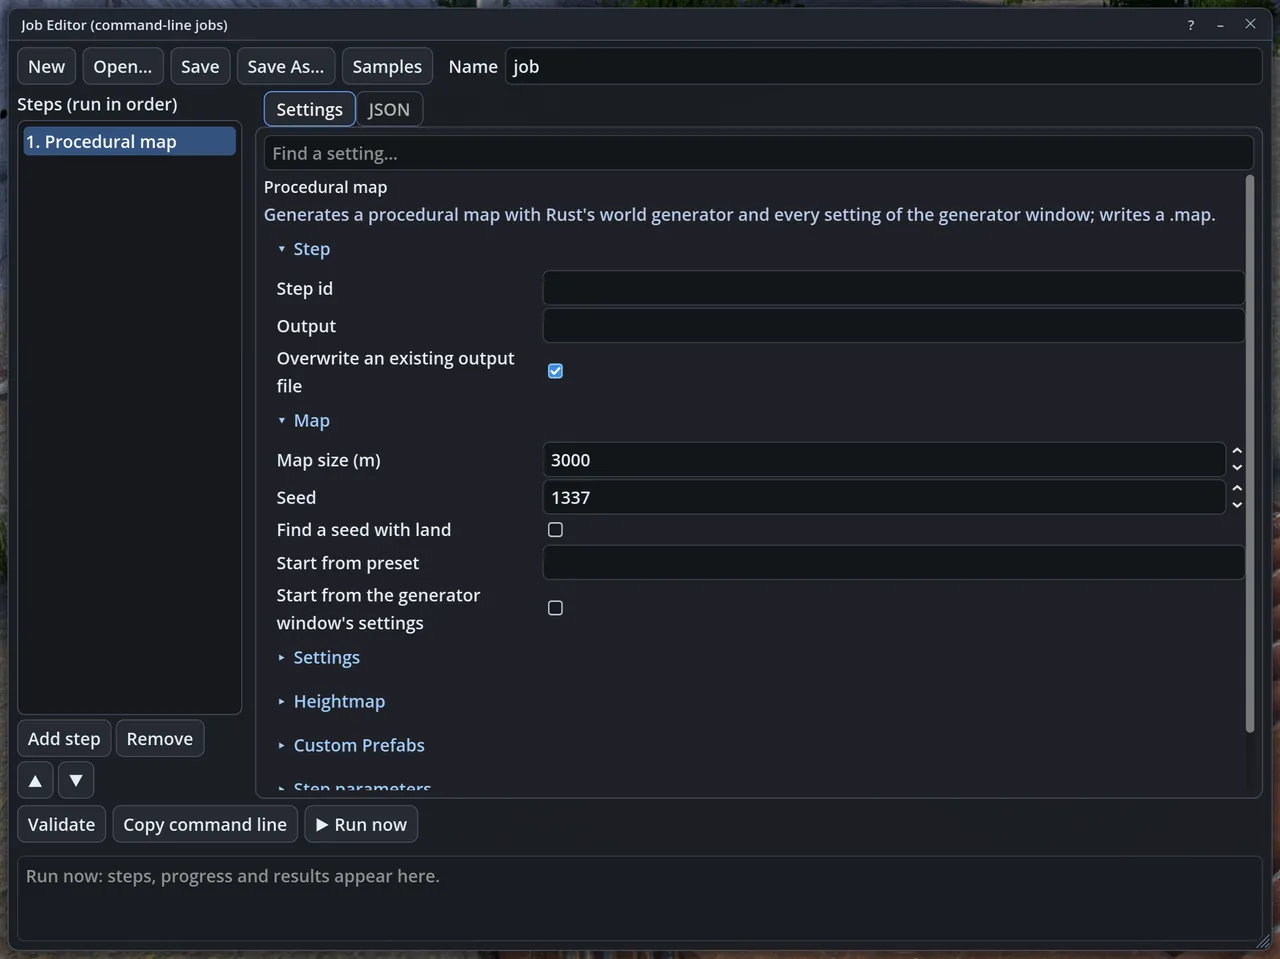
  • Command line jobs: generate maps, render map pictures, wipe server saves and turn demos into videos from scripts and bots.
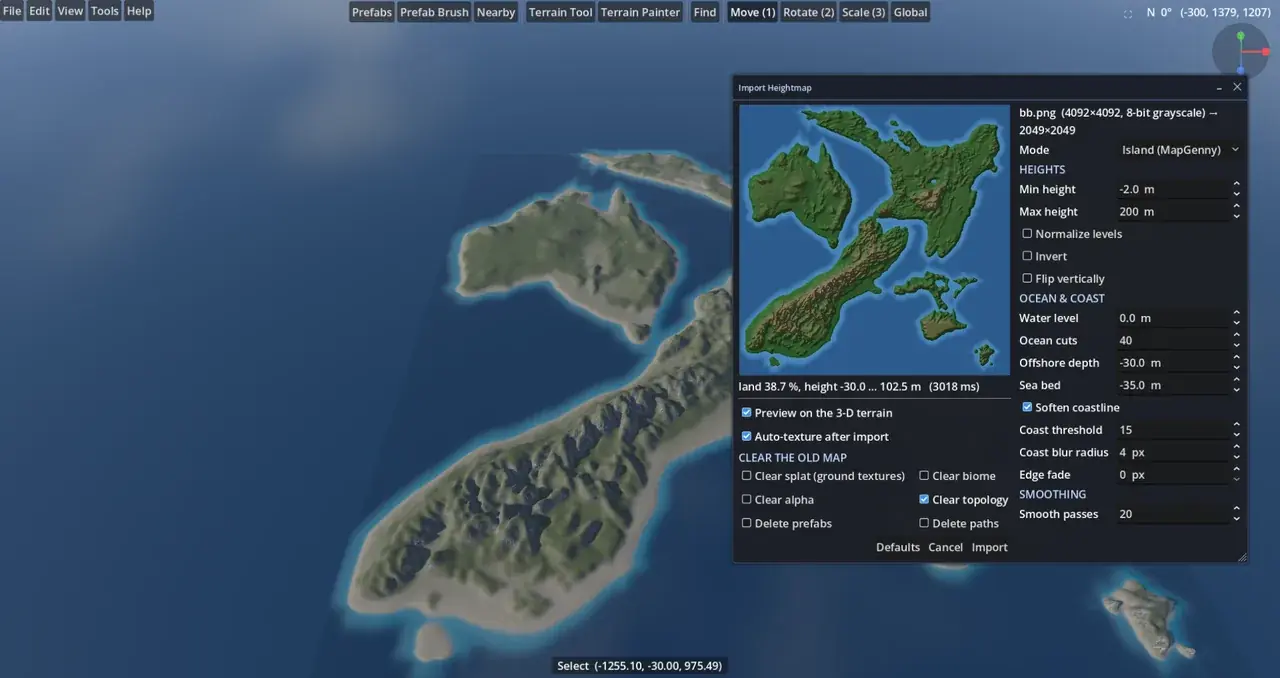
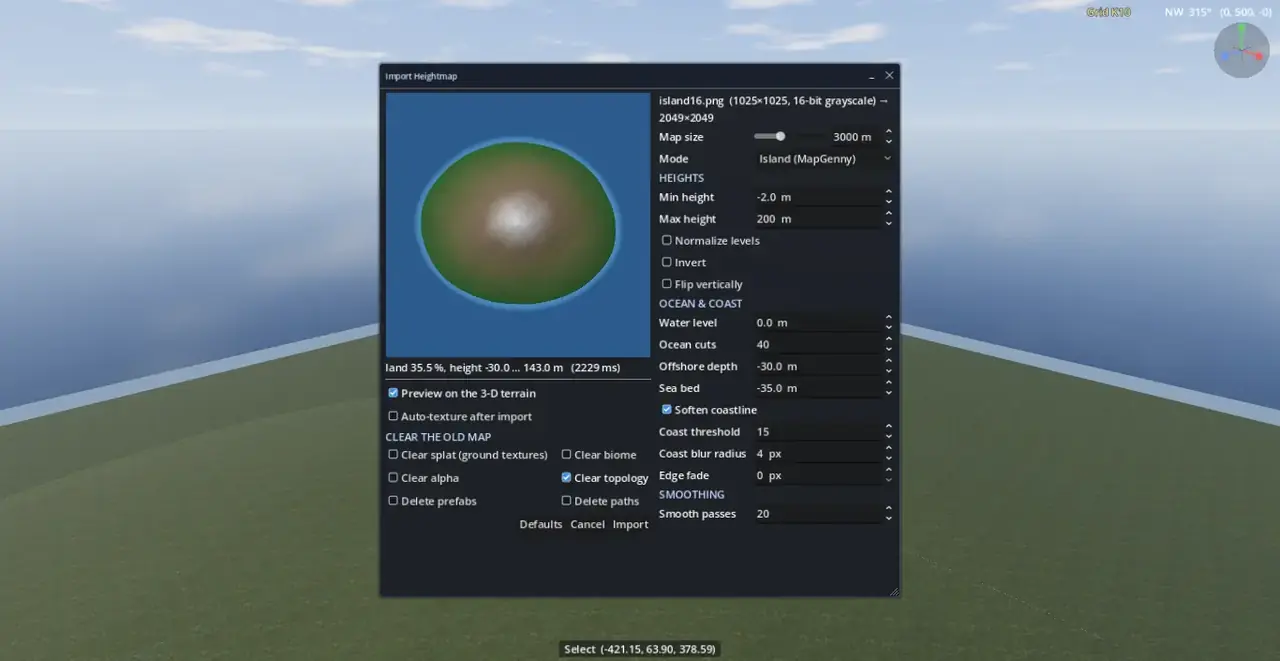
Importing a height map with a live preview

Quality of life 17

  • One portable folder: no installer, nothing written outside the folder you put it in.
  • Start screen: big buttons for every way to start, with the keyboard or on a touch screen.
  • Automatic graphics tuning: a laptop and a gaming PC both get settings that run smoothly.
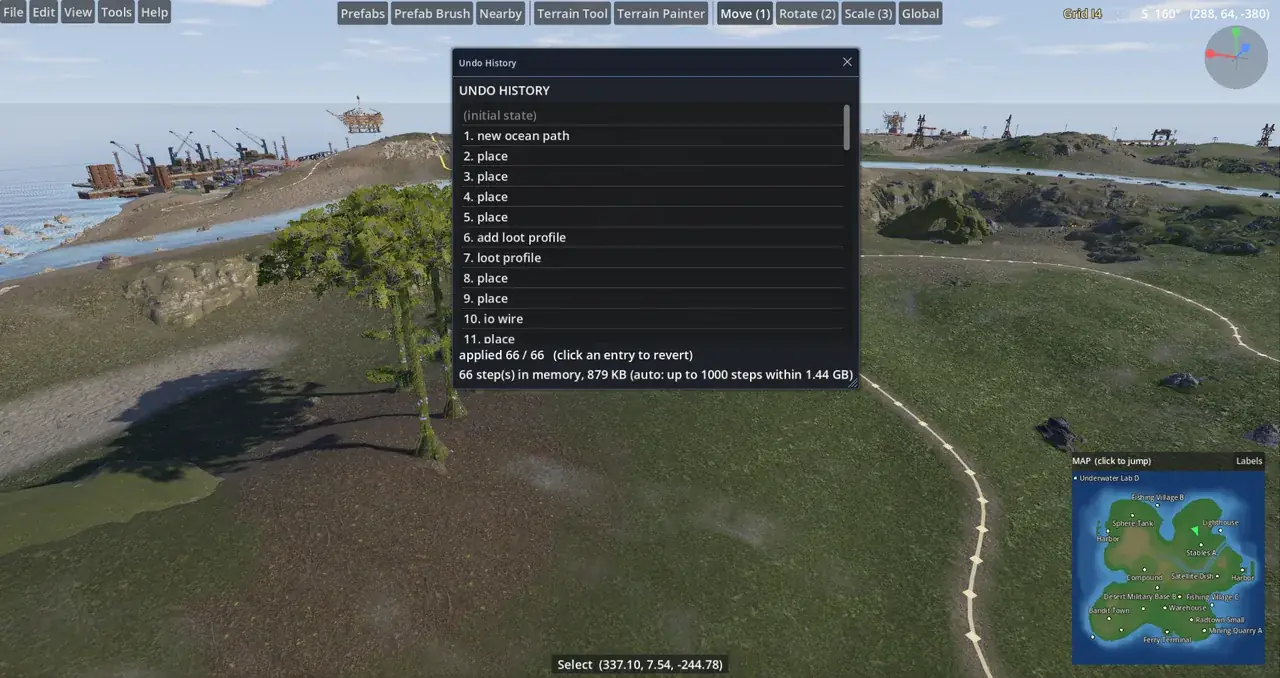
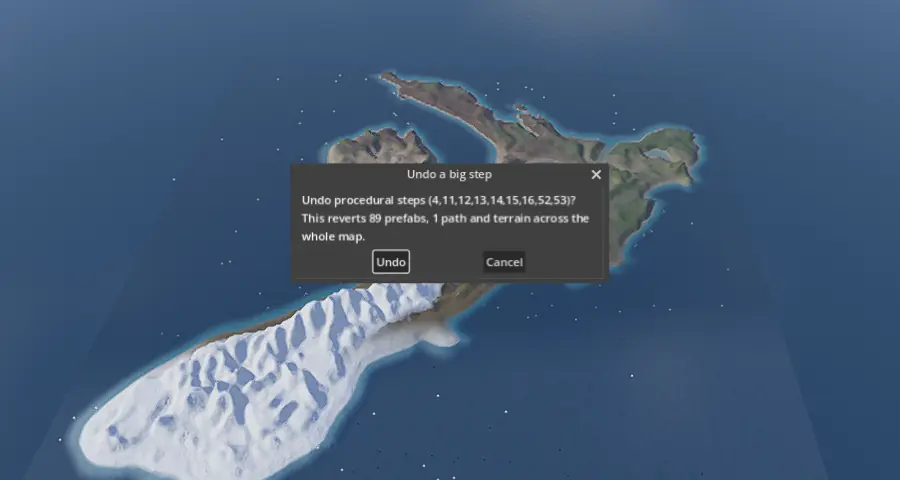
  • Undo everything: every edit, terrain stroke, generator run and import, with a history list; big steps ask before they are undone.
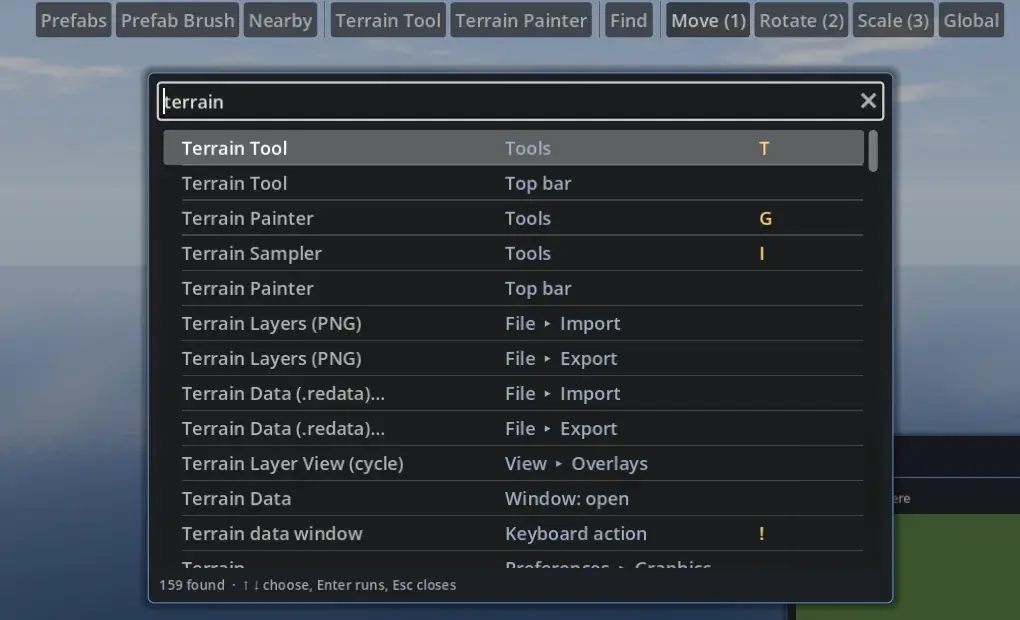
  • Find: search every menu item, button, key and setting by name and run it from the list.
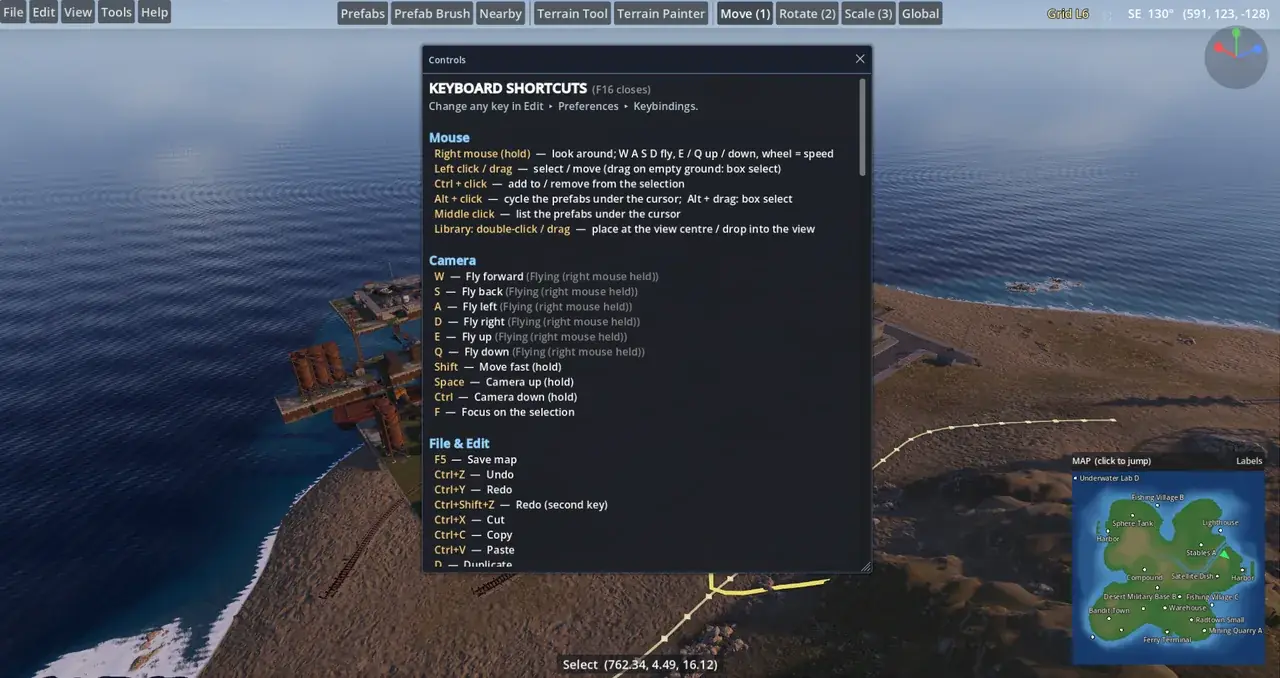
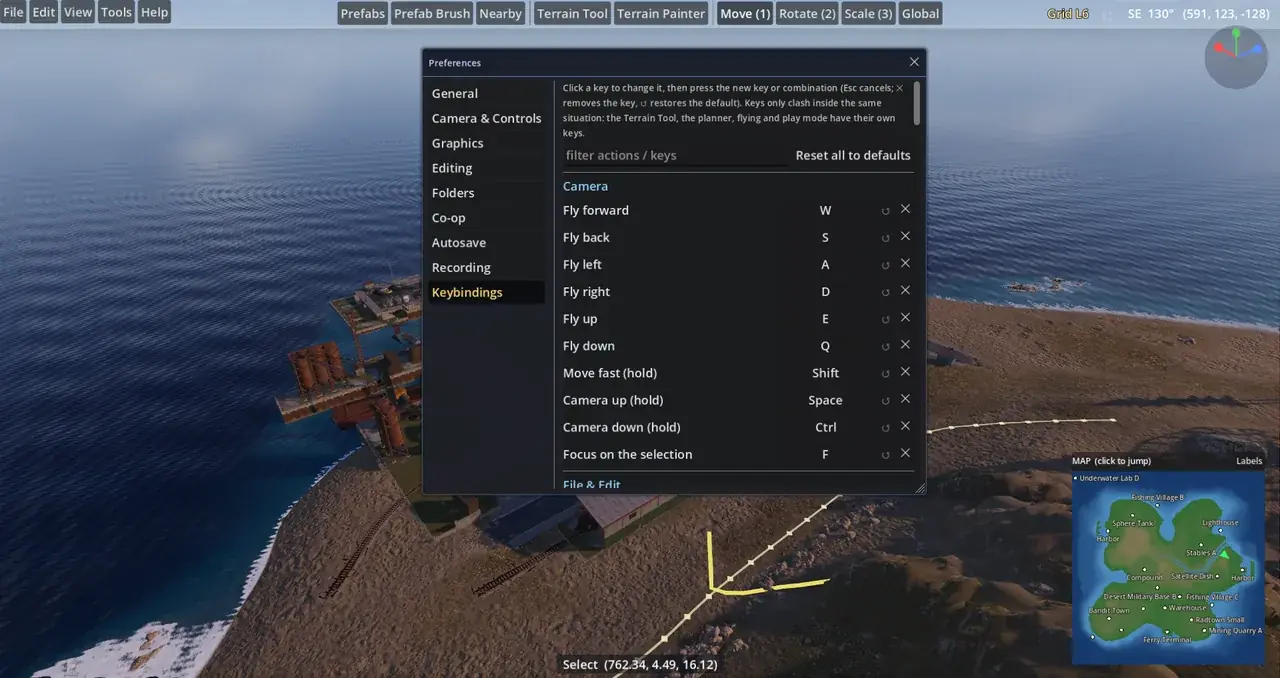
  • Change any key: about 140 actions for the camera, tools, windows and play mode.
  • Picks what you see: clicks hit the visible prefab, even from inside a building, at once on big maps.
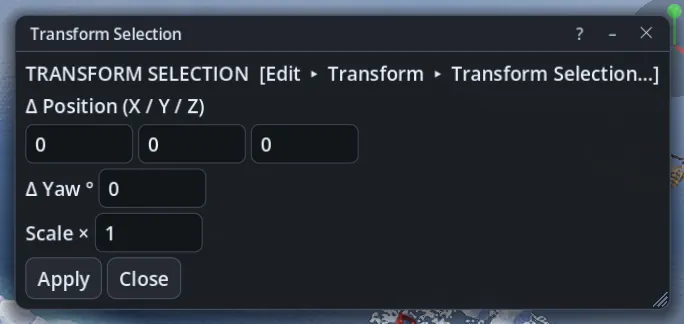
  • Transform gizmo: move, rotate and scale with handles, in the game's own coordinates.
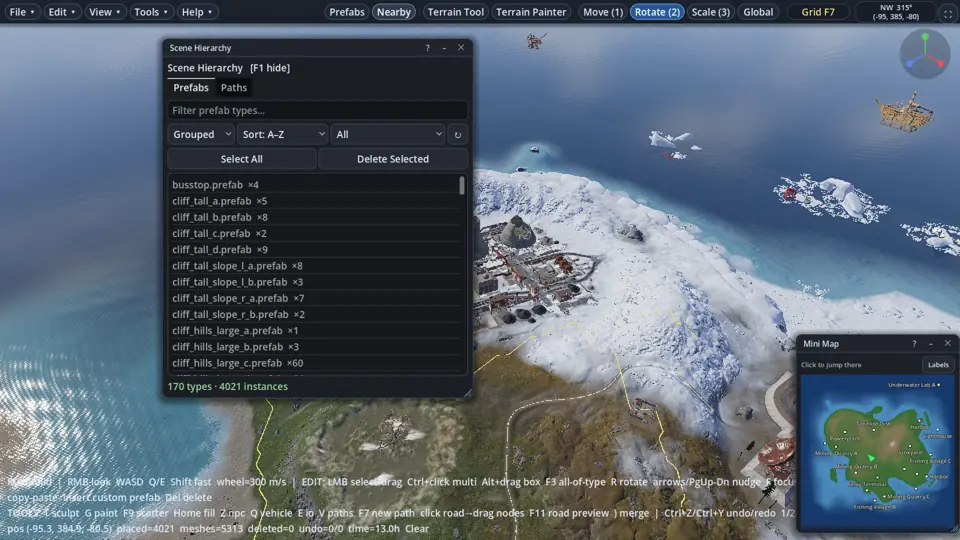
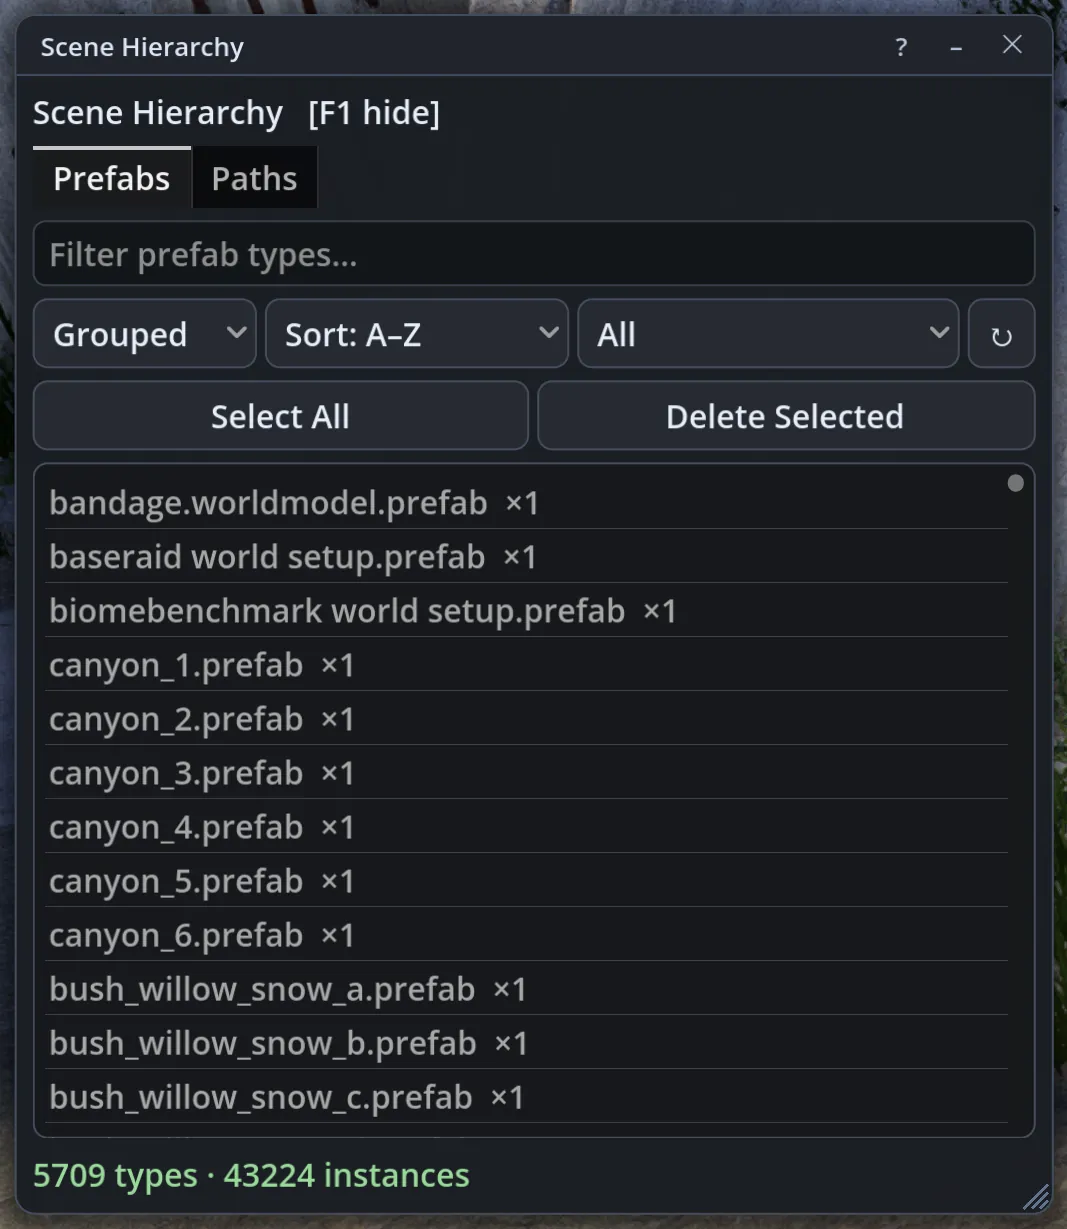
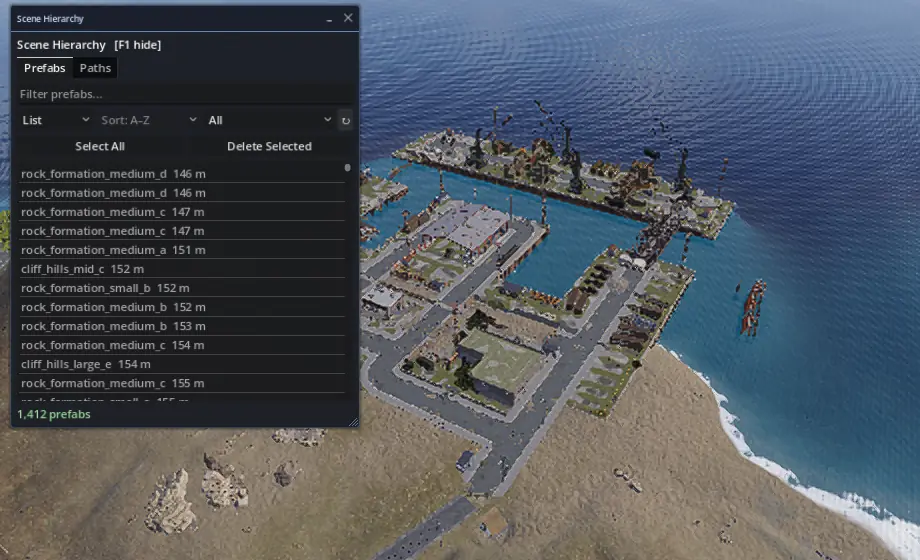
  • Scene Hierarchy: every prefab type and path on the map, grouped or one by one nearest first, with entity / world prefab filters, updated as you edit.
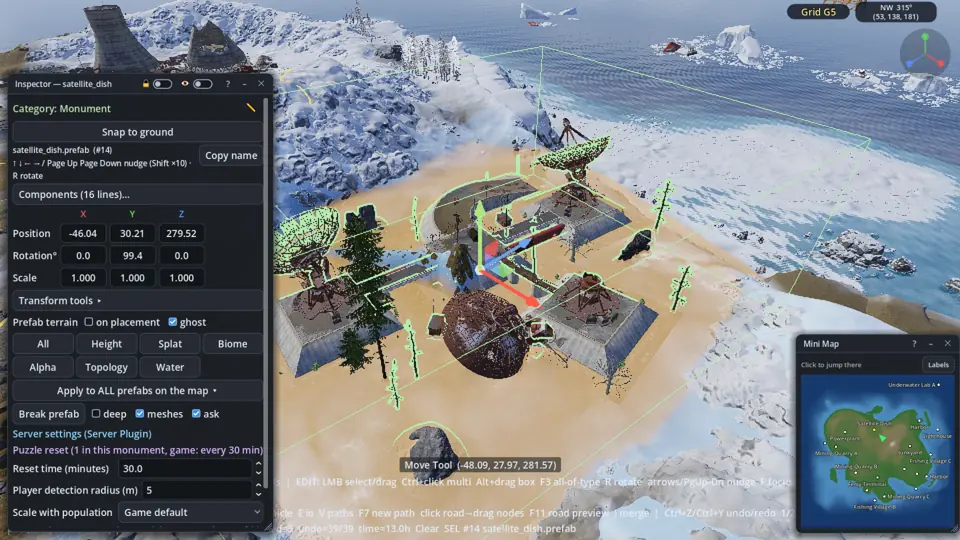
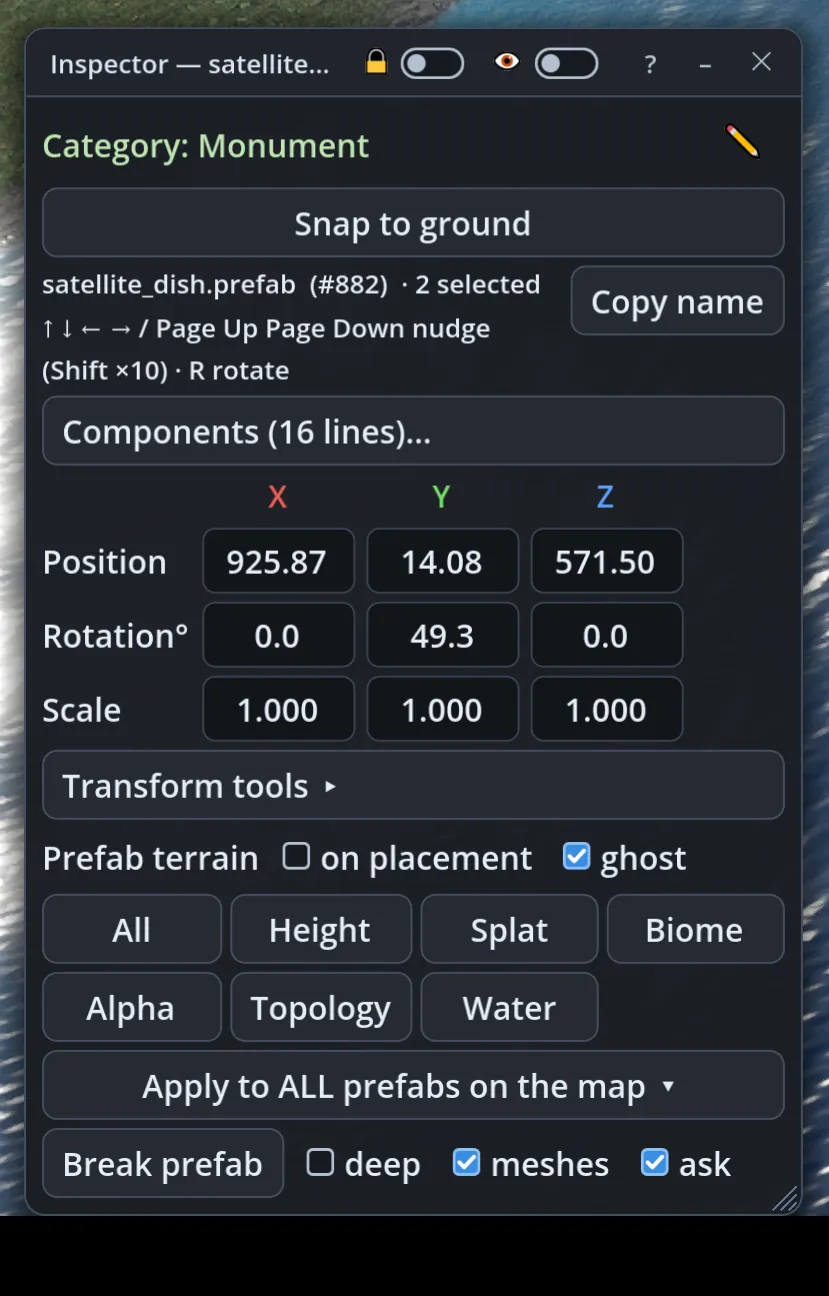
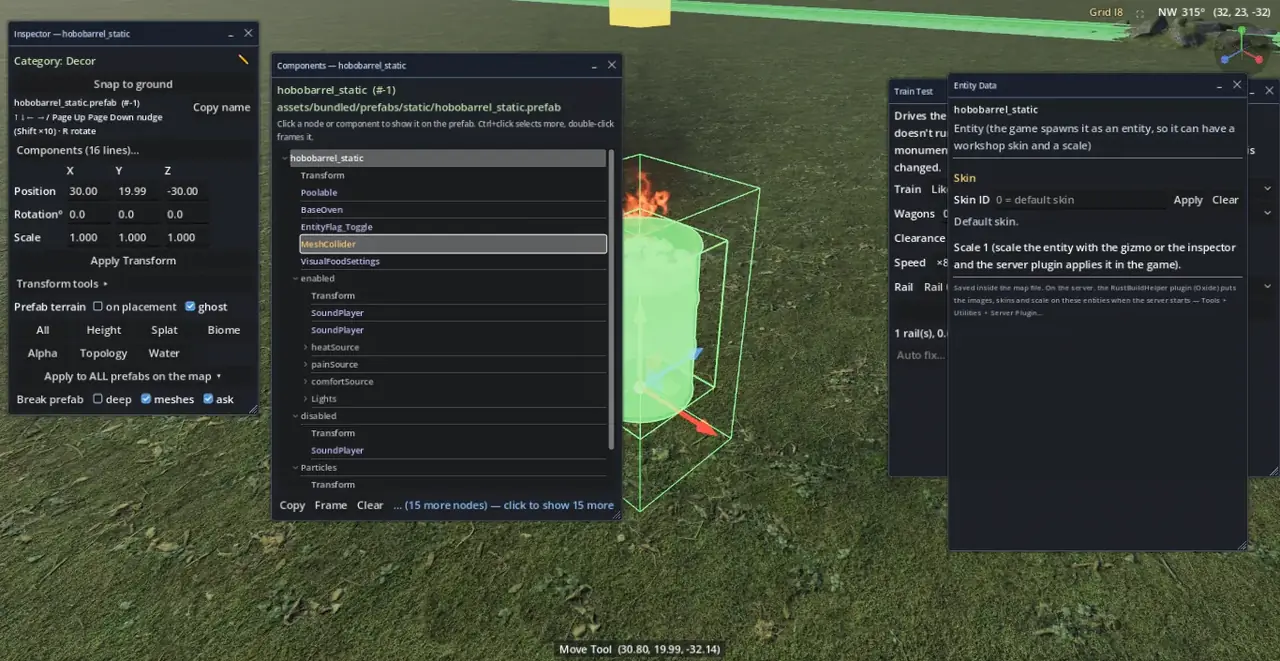
  • Inspector: exact transform and tools for the selection, and every part of a prefab you can click.
  • Windows anywhere: drag tool windows onto a second monitor, or roll them up to their title bar.
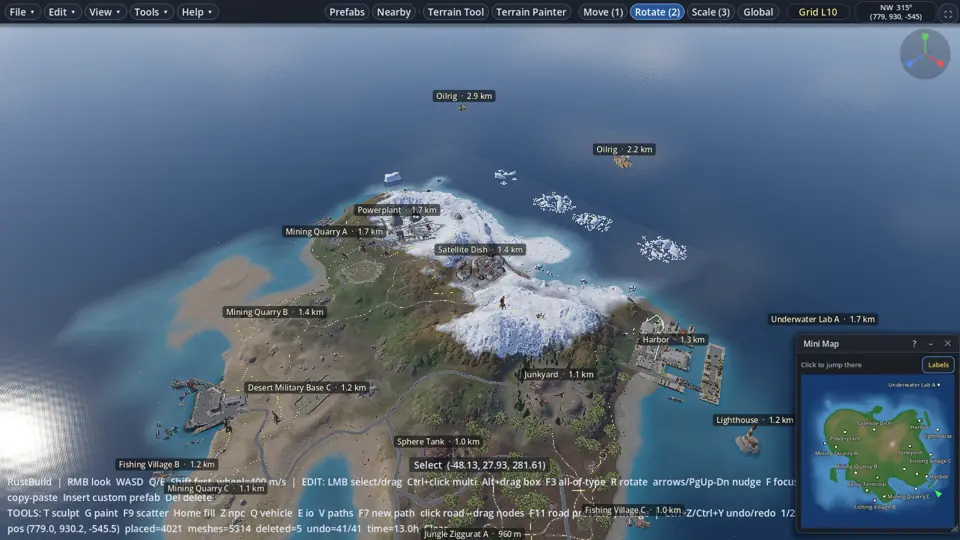
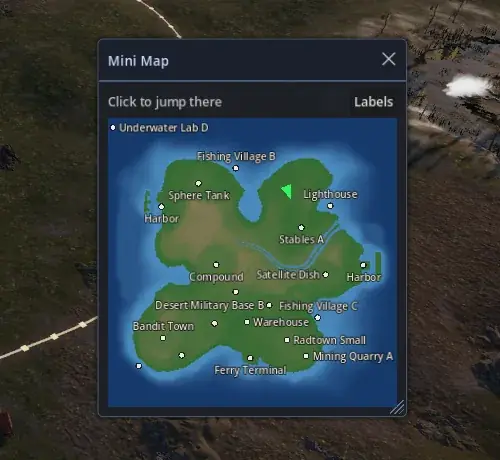
  • Mini map and monument labels: click to jump anywhere or fly straight to a monument.
  • Map grid: Rust's grid with the cell names, exactly as on the in-game map.
  • Autosave: timestamped backups while you work.
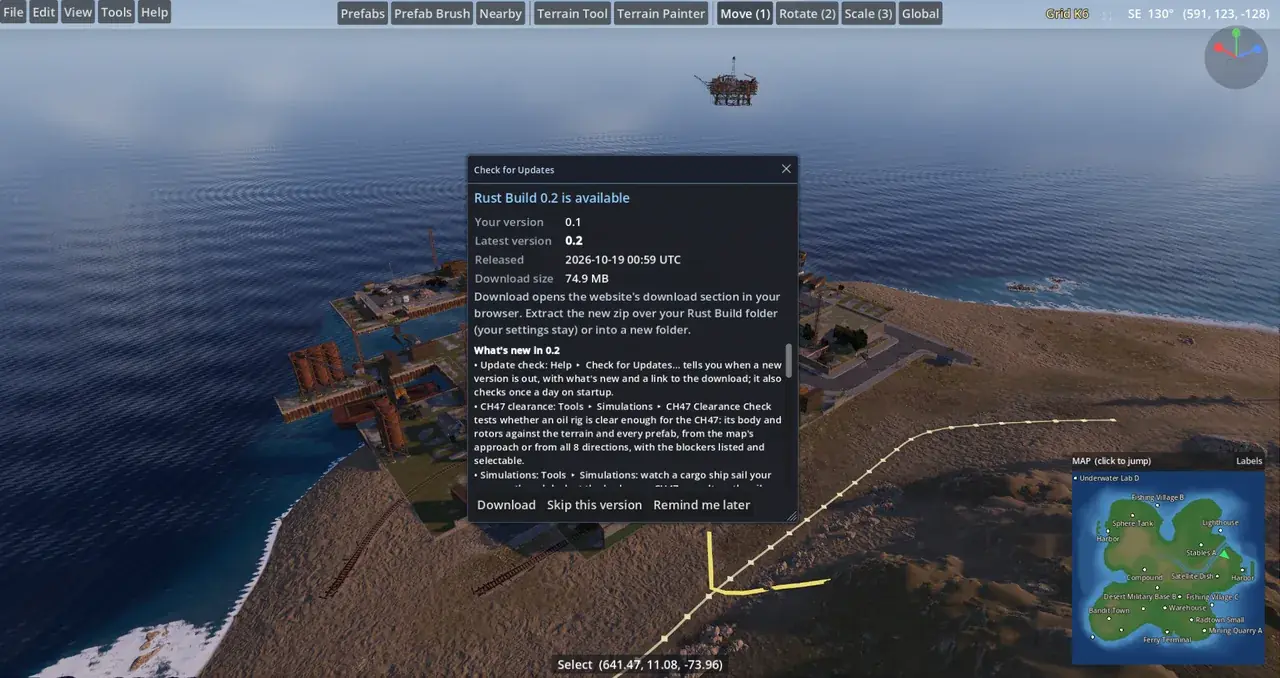
  • Update check: see what's new in the next version and update when you choose.
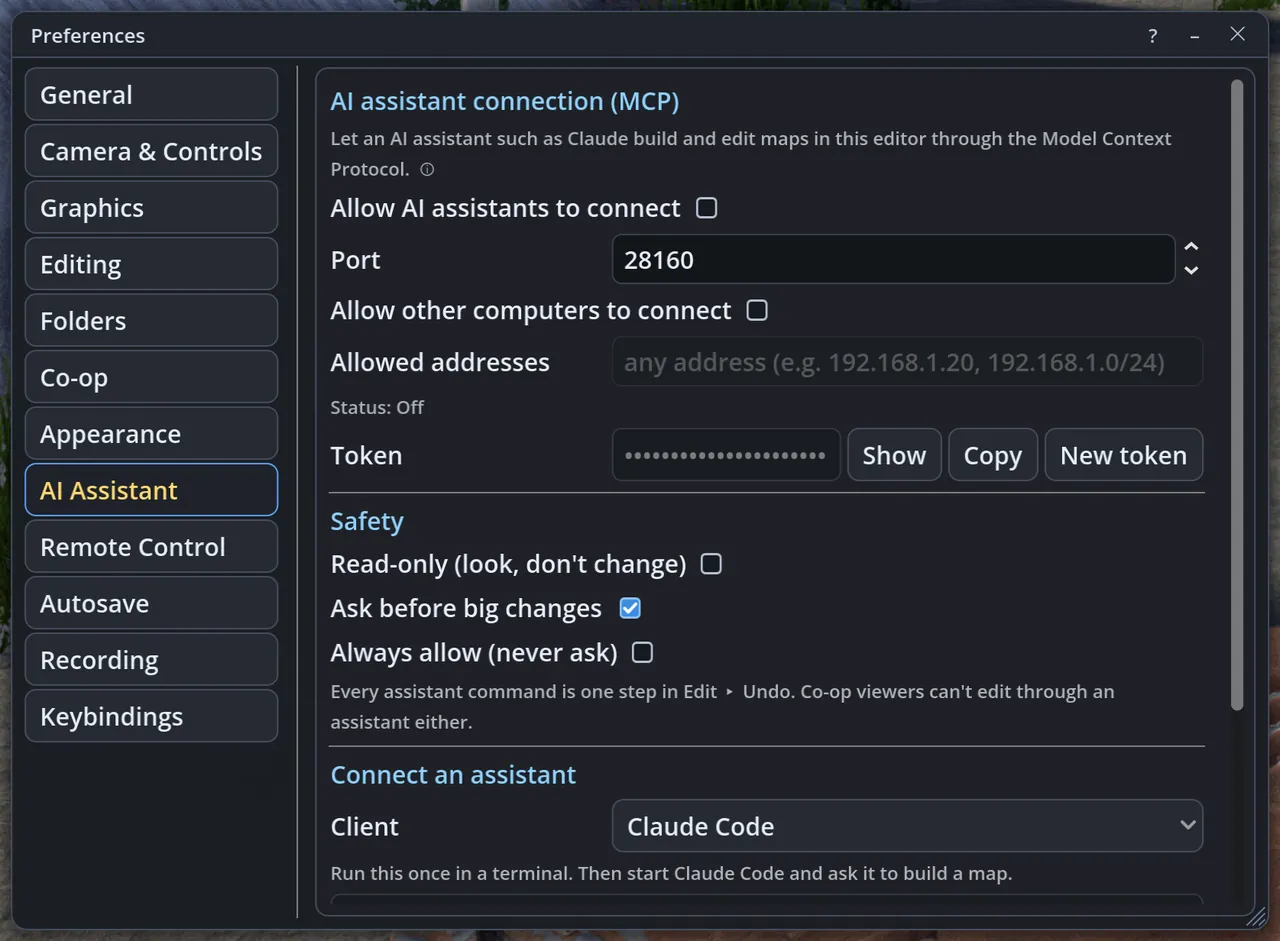
  • AI assistant: describe a map in plain words and an assistant on your PC builds it with the editor's tools.
  • Benchmark: a repeatable test to compare PCs and settings.
The Scene Hierarchy filters the map's prefabs as you type

Back to the download What’s new

Getting started

Rust Build is one Windows program (there are Windows on ARM, Linux, Linux ARM64 and Android builds too). It needs a Rust install on the same PC: everything you see in the editor is read from Rust's own files, so it always matches the game version you have.

Download and install

One zip with one exe. No installer, nothing written outside the folder you put it in. It is the whole editor: every tool and window on this page.

Windows 64-bit

Download zip
Not available yet.

Windows on ARM (64-bit)

For Windows laptops with an ARM processor (Snapdragon X and similar). Runs natively, so it is faster than the 64-bit version under emulation. Procedural generation needs a 64-bit Intel/AMD PC.

Download zip
Not available yet.

Linux x86_64

Download tar.gz
Not available yet.

Linux ARM64

For 64-bit ARM Linux: Raspberry Pi 5-class boards (8 GB RAM recommended), ARM laptops and ARM servers/desktops with a Vulkan or OpenGL driver. Procedural generation needs a 64-bit Intel/AMD PC.

Download tar.gz
Not available yet.

Android arm64

Download APK
Not available yet.
  1. Click Download for Windows at the top of this page (file RustBuildEditor-0.14-win64.zip).
  2. Make a folder you can write to, for example Documents\RustBuild, and extract the zip there. Avoid Program Files: the editor keeps its settings next to the exe.
  3. Make sure Rust is installed through Steam (the client is enough; no server needed).
  4. Double-click RustBuildEditor.exe.
TipThe SHA-256 under the button lets you check the download: certutil -hashfile RustBuildEditor-0.14-win64.zip SHA256 in a command prompt.
NoteWindows SmartScreen may warn about an unknown publisher the first time (the exe is not code-signed). Click More info then Run anyway.

First run: splash, Rust folder, start screen

What happens the first time you start Rust Build, and how to point it at your Rust install.

  1. The animated splash plays for about 3 seconds (any key or click skips it). Its picture stays up as the loading screen, with the progress panel along the bottom.
  2. Rust Build looks for the Rust client: first the folder you picked last time, then your Steam libraries (steamapps\common\Rust in every Steam library folder).
  3. Shortcut: put RustBuildEditor.exe straight into your Rust folder (next to Bundles\) and it uses that Rust install without asking. Its settings folder RustBuildData is then created there too.
  4. If it can't find one, a folder picker opens: choose the folder that contains Bundles\ (normally Program Files (x86)\Steam\steamapps\common\Rust) and click Use this folder.
  5. The progress panel shows the steps (asset bundles, game objects, string pool, interface). The first start takes longest.
  6. On the very first start Rust Build tests your PC for a few seconds and picks graphics settings for it (see Graphics on the first start).
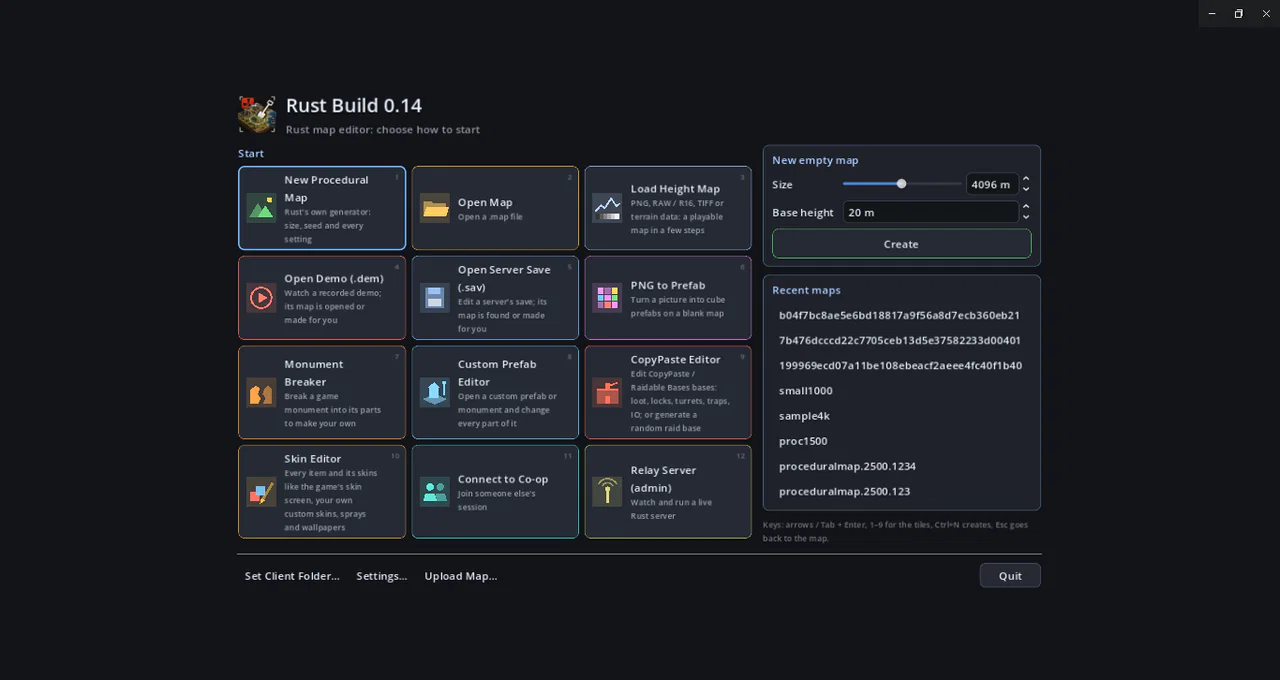
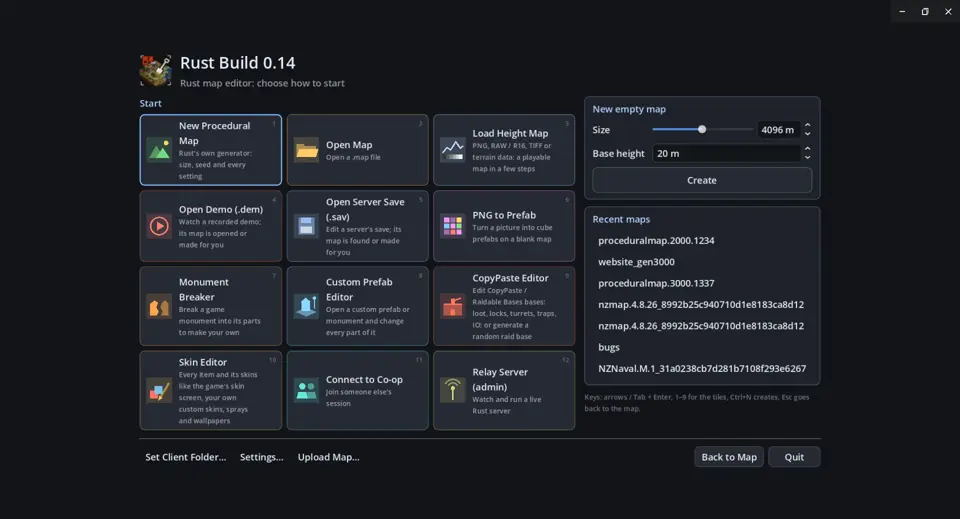
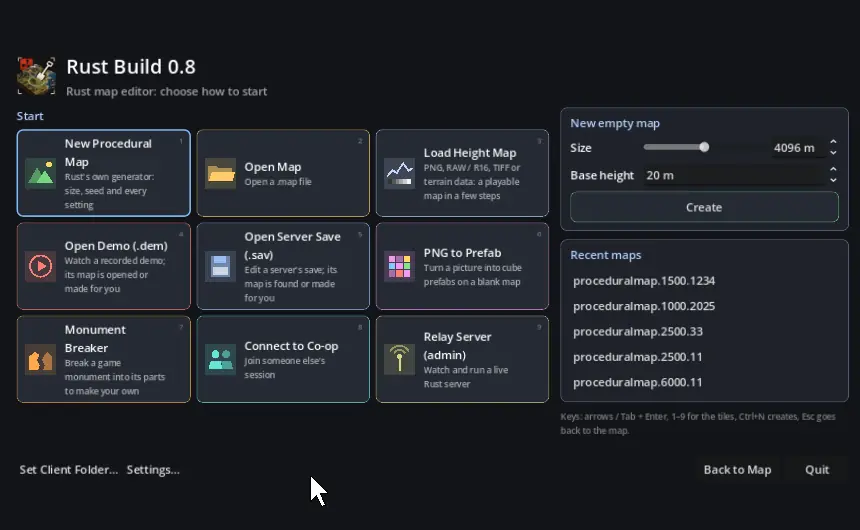
  7. The Start screen appears with a big button for every way to start: a procedural map, a .map, a height map, a demo, a server save, PNG to Prefab, Monument Breaker, the Custom Prefab Editor, the CopyPaste Editor, the Skin Editor, co-op and the relay server; next to them a new empty map and your recent maps (click once to select, again to open).
All 18 controls
ControlWhat it does
New Procedural MapRust's own generator, see New Procedural Map
Open Mapopen a .map file
Load Height Mapa picture or height file becomes a playable map, see Load Height Map
Open Demo (.dem) / Open Server Save (.sav)opens the file and finds or makes its map for you, see Demos, saves and PNGs from the start screen
PNG to Prefaba blank 1000 m map with the Create Prefabs from PNG window
Monument Breakera game monument broken into its parts on a new map, see Monument Breaker
Custom Prefab Editoropen a custom prefab or monument on a map of its own and change every part of it, see Custom Prefab Editor
CopyPaste Editoredit a CopyPaste / Raidable Bases base, or generate a random raidable base, see CopyPaste Editor
Skin Editorevery item and its skins like the game's skin screen, your own custom skins, sprays and wallpapers, see Skin Editor
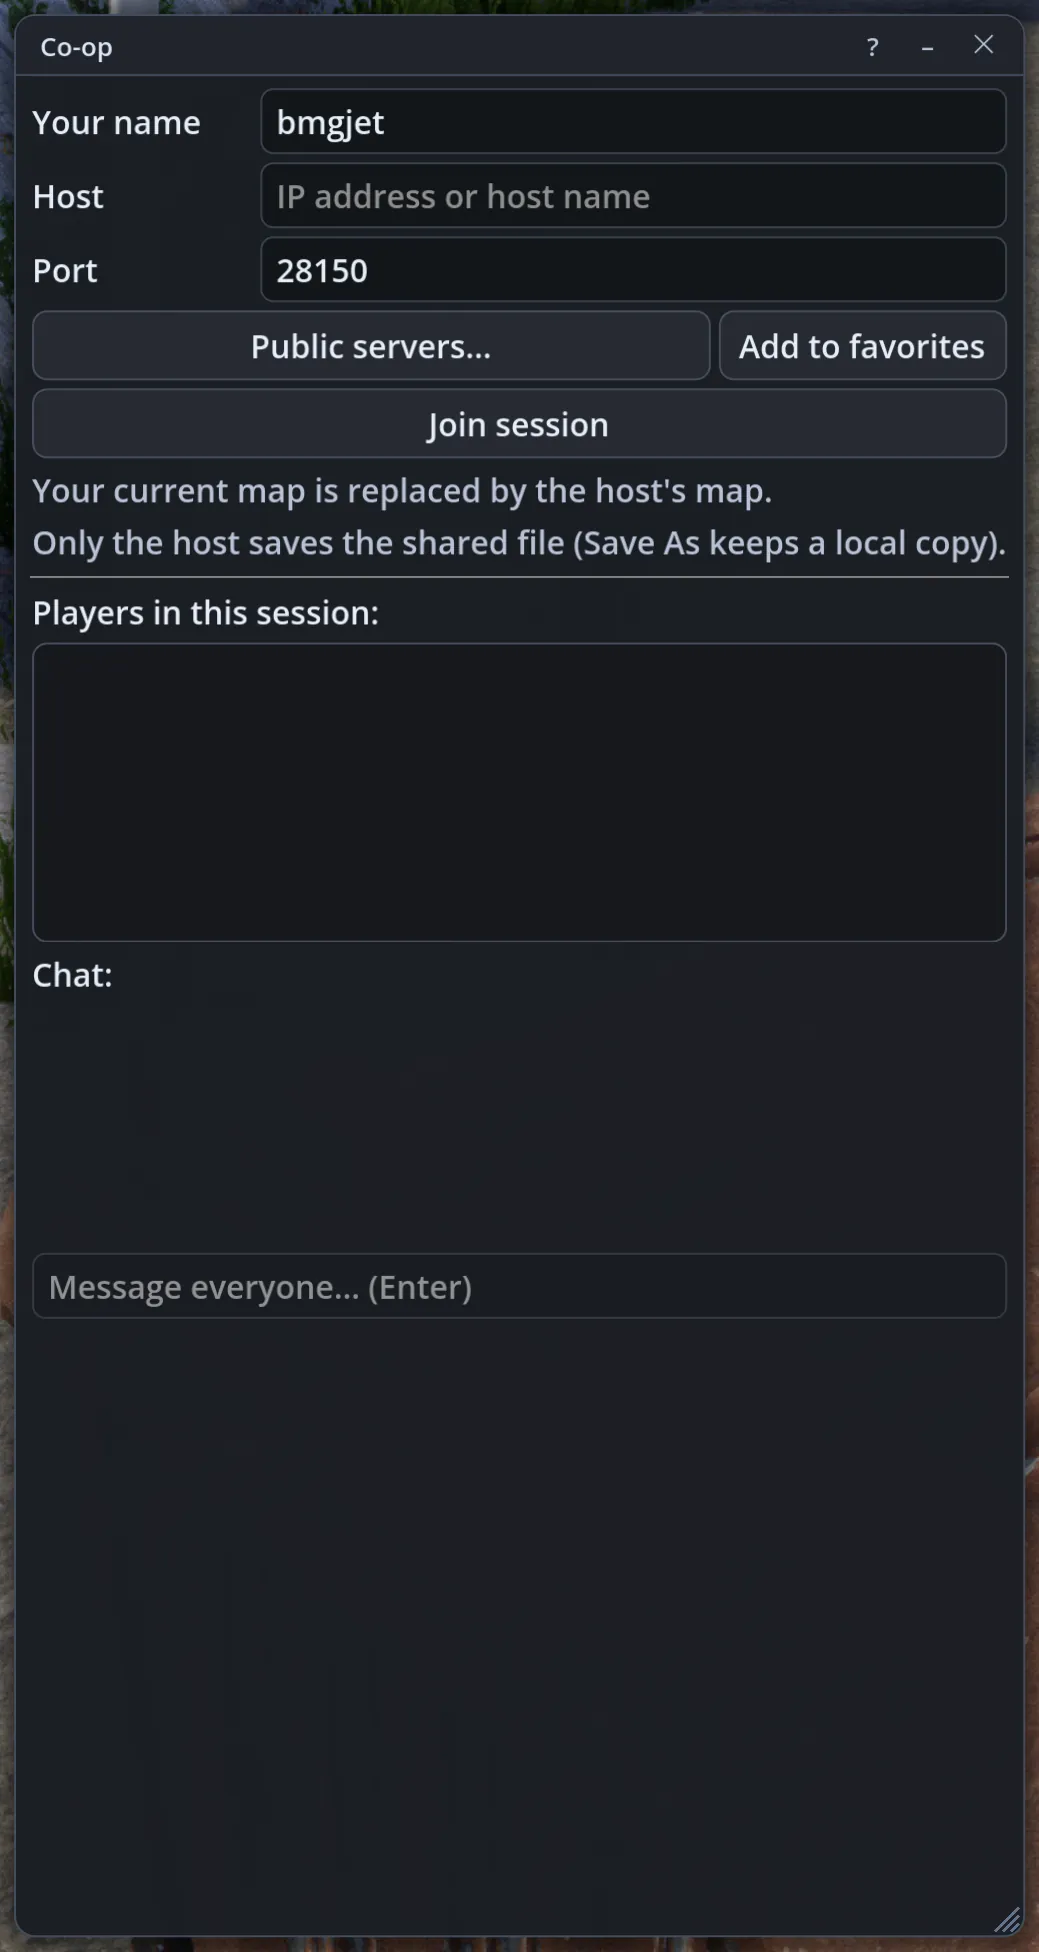
Connect to Co-opjoin someone else's session
Relay Server (admin)watch and run a live server, see Relay Server
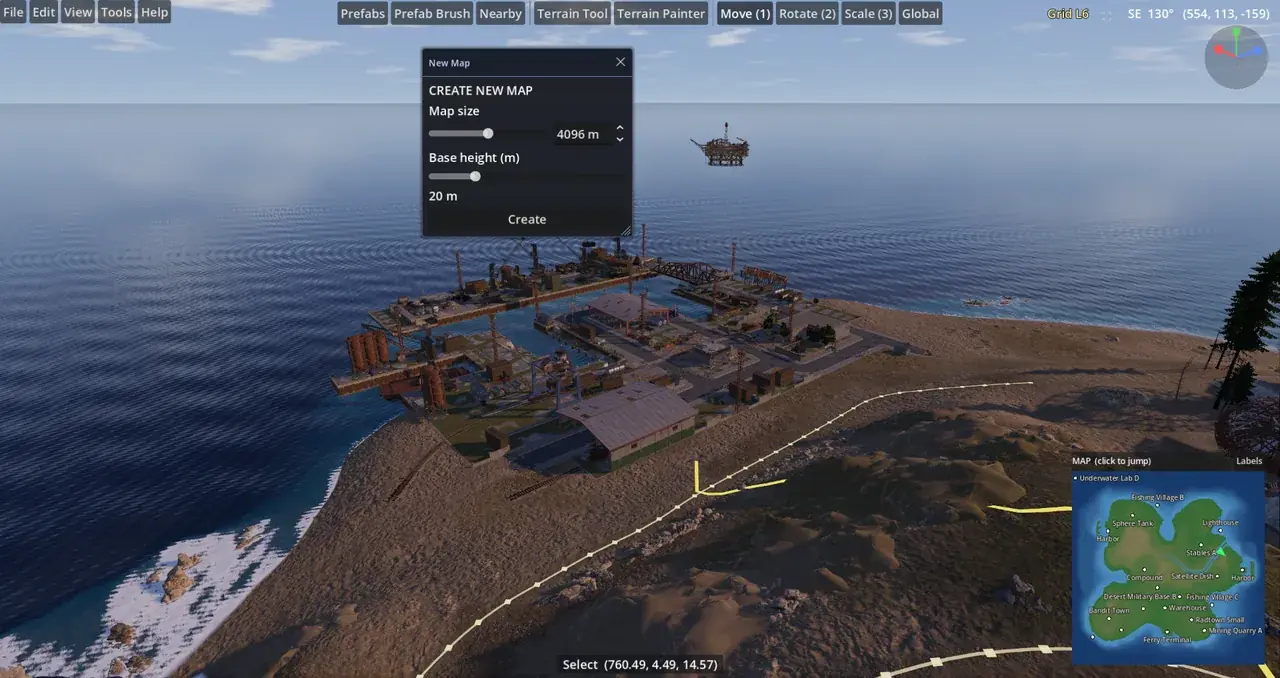
New empty map: Size / Base height / Createa flat map (300–8000 m; Rust servers accept 1000–6000) at that ground height (Ctrl+N)
Recent mapsfirst click selects, second click opens
Set Client Folder…choose another Rust install
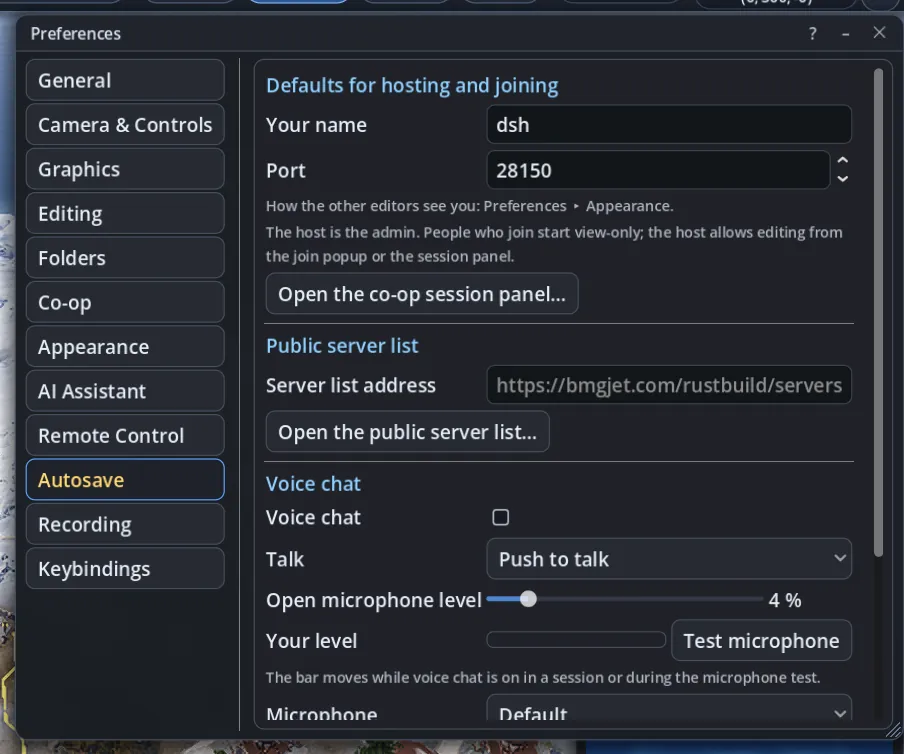
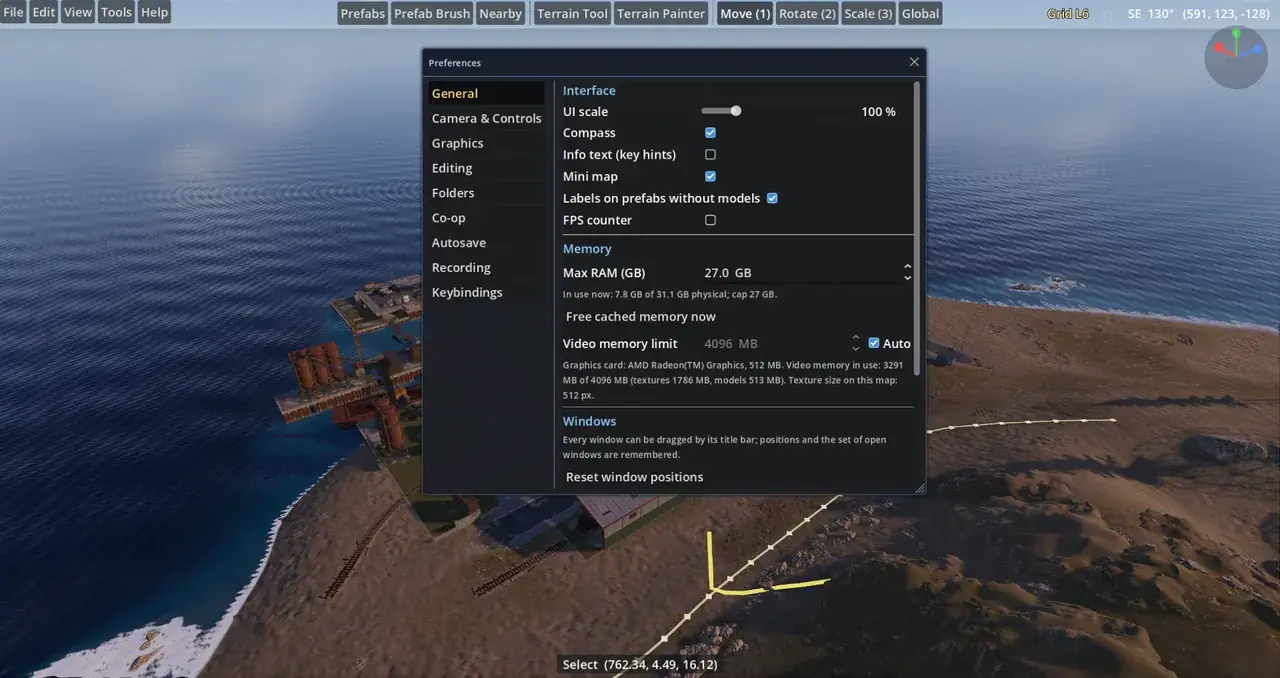
Settings…open the Preferences (Rust folder, graphics, keys, camera, co-op) before you load a map
Upload Map…put a map on the web for a server to download, see Upload Map
Back to Mapclose the start screen (only when a map is open)
Quitclose Rust Build straight away (your settings are saved first)
TipThe start screen comes back from File ▸ Start Screen…, and automatically when a map fails to load (the error is shown in red at the top).
TipKeyboard: arrow keys or Tab move between the buttons and Enter opens one; the number keys 1–9 open the first nine big buttons straight away (the others by click or Tab), Esc goes back to the open map. On a narrow window or a phone the buttons stack in one column and the page scrolls.
TipQuitting is instant: File ▸ Quit, the window's ✕ or the start screen's Quit save your preferences and close in under a second. Save your map first: Quit does not ask.
The splash (3 s); its art stays up as the loading screen
The start screen of 0.14: twelve ways to start, a new empty map and the recent maps
New Procedural Map: type the size, Find seed with land, Generate New Map; the loading screen shows the map picture while it is made
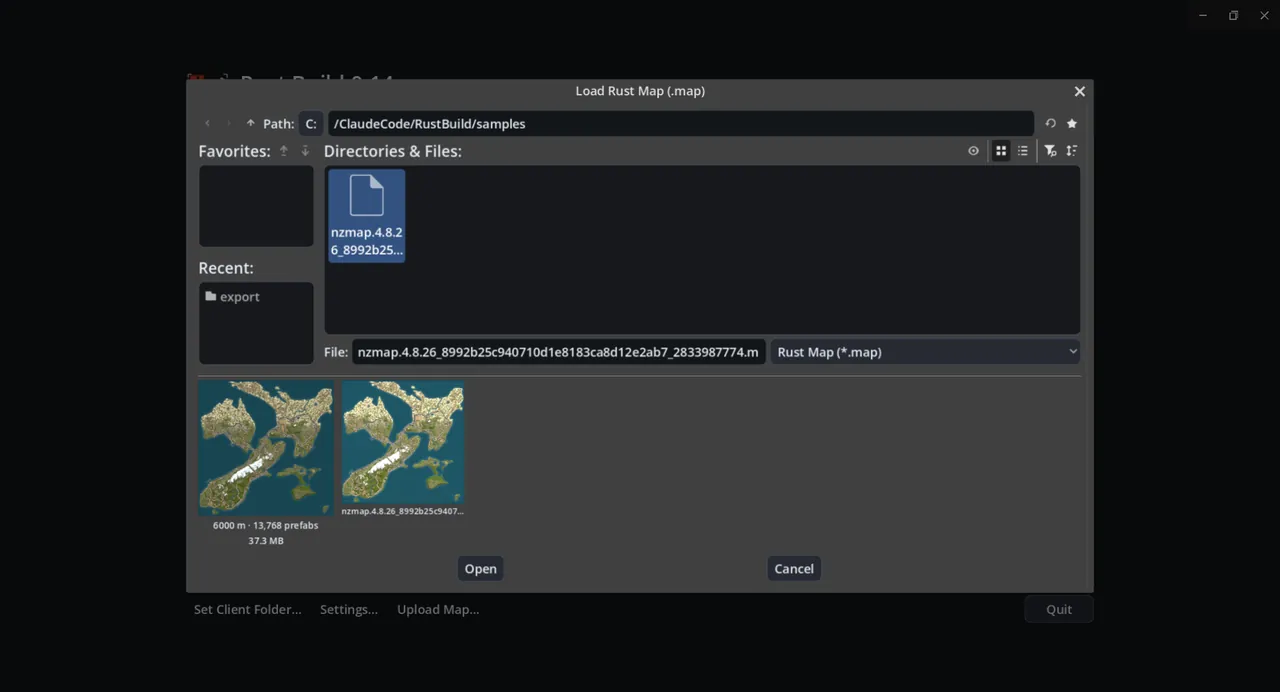
Open Map: the maps of the folder with their pictures; click one, then Open
New empty map: click the size, [[Ctrl+A]], type 2000, [[Enter]], then Create
New empty map: click the size, Ctrl+A, type 2000, Enter, then Create

Load Height Map: a playable map from a height map

Turn a height map into a map in a few steps: terrain, topology, biomes, ground textures and water; then add rivers, rocks and beaches with the generator.

  1. On the start screen click Load Height Map and pick the file: PNG (8 or 16-bit, grey or a coloured topographic map), RAW / R16 (16-bit, square), TIFF (grey 8 / 16 / 32-bit or float heights; uncompressed, LZW, Deflate or PackBits), terrain data (.redata height layer) or a topographic colour picture as JPG or BMP.
  2. A blank map is made and the Import Heightmap window opens straight away with a live 2-D and 3-D preview: the land share and the lowest and highest point, blue is under the sea (sea level is 0 m). Set the Map size at the top (a different size makes a new blank map of that size when you click Import), the Mode (Island shapes the coast and sea floor, Raw maps grey to height, As is uses the file exactly) and the other options. Float TIFFs suggest their own height range.
  3. Click Import.
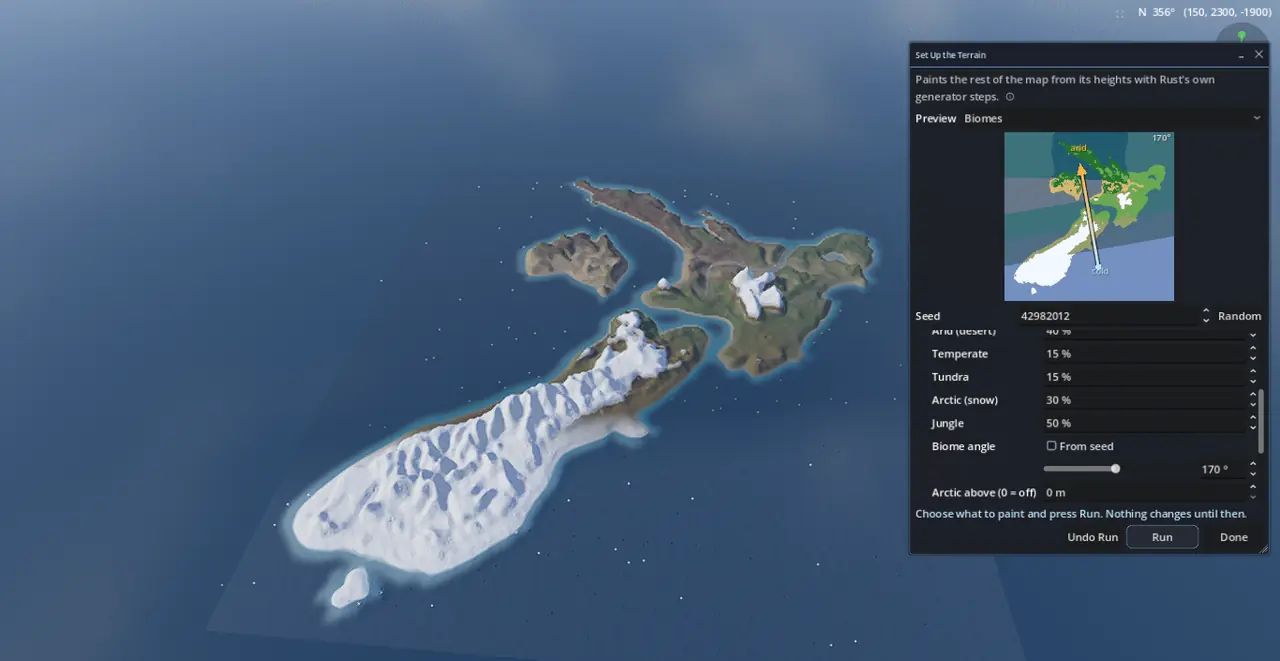
  4. Set Up the Terrain opens next. Tick what to paint and press Run: Topology (ocean, beach, cliffs, mainland and the monument tiers with their shares and a Loot (tier) angle: the compass direction of the hardest tier), Biomes (arid, temperate, tundra, arctic and jungle weights, a Biome angle: the compass direction of the cold side, plus snow above a height you choose), and Ground textures (Rust's own textures by biome, slope and height, or simply by height and slope with a snow line). Both angles can come from the seed like in the game (From seed) or be set from 0 to 360° (0° = north, 90° = east); an arrow on the Topology and Biomes previews shows the direction.
  5. The preview switches between Height, Topology, Biomes and Textures. Change a setting or the seed and press Run Again: the last run is replaced. Undo Run goes back to the imported terrain. Done closes the window; save with File ▸ Save Map As….
  6. Set Up the Terrain only sets up the ground. For rivers and lakes, cliffs, rocks and decor, spawn beaches, roads and monuments, run Rerun Generation Steps (Tools ▸ Generation) on the map next, or use New Procedural Map: they are made once there, not twice.
TipThe painting uses Rust's own generator steps, so the result looks like a procedural map; it needs the Rust client folder (the height-and-slope textures work without it).
TipFile ▸ Import ▸ Heightmap reads every one of these files too and opens Set Up the Terrain after the import (untick Then set up the terrain to skip it).
TipWorld Creator or other terrain tools: export a 16-bit PNG, RAW / R16 or TIFF and pick As is (no processing): the lowest value becomes −500 m and the highest +500 m (the game's own height range), float TIFFs keep their metres. Export at 2049 × 2049 px for a pixel-exact import; other sizes are resized.
Load Height Map opens Import Heightmap with a live preview of the picture
A topographic colour map with its colour scale
Set Up the Terrain: the biome angle turned to 170° puts the cold side (snow) in the south; the arrow on the preview shows it
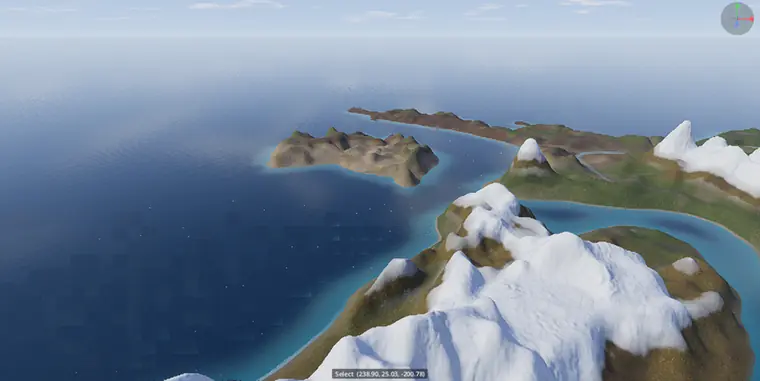
Step by step: Load Height Map, pick the picture, check the preview, Import, untick From seed and type the loot and biome angles, Run, look at the Biomes preview, Done

Demos, server saves and PNGs from the start screen

Open a demo or a server save without making a map first: Rust Build opens or makes the right map for it.

  1. Open Demo (.dem): if the demo's map is in your Rust maps folder it opens; a demo recorded on a procedural map generates that map (same size and seed). Otherwise you choose: pick the .map file, or play the demo on a blank map of the same size (players and buildings in the right places, flat ground). Then the Demo Player opens.
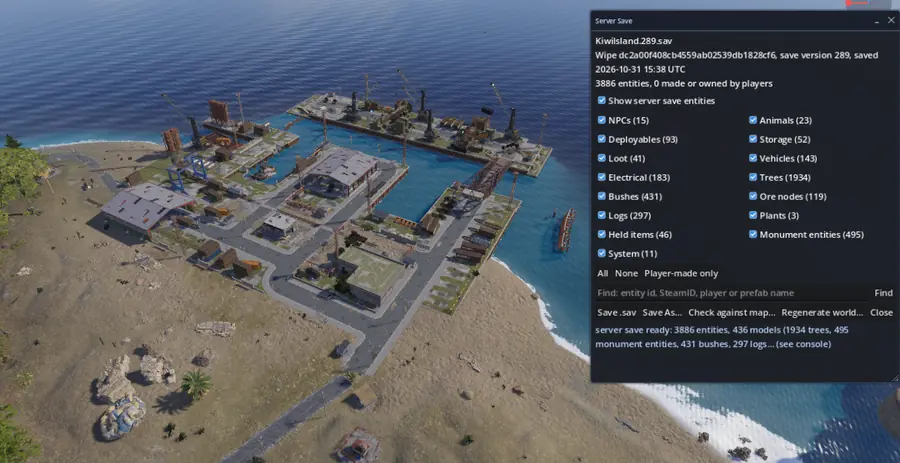
  2. Open Server Save (.sav): a save named <level>.<size>.<seed>.<version>.sav generates that procedural map; a save named after a custom map uses the newest matching .map next to the save, in the Rust maps folder or among your recent maps. If none is found you choose the map file or a blank map of the size the save's entities cover. Then the Server Save panel opens.
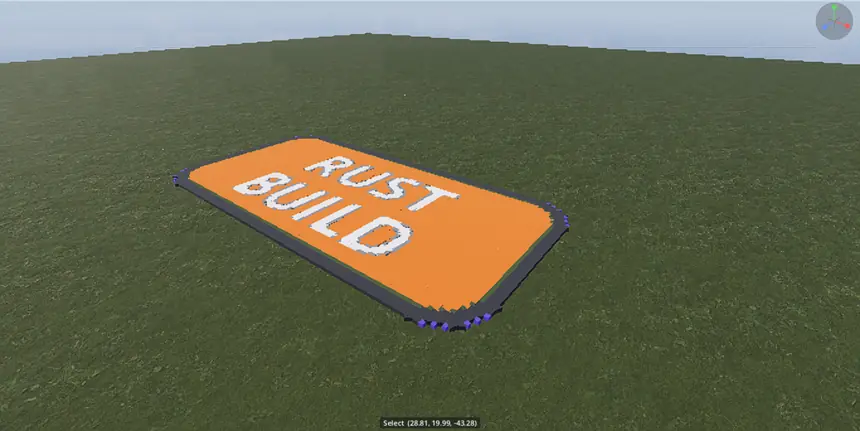
  3. PNG to Prefab: a blank 1000 m map is made and the Create Prefabs from PNG window opens.
TipGenerating a procedural map for a demo or save takes as long as New Procedural Map; your own generator settings are used, with the file's size and seed.
TipKeep a custom map next to its saves with the same name (MyIsland.map and MyIsland.289.sav): Open Server Save then opens the map without asking.
Open Demo (.dem): pick the demo; its map is not in the Rust maps folder, so Choose the .map file…, pick it, then press &#9654; in the Demo Player
Open Demo (.dem): pick the demo; its map is not in the Rust maps folder, so Choose the .map file…, pick it, then press ▶ in the Demo Player
Open Server Save (.sav): pick the save; the map with the same name next to it opens, then the Server Save window lists every entity
PNG to Prefab: Select PNG…, set Scale X and Z to 1 (one metre per pixel), Place at screen centre: a 128 &times; 64 m sign made of cubes
PNG to Prefab: Select PNG…, set Scale X and Z to 1 (one metre per pixel), Place at screen centre: a 128 × 64 m sign made of cubes

Monument Breaker: make your own monument from a game one

Pick any game monument and get it in pieces on a new map, ready to change and save as your own custom prefab or monument.

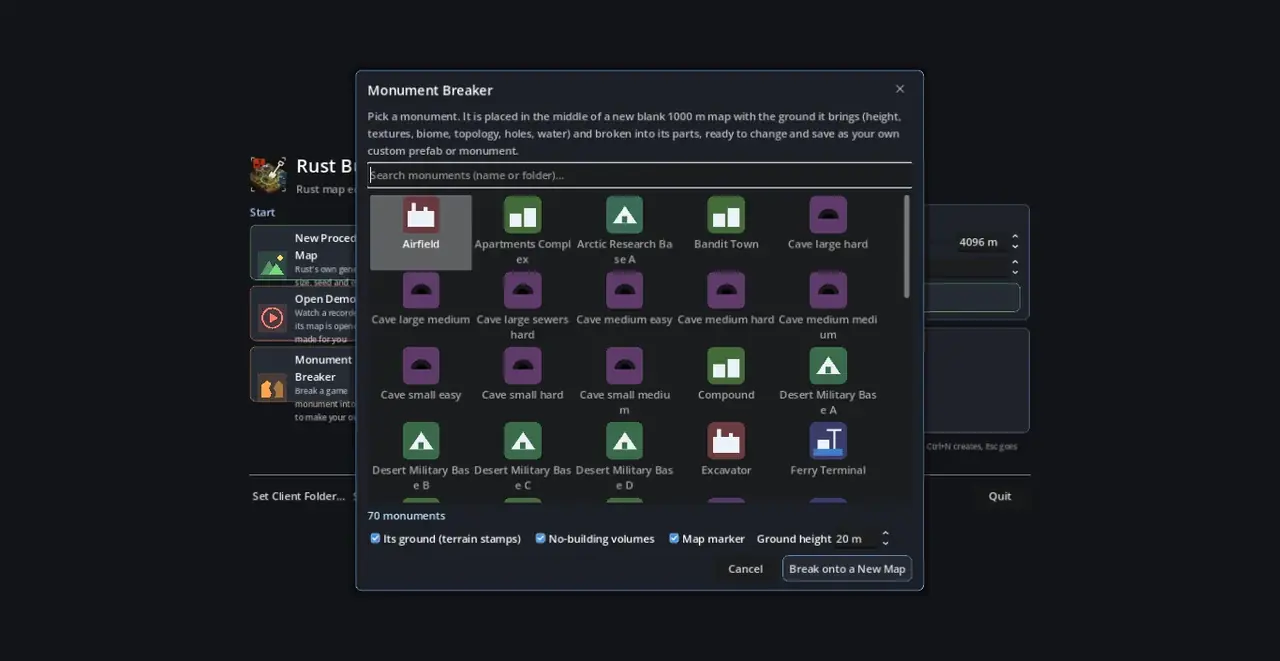
  1. On the start screen click Monument Breaker. Search the list by name or folder (each kind of monument has its own picture); double-click a monument, or select it and click Break onto a New Map.
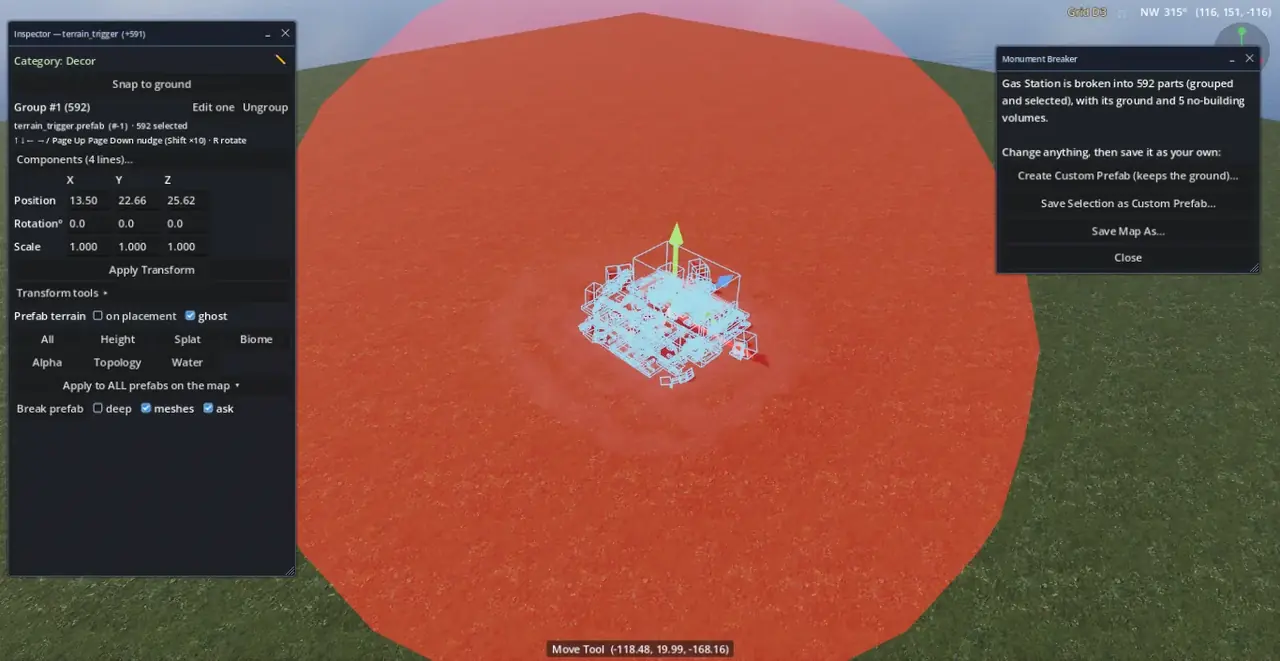
  2. A blank 1000 m map is made and the monument is placed in the middle with its ground: the height, textures, biome, topology, holes and water it brings in the game. Its no-building areas become prevent building volumes and a map marker carries its name (both can be unticked; Ground height sets the height of the blank map).
  3. The monument is then broken into its parts (as Break Prefab into Parts), grouped and selected. If some meshes have no exact prefab, you are asked which to use (the Airfield asks about 22 times: Use selected takes the best match; with Remember this choice for the session ticked the next break asks nothing). Click a part to select the whole group; double-click a part to select only that one.
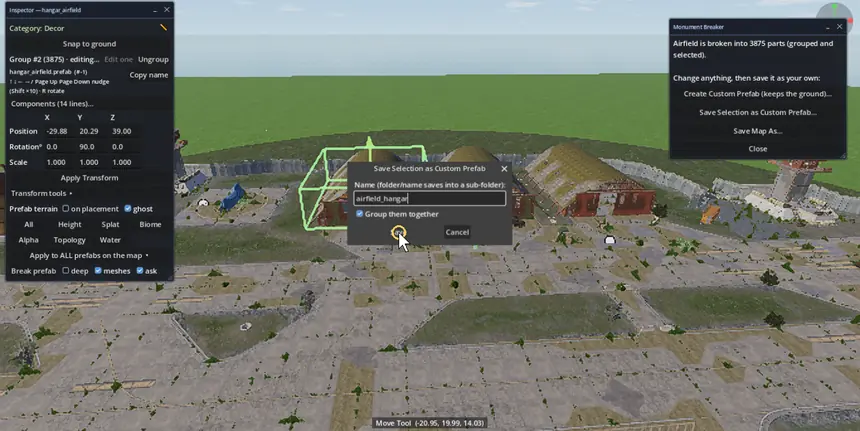
  4. The Monument Breaker panel offers the next step: Create Custom Prefab (draw a region and keep the ground too), Save Selection as Custom Prefab (the parts only, see Custom prefabs) or Save Map As….
Monument Breaker: pick a monument
The Gas Station in 592 parts with its ground and no-building volume
The Airfield step by step: search, pick it, untick No-building volumes for a clearer view, Break onto a New Map; double-click one hangar, Save Selection as Custom Prefab…, type a name, Save

Custom Prefab Editor: change every part of a custom prefab or monument

File▸Custom Prefab Editor…

Open a custom prefab (or a monument you broke into parts) on a blank map of its own and change everything in it with the normal tools: its prefabs, paths, height, splat, biome, alpha and topology, and the anchor it is placed by. Save puts it back in the same file.

  1. On the start screen click Custom Prefab Editor (or File ▸ Custom Prefab Editor… with a map open).
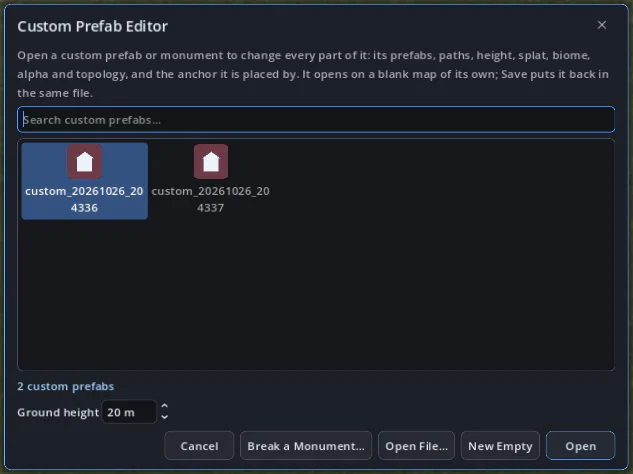
  2. Pick a custom prefab from the list (search by name), Open File… for a .prefab anywhere, New Empty to start from nothing, or Break a Monument… to start from a game monument. Set the Ground height of the blank map round it.
  3. It is placed in the middle of a map just big enough for it, exactly as saved (every terrain layer texel for texel), with every part on its own: move, rotate, scale, sculpt, paint and add prefabs and paths as on any map.
  4. The Custom Prefab Editor panel shows the Anchor (the orange pin: the point the prefab is placed by; type it, Pick on Map or Centre on Prefabs) and the Region that is saved (the cyan outline: its own outline or a width × depth rectangle, Fit Region to Prefabs), and how many prefabs are inside and outside it.
  5. Choose what is saved (Prefabs, Paths, Height, Splat, Biome, Alpha, Topology) and click Save (the same file) or Save As… (a new name in your custom prefabs folder).
TipOpening another map ends the session; the panel's Close Editor keeps the map open without the panel.
Pick the custom prefab to edit, or start a new one or from a monument

CopyPaste Editor: raidable bases, loot, locks, turrets and IO

File▸CopyPaste Editor…

Edit a base saved by the Oxide CopyPaste plugin (oxide/data/copypaste/*.json, also what Raidable Bases loads) on a map of its own: grades and skins, doors and locks, the loot in every box, turrets, traps and IO wiring; or generate a random raidable base. Save writes the file back with every setting it does not change kept as it was.

  1. On the start screen click CopyPaste Editor (or File ▸ CopyPaste Editor…). Choose Folder… once (for example your server's oxide/data/copypaste) and pick a base, or Open File…, New Empty or Generate Random….
  2. The base is pasted in the middle of a flat map exactly as in the file, with its IO wires; nothing outside the editor is added.
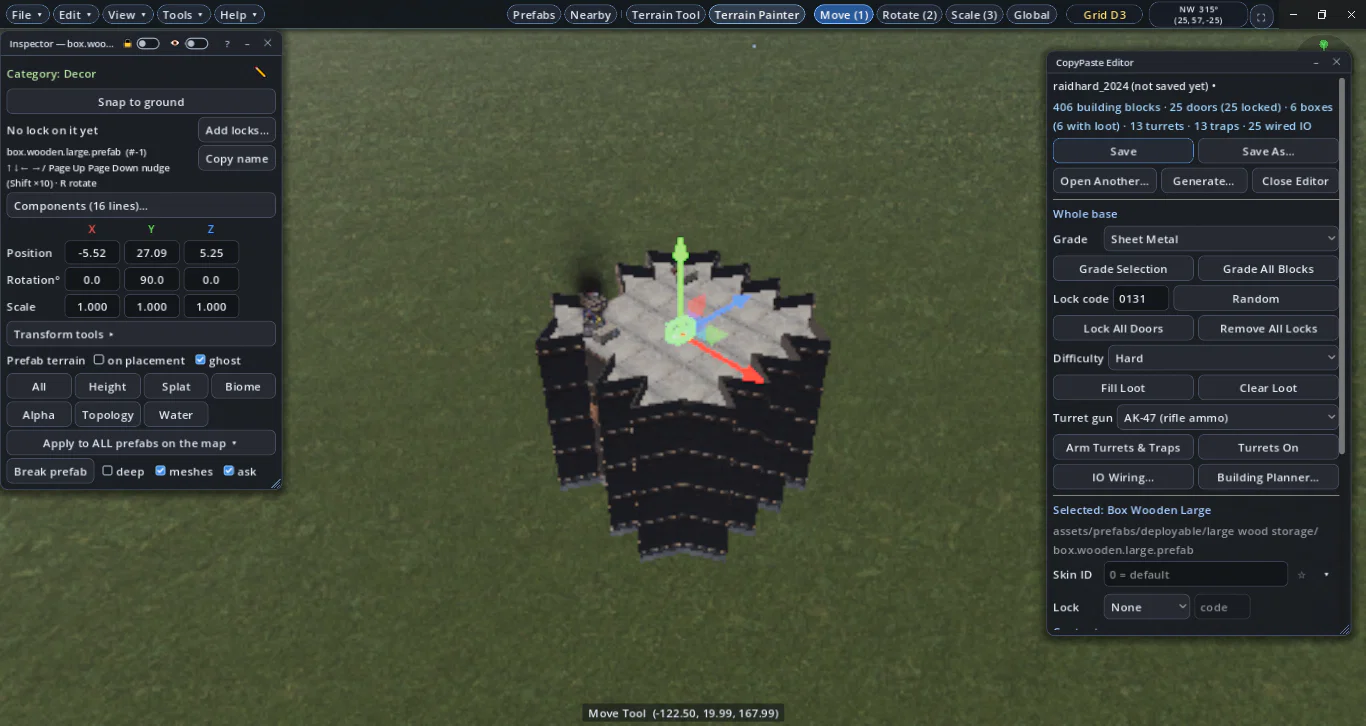
  3. Whole base: set the Grade of the selected or of all building blocks, Lock All Doors with one 4-digit code (or Remove All Locks), pick a Difficulty and Fill Loot (every box gets random loot of that tier and the tool cupboard building resources) or Clear Loot (empty boxes: Raidable Bases fills them from its own loot tables), and Arm Turrets & Traps (turrets get the chosen gun with a full magazine and ammo, shotgun traps handmade shells, flame turrets and generators low grade fuel, SAM sites rockets).
  4. Click a part of the base: the Selected section shows what that entity can have: skin ID, flags (Open, On…), lock and code, the items in it (Add Item… any game item, amount, skin, slot, Fill Random, Clear), a turret's gun and authorised players, a sleeping bag's name, and Edit JSON… for every other field the plugin saves. With several selected: copy the loot of the first to the rest, lock the selected doors, one skin for all.
  5. IO Wiring… opens the IO window to wire switches, generators, branches, turrets and door controllers; Building Planner… builds walls, floors and roofs that snap like the game.
  6. Save writes the file (or Save As… a new one). Every change before that is one undo step.
ControlWhat it does
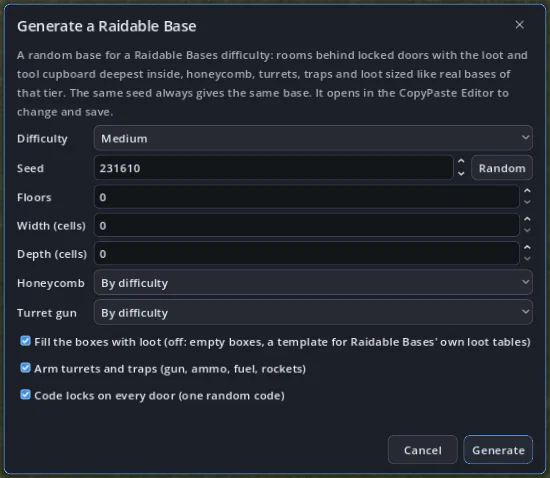
Generate…a new random base for a difficulty and a seed (the same seed gives the same base): rooms behind locked doors with the tool cupboard by the core's door and loot deepest inside, a stairwell, honeycomb on the harder tiers, embrasures, shotgun traps (half on the ceilings) and flame turrets watching the doors, turrets inside powered by small generators through a switch and a branch each, SAM sites on the roof and landmines at the entrance, sized like real bases of each tier. Untick the loot for a template, or the locks and arming.
Only spawnable prefabsa CopyPaste base can only hold game entities, so while the editor is open the Prefab Library lists only those; monuments, rocks, decor, volumes and markers can't be placed, a custom prefab brings only its spawnable parts, and anything else in the base is shown in red and left out when you save (Select / Remove)
TipOpening a file and saving it again changes nothing: positions, rotations, grades, items, locks, flags, signs and IO wires are written back as they were.
TipEntities the editor does not know (from a newer game version) are kept in the file untouched.
A generated Hard base in the CopyPaste Editor with a loot box selected
Generate a Raidable Base: difficulty, seed, size, honeycomb, turret gun, loot, arming and locks

Skin Editor: every item and its skins, and your own

File▸Skin Editor…

Look at every item of the game with its skins, like the game's skin screen, and make fully custom skins from your own pictures.

  1. On the start screen click Skin Editor (or File ▸ Skin Editor… with a map open).
  2. Pick a category (Items with skins, Weapon, Construction, Attire…) or search, and click an item: its model turns in the middle (drag to turn it, mouse wheel to zoom, double-click to reset).
  3. Click a skin on the right: every approved skin the game ships is drawn on the model. For any Steam Workshop skin type or paste its ID or link into Workshop: its Workshop picture and name show (the game downloads its textures from Steam, so the model keeps the default look). Copy Skin ID copies it for loot, kits or the CopyPaste Editor.
  4. Fully custom skin: choose a part of the model (its material), click Picture… and pick a PNG, JPG or WebP: the model shows it at once. Save Workshop Folder… writes a Rust Workshop item (manifest with the item's type, one texture per part, icon) for the game's Workshop uploader.
  5. Sprays, Wallpapers & Icons… opens the picture editor for your own sprays, wallpapers and item icons.
The Skin Editor: the Assault Rifle with its Digital Camo skin on the model

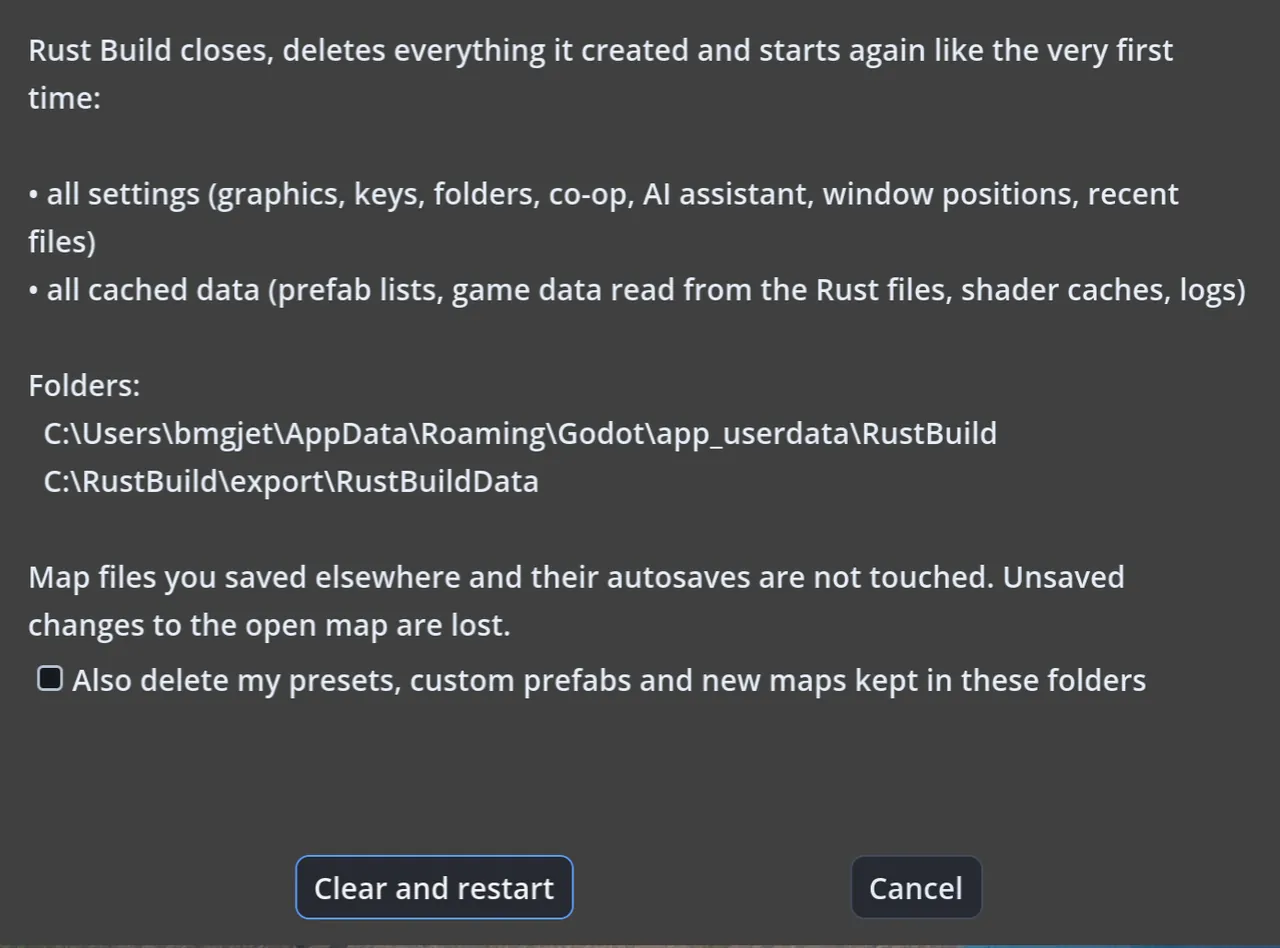
Where settings and caches are kept (RustBuildData)

The exe is portable: settings, caches, generated maps and custom prefabs go in a RustBuildData\ folder next to it.

  1. Run the exe from a folder you can write to; RustBuildData\ is created next to it on the first start.
  2. Open it from Edit ▸ Preferences ▸ Folders ▸ Settings and caches ▸ Open.
  3. To move Rust Build to another PC, copy the exe and RustBuildData\.
All 8 controls
ControlWhat it does
rustbuild_prefs.cfgall preferences, window positions, recent files
rustbuild_client.cfgthe Rust folder you picked
newmaps\new and generated maps until you use Save As
customprefabs\your custom prefab library
worldgen_cache\generator cache (built by the first procedural map)
procgen_settings.json, procgen_presets\generator settings and presets
benchmark\benchmark map, image and results.txt
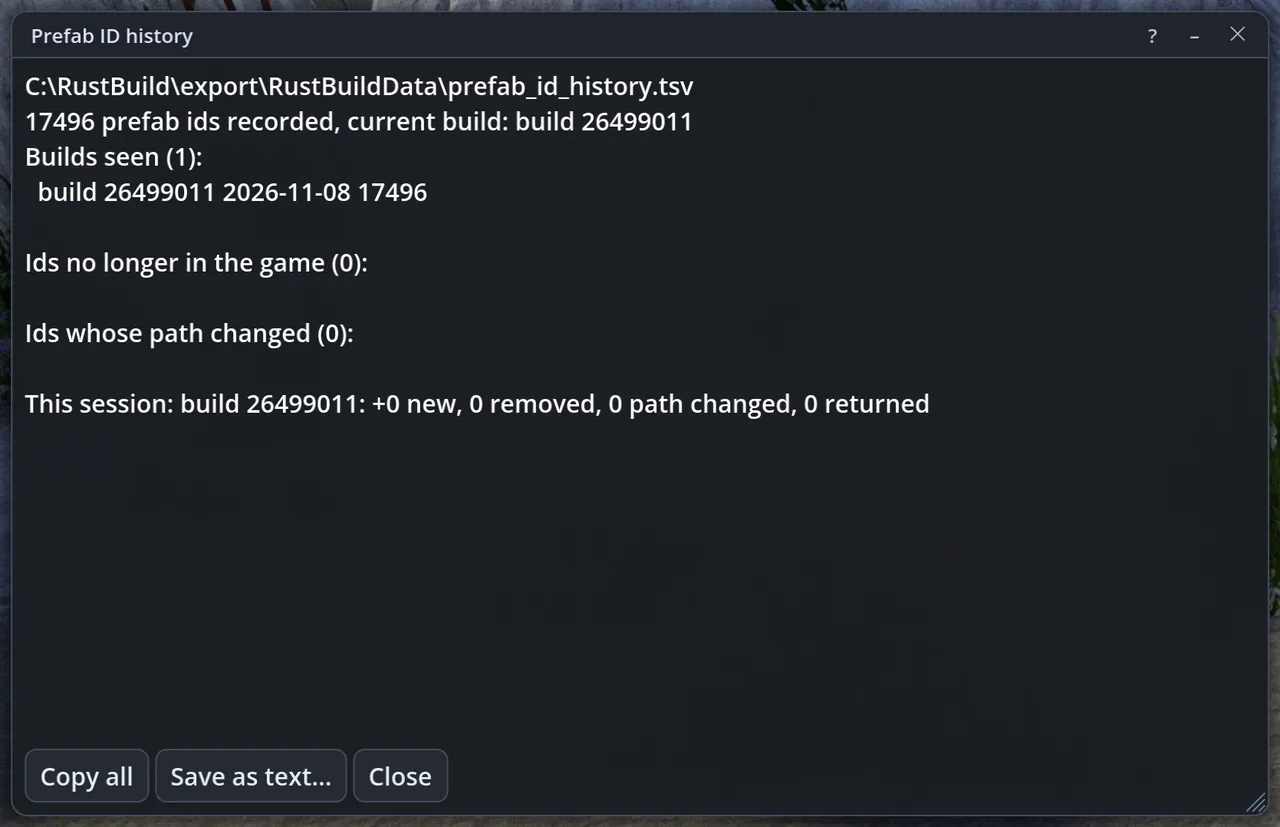
prefab_id_history.tsvevery prefab id seen per Rust build (see Prefab ID History)
TipIf the exe folder is read-only (for example Program Files) Rust Build falls back to %APPDATA%\Godot\app_userdata\Rust Build.
TipAdvanced: RUSTBUILD_DATA_DIR (environment) or ++ --data-dir=<folder> on the command line choose another data folder.
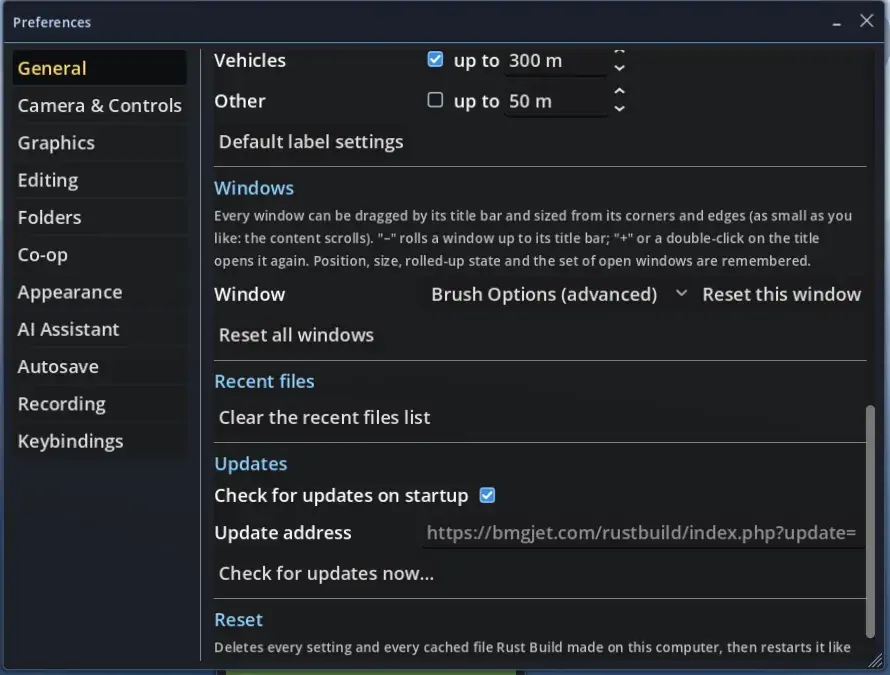
Edit &#9656; Preferences &#9656; Folders: the Rust folder, the RustBuild settings and cache folder, custom prefabs and the open map's folder, each with an Open button
Edit ▸ Preferences ▸ Folders: the Rust folder, the RustBuild settings and cache folder, custom prefabs and the open map's folder, each with an Open button

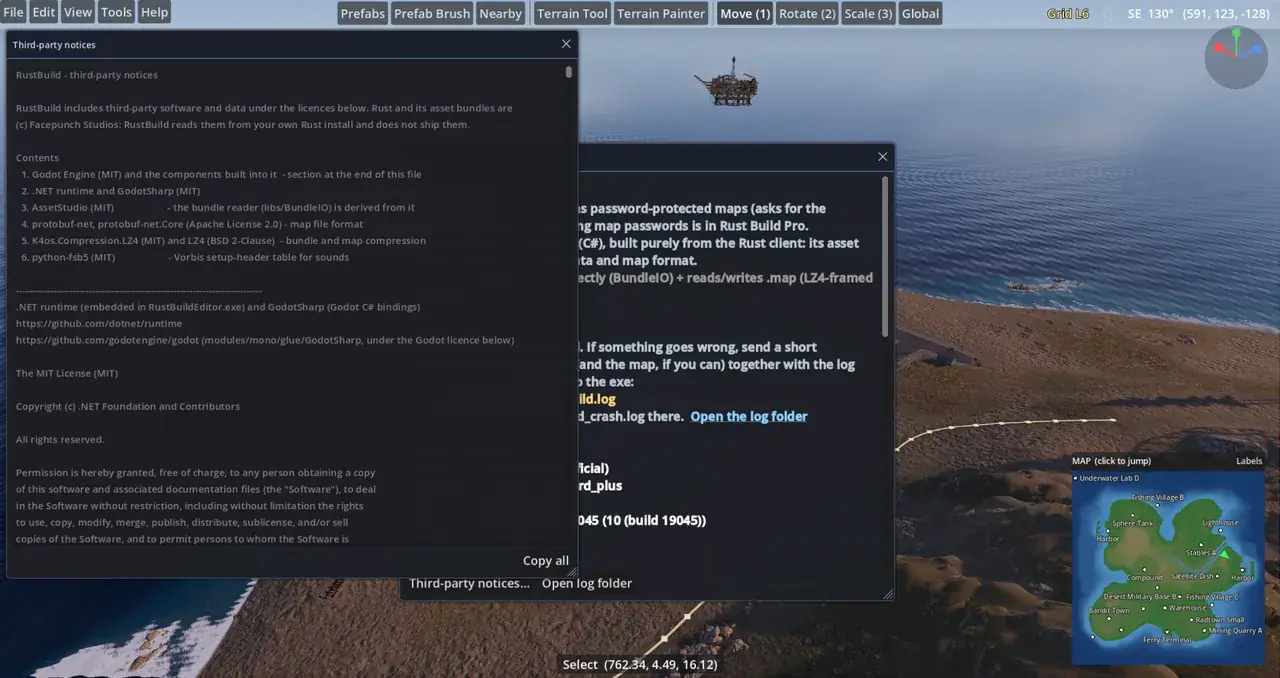
Report a bug (test build)

Rust Build 0.14 is a test build. Every bug report helps; the log file tells what the editor was doing.

  1. Note what you did just before the problem (menu item, tool, map size), and whether it happens again when you repeat it.
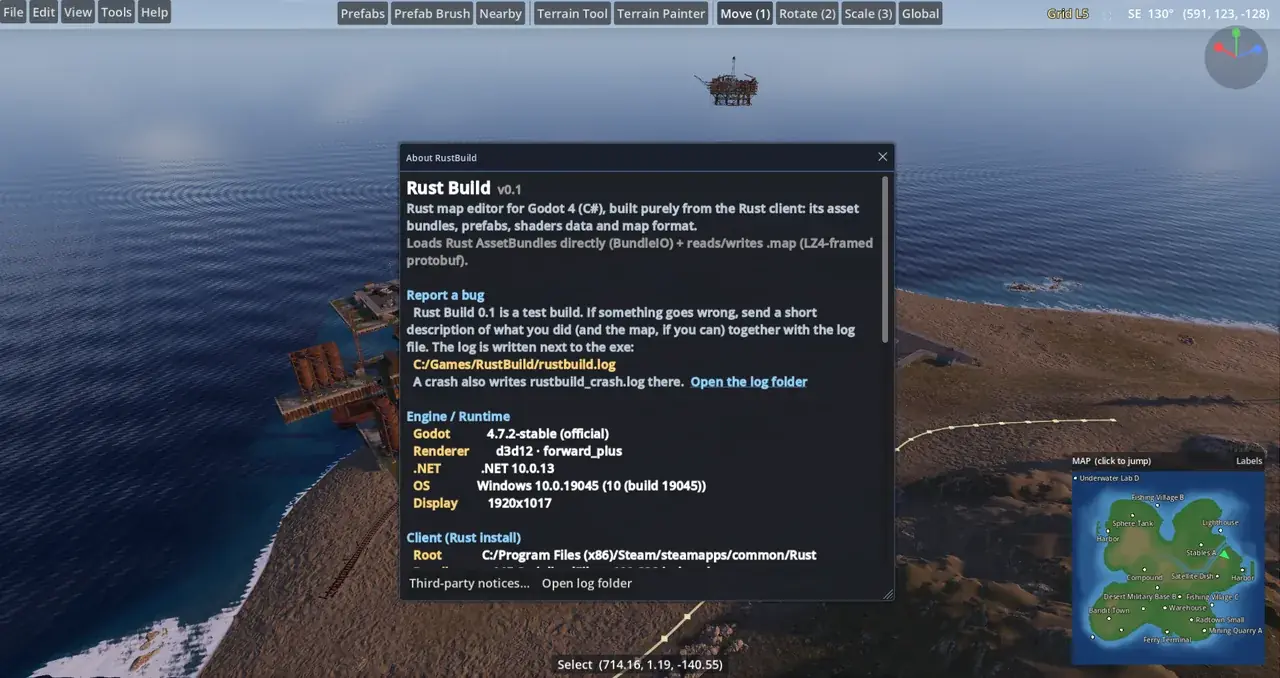
  2. Find the log: Help ▸ About RustBuild ▸ Report a bug shows its path and Open the log folder opens it. It is rustbuild.log next to RustBuildEditor.exe.
  3. After a crash there is also a rustbuild_crash.log in the same folder.
  4. Post the description, rustbuild.log (and the crash log, and the map if you can share it) on the Rust Build Discord (https://discord.gg/ucs5r5mGhd). The same link is in Help ▸ About RustBuild.
TipEach start adds to the same log (a line === RustBuild start <date> === marks every start), so the newest session is at the end.
TipIf the exe folder is read-only the log goes to %TEMP% instead; Help ▸ About RustBuild shows the real path.
TipThe version is in the title bar and in Help ▸ About RustBuild (RustBuild 0.14).
Help &#9656; About RustBuild shows where the log file is and links to Open log folder
Help ▸ About RustBuild shows where the log file is and links to Open log folder

Graphics on the first start: automatic tuning

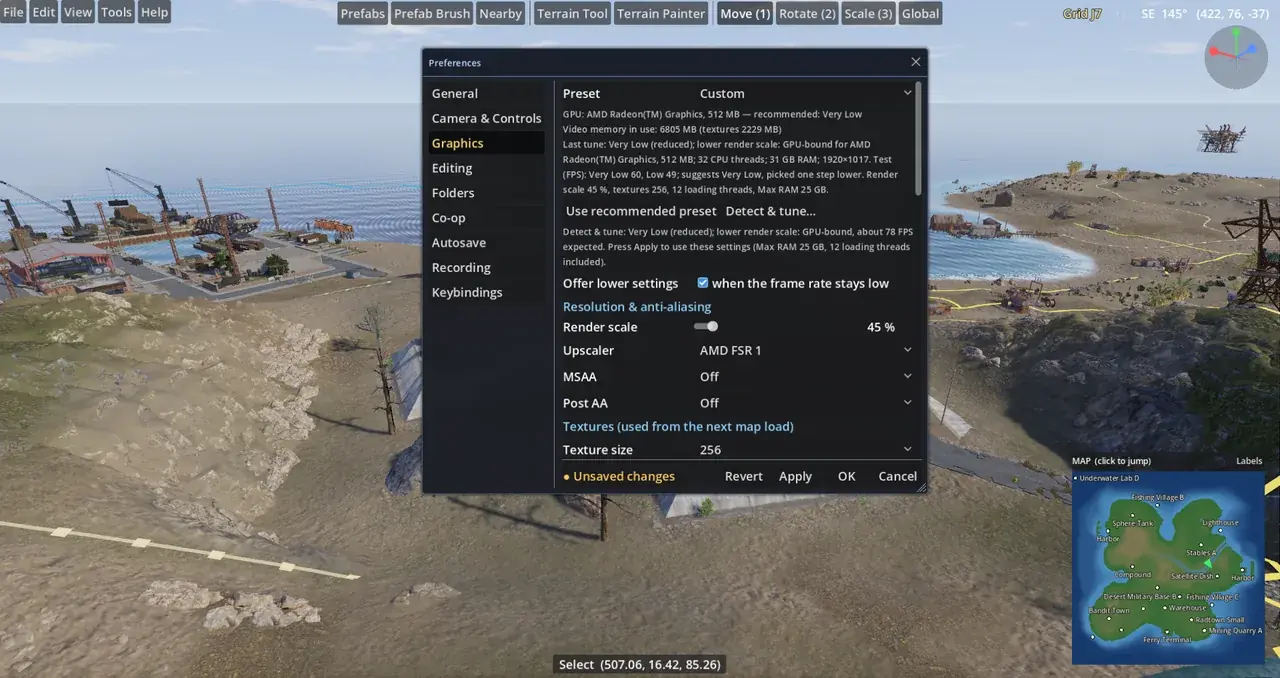
The first time you start Rust Build it tests your PC for a few seconds and picks graphics settings that run smoothly on it, so a laptop with integrated graphics and a gaming PC both get a good start.

  1. A window Tuning the graphics for this computer appears over the loading screen: it checks the hardware (graphics card, video memory, processor, memory, screen), then runs a short test scene for each preset. The scene is built like a big map full of monuments, so the result holds on large maps too.
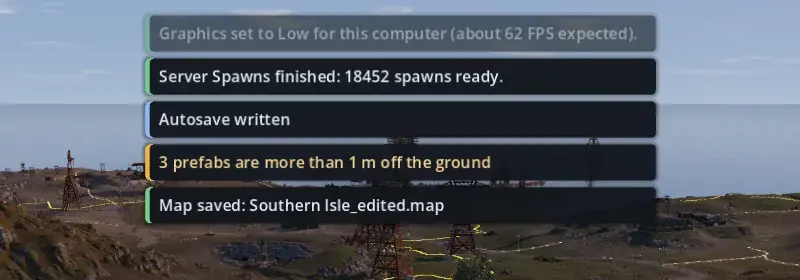
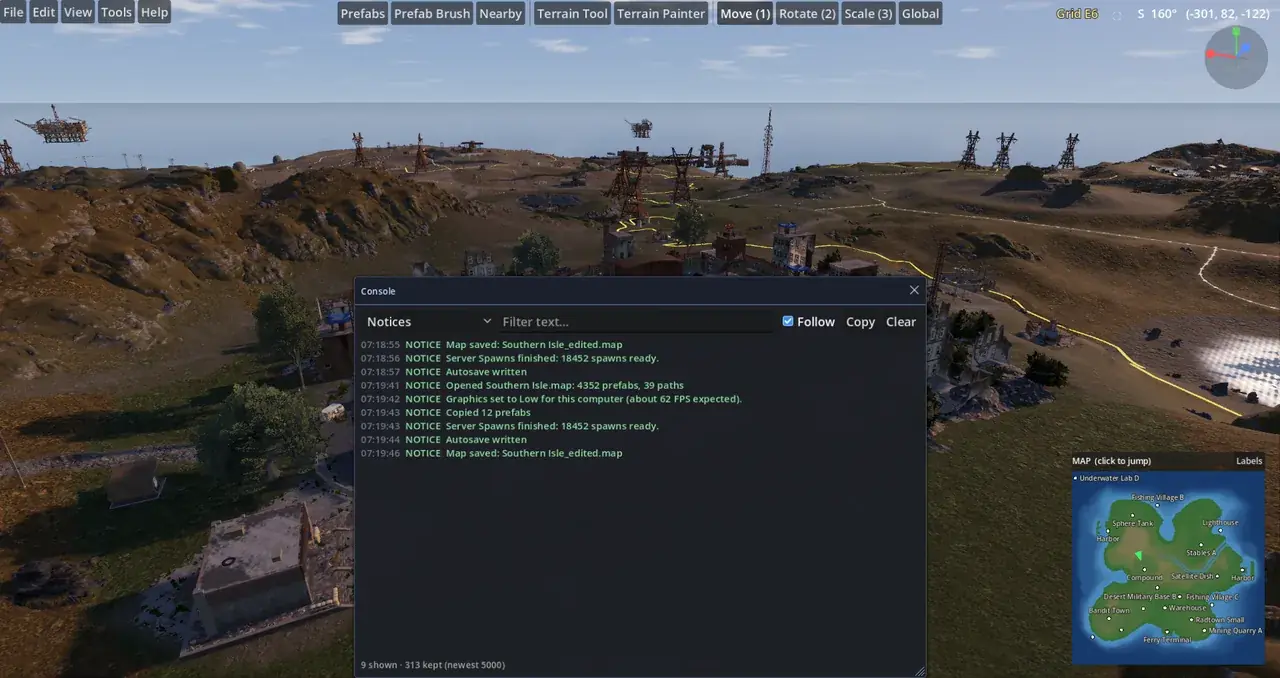
  2. It picks one step below the highest preset that would reach 60 FPS on a big, busy map (integrated graphics stay at Low or below), and also sets texture size, render scale, loading threads and the memory limit. A notice tells you the result, for example Graphics set to Low for this computer (about 60 FPS expected).
  3. Click Skip to stop the test and keep the current settings.
  4. Run the same test any time with Edit ▸ Preferences ▸ Graphics ▸ Detect & tune… (see Graphics). There the result waits until you press Apply.
TipIt is easier to turn settings up than down: start from the tuned settings and raise what you care about (view distance, shadows, textures).
TipIf the window closes straight away on another PC, start it once with RustBuildEditor.exe --rendering-driver d3d12, or pick the driver in Preferences ▸ Graphics ▸ System.
TipKeep maps around 1000–2000 m on laptops with integrated graphics; 4000 m maps with many monuments want a real graphics card.

When a map runs slowly

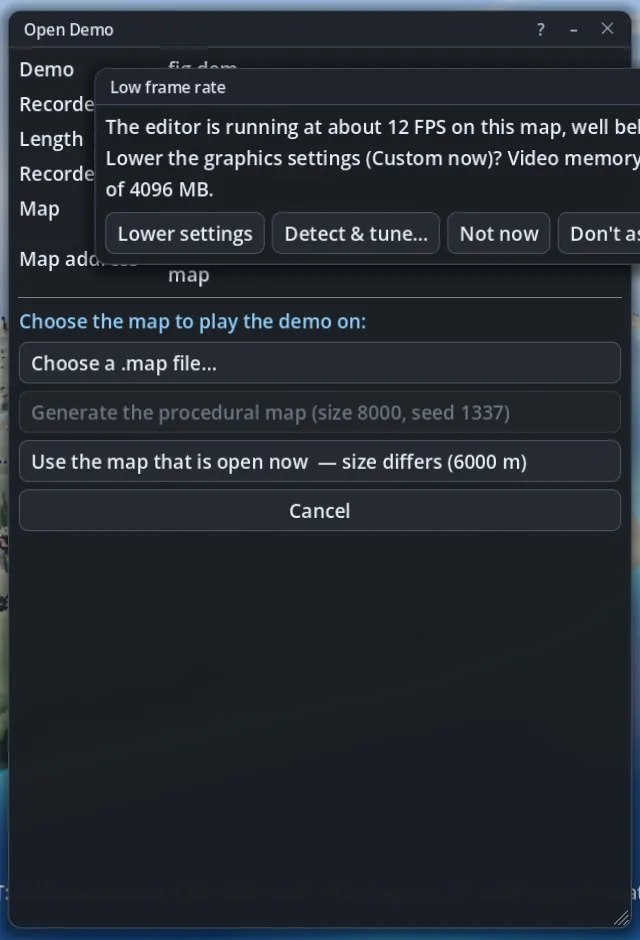
  1. If the frame rate stays below 30 FPS (45 FPS on maps with many prefabs) for a while after a map has loaded, the Low frame rate window asks whether to lower the settings.
  2. Lower settings goes one preset down straight away; Detect & tune… opens Preferences ▸ Graphics and runs the test; Not now closes the window; Don't ask again switches the question off.
  3. Switch it back on with Offer lower settings when the frame rate stays low on the Graphics page.
Tuning the graphics for this computer (first start)
The Low frame rate window

What's new

The changes in version 0.14, with links to the how-tos, and the change log of earlier versions.

New in version 0.14

  • CopyPaste Editor: a new mode on the start screen and in File ▸ CopyPaste Editor… for bases saved by the Oxide CopyPaste plugin (what Raidable Bases loads): the base opens on a map of its own with every building block, door, box, turret, trap and IO wire, and Save writes it back keeping every setting it does not change. Grade the whole base or a selection, lock every door with one code, fill the boxes and tool cupboard with loot for a difficulty or clear them for Raidable Bases' own loot tables, arm turrets (gun, ammo, magazine), shotgun traps, flame turrets, SAM sites and generators, and change any entity: skin, flags, lock and code, the items in it, turret authorisation, or its whole JSON. Only what the game can spawn goes in a base: the Prefab Library then lists only entities, and monuments, rocks, decor and markers are refused (see CopyPaste Editor).
  • Random raidable bases: CopyPaste Editor ▸ Generate… builds a new base from a seed for Easy, Medium, Hard, Expert or Nightmare, furnished the way real raid bases are: rooms behind locked doors with the tool cupboard by the core's door and loot boxes in the core and loot rooms, shotgun traps inside watching the doors (about half hanging from the ceilings) loaded with handmade shells, flame turrets with fuel, turrets inside covering the doors with a gun and ammo, all powered (small generator with fuel, switch, a branch for each turret, wired), SAM sites, a stairwell, honeycomb and embrasures; the same seed always gives the same base.
  • Skin Editor: its own start screen tile and File ▸ Skin Editor…: every item of the game by category with its icon, its model turning in the middle and its skins beside it like the game's skin screen (every approved skin drawn on the model, any Workshop skin by ID), and fully custom skins: your own picture on any part of the model, saved as a Workshop item folder for the game's uploader (see Skin Editor).
  • Sprays stick like in the game: spray decals are projected onto what they are sprayed on, like the game's deferred decals, so they follow the bend of a rock, wrap round the edge of a wall onto the floor and stay on the surface instead of floating on a flat square (the OpenGL renderer keeps the flat picture).
  • Working elevators in play mode: the elevators in monuments and train tunnels (apartment complex, missile silo, tunnel stations, stairwells and their surface bunkers) are powered like in the game and run in play mode: press E inside the car to ride (look up or down to choose the direction), or E at a floor to call it; the car carries you at the game's speed, its floor moves with it, and the shaft doors close before it leaves and open where it stops.
  • Named markers in web views: File ▸ Export ▸ Web View (3D HTML) shows monument markers as their blue pin with the name from their category field; click the name to turn round it like the game's monuments, so custom monuments get clickable names too.
  • Web view colours and water: 3D web pages now show railway gravel, gravel and coal piles, spills and dirt-layered metal in the colours the editor draws them (their biome tints and extra layers were left out, so gravel came out near-white), and a monument's or selection's ground patch gets water only where the map has it: lakes and rivers where the water is, the sea only on ocean topology, so canyons below sea level stay dry.
  • Box selection: Shift adds, Ctrl removes: dragging a selection box with Shift held adds the boxed prefabs to the selection, and with Ctrl held removes them from it (with no key it replaces the selection, as before).
  • Skin and grade for a whole selection: the Inspector's building Skin, Container colour, Wallpaper and Grade lists now change every selected building block, also when other prefabs are selected with them (those are left as they are); before, a mixed selection did nothing and a selection of blocks only changed the last one.
  • Smaller download: the exe only carries what the editor uses: screenshots or test files left in the source folder can no longer end up inside it.

Change log

Version 0.13

  • Custom Prefab Editor: a new mode for building and changing custom prefabs and monuments, from the start screen or File ▸ Custom Prefab Editor: open one onto a map of its own and change every part of it with the normal tools (prefabs, paths, height, splat, biome, alpha, topology), move its anchor, resize its region, and save it back to the same file. Monument Breaker can hand a broken monument straight to it.
  • Map previews when opening: the Open Map dialog shows a picture of every map in the folder with its name, and its size and prefab count under the large preview, so the right map is easy to find.
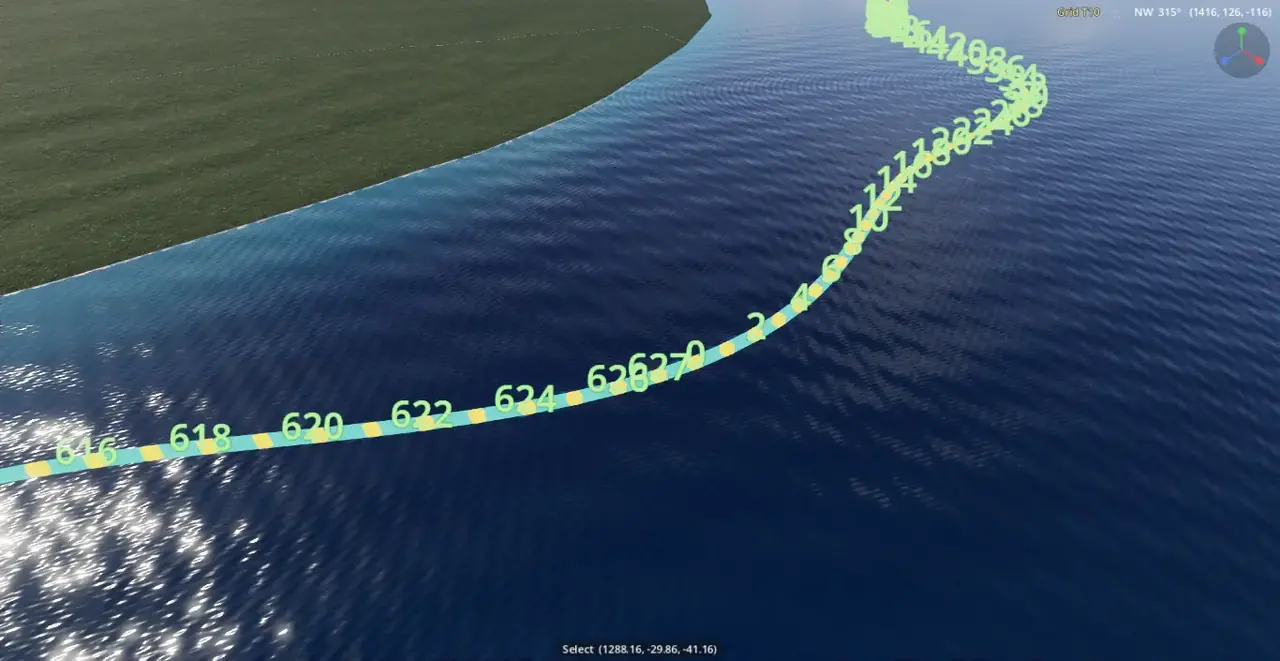
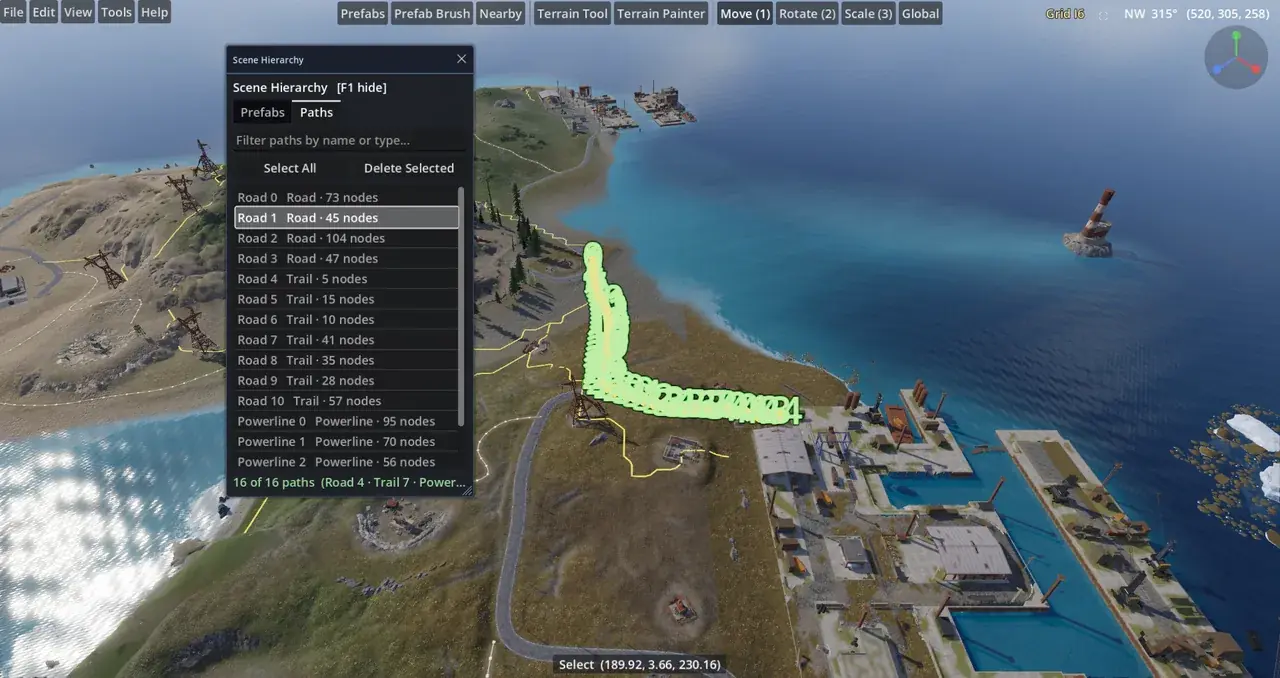
  • Path node numbers: the numbers on a selected road, rail or river are smaller and fade out with distance instead of running together into one green blob.
  • New top bar: one full-width bar with rounded buttons: the menus on the left, the tool buttons in the centre, and the move / rotate / scale modes, grid cell, camera position and fullscreen button on the right (the fullscreen button sits next to ─ in borderless). Like the Windows taskbar it hides while you work and comes back when you move the pointer to the top, but the grid cell and camera position always stay on screen (Edit ▸ Preferences ▸ General ▸ Auto-hide the top bar keeps it all up). It fits one row on a 1080p screen and nothing in it moves as the camera does; the Prefab Brush is now in the Tools menu.
  • Place prefabs on monuments: a prefab you place now lands on whatever is under the pointer, a monument's floor, roof or walkway or another prefab, not the ground below it; the preview shows the same spot, and with align to normal on it stands upright on prefab surfaces.
  • Canyons stay dry in map pictures: Render Map and the fast map loading picture draw the sea only where the map's ocean topology is, so canyons below sea level no longer look full of water.
  • Softer path highlight: a selected road, rail or river is tinted a quarter as strongly, so the path itself stays easy to see.
  • Remember map passwords: the map password prompt has Remember password on this PC: that map file then opens (and merges) without asking, also after you save it. Only a fingerprint of the file is kept, no password; File ▸ Map Password… ▸ Forget remembered passwords clears the list.
  • Borderless window by default: Rust Build now starts in Borderless Windowed mode (its own title bar, filling the screen with the taskbar visible) unless you picked another mode in View ▸ Window Mode.
  • No falling through the ground over sewers: the Dungeon Generator's sewer trigger volumes now cover only the sewer cells at their own height; before, one box per 4 × 4 cells took the highest room's height and the empty spots round it, so where the ground dipped it reached the surface and players fell through there. The generator also warns when a trigger volume would reach the surface. Sewers already on a map keep their old boxes: generate them again.
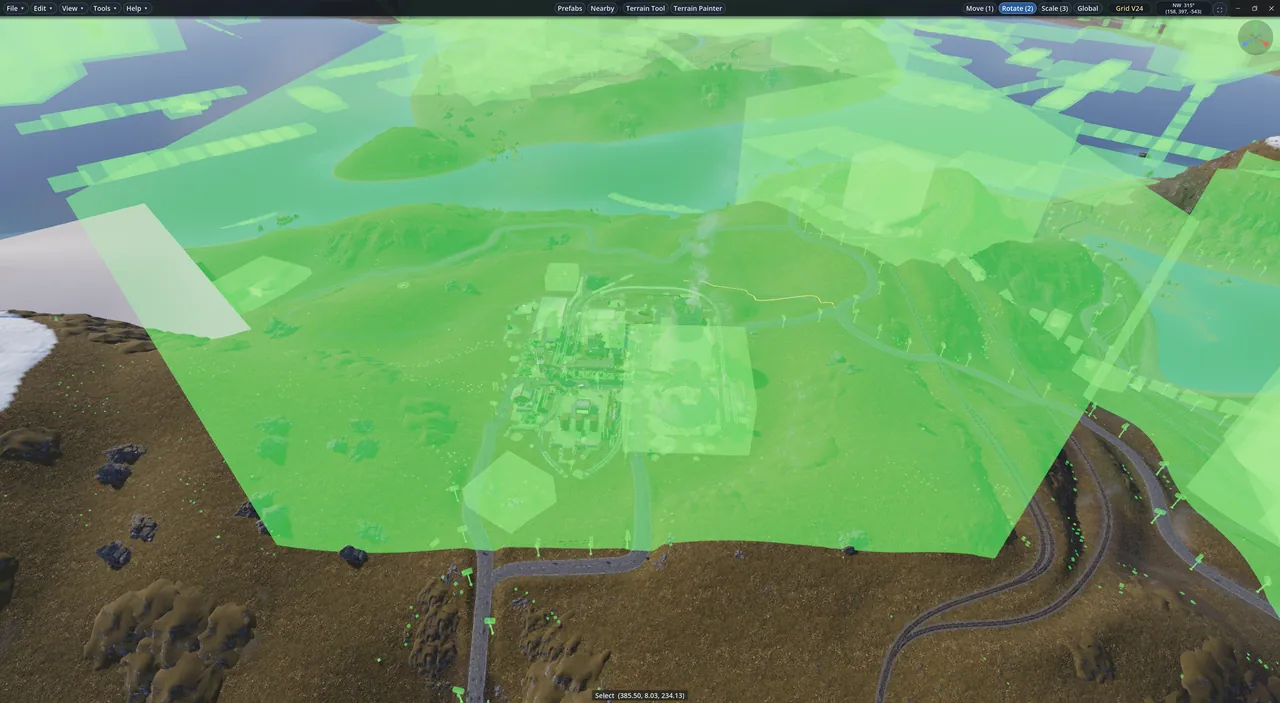
  • Safe zones only when you ask for them: selecting a monument with a safe zone (apartments complex, outpost, bandit camp…) no longer fills the view with its green safe zone: it is drawn only with View ▸ Overlays ▸ Safe Zones on, and web views never include it.
  • Web view water: the whole-map web view puts the sea only where the map's ocean is, so canyons and hollows below sea level stay dry, and lakes and swamps keep to their real outline instead of their box (no more water sticking out of the hills).
  • Web views on another monitor: moving a web view's browser window to a monitor with other display scaling (or zooming the page) no longer draws the view into one corner.
  • Monument parts back after the Rust update: since the Rust update of 6 November the game's files no longer keep the entities that sit inside monuments (the Missile Silo's big hatch, its blast doors and elevators, CCTV cameras, toilets, trees and vendors in many monuments), so the editor left them out; they are drawn again from their own models, in the place the server puts them (read from your server folder when one is set, otherwise from a built-in copy).
  • Elevator cars: elevators inside monuments show their car, waiting at the top floor where the server puts it.
  • UI fits big screens: Preferences ▸ General ▸ UI size: Fit to screen (on by default) keeps text and windows the size Windows' display scaling gives them, so a 4K or 6K screen no longer shows laptop-sized windows filling the same share of the screen; UI scale makes everything larger or smaller from there, laptop screens look as before, and windows on the right or bottom stay at that edge.
  • No more flickering windows: a window taller than the screen allows no longer jumps between two sizes.
  • Bigger prefab list: the Prefab Library's list shows at least ten rows (more on big screens) and Brush Options shows more of its settings before it scrolls.
  • 3D models for Blender and 3D printing: File ▸ Export ▸ 3D Model of Selection (.obj)… saves the selected monument, custom prefab or prefabs as an .obj at the detail you choose (Full to Lowest, like the web view). Blender: metres, materials (.mtl) with the game's textures as PNG (colour, cut-out and see-through alpha, normal maps), objects per prefab, per mesh or one, and the ground round it with its terrain colours baked into one texture and the roads crossing it. 3D printing: one welded mesh in millimetres, Z up, sized to the longest side you want, glass, water, decals and cut-out leaves left out, standing on a closed terrain block or a flat plate.
  • Web view ground matches the editor: the ground in 3D web pages of monuments, custom prefabs and bases had its splat from the wrong place on maps whose size is not a power of two (a 6000 m map read it 30 % off), so a swamp showed sand and Radtown lost its gravel: it now matches the editor.
  • Water and roads in 3D web pages: swamp, toxic and pool water now shows as see-through water in the editor's colours (it was white, or missing when seen from above), and the roads and rails that cross the ground patch are now part of the page.
  • Whole map web view, rebuilt: File ▸ Export ▸ Web View (3D HTML)… now shows the monuments and your placed prefabs with the game's textures and the roads and rails as 3D roads (no more flickering blocks), lakes and rivers, and has the same controls as the other web views: it turns round the map until you take control, click a name to turn round that monument, fly, or walk in first person; a size limit keeps the page smooth on phones (see Web View).
  • Web views on phones, tablets and other websites: every 3D web page (map, selection, player bases, demos) has touch controls with pinch to move, a full screen button, and Copy embed code in its export window for an <iframe>; embedded in another site, the view lets the page scroll until you click or tap it.

Version 0.12

  • Select hidden prefabs: Prefabs Near Camera and Scene Hierarchy select a hidden prefab together with the rest of its group, and it stays hidden: a see-through green copy and its box show where it is; Inspector ▸ 👁 unhides it, or select something else to leave it hidden.
  • Picture previews: file dialogs that open pictures (PNG, JPG, WebP, BMP, TGA, GIF) show thumbnails of every picture in the folder and a large preview with its size: click one to choose it, double-click to open it.
  • Demos follow the entities' state: demo playback records every entity's flags and switches their parts like the game: a cannon's fuse burns only while it is being fired, fires, furnaces, lights and engines go on and off when they did in the recording.
  • Windows keep their size: windows no longer shrink and grow while they are open when their messages change (Server Save now shows two fixed lines, the details in the tooltip).
  • Borderless windowed: View ▸ Window Mode: Windowed, Borderless Windowed (Rust Build's own title bar, fill the screen with the taskbar visible, resize from the edges) or Fullscreen, remembered; Alt+Enter comes back to the mode you were in (see Window Mode).
  • 3D demo pages: File ▸ Export ▸ Web View of Demo (3D HTML)… (or Web View… in the Demo Player) saves a demo range as a web page that plays it back around one player: their animated avatar and the players near them, the world round their path, moving vehicles and doors, shots as tracers; third person, first person and a free look that stays with the player, with touch controls (see Web View of Demo).
  • Animated GIF and WebP: Cinematic Mode ▸ Video ▸ Save as GIF or WebP (and the Demo Player's video export): scaled to their own width, per-frame palettes, ordered dither and lossy LZW for GIF, changed-area frames and key frames for WebP, and Estimate size renders sample frames of the path so you can set the speed and frame rate to fit.
  • Inspector Lock and Hide: the Inspector's title bar names the selection and has Lock (can't be moved or deleted, still selectable) and Hide switches; position / rotation / scale apply as soon as you leave the box; windows no longer change size for status messages, which go to the console, and every window has the new rounded look (see Inspector).
  • 3D player base pages: File ▸ Export ▸ Web View of Player Bases (3D HTML)… lists the bases of a server save (.sav) by size or owner and saves the ticked ones as 3D web pages you can walk through: grades, building skins and wallpapers, doors that open, sign pictures, turrets and everything inside; a base on an iceberg takes the iceberg, one under the ground the dungeon and its entrance (see Web View of Player Bases).
  • 3D monument and custom prefab pages: File ▸ Export ▸ Web View of Selection (3D HTML)… saves the selected monument, custom prefab or prefabs as a textured 3D model in one .html file of 1 to 6 MB for your website, with the game's textures and the ground around it; it orbits until you take control, then fly round it with the editor's keys and mouse or walk through it in first person, with touch controls on phones and tablets (see Web View of Selection).

Version 0.11

  • 3D web view of the map: File ▸ Export ▸ Web View (3D HTML)… saves one small .html file with a 3D view of the map for your website: pan, turn and zoom, monument names you can click to fly there, the monuments and your own placed prefabs and custom monuments as 3D models, links to a spot (#x,z), water, height exaggeration and the game position and grid cell under the mouse (see Web View).
  • JPG height maps: File ▸ Import ▸ Heightmap (PNG / JPG)… and the Height Map step open a grey JPG like a PNG; the JPG's compression noise no longer turns it into a colour picture (see Import Heightmap).
  • River banks a little higher: the ground at the edge of a river is now kept a little above the water, also just past the edge of the river's surface, so you no longer see under the river anywhere; run Tools ▸ Generation ▸ Final Check on a map made with an earlier version (see Final Check).
  • Roads and rails in tight places: where a road or rail line passes close to another one, or to another stretch of itself, at a different height, the ground it raises or levels round it now stops at the edge of the other one instead of burying it (a ring road climbing a hill beside its own lower stretch filled its bank over that road, burying it and the power line poles beside it); Tools ▸ Generation ▸ Final Check now also digs ground off a road it was piled onto, so maps made with an earlier version can be fixed (see Final Check).
  • Cliff brush: the Terrain Painter has a new Cliff tool for the Splat layer: paint where you want cliffs and, when you let go, the generator's cliff steps (Coastal Cliffs, Coastal Cliffs Small, Cliffs Hills, Cliffs Hills Small, Cliffs Jutting, Cliffs Jutting Arctic: tick the ones you want) place their cliff prefabs on the painted area only, the way they do on a new map; the brush also paints rock and the Cliff topology as the generator does, and paint and cliffs are one undo step. Cliffs need steep ground, and coastal and jutting cliffs only go near the sea, as in the generator (see Terrain Painter).
  • Web view monuments: monuments and cubes in the 3D web view no longer flicker white: the game's invisible shadow shapes were drawn over them.
  • No trees on the ends of a bridge: a bridge now clears the forest from under its deck, its ends and its ramps, so the server no longer grows trees you can drive into at the start of a bridge.

Version 0.10

  • Nothing left flying after procedural generation: New Procedural Map, Rerun Generation Steps and Set Up the Terrain now end with a final check of the whole map, whichever steps and custom options ran: rail lines left over air (a later step cut the ground away beside or under them) get their ground filled back with an embankment, ground in the train's way is cut back, rocks and cliffs with a gap under them are set down onto the ground or removed, bridge legs standing in a road or rail line under a deck are removed, and river water and banks are checked once more. Anything it cannot fix is listed with where it is in the generation summary.
  • Circuit Simulator: step through IO circuits: Tools ▸ Entities ▸ Circuit Simulator… (or Simulate… in the IO window) follows a circuit one connection at a time on the server's rules: forwards from a button to everything it powers, or backwards from a light to the splitter, the switch and the battery that feed it. At a splitter, branch or gate you pick the path and Back to Fork returns there in one click to try the next; Use presses, flips, swipes or pulls the fuse and the path follows the signal, with lights lighting, doors opening and the effects and sounds of what it powers playing. Every step shows the power arriving, used and passed on (test generators are unlimited, solar panels and batteries run out) and says why a path stops (see Circuit Simulator).
  • Final Check on any map: Tools ▸ Generation ▸ Final Check runs the end-of-generation check on the open map: river banks and water, rails and roads over air, ground in the train's way, rocks in the air and bridge legs in a lane, as one undo step (see Final Check).
  • No more looking under rivers: the ground at the very edge of a river is now kept at the water, so the river's surface no longer ends in the air over lower ground; banks beside rails are no longer skipped on big maps, and a patch of water standing high over the open sea (see-through sea, wet in the air above it) is cleared.
  • Rails and roads never fly over a river: a rail line or road the Bridges step could not bridge now gets the game's raised ground across the river instead of hanging in the air; where two rail lines run close together the track's own bed beats the other line's bank, so no bumps stick up through the sleepers.
  • Monuments keep their rail exits free: a monument is no longer placed in front of another monument's rail exit (an apartment complex blocked a train yard's track), rail tunnel entrances are kept out of lakes and oases (the lake's water showed over the entrance), and rail tunnel entrances are spread out between the islands of a multi-island map.
  • Road tunnel roads: the road out of a road tunnel makes a sweeping bend instead of running straight on and doubling back over itself, and the straight cutting it no longer needs is put back to the ground it had.
  • Rails can follow the land: procedural rail lines follow the shape of the land by default so the map keeps its hills and valleys; the old grade limit that fills valleys is now a choice on the Rails tab.
  • Presets remember everything: a Rerun Generation Steps preset now saves and loads every setting including which steps are ticked, nothing is left selected at the end of a procedural run, iceberg build rooms are spread apart and cargo path node numbers no longer show through the terrain.
  • Path nodes you can see past: the node handles of a selected road, rail or river are small and see-through, so they no longer cover the road while you move it; they are still as easy to grab.
  • Upload from the start screen: Upload Map… is now also on the start screen, to upload a .map file without opening it first.
  • Rail junctions on hills: a branch line that runs beside the main line just before it joins no longer sits metres lower or higher than it: where the two run side by side they now share one height, so the ground of one never takes away the ground of the other (a main line climbing a hill was left flying up to 10 m over a branch's cutting). Rail lines that cross away from a junction are levelled to one height at the crossing, and the joins between rails keep lining up for the train.
  • Bridges over steep rivers and valleys: the channel under a bridge now follows the river's own level where the river drops steeply at the crossing, instead of a pit dug metres under the water so the river floated over it; a rail bridge end no longer sits lower than the ground the rail runs on to (the rail kinked down onto the deck), the ground beside a bridge end is no longer cut away into a gap, and bridge legs are kept out of roads and rail lines that pass under the deck.
  • River water you can swim in: rivers now have water all the way across, also on narrow upstream reaches and where a rail or road embankment used to cross the river, so you no longer walk through a river without getting wet; low banks are raised so the water's edge no longer hangs over the ground. Lakes, oases and swamps now get their water too (their water body was skipped).
  • Rails and roads sit right in the game: rail lines are raised 0.1 m over the ground they are baked into, so the sleepers and rails no longer look sunk in the dirt in the game (Rail lift on the Rails tab), and roads on steep climbs no longer have their middle buried under the ground between the road's edges.
  • Cinematics with moving smoke and sound: Cinematic Mode can play the effects near the camera while it moves (chimney smoke at the power plant, fires, steam vents) and the looping sounds near it during Play: Animate effects and Sound effects (preview) in its visibility list. Space pauses them with the preview; recorded videos have no sound.
  • Windows keep their size: pressing Random seed on the Map tab of New Procedural Map / Rerun Generation Steps no longer makes the window jump wider and narrower: that and the other buttons that rebuild a window (Reset all, Load preset, Find seed with land, Cargo path, Double check, Benchmark results, Regen Step) keep its remembered size and place.

Version 0.9

  • Fewer false alarms in Train Test, nothing on the rails after generation: Train Test no longer reports terrain over the track where wagons would stand past a dead end, or where a wagon is still inside a rail tunnel entrance; at the end of New Procedural Map power poles left on a rail are moved off it and cliffs or rocks in the train's way are removed; Rerun Generation Steps with Bridges keeps the bridges already on the map instead of building a second deck over them.
  • Road ends and bridge ends on big maps: a short road cut back before a monument is no longer pulled onto the road it starts from (on big maps its two ends kept being moved back and forth, leaving one end beside the road), and joining a road end never moves the road's other end. Under the ends of road bridges the ground no longer rises in a wall beside the river: it slopes up gently from the water's edge, also where a road bridge and a rail bridge end side by side, and a river channel given back after a removed rail siding blends into the ground round it without steps (see New Procedural Map).
  • Big maps: monuments, rocks and rail lines left alone by Double Check: on big procedural maps the Double Check at the end of New Procedural Map no longer re-levels the ground of a whole monument (a launch site could move the ground up to 12 m, leaving hundreds of rocks and cliffs in the air and covering a nearby rail line): it only moves the ground at the few spots that are really out of place, then sets down the rocks and decor there and keeps the rail line clear (see Double Check Work).
  • Trains no longer stop at the foot of a bridge ramp: the rail line onto a generated rail bridge no longer has two points almost on top of each other where the ramp meets the old line, which made the track loop back on itself so the wagons jammed there (see Train Test).
  • Nothing in the train's way on new rail lines, no sharp dips or humps: on new procedural maps the ground no longer covers the track where the train passes: rocks and cliffs, roads, monuments and the other generators that come after the rail line can no longer raise the ground over it, and on bends the bank of a cutting leaves room for the long cars swinging out. Dips and humps in a rail line that are too sharp for the locomotive (it would scrape the track bed) are eased by the generator and by the Bridges step. Train Test now reads the ground as finely as the game does, lists every Slope kink that is too sharp, and its Auto fix can Ease the slope on maps you already have (see Train Test).
  • No more rail bends too tight for the train: the generator no longer makes rail hairpins and kinks where the train got stuck: every bend is at least 25 m wide (Rail smallest bend radius on the Rails tab), a ring rail that ran out onto a point of land and back is cut off across the neck, and a rail crosses a river on a straight line so its bridge lines up with it. Train Test lists every bend tighter than that and every place where a wagon would jam, and its Auto fix can Widen the bend on maps you already have (see Train Test).
  • Roads that meet join up, rivers stay off the roads: a side road or trail that meets another road now ends exactly on it at the same height, instead of stopping a few metres short or beside it with a square end on the grass; roads and rail lines cross rivers instead of running along inside them, a bridge or a removed rail siding never digs out another road running by the river, and power poles and road signs are never left standing in river water. Double Check Work lists road ends that don't join (and joins them with Check + fix all) and anything standing in a river, also on maps made before (see Double Check Work).
  • No more flying rocks after generation: rocks and cliffs that a later step left hanging in the air (next to rail bridges and their ramps, rail cuttings, river beaches, caves and sewers) are now found by their real shape, including rocks with an open bottom, and lowered onto the ground (up to 2 m) or removed; the last step of New Procedural Map, Rerun Generation Steps and Set Up the Terrain checks every rock over ground that changed after it was placed. Tools ▸ Prefabs ▸ Ground Floating Rocks does the same for the open map (see Ground Floating Rocks).
  • Road tunnel portals without gaps under the rocks: the rocks round a road tunnel portal no longer show an open bottom or a gap under them: each one leans with the ground and its whole bottom edge is set into the ground or onto the cover cubes, the big rocks over the headwall keep their open bottom on the cover behind it, and the large layered rock that was often left standing on its edges is no longer used (see Road Tunnel Generator).
  • Nothing left under the bridges: road signs and power poles near a generated bridge no longer end up down on the low ground under or beside the deck: they stand just outside the deck edge where the ground reaches the road, at the nearer end, and the power lines stay connected; electrical boxes and bus stops under a deck are removed, and rock formations left hanging over the river banks or the lowered ground next to a bridge are set down onto the ground or removed. This clean-up runs again after every later step of New Procedural Map (Fast or not), and Rerun Generation Steps keeps new rocks, cliffs and decor away from the bridges already on the map (see New Procedural Map).
  • Manholes on clear ground, room around caves: sewer manholes are only put where the ground they level is free of roads, rail lines, rivers, power lines, water, monuments, rocks and other prefabs, and not too steep: an entrance on a bad spot moves along its way in, or is left out with the reason. Caves, sewers and road tunnels now keep at least 20 m from each other, from train tunnels, underwater labs and monuments, whichever is built first (see Dungeon Generator and Cave Generator).
  • Respawn times with the server extension: a crate or barrel with a Respawn time now comes back on that time also when the server extension is installed: its own respawn no longer brings boxes back early (see Entity Data).
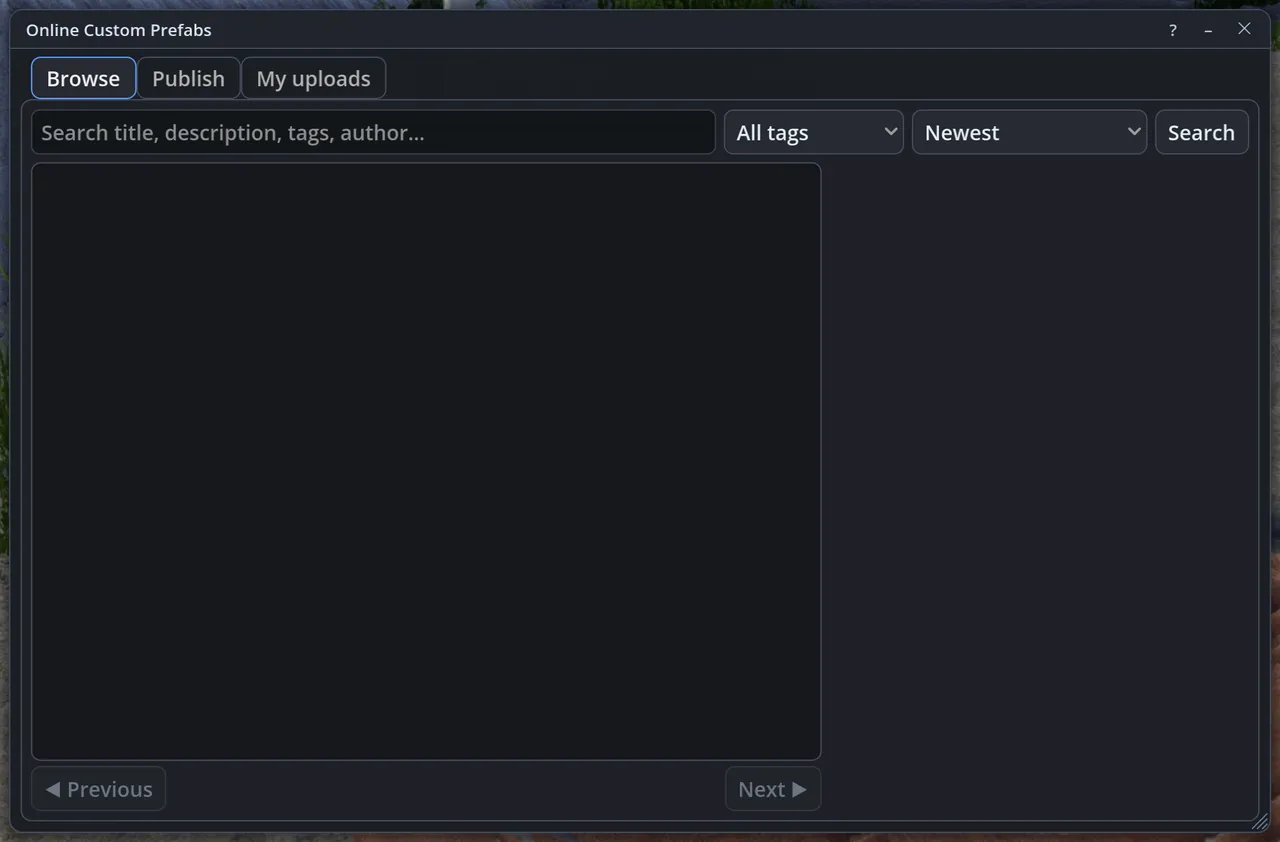
  • Share custom prefabs online: Tools ▸ Prefabs ▸ Online Custom Prefabs… (also Online Prefabs… in the Prefab Library) lists custom prefabs other Rust Build users have shared, with pictures, search, tags and sorting by newest, most downloaded or top rated: download one and place it straight away, vote 1 to 5 stars, or report it. Publish your own from the same window with a title, description and tags; the picture is made for you, and each upload shows once the site owner has approved it. The shared custom prefabs are also on the custom prefabs page of this website (see Online Custom Prefabs).
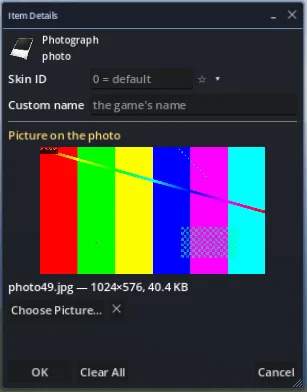
  • Item details on loot and vending items: every item in a loot profile, a vending profile, the spawn loadout and dig loot has a Details… button: give it a workshop skin, a custom name and condition, text on a note, water in a jug or bottle, a loaded magazine with the ammo of your choice, weapon attachments (each with its own skin), items inside backpacks and armour, your own .ogg recording on a cassette or your own picture on a photo. The window shows only what that item can have, and the list shows a short summary under each item (see Loot and vending profiles).
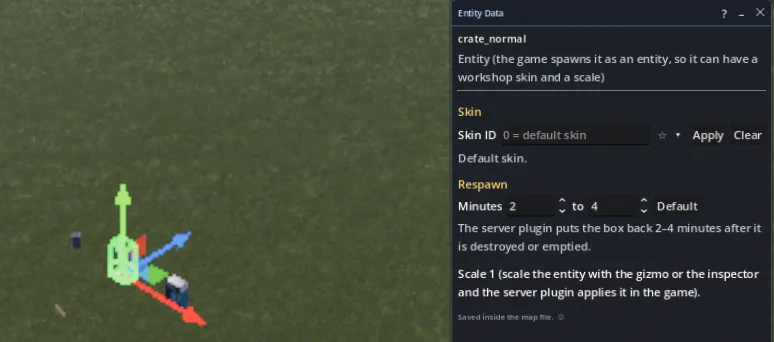
  • Respawn time for boxes and vending machines: the Entity Data window has Respawn minutes (shortest to longest) for crates, barrels, loot boxes and vending machines: the server plugin puts them back that long after they are destroyed or emptied (see Entity Data).

Version 0.8

  • Joining co-op: no silent closes: joining a session uses much less memory while the map downloads, a map that cannot be opened on your PC ends the join with a message saying why instead of leaving you on the start screen, an error in background work no longer closes Rust Build, and the host now sees why a player left (for example disconnected while loading the map) and their PC's memory and graphics engine in the log; a big map warns when your PC has too little free memory (see Join a session).
  • Crash notice with another graphics engine: if Rust Build closed unexpectedly last time, the next start says what it was doing (for example loading a co-op map) and offers the other graphics engines (DirectX 12, Vulkan, OpenGL on Windows; Vulkan, OpenGL on Linux): pick one and Rust Build restarts with it, or keep the current one. Open the log folder shows the log of that run to send with a bug report. Preferences ▸ Graphics ▸ Restart now with this driver switches straight away (see Troubleshooting).
  • Sewers never left above the ground: a sewer built where every part had to be left out (inside a monument, say) or whose entrances had to move again was placed without its final check, at the set height, so parts of it stood above the ground; now the plan that is placed is always the checked one, the cover over each piece is measured on the ground as it will be after the manholes are levelled, every piece keeps at least 3 m of ground above it, and a spot where nothing fits builds nothing and says why. Select a sewer piece and the Inspector tells you if a moved or turned sewer now pokes out of the ground, and where.
  • Cave entrances joined the right way round: the Cave Generator (and the procedural Caves step) joined the smaller sinkhole entrance to its tunnel turned the wrong way, so the passage folded back over the tunnel and the way from the entrance down into the cave was sealed; every entrance now opens straight into its tunnel and you can walk from the surface down into the cave. Caves built with an earlier version keep the old join: delete that cave and build it again (see Cave Generator).
  • Signs take an image URL: paste a web link to a picture into Image URL in the Entity Data window and click Use: the picture is downloaded, fitted and rotated like one from your computer and shown on the sign; the link is saved with the map and the RustBuildHelper server plugin downloads it on the server. Maps saved by another editor that has image links on signs show those pictures too, and their entities, IO wires, loot, vending, vehicles and NPC spawners show and edit again (see Sign pictures and skins).
  • Road bridges: clean ends, nothing left under the deck: road bridge ends now slope gently down to the water like rail bridges (no more walls under the deck ends), the road's old surface and Road topology are cleared under the whole deck and along the stretch of road it replaces, a road that bends far off the bridge line or a deck that would overlap another bridge is left out with the reason, and a rail line crossing a river right next to a road crossing is no longer missed; near monuments road ramps can be shorter and steeper (up to the road generator's slope limit), so more crossings get a bridge (see New Procedural Map).
  • Smoother ground round rail bridges: rail bridges over a curving rail get short approach spans that follow the rail, so the ground under every deck end slopes gently to the water instead of standing as a wall; rail ramps are short and eased (never steeper than the rail generator's slope limit) and only the rail close to the bridge is changed (no more rail lifted into the air far from the bridge); where a removed siding's embankment was, the ground now blends into its surroundings without steps (see New Procedural Map).
  • Cleaner ground round bridges: under a road bridge the road's old embankment and gravel are gone and the river bed is back at its depth; road decks are a little wider, road signs and power poles stand beside the deck instead of on it or in the air, the embankments blend into the ground on gentle slopes, nothing is lifted or left floating, monuments are never changed (a ramp that would reach one is made steeper, or the crossing is skipped and named), and rail sidings near a rail bridge are removed whole (see New Procedural Map).
  • Road tunnel portals: no floating rocks, no gap under the wing walls: the Road Tunnel Generator now sits each portal rock on the ground by the rock's own shape, so none floats or hangs over a slope, and checks them again after the roads are made; rocks already on the map that the new ground would leave floating, hanging or buried are removed, and trees and small things move with the ground. A concrete block under each end of the wing walls closes the gap next to cliffs and steep slopes where you could see under the walls (see Road Tunnel Generator).
  • Set Up the Terrain sets up only the ground: after Load Height Map, Set Up the Terrain now paints topology, biomes and ground textures only; rivers, cliffs and rocks and spawn beaches come from Rerun Generation Steps or New Procedural Map, so running both no longer doubles them.
  • Path settings in Path Tools: select a rail, road, river or power line and its settings show on the Settings tab of Path Tools: Tier (rail ring, branch or siding; ring road, road or trail), width, padding, fades, offsets, splat, topology and Game defaults, each one undo step and saved with the map; a summary line with a Settings button sits at the top of the window.
  • Duplicate is now Ctrl+D: Edit ▸ Duplicate moved from D to Ctrl+D, so pressing D by accident no longer copies the selection.
  • Whole-map changes in co-op: when a player makes a new procedural map, reruns generation steps, sets up the terrain, imports a height map or makes another very big change, everyone else is asked first and can save a copy of their map; then they see the loading screen with the map picture and the progress and get the finished map in one go, instead of thousands of single changes. Step by Step runs stay live for everyone (see Session panel).
  • Entrances kept clear, beach-to-beach Island Link, smoother rail bridges: no cliff, rock or tree can sit over a cave entrance or a sewer manhole any more: the Cave and Dungeon Generators clear the opening, the hollow and the way in, and generated maps check every entrance again after the last rock step (see Cave Generator and Dungeon Generator); Island Link now makes one straight join between two beaches facing each other and joins the rails near the shore on an even slope, never climbing into the hills and back down (see Island Link); rail bridges carry the rail across the whole deck and ease it onto the embankments so trains don't touch the deck ends, and rocks left floating round bridges are removed (see New Procedural Map).
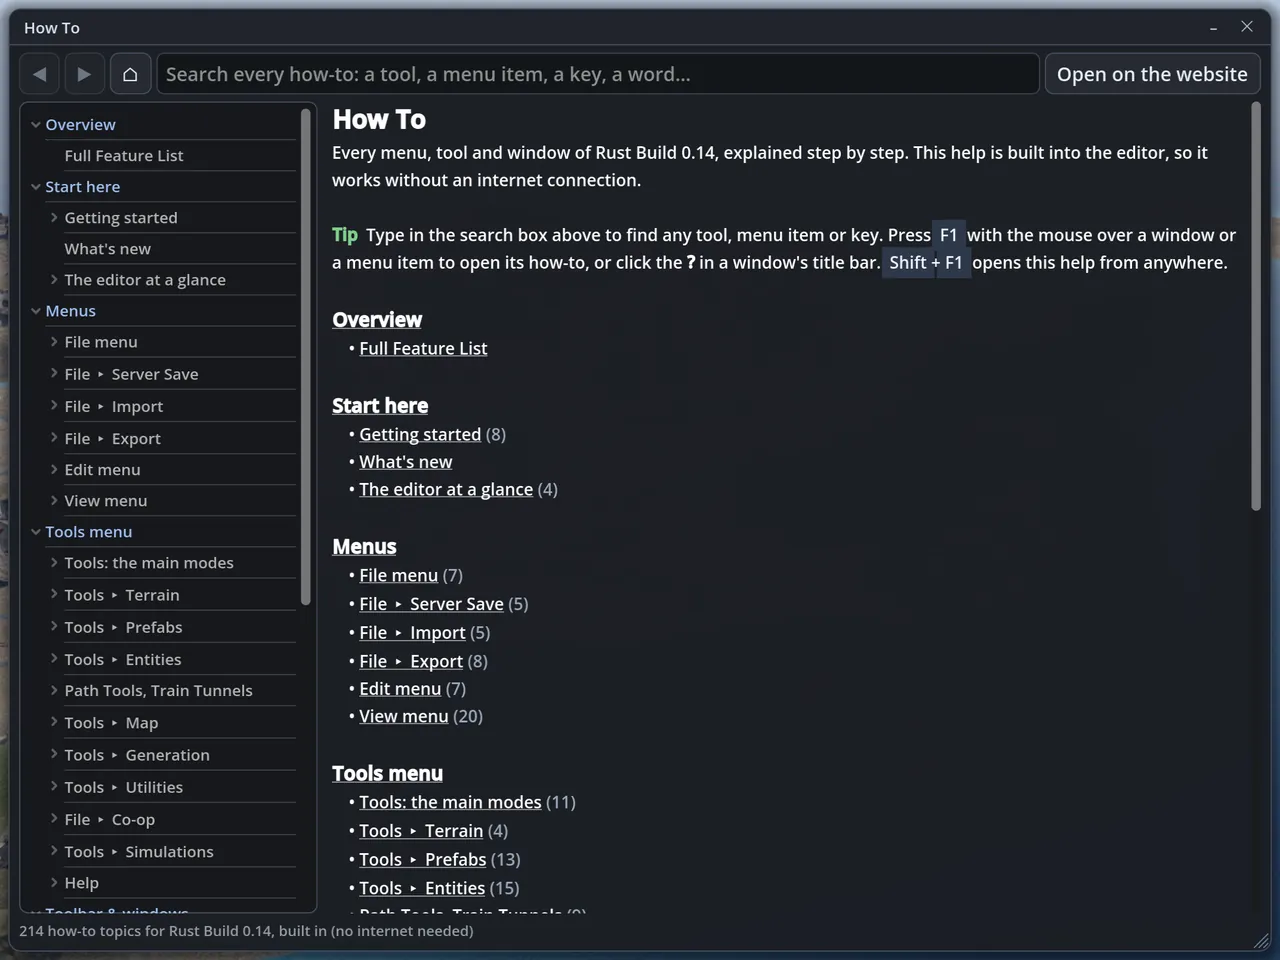
  • The How-To is built into the editor and works offline: Help ▸ How To opens every how-to of this website inside Rust Build, with search, pictures and links between topics, even with no internet connection; the ? in a window's title bar or F1 over a window or menu item opens its own topic (see How To).
  • Double Check Work needs far less memory: checking the terrain holes against the monuments' own stamps now takes a few hundred MB instead of several GB, and everything the check loaded is freed when it ends, both on its own (Tools ▸ Generation ▸ Double Check Work) and as the last step of a new procedural map; it finds exactly the same problems as before (see Double Check Work).
  • Step-by-step animations for the start screen: every way to start has a short animation on this website showing each click and key: New Procedural Map, Open Map, a new empty map, Load Height Map (a New Zealand height map with the biome and loot angles), Open Demo, Open Server Save, PNG to Prefab and Monument Breaker (see First run, Load Height Map, Demos, saves and PNGs, Monument Breaker).
  • Faster new procedural maps that use much less memory: while a new procedural map is made, the loading screen with the picture of the map stays up and the 3-D view is built once at the end, like opening a saved map: a 2500 m map with all the Rust Build steps (road tunnels, caves, bridges, cargo path, double check…) is ready in about half the time and needs about a third less memory. Rerun Generation Steps works the same way when three or more steps are ticked. Untick Fast next to Double check to watch the map being built live again (see New Procedural Map).
  • Lower cave entrances, nothing left floating: the Cave Generator puts each sinkhole entrance about 10 m lower than before, hidden in a gentle hollow with its rocks on the ground (new Entrance depth offset setting, also used by the procedural Caves step); caves and sewer manholes now remove the rocks and cliffs the reshaped ground leaves floating or buried and move trees and bushes with the ground (see Cave Generator, Dungeon Generator).
  • Canyons, rivers and bridges fixed in generated maps: canyons keep their depth with their rocks and cliffs on the ground (the stray-water fix that filled them in is gone), and a last generator step lowers any rock left floating; running steps again on a map that already has rivers, rocks or roads no longer makes a second set that crosses the first (Rerun Generation Steps and Set Up the Terrain mark what is already there); every road and rail crossing a river gets a bridge or a reason, and a rail siding removed at a river goes with all its pieces, its rail texture and embankment, giving the river its channel back (see Rerun Generation Steps, New Procedural Map).
  • Every monument is off by default: forcing every monument onto the map flattens land to make room and can spoil canyons, rivers and coastlines nearby, so it now warns when you tick it and keeps away from canyons; road tunnel portals use only rocks that look solid from every side.
  • Island Link fits the big train, cargo path clear of icebergs: the rail tunnel of Island Link now takes the above-ground locomotive with its wagons: every change of slope is a long smooth curve and the floor is level from wall to wall, and Train Test finds nothing in the way (see Island Link); the generated cargo ship path now goes around icebergs and oil rigs like it goes around land, new procedural maps make it after everything else, and Double Check Work lists any place where the path runs into something (see Path Tools).
  • Tidier windows, safer undo, Scene Hierarchy list view: windows keep a one-line status and short help (hover for the rest, the full reports are in Help ▸ Console); undoing or redoing a big step (a procedural run, Set Up the Terrain, hundreds of prefabs, whole-map terrain) asks first; the Scene Hierarchy can list every prefab on its own row, nearest first, and filter grouped prefabs, entities or plain world prefabs.
  • Any Workshop spray, saved and recent skin IDs: the play mode Spray Can (R) takes any skin ID or Workshop link, and Workshop sprays now show their real, full-size picture everywhere (the game's own texture when Rust has downloaded the spray), kept on your PC for offline use, with NO IMAGE and the ID when there is none. Every skin ID field (Entity Data, wallpapers, dig loot, spawn loadout, save editor, sprays) has ☆ to save an ID and ▾ for your saved and recent IDs with their pictures, the same in every window and map (see Spray decals).
  • Biome and loot angles in Set Up the Terrain: after Load Height Map, Set Up the Terrain can turn the cold → desert biome direction and the easy → hard monument tier direction to any compass angle (or keep the seed's own), with an arrow on the preview showing each (see Load Height Map).
  • Rebuild the underground rail network: click a tunnel entrance or the trainyard and press Rebuild underground rail network… in the Inspector (or Tools ▸ Generation ▸ Rebuild Underground Rail Network…): a new train tunnel network replaces the old one in one undo step, with a Density setting for more loops, tunnels that join islands under the sea where it is shallow and narrow enough, and optional extra entrances on every island. New procedural maps have the same settings in the Underground tab (see Rebuild Underground Rail Network).
  • Train Test: instant check, no false hits on the game's monuments: Instant check tests every rail at once without watching the train drive, with the same results and Auto fix; the trainyard, harbours, stations and tunnel pieces no longer list their own platforms, parked wagons and buffer stops as collisions, while anything you place on their tracks is still found (see Train Test).
  • Spray decals and your own skins: spray the game's sprays, Workshop sprays or your own pictures on walls and the ground with Tools ▸ Entities ▸ Spray Decals, or with the new Spray Can in play mode; the Skin Editor turns a picture into a spray, wallpaper or item icon, frames it, shows it as the game would and keeps it in the map, and on Windows publishes it to the Steam Workshop through your Steam client so players see it on your server (see Spray decals, Skin Editor).
  • Road tunnel portals in the rock: the Road Tunnel Generator now dresses each portal with the game's rocks and cliffs, stretched and turned to fit: an overhang over the headwall, rocks over the cover cubes and their ends, along the sides of the cutting and at the foot of the wing walls, all resting on the ground and clear of the road; new Rock density and Rock style settings (see Road Tunnel Generator).
  • Player spawn loadout: Tools ▸ Entities ▸ Player Spawn Loadout… chooses what players get when they spawn on your map, on the first spawn and / or every respawn, instead of or on top of the rock and torch: pick items with their icons from a searchable list, set amounts, workshop skins (with their picture) and the clothing, belt or inventory slot, and see the inventory as the player will. The RustBuildHelper plugin gives it on your server (see Player spawn loadout).
  • Full-grown trees and spawn amounts: Tools ▸ Map ▸ Spawn Populations and Trees… makes saplings, dead and small trees come up full-grown, biome by biome, swaps the folders the game spawns trees and bushes from, and sets how many trees, ores, collectables and logs the game keeps on the map. The RustBuildHelper plugin does it on your server (see Spawn populations).
  • Server plugin settings: every feature of the RustBuildHelper plugin can be switched off in its config file (it then does nothing on the server), the start delays and chat messages are there too, and the teleport door, boombox and dig settings moved into the same file; an older config is updated by itself (see Server plugin).
  • Height maps: one window, As is and topographic colour maps: Load Height Map now opens the Import Heightmap window straight away (with the map size) instead of asking about the file twice, then Set Up the Terrain follows, also after File ▸ Import ▸ Heightmap. The new mode As is (no processing) imports World Creator exports and raw height files exactly, with no scaling, smoothing or sea floor shaping. Coloured topographic maps (PNG, JPG, BMP) turn into smooth heights along a colour scale you can edit, with presets, contrast and coast smoothing (see Load Height Map, Import Heightmap).
  • Cargo ship path: numbers follow, the line reaches every node: node numbers now move with their node while you drag, after undo / redo and when a co-op partner edits the path, also on paths with hundreds of nodes; a long cargo loop no longer draws a shortcut from a middle node back to node 0: the line runs through every node and closes from the last node to node 0 (see Path Tools).
  • Full Feature List: everything Rust Build can do on one page of this website, grouped, with pictures and a link to each how-to; a short link to share with friends (see Full Feature List).
  • Sewers stay underground, wider bridges, Island Link finds your islands: sewers and dungeons are checked piece by piece and go deeper, leave out pieces or move their entrance tunnels so nothing shows above the ground or runs into monuments, tunnels, caves or cliffs (see Dungeon Generator); river bridges span the whole river and its banks with the channel kept open underneath, and rail sidings across rivers are removed (see New Procedural Map); Island Link separates islands joined by a beach or a narrow neck, lists every island and lets you pick them on the map (see Island Link).
  • A new start screen: big buttons for every way to start, usable with the keyboard (arrows, Enter, number keys) and on a phone: Load Height Map turns a PNG, RAW / R16, TIFF or terrain data file into a playable map with topology, biomes, textures and spawn beaches in a few steps; Open Demo and Open Server Save find or make the right map for you; PNG to Prefab; and Monument Breaker puts any game monument in parts, with its ground, on a new map to make your own (see Start screen, Load Height Map, Monument Breaker).
  • Train Test fixes what it finds: Auto fix… in the Train Test window moves or deletes the prefabs the train runs into, lowers the ground over the track or moves the rail around a monument, shows every change on the map first, applies one or all of them as one undo step and checks again (see Train Test).
  • Components you can click: click a node or component in the Inspector's Components window to see that mesh, collider or part highlighted on the prefab (Ctrl+click for more, double-click to fly to it); Copy name in the Inspector copies the prefab path, Shift+click the short name (see Inspector).
  • Stamp models, prefabs and recent stamps: MeshStamp remembers its settings, stamps the shape of a 3D model or the selected prefab, and keeps your last 12 custom stamps in a Recent list with pictures (see Terrain Tool).
  • Tropical map: Tools ▸ Map ▸ Tropical Map gives the whole map the look of the game's tropical islands: white sand, clear light-blue shallows, a bluer sea and brighter light. It is saved in the map, and the RustBuildHelper plugin turns the same look on for everyone on your server (see Tropical map).
  • Maps with NPC patrols run everything on the server extension: maps with NPC patrols or protected data now carry their IO wires, vending and loot profiles, NPC spawners, vehicle spawns, cargo path and Bradley paths in the form the other server extension reads on such maps, so all of it works there and its log shows what it found; hacking a crate event's crate always calls its CH47, even after the crate was replaced (see Server plugin).
  • Teleport doors and door controllers on live servers: teleport doors and buttons no longer disconnect players on current game versions: the RustBuildHelper plugin moves players the way the game's own event portals do, with a short loading screen and the link's name as a message on arrival. Door controllers placed in the editor now open their doors on the server, key-locked doors too, and new buttons keep the power on for the game's 5 seconds (see Teleport doors).
  • New players never spawn inside the ground: a map whose beaches the game can't use (steep or cliffy coast, arid / arctic / jungle shore) made the server drop new players at the map centre, inside the ground. Rust Build now warns after saving, in the Beach Spawn Areas legend and in Double Check; Tools ▸ Map ▸ Fix Beach Spawn Areas paints spawn beach along the coast in one undo step, new procedural maps do it by themselves, and the RustBuildHelper plugin gives a safe spot when the game still finds none (see Beach Spawn Areas).
  • Respawn at the Outpost or Bandit Camp: click the Outpost or Bandit Camp and tick Players can spawn here in the Inspector's Server settings: every player on your server can pick it on the death screen (see Server settings).
  • Server plugin fixes: the RustBuildHelper plugin reads the map file once (no more slow-hook warnings), stops the requires asset scene and REturning default interest zone lines in the server log, keeps a crate event's crate when the map's loot respawns put one back, and no longer doubles loot boxes when the server extension is installed (see Server plugin).
  • Voice chat in co-op: talk to the other players like in the game: push to talk (V) or open microphone, you hear players within 60 m, quieter with distance, from where they stand; mute players in the session panel, a speaker sign shows who is talking, and the host can let everyone hear everyone. Off until you turn it on in Preferences ▸ Co-op (see Voice chat).
  • Players look where they look: in co-op the other players' heads and eyes turn to where they are looking, up and down too, and the body turns once the head can't turn further; the same for your own player in third person and for players in demo playback (see Voice chat and where players look).
  • Building skins and wallpaper on live servers: blocks with a building skin, container colour or wallpaper are now saved as real building blocks, so the RustBuildHelper plugin can put the grade, skin and wallpaper on them (before, the server only had their models); the plugin keeps them standing and stops them decaying. Open and save older maps again, and put the new plugin on your server (see Building skins and wallpaper).
  • IO and Bradley paths with NPC patrols: on maps with NPC patrols (or protected entity data) the other server extension ignored the map's IO wires, Bradley (APC) paths, spawners and profiles; the plugin now runs them on such maps, and it can run Bradley paths itself on servers without the extension (see RustBuildHelper server plugin).
  • Lock codes and sign pictures kept on the first save: a code lock added with Add Locks Automatically or the IO window, and pictures or skins on entities placed from the IO window, lost their data the first time the map was saved.
  • Add locks automatically: Tools ▸ Entities ▸ Add Locks Automatically…, the IO window or Add locks… in the Inspector put a code lock (random code, one code for all, or none) or a key lock on every selected door and storage box, or all of them on the map, right on its lock spot, as one undo step. Storage boxes take hand-placed locks now too (see Door locks).
  • Workshop pictures for skin IDs: every skin ID field (Entity Data, custom wallpaper IDs, dig loot, the save editor) shows the Steam Workshop item's picture and name; click it to open the workshop page. They are kept for offline use (see Entity Data).
  • Rotate sign pictures: the Entity Data window has Rotate next to Fit: turn a picture or GIF 90° or any angle so it fills the sign better; the sign keeps its angle (see Entity Data).
  • Ceiling lights stay above ground: ceiling lights, chandeliers and other hanging or wall-mounted IO items placed on the ground or a floor are lifted so the whole item and its wire plug stay above the surface (see IO entities).
  • Path Tools clicks hit paths first: while Path Tools is open a click picks a path node or a road, river or rail line before any prefab, so monuments on a road no longer get selected instead (see Path Tools).
  • Island Link: Tools ▸ Generation ▸ Island Link… joins two islands across the water: a rail through a covered trench under the strait, joined to both islands' rail lines, and zip lines between two power line platforms, while the cargo ship and boats still pass over it; also a step of New Procedural Map (see Island Link).
  • Bridges: a new generator step for New Procedural Map and Rerun Generation Steps (also on a map you already have open): wherever a river crosses a road or a rail line it builds a bridge from the game's own girder deck, piers and crash barriers, high enough for boats to pass under, with ramps up to the deck and the river channel, water and textures put back underneath. Rail lines stay one line so trains keep running. Settings: clearance, style, roads, rails (see New Procedural Map).
  • Roads and rails kept clear: procedural maps no longer get decor, rocks or props such as the water treatment pipe access points standing on a road or rail line: the generator keeps them off, and a final step moves props to the roadside, removes natural decor still left on a road and shortens roads that run into a monument, with a count in the result (see New Procedural Map).
  • Cave entrances on dry ground: the Cave Generator never puts a sinkhole entrance in or next to a river, lake, swamp, the sea or other water, on or next to a road or rail line, near a monument or on a steep slope; it tries other layouts first and otherwise tells you why it can't build there (see Cave Generator).
  • Sewer manholes without gaps: the terrain blend cubes around a sewer ladder entrance now start right at the manhole's collar, under its ground patch and slightly above the ground, so no gap in the terrain shows through the patch's faded edge (see Dungeon Generator).
  • Road Bradley: Tools ▸ Simulations ▸ Road Bradley (road patrol)… shows which roads the server's road Bradleys can use, drives the Bradley along them like the server, and lists what to fix: no usable road, sharp corners, road nodes it can't reach, steep slopes and prefabs in the way (see Road Bradley).
  • Build rooms under icebergs: Tools ▸ Generation ▸ Iceberg Build Rooms… turns the flat underside of icebergs into dry underwater rooms where players can build: ice walls and ceiling, a floor that takes foundations and an entrance hole to swim up through, never larger than the iceberg. Also a step of the procedural generator (see Iceberg Build Rooms).
  • Positions in game coordinates: the Inspector, the position at the bottom of the view, the camera position at the top right, the play mode position, the Terrain Sampler and the gizmo now show and take the game's own coordinates and rotation angles (Z was shown with the wrong sign), so they match the game and other map editors; maps are saved exactly as before (see Inspector).
  • Inspector follows live edits: the position, rotation and scale fields update while you move, turn or scale with the gizmo, the arrow keys or R, after undo / redo and co-op edits, without touching a field you are typing in; Apply changes only the fields you edited (see Inspector).
  • Selection box turns with the prefab: the green box around the selected prefab now follows its exact rotation and scale instead of standing square to the world (see How the selection is shown).
  • Hide Trigger Prefabs and Game View Distances: View ▸ Hide Trigger Prefabs hides the shapes of terrain, water and other triggers; View ▸ Game View Distances switches detail levels and hides prefabs at the game's own distances at its highest settings, to check what turns invisible in game (see View options).

Version 0.7

  • Gentler every-monument flattening: with Every monument on, a monument that does not fit gets a plateau just its own size on the flattest land, and is left out (with the reason in the result) when it would reshape too much of an island; a new …allow heavy flattening setting places it anyway. Road tunnel portal walls never float on steep slopes, terrain blend cubes show the ground's texture on their sides instead of stripes, the beach spawn legend counts the separate spawn spots, and Step by Step shows the road tunnel and every-monument results (see New Procedural Map).
  • Remote Control on a phone held upright: the picture now fills the screen at about the editor's own size, starting at the top left with the menus, instead of a thin strip; two fingers move it, Fit shows the whole editor and Fill fills the screen again (see Connect from a phone or tablet).
  • Beach spawn areas: View ▸ Overlays ▸ Beach Spawn Areas tints the beaches where a vanilla server spawns new players, using the game's own rule, and shows the spawn area in km² and as a share of the land, with the main reasons other beach is not used (see Beach Spawn Areas).
  • Generators as procedural steps: New Procedural Map and Rerun Generation Steps can run the road tunnel, cave and dungeon / sewer generators as steps. Road tunnels run early, before the monuments, and everything else keeps clear of them; caves and dungeons go into free spots (see New Procedural Map).
  • Every monument: a new Monuments setting puts at least one of every monument type on the map, big ones too; where there is no room the ground is flattened with a smooth blended edge and repainted, and the result lists which monuments needed it (see New Procedural Map).
  • More generator settings: land height scale, raise / lower the terrain, extra detail noise, smoothing, erosion strength and rock, decor and hill cliff density on the generator's Terrain and Decor tabs (see New Procedural Map).
  • Road tunnel portals above the sea: the Road Tunnel Generator never puts a portal, its ramp or its approach at or below sea level (see Road Tunnel Generator).
  • Remote Control: use the editor from a web browser on your phone, tablet or another PC: the browser shows the editor and your taps, clicks and keys work as if you were at the PC, with a touch layer for phones (pinch to zoom in, look and fly buttons, Shift / Ctrl / Alt, the phone keyboard); password login, blocking after wrong passwords, optional HTTPS and a QR code to open it (see Remote Control).
  • Safe zones, quarries and puzzle resets for your server: click a monument and the Inspector's new Server settings section can remove its safe zone (and its turrets), give a quarry or pump jack its own fuel, speed and output, or change how often its puzzles and loot reset; the RustBuildHelper plugin applies them on your server (see Server settings).
  • Server Plugin: game branch and easier saving: the Server Plugin window builds the plugin for the Main or Staging game branch, and Save… only asks for the folder (your server's plugins folder or the server folder), always writes RustBuildHelper.cs, asks before replacing it and remembers the folder (see Server plugin).
  • No more skipped cells: the Terrain Painter and the Terrain Tool no longer jump over cells: the brush lands on the cell under the cursor (it could be the one next to it, and on slopes some ground could not be picked at all), height brushes follow fast strokes like the painter, and small brushes leave unbroken lines in every direction (see Terrain Painter).
  • Road tunnel portals without holes: the Road Tunnel Generator now covers each portal's whole hump with cubes that meet the hill, adds a cliff rock on each side and a concrete ramp up into the portal, and only makes terrain holes where they are hidden, also on steep hills (see Road Tunnel Generator).
  • NPC patrols run by the server extension: NPC patrols are now saved so the server extension that runs your map's NPC spawners also walks the patrol scientists; the RustBuildHelper plugin no longer runs them. The NPC tab gained a Walking speed and a Once, then stop route, and 0 scientists keeps a path without scientists (see NPC patrols).
  • Custom prefab blend edge: the Custom Prefabs window has a Blend edge slider (0–50 m): the ground a custom prefab flattens or brings along fades smoothly into the map instead of ending in a step, shown by a dashed outer ring; marking a fixed spot after Place on the open map now and Undo moves its ring again (see Custom prefabs in generated maps).
  • See every invisible prefab: prevent building volumes, triggers, environment volumes, blockers, spawners and every other prefab with nothing to draw now show a see-through shape of their real size, coloured by kind (red prevent building, yellow triggers, blue blockers, green spawn points), so you can click, box-select, move and resize them; they can also be placed, copied and pasted from the library like any prefab (see View toggles).
  • Better road tunnel portals: the Road Tunnel Generator buries each portal only at the back, so its front half stands in the open and players walk straight in; a solid slab of cubes and quarry rocks covers the middle, terrain holes are kept small and hidden, nothing on the map is clipped, and Connect to the nearest road adds a road from each portal to the nearest road (see Road Tunnel Generator).
  • Fly past windows: looking around with the right mouse button no longer stops when a window covers the middle of the screen (see Flying the camera).
  • Smooth brush without hiccups: long strokes with the Smooth, Sharpen and Erode brushes no longer freeze for a moment after a second or two.
  • Custom wallpaper ID: every wallpaper list ends with Custom ID…: type the number of any wallpaper skin and it shows as Custom <number>, is saved with the map and put on your server by the RustBuildHelper plugin (see Building skins and wallpaper).
  • Swamp selection box: swamp_c and other monuments with no-build areas get a selection box that fits the monument instead of reaching hundreds of metres away.
  • Fixed custom prefabs kept clear: custom prefabs with a fixed position now keep their ground: the generator puts no monument, cliff or rock there, roads, rails and power lines go around them and rivers stop before them; set the clear margin and see the areas on the generator's new Fixed Areas tab (see Custom prefabs in generated maps).
  • Train Test: Tools ▸ Simulations ▸ Train Test… drives the game's train (locomotive above ground, workcart in the tunnels, wagons if you like) over every rail of the map and marks every power pole, rock, building or bit of terrain it would run into, with a list to fly to each one (see Train Test).
  • Sewer manholes and rooms: the Dungeon Generator's ladder entrances sit flush with the ground, the terrain hole matches the manhole's opening at every map size (terrain blend cubes fill any gap on big maps) and Building topology is painted around them; buildable rooms keep a gap to the sewer so its lighting no longer shows through their walls (see Dungeon Generator).
  • NPC patrols: Path Tools has an NPC Patrol (scientists) type: draw a path and the game's scientists walk it, in a loop or back and forth, waiting at the nodes if you like. Choose how many, which scientists (heavy, oil rig, LR-300, shotgun…), the respawn time and the aggro range: players they see or hear, or who shoot them, are attacked, and they walk back to the path when the player is dead or gets away. Try it in play mode; on your server the server extension for map NPCs runs it (see NPC patrols).

Version 0.6

  • Road Tunnel Generator: Tools ▸ Generation ▸ Road Tunnel Generator… builds an underground road from the game's road tunnel pieces: join the largest islands under the sea, or pick an entrance and snap to an exit that whole pieces can reach. It goes deep enough that no piece shows above the ground, shapes a road ramp at each portal and hides the edges with rocks (see Road Tunnel Generator).
  • Server plugin builder: Tools ▸ Utilities ▸ Server Plugin… shows which helper plugin features your map uses and saves a plugin with only those, much smaller. Tick the server extension your server already has and its features are left out; without one, the plugin does everything itself..
  • Underwater Lab Generator: Tools ▸ Generation ▸ Underwater Lab Generator… builds underwater labs where you want them, joined like the game's own, with settings for every part: size, floors, module types and counts, branching, moonpool and ladder entrances, legs, hatches, crates and NPCs, and warnings for shallow water or pieces in the ground (see Underwater Lab Generator).
  • Deeper sewers: the Dungeon Generator's Depth below ground puts a sewer deeper than one ladder reaches: the ladder entrances climb up to the ground through the game's sloping sewer tunnels, 6 m per level (see Dungeon Generator).
  • Sewer entrances and rooms: the Dungeon Generator's Sewer tunnels get ladder entrances up to the ground (terrain levelled and opened, depth set so they fit), the game's big sewer rooms, buildable rooms made of cubes with buildable floors, and terrain and water trigger volumes so the sewer works on a server, even under the sea (see Dungeon Generator).
  • Animals: Tools ▸ Entities ▸ Animals…: place bears, polar bears, wolves, boars, deer, chickens, panthers, tigers, crocodiles, snakes and horses, one or several at a time; on the server they respawn after they die, and the RustBuildHelper plugin now runs NPC spawners, vehicles, loot and vending profiles, keycard desks and IO wiring without any other server extension (see NPC spawners, vehicles and animals).
  • Boombox stations: click a boombox to give it one of the game's radio stations or your own stream / mp3 link, a volume, and choose whether it needs electricity or always plays; a label shows the station, play mode shows Playing <station> and plays it, and the RustBuildHelper plugin sets it on your server (see Boombox stations).
  • Cave entrances and exposure check: The Cave Generator rings every sinkhole entrance with rocks like the game's own caves, and the ground now meets the sinkhole's edge without gaps. Check Exposure warns where a cave pokes out of the ground, has too little ground over it or sits under a terrain hole, with Go to, markers and Raise Terrain / Rebuild Deeper fixes (see Cave Generator).
  • Your own heightmap step by step, fixed custom prefabs: the generator's Height Map step can use a PNG heightmap with the same options as File ▸ Import ▸ Heightmap (on the Heightmap tab, or in Step by Step's Regen window) and the following steps build on it (see Step by Step); in the Custom Prefabs window a custom prefab can have a Fixed position so a city or bridge is always in the same place (see Custom prefabs in generated maps).
  • Dig loot areas: Tools ▸ Entities ▸ Dig Loot Areas…: paint areas on the map with a brush or shapes and give each one its own loot table (items with amounts and weights, chance of nothing, extra dig spots). Players who dig with a metal detector there get that loot with the RustBuildHelper plugin (see Dig loot areas).
  • Building skins and wallpaper: the Building Planner's Skins & wallpaper section gives blocks the game's building skins (Adobe, Brick, Brutalist, Shipping Container in 16 colours, Space Station…) and wallpaper on walls, floors and ceilings, drawn with the game's textures; paint blocks with a click, change a selection, or one block in the Inspector. The RustBuildHelper plugin applies them on your server (see Building skins and wallpaper).
  • Big groups select smoothly: clicking a group of thousands of prefabs no longer freezes the editor: only the nearest effects play, and slow work shows a This is taking a long time window with progress, OK (keep going) and Cancel (put things back) while you keep working (see Groups).
  • Fewer cubes from pictures: Create Prefabs from PNG merges same-coloured pixels into far fewer, bigger cubes and turns cubes along slanted edges and diagonal lines (a logo that needed 2,500 cubes now takes about 1,800); warnings are red. Also: Show Water now hides rivers and lakes too, Train Tunnels sits directly in the Tools menu, and blocked passages break in 4 hits (see Create Prefabs from PNG).
  • Watch the CH47 at work: Tools ▸ Simulations has CH47 Route Run (your CH47 route with its crates dropping on parachutes) and Crate Event Run (the CH47 lands and the heavy scientists run to the crate and guard it), with speed and Stop, like the oil rig CH47 assault (see CH47 route and crate event runs).
  • Crate events: A hackable locked crate you place can have its own event, like the oil rig: select it and click Add Crate Event in the Inspector, set the respawn time and how many heavy scientists come, and lay out the CH47's flight path and landing point. When a player starts hacking, a CH47 flies in, lands and the heavy scientists run to the crate and guard it; the crate comes back locked after the respawn time. The RustBuildHelper server plugin runs it (see Crate events).
  • Cargo ship stops and sinking: the Cargo tab of Path Tools has an Advanced mode: make the cargo ship stop at points of its path for a set time, mark areas where it may not leave the map, and let it sink at the end of its run (and appear right on its path) instead of sailing away. The RustBuildHelper server plugin applies it on your server (see Cargo ship stops).
  • Teleport doors: link a door or button to another door in the Inspector's Teleport section: opening it takes the player to the other door, one way or both ways. Lines show the links and where players arrive; it works in play mode, and the RustBuildHelper plugin does it on your server (see Teleport doors).
  • CH47 routes: Path Tools has a CH47 (Chinook) type: lay out the route your CH47 flies and its crate drop points, set how often it comes, how long it patrols, how many crates it drops and when it leaves; Check Clearance flies the real CH47 along it and shows what is in the way. The RustBuildHelper server plugin flies it on your server (see CH47 route).
  • Key locks and code locks: put the game's code lock or key lock on a door like a door controller: it snaps onto the door and a message says which door it locks. Click a code lock to set its 4-digit code on a keypad; in play mode the door asks for the code, and a key-locked door only opens with a door controller. The RustBuildHelper plugin fits them to their doors on your server (see Door locks).
  • Dungeon Generator: Tools ▸ Generation ▸ Dungeon Generator… builds big mazes from the Halloween mine tunnels or the Christmas tunnels, joined the way the game joins them, with size, branching, loops, dead ends, entrances and seed; a Sewer mode joins sewer pipes and caps open ends (see Dungeon Generator).
  • Cave Generator: Tools ▸ Generation ▸ Cave Generator… builds large underground caves from the game's cave pieces, with buildable pockets like the cave monuments and sinkhole entrances cut into the terrain (see Cave Generator).
  • Step by Step generation: Step by Step… in the generator runs one step at a time and pauses so you can look around: Continue, Regen the step with other settings or seed, or Cancel and keep or undo the last step (see Step by Step).
  • New generator tabs: Cargo, Text, Underground (train tunnels) and Underwater Labs now each have their own tab in the generator.
  • Find anything: Edit ▸ Find… or Ctrl+F searches every menu item, tool button, window, setting and key and runs or opens it (see Find).
  • Camera keys: Space / C (and E / Q) raise and lower the camera only while the right mouse button is held, and holding it always gives the keyboard to the camera instead of the last text box (see Camera).
  • Top bar hides itself: the menu bar and tool bar fade out while the mouse is away from the top and come back when you move up; turn it off in Preferences ▸ General (see Toolbar).
  • Prefab Library list view: the Prefab Library can show prefabs as a tree or as one alphabetical list (see Prefab Library).
  • Custom Prefabs window: procedural custom prefab placement has its own window (Tools ▸ Generation ▸ Custom Prefabs) and its own step in the generator's step list: tick custom prefabs in a searchable list, click a name for its settings, choose which of its terrain maps to stamp, and Preview spots shows every spot on the map with a ring, beam and name before anything is placed; click a spot to fly there (see Custom prefabs in generated maps).
  • Starts on any graphics card: if Rust Build crashes or freezes while starting, the next start uses the next rendering driver by itself (Vulkan, then Direct3D 12, then OpenGL, which works almost everywhere but is slower; on Linux Vulkan then OpenGL), tells you once and remembers it. Preferences ▸ Graphics ▸ Rendering driver shows the driver in use and lets you pick another (see Graphics).
  • Dark title bar on Linux: on Linux the window has a dark title bar like on Windows: drag the empty part of the menu bar to move the window, double-click it to maximize, and use the – □ ✕ buttons at the top right; in full screen there is no title bar (see Linux).
  • Smaller windows: drag a window's corner to make it as small as you like: the content scrolls inside it instead of stopping the resize (see Main windows).
  • Roll up any window: every window has a – button that rolls it up to its title bar; + or a double-click on the title opens it again, and Rust Build remembers it (see Roll up windows).
  • Reset one window: Preferences ▸ General ▸ Windows puts a single window back where and how big it first opened; Reset all windows does it for every window.
  • Windows stay on screen: dragging a window past the edge of the screen keeps it on the monitor instead of losing it, and no error is written to the log any more.
  • UI scale on Apply: the UI scale in Preferences changes only when you press Apply, so the window no longer jumps while you move the slider.
  • FPS limit at once: the FPS limit in Preferences ▸ Graphics is used straight away, without pressing Apply and without applying every other graphics setting.
  • Lasso keeps your outline: in Create Custom Prefab the Lasso no longer closes when you let go of the mouse: draw in several strokes, add straight corners with single clicks, fly the camera or move the selected prefabs with the gizmo in between, then double-click (or press Enter) to close it; Esc throws it away (see Custom prefabs).
  • Report bugs on Discord: Help ▸ About RustBuild has a link to the Rust Build Discord, where you can report bugs (see Report a bug).
  • Upload your map: Help ▸ Upload Map… uploads the open map or any .map file to the map hosting Rust servers use and gives you the download URL to copy; every URL is remembered with Test (is it still online?), Open, Forget URL and Clear All (see Upload Map).
  • Only real doors open: in play mode E opens only the game's doors, hatches and gates; garage panels and other walls that just look like doors stay shut.
  • Break monument barricades: in play mode the wooden door barricades and the blocked passages in monuments (barrels, lockers, terminals in the Military Tunnel and the Missile Silo) break like in the game: hit them with a rock, hatchet, pickaxe or torch, the blocked passages crumble in stages, and everything is back when you leave play mode (see Play mode items).
  • Crabs and jellyfish: the orange capsules some maps showed at the shore were crab and jellyfish swarms: Server Spawns and placed crab / jellyfish prefabs now show the swarm of crabs on the beach or jellyfish in the water, like the game.
  • Rotate groups with R: R / Shift+R turn a selected group, a placed custom prefab or several selected prefabs as one piece around their centre instead of spinning each part on the spot; Drop to Ground also keeps a group's shape (see Groups).
  • Sample the flatten height: in the Terrain Tool's Flatten mode, Alt+click copies the ground height under the cursor into Flatten to height without changing the terrain; Sea level sets 0 m (see Terrain Tool).
  • Custom prefab height offset: the Place Custom Prefab window has a Height offset for custom prefabs whose anchor point is above or below their base; the ghost and the placed copies use it and it is remembered for each custom prefab (see Custom prefabs).
  • Rope ladders: rope ladders hanging into caves and holes are drawn whole, filling their selection box, instead of a short twisted stub.
  • Co-op loading bar: when another player makes a big change, such as running every generation step, a bar at the top of the screen says whose changes are loading and how far along they are; your editor keeps running, so you can fly around while it loads. Your own big changes show a bar while they are sent (see Session panel).
  • Co-op topology colours and names: custom topology names and colours are the same for everyone in a session, also when someone names or recolours one later, and the players' names over their avatars always show in front of the water.

Version 0.5

  • One procedural window: New Procedural Map and Rerun Generation Steps (open map) are now two modes of one window with one clear button each: Generate New Map replaces the open map, Run Checked Steps changes the open map as one undo step; every step and setting has a tooltip (see New Procedural Map).
  • Exact custom prefabs: prefabs turned on their side or mirrored are saved exactly, so custom prefabs (and map saves) put every piece back where it was; custom prefabs made with an older version may need saving again from the originals (see Custom prefabs).
  • Group them together: Save Selection as Custom Prefab can group the selected prefabs: click any of them to select and move the whole group, double-click or Edit one for a single prefab, Ungroup to split them; groups are now saved with the map (see Groups).
  • Scene Hierarchy paths: the Scene Hierarchy updates by itself after deleting, undo, paste or co-op edits, and has a Paths tab to search, select and delete roads, rails, rivers and power lines, all of them at once if you like (see Scene Hierarchy).
  • Clear the old map on import: importing a heightmap can reset splat, biome, alpha and topology and delete the old prefabs and paths in the same step, with the ocean following the new coast (see Import Heightmap).
  • Box select in crowded areas: hold Alt to start a selection box on top of prefabs; the box keeps following the mouse over open windows, and the key can be changed in Keybindings (see Box selection).
  • Test IO puzzles in play mode: the electricity runs like on a server while you walk around: open a fuse box and put a fuse in to pass power, flick switches, press buttons, and AND / OR / XOR switches, splitters, timers, counters, batteries and card readers follow the game's rules; power reaching a door controller works its door and lights, sirens and strobes turn on and off. Leaving play mode puts everything back (see Play mode IO).
  • Wheel switch and blast door: hold E on a wheel switch to turn it: the linked blast door slides open and closes again on its own when you let go, like in the game; wheel switches can be wired in the IO tool and the water treatment plant's wheel opens its blast door.
  • Door controller check: while you place or move a door controller, a message says which door it will link to (outlined in green) or that no door is within 1 m, the same rule the server uses.
  • Game-style prompts and wire view: switches, fuse boxes, buttons, card readers and wheels show prompts like "E: insert fuse" or "Hold E: turn wheel", and O in play mode shows every wire, green when powered and red when not.
  • Co-op ocean and outfits: ocean topology painted by another player redraws the water for everyone, and the Appearance window lists all the clothes again.

Version 0.4

  • File dialogs remember: every open and save window remembers its last folder, file name, sort order, list or thumbnail view, filter and size, separately for maps, heightmaps, demos, server saves, videos and the rest, also after a restart; the windows show their real titles again.
  • No biome stripe: re-running the biome step (Rerun Generation Steps) no longer leaves a bright stripe across the map that moves with the biome angle, and applying biome, splat or topology again gives exactly the same map instead of getting brighter each time.
  • Solid painting: the Terrain Painter paints along the whole stroke, so fast biome and topology strokes are solid instead of a chain of dots, and the overlay near the camera shows them fully.
  • Sandy desert ground: grass and forest ground in the arid biome look like warm sand again instead of white snow-like flecks.
  • Fast map loading by default: maps open with the quick map-picture view unless you choose another one in Preferences ▸ General ▸ Loading.
  • New map window: the warning for map sizes outside 1000–6000 m sits on its own line instead of stretching the base height box and the Create button.

Version 0.3

  • Relay Server (admin): run a live Rust server from the editor: the start screen's Relay Server (admin)… connects over RCON and Rust's built-in relay and shows the server's map with its players and entities live, the player list, console, chat, events and every server setting; kick, ban, mute, revive, give items, teleport players, lock or remove entities and change settings, each one asked first and written to an admin log (see Relay Server).
  • AI assistant on another computer: running a local AI model next to Rust Build can be too much for one PC: tick Allow other computers to connect in Edit ▸ Preferences ▸ AI Assistant and the assistant can run on a second computer on your home network, limited to the addresses you allow (see Assistant on another computer).
  • Terrain Sampler: Tools ▸ Terrain Sampler (key I) tells you everything about a point of the map: height, slope, water depth, every splat layer and biome in percent, the topologies, and the nearest road, monument and prefab; click to pin, Copy to copy it (see Terrain Sampler).
  • Co-op without reload loops: a player whose editor is still loading a big map is no longer dropped by the host, so the endless unload, reload and ask-again loop is gone; a lost connection reconnects by itself for up to 2 minutes and keeps the map loaded, and map downloads are much faster (see Join a session).
  • Roads and rails on top: roads and rails always sit on the ground instead of slightly under it, and the terrain near the camera is drawn at full detail, so monuments no longer seem to float or sink.
  • Desert ground: the ground in the arid biome turns to dry sand and arctic ground gets snow like in the game, so desert monuments no longer stand on moss.
  • Softer biome borders: generated maps fade from one biome to the next instead of switching in a hard line; Soften biome borders sets how wide (0 = the game's own result) (see New Procedural Map).
  • Rails and ring roads on the biggest islands: with Multi Island, Rails on the N largest islands and Ring road on the N largest islands (1 to 4, 2 by default) keep rails and ring roads off tiny islands (see Multi Island).
  • Monument parts stay visible: pump jacks, car lifts, lift cabins, elevator doors, the missile silo hatch and generators inside monuments no longer vanish when the camera moves away.
  • Floating silo and military tunnel: Rust moved the missile silo, military tunnel and large sewer cave down inside their prefabs, so on older maps they float, in the game too; opening such a map offers to fix them, also in Tools ▸ Generation ▸ Fix Moved Monument Origins… (see Fix Moved Monument Origins).
  • Snap to ground and water: the Inspector has Snap to ground to put flying prefabs back on the terrain by their origin, and over water Snap to sea bed and Snap to water (see Inspector).
  • Styled marker names: monument marker names use the game's codes such as <size=13>, <color=red>, <b> and <i> on the map, the mini map and Render Map; View ▸ Overlays can hide marker names and NPC spawner labels (see Marker names and NPC spawner labels).
  • Thin wires: wire prefabs are thin cables that sag like in the game instead of fat tubes on busy maps, and IO visible wires are laid straight.
  • No black squares on effects: boat engine smoke, flames, sparks and glowing ores no longer draw as black or white squares, and the tiled lava cubes show their texture.
  • Demo Player: boats and everything on them stay visible as the recording travels, the cargo ship carries its containers, dead players and scientists wear their clothes, players standing on a moving ship no longer run on the spot, the window is smaller with folding sections, and a demo plays over the map that is already open without reloading it (see Demo Player).
  • Roll up windows: the Demo Player, Cinematic Mode, simulations, co-op panel, Server Save and Relay Server windows have a – button that rolls them up to their title bar so you can see the map while they keep running.
  • Faster map switching: opening another map unloads the old one about twice as fast, and models, materials and textures both maps use are kept instead of being loaded again, so the next map opens up to a third quicker.
  • Labels by category in Relay and demos: names in Relay Server mode and the Demo Player are grouped into players, NPCs, animals, ores, loot, vehicles and other, each with its own on/off in View ▸ Overlays ▸ Relay / Demo Player Labels and its own distance in Preferences ▸ General, so scientists far away no longer fill the screen; minicopters and similar vehicles now show up too.
  • Inspector follows the selection: clicking another prefab while a position, rotation or scale field is being edited switches the Inspector to the new prefab and never writes the old numbers onto it.
  • Clear all data and settings: Help ▸ Clear All Data and Settings… (also at the bottom of Preferences ▸ General) removes every setting and cache Rust Build saved and restarts it fresh; if parts of monuments are missing after updating from an older version, this fixes it, and caches are now thrown away by themselves when Rust Build or the game updates (see Troubleshooting).
  • No crash while loading: a rare error while preparing leaves and bushes could stop a map from loading after a while; it is fixed, and one prefab that fails to build is now skipped instead of ending the load.
  • Co-op between versions: 0.2 and 0.3 can share a session; reconnecting without a reload needs 0.3 on both sides.

Version 0.2

  • Jobs from the command line: scripts and bots can make procedural maps with every generator setting, map pictures and MP4 videos of Rust demos without anyone at the keyboard: RustBuildEditor.exe --headless -- --job job.json, with progress as JSON lines, files as paths or base64, and the new Tools ▸ Utilities ▸ Job Editor to build the job files (see Command line jobs).
  • Real players in their own clothes: players in demos and server saves are the game's player model wearing the clothes they had on, and in demos they hold the item in their hand; in co-op and in play mode you are a Rust player too: pick your body, face, hair and every piece of clothing with its skin in Edit ▸ Preferences ▸ Appearance and the others see it at once (see Appearance).
  • Map picture while loading, and Cancel: while a map opens the loading screen shows a picture of it, and monuments light up with their names as they are placed; Preferences ▸ General ▸ Loading chooses between this quick view and watching the map build in 3-D. Every loading screen and progress window can be stopped with Cancel or Esc: a cancelled map load brings the map you had open back (see Progress & loading).
  • Boat Building Planner: build player boats on the sea from the game's boat pieces — hulls, floors, walls, doorways, stairs, steering wheel, sails, engines, anchors, cannons — with the game's socket rules; they are saved with the map and the server plugin launches them as real boats on the first start (see Boat Building Planner).
  • Wooden boats: boat blocks show their wood instead of a grey checker pattern in demos, in server saves and in the editor.
  • Demo Player: File ▸ Open Demo (.dem)… plays back a recorded Rust demo on its map like a video: speeds, timeline with kills and hits, follow / first person / barrel / bullet cameras, aim lines, players coloured by whether they could be seen, and Save as MP4 — an admin tool to review players (see Demo Player).
  • Server data: View ▸ Server Data shows the server's occlusion grid (with a can-A-see-B test), its nav mesh and the cargo ship's ocean patrol route (see Server Data).
  • Regenerate a save, keep the players: after changing monuments, Server Save ▸ Regenerate World (Keep Players) lets your own Rust server make a fresh world and keeps every base, sleeper and box from the old save (see Regenerate).
  • Co-op admin tools: teleport players to you, edit zones and confine zones, private messages, and kick or ban with a message; kicked and banned players lose the map, a dropped connection keeps it (see Admin tools).
  • Simulations and spawns in co-op: cargo ship, CH47 and APC runs, server spawns, trees, ores and loot are the same for everyone in a session (see Shared world).
  • Faster placing: placing a prefab the first time is up to 7× faster, and duplicating or pasting thousands of prefabs takes a fraction of a second.
  • Windows on ARM and Linux ARM64: downloads for Snapdragon laptops and ARM boards; procedural generation still needs an Intel/AMD PC (see Windows on ARM).
  • Drop it into Rust: put RustBuildEditor.exe in your Rust folder (next to Bundles) and it starts without asking where Rust is.
  • Truer colours: materials use the colour their shader really uses: lights, panels, coolers and clothing no longer come out in the wrong colour.
  • Edit server saves: change the map of a running server without a wipe: File ▸ Server Save ▸ Open .sav… shows every saved base, box, sleeper, vehicle, tree and ore node on the map; click one to edit its health, owner, grade, lock code or loot, move or delete it, Check Against Map… lists what your map edits broke, and Wipe / Reset… wipes it for a new season with presets and a preview (see Server Save).
  • Public co-op servers: tick Advertise this server when hosting to put your session on the public server list with a name, description and player limit; Public servers… in the join window lists every advertised server with players and ping, and keeps your favorites. Joining by host name works too (see Public servers).
  • PvP in co-op: in play mode players can fight and kill each other: everyone sees the swings and shots, the item each player holds, blood, damage and deaths, with a kill feed and a respawn 5 seconds later; the weapons have the game's damage, reach and speed, and slot 8 is a revolver. The host turns PvP on or off (see Play mode together).
  • See what the others build: in co-op you see the Building Planner block, grade and ghost the other players are aiming, also when they build in play mode (see Session panel).
  • Higher jump: play mode jumps 20 % higher (about 1.2 m), so you get onto what you can jump on in the game.
  • Prefab sockets: View ▸ Show Sockets puts joining nodes on rail pieces, sewer tunnels, underwater lab modules and train tunnel pieces; drag a rope from one node to another and the prefab snaps into place. The joining points are in an editable file (see Prefab sockets).
  • AI assistants: an AI assistant such as Claude Code or Claude Desktop can now build and edit maps for you: terrain, layers, monuments, roads, rivers, rails, checks and saving, with every step undoable. Off until you switch it on in Edit ▸ Preferences ▸ AI Assistant (see Build maps with an AI assistant).
  • Custom prefabs: Create Custom Prefab: draw a box, polygon or lasso on the map, name it and choose what to copy (prefabs, height, splat, biome, alpha, topology, roads); placing it again reproduces the area exactly, with height, topology and edge-blend options. Works with other map editors' custom prefabs (see Custom prefabs).
  • Prefab Brush: Add prefab… builds a list of prefabs with their own weight, scale, rotation, tilt and spacing, and the brush paints from that list (see Prefab Brush).
  • Building Planner like the game: blocks are aimed within a reach (20 m in the editor, remembered; the game's 4 m in play mode): looking far away or up, the ghost floats and turns red instead of snapping to distant ground; the first foundation can stand flush up to about 2.6 m above the ground, as the game allows; twig foundations are hollow again.
  • Terrain brushes: brushes go up to 5000, and Smooth, Sharpen, Erode and Ridge erode no longer freeze the editor (a size-500 smooth went from 30 seconds to a twentieth of a second per dab).
  • Custom topology names: an unused topology asks for a name and a colour, is drawn in that colour and is remembered.
  • Map Data window: Tools ▸ Map ▸ Map Data shows everything stored in the map: vending and loot profiles, building blocks, IO, paths, skins, scales and sign images (see Map Data).
  • Rivers, rails and the APC: rivers in Path Tools use the generator's river settings, rail nodes snap exactly onto other rails and trainyard tracks, and Tools ▸ Simulations ▸ APC (Bradley) Test… drives the APC route and checks for collisions.
  • Go to a grid cell: the top-right grid shows where the camera is; click it to type a cell like A20 and fly there, or click the position to open Go To Coordinate.
  • Heightmap import: the window no longer blocks the view, so you can fly around while adjusting, and auto-texture no longer leaves a crosshatch in the splat.
  • Graphics test: the first-start test uses a much heavier scene and picks safer settings for big maps.
  • Crash fix for big maps: big maps no longer run the graphics card out of memory; the new Video memory limit in Preferences ▸ General ▸ Memory (Auto by default) keeps Rust Build under what your card has by using smaller textures and unloading what is not drawn, and normal maps take half the memory (see Preferences ▸ General).
  • No ReShade crashes: ReShade installed for another game no longer crashes Rust Build: its system-wide Vulkan hook is switched off for Rust Build automatically (see Troubleshooting).
  • Faster everywhere: the editor starts in about half the time, big maps open many times faster and use less memory, flying over a map runs up to 80 % faster on weak graphics, big selections, undo, box select and terrain brushes are 2–4 times quicker, and generating, saving (24 % smaller map files) and importing are faster.
  • Co-op roles and big sessions: the host chooses whether new players join view-only or as editors, can give out a separate editor password, and promotes, demotes or removes several players at once in the session panel; viewers watch everything live but can't change the map, sessions with dozens of players stay smooth, and in play mode players bump into each other, can fight and hunt animals (see Roles, Sessions with many players and Play mode together).
  • Every selected prefab boxed: all selected prefabs show a box, not just the last one, and the selection outline no longer flickers while the camera moves (see Selection).
  • Windows on any monitor: drag a window's title bar out of the editor and it becomes its own window you can put on another monitor; drop it back on the editor to dock it. The Mini Map is a normal window now: move it, resize it, close it with ✕ (see Windows).
  • Under the sea: rocks, dive sites and underwater labs fade into the water instead of looking like they sit on top of it.
  • Rock textures: rock formations show rock again instead of being covered in grass and terrain texture.
  • Smooth heightmap imports: importing a PNG heightmap no longer gives a crosshatch pattern or terraces; 16-bit PNGs keep their full detail (see Import Heightmap).
  • Clean map edges: generated maps fade smoothly down to the sea bed at every edge instead of ending in cliffs or odd heights.
  • No double monuments on islands: Multi Island never places Compound, Bandit Town, Harbors, Ferry Terminal or Apartment Complex twice by default; the list can be changed (see Multi Island).
  • Play mode: you start on the ground (or the floor of the building) below the camera, the torch has its flame, the flashlight looks like the game's, and slot 7 is a Building Plan to build from the player's view (see Play mode).
  • Building Planner: blocks are aimed with a real ray like in the game, so they can no longer be placed floating in the air (see Building Planner).
  • Update check: Help ▸ Check for Updates… tells you when a new version is out, with what's new and a link to the download; it also checks once a day on startup (see Check for Updates).
  • CH47 clearance: Tools ▸ Simulations ▸ CH47 Clearance Check tests whether an oil rig is clear enough for the CH47: its body and rotors against the terrain and every prefab, from the map's approach or from all 8 directions, with the blockers listed and selectable (see CH47 assault).
  • Server plugin: the helper plugin can let a server load maps outside the game's 1000–6000 m size range; test with a game client first (see Server plugin).
  • Dark title bar: the window title bar is dark like the rest of the editor.
  • Co-op between versions: players need the same Rust Build version to share a session; 0.1 and 0.2 can't join each other.

Version 0.1

  • Simulations: Tools ▸ Simulations: watch a cargo ship sail your cargo path and dock at the harbors, a CH47 assault on the oil rigs, the Bradley APC drive its route (checked against everything in its way), and use the monuments' computer stations in play mode to look through the CCTV cameras (see Simulations).
  • Cinematic mode: camera paths with looks (sunset, storm, fog, night…), orbit shots and smooth playback, recorded straight to an MP4 video (see Cinematic Mode).
  • Graphics tuned for your PC: a short test on the first start picks the settings, a window offers lower settings when a map runs slowly, and the Graphics page changes nothing until you press Apply (see Graphics on the first start).
  • Tunnels and water: inside tunnels and buildings the light turns dark like in the game, and under water you get the underwater look and muffled sound (see Environment and underwater effects).
  • Easy-to-grab effects: sound, effect and spawn prefabs get round coloured handles you can click, and View ▸ Show Gizmos hides every helper so you see the effects on their own (see Handles).
  • Notices and Console: messages pop up at the top for a few seconds and never block you; Help ▸ Console keeps all of them (see Console).
  • Tool read-out: the bottom of the screen shows the active tool and the point under the mouse, for example Terrain Tool · Raise/Lower (x, y, z) (see Screen layout).
  • Prefab Library type filter: tick types (Monument, IO, Sign, Loot, Vehicle…) and search with several words in any order (see Prefab Library).
  • Resizable windows: drag any edge or corner of a window; the size is remembered (see Main windows).
  • Undo depth: hundreds of undo steps, chosen automatically from your memory or set by hand (see Editing).
  • No more surprise snapping: oil rigs, fishing villages and everything else keep their height when you move, copy or paste them; only Drop to Ground snaps (see Transform).
  • Create Text: several lines, extra letter spacing, and the text faces the camera (see Generate Text Prefab).
  • Faster generator: procedural maps generate up to twice as fast; long jobs ask first with a time estimate and can be cancelled, and Double Check Rocks re-places the rocks (see New Procedural Map).
  • Co-op: everyone's ping in the session list and over the avatars, and smoother movement of the others (see Co-op).
  • Truer looks: rubble, gravel and rock piles are no longer shiny white, signs and markings on oil rigs and harbors no longer flicker, and monuments never show their low-detail model on top of the detailed one.

The editor at a glance

Everything is one window: the menu bar and toolbar at the top, the 3-D view, and floating windows you can drag anywhere by their title bar and resize by any edge or corner (positions and sizes are remembered; View ▸ Windows ▸ Reset All Windows puts them back).

Screen layout

What each part of the screen is for.

All 11 controls
ControlWhat it does
Menu barFile (with the Co-op submenu), Edit, View, Tools, Help. Every item shows its shortcut (your own keys if you changed them); items co-op viewers may not use are greyed out
ToolbarPrefabs, Prefab Brush | Terrain Tool, Terrain Painter | Move, Rotate, Scale, Global/Local | Nearby. The active tool lights up. Sockets, Paths and the Building Planner are in the menus: View ▸ Show Sockets, View ▸ Show Paths, Tools ▸ Path Tools, Tools ▸ Building Planner
3-D viewthe map. Hold the right mouse button to fly
Inspectora narrow window that appears when something is selected: name, category, transform, grade, prefab terrain, Break, layouts; the prefab's parts open in their own Components window
Prefab LibraryTab: search, preview and place every prefab of the game
Mini mapbottom right: click to jump, monuments and markers clickable, co-op players shown
Compass and grid celltop right: heading, camera position and the Rust grid cell the camera is over (e.g. Grid D7). Click the grid text to fly to a cell you type (e.g. A20); click the position to open Go To Coordinate filled in with the camera position
Tool read-outbottom: the active tool and the terrain point under the mouse, for example Terrain Tool · Raise/Lower (12.40, 20.15, -88.02) or Move Tool (…); Select when no tool is active
Noticestop centre: short messages (saved, finished, warnings) that fade after a few seconds and never block the editor; Help ▸ Console lists them all
Info textbottom left: key hints for the active tool (View ▸ Info Text)
FPS countertop left, optional (Preferences ▸ General)
TipFloating windows open at most about half the screen wide and scroll inside when their content is longer. Drag an edge or a corner (the cursor turns into a resize arrow) to make one bigger or smaller: lists, trees and previews grow with it, and a window made smaller than its content scrolls. The – on every title bar rolls a window up to just its title bar.
TipOnly windows that need an answer before you go on (file pickers, questions) can be bigger.
Menu bar, toolbar, the selected satellite dish with the inspector, mini map, compass and the tool read-out
Notices at the top of the screen

Progress windows, loading maps and Cancel

Jobs that take more than a moment show a progress window with the step, a bar, the time so far and a Cancel button. Opening a map shows a picture of the map while it loads, and that can be cancelled too.

  1. Start a long job, for example an import or export, Render Map, opening a server save, generating a procedural map, the Prefab Test Grid, a CopyPaste import, Generate new cargo ship path, Break Prefab into Parts on a big monument, Double Check Work, a terrain stamp of many prefabs or preparing a demo.
  2. While the window is up, editing is paused so nothing changes under the job, but the camera still works: hold RMB and fly with W A S D to look around.
  3. Click Cancel or press Esc to stop: a cancelled job changes nothing (anything it already changed is undone). A finished job is one undo step as usual.
  4. Jobs that take 20 seconds or more (a new procedural map, Rerun Generation Steps, Double Check Rocks) ask first, with an estimate of the time on your PC.
TipNew Map, Rotate Map and the World Creator import still show the loading screen until they are done.
TipDuring a co-op session a map load can't be cancelled: everyone shares the same map.
TipCancelling a video recording keeps the frames recorded so far; cancelling the MP4 encoding (the small panel at the bottom left) keeps all frames, so you can encode them again later from the Recordings list.
TipClicking a prefab selects it almost at once, even on big maps: the editor prepares a prefab while your mouse is over it and keeps the prefabs you selected recently ready, so selecting them again is instant.

Opening a map

  1. Open a map as usual. As soon as the file is read, the loading screen shows a picture of the map (terrain, water, roads, rails and rivers) with its name, size and number of prefabs.
  2. Monuments start as small grey dots and light up with their names when they are placed; every placed prefab adds an orange dot, so you can watch the map fill in.
  3. Choose how a map loads in Preferences ▸ General ▸ Loading ▸ Map loading view:
    • Fast (map picture) (the default): the picture stays up until the map is ready. The 3-D view is not drawn meanwhile, so the map loads quicker.
    • Show the map as it loads: once the terrain is built the map appears in 3-D and a small progress bar at the bottom shows the prefabs still streaming in. Hold RMB and fly around while it fills.
    • Automatic picks Fast on computers with integrated or small graphics cards, little memory or few processor cores, and the 3-D view on the others.
  4. Editing starts when the loading screen or the bar is gone (a few seconds on a small map, longer on big maps with many monuments).

Cancelling a map load

  1. Click Cancel on the loading screen (or on the bar at the bottom), or press Esc.
  2. The half-loaded map is removed and the map you had open before comes back with the same file name and camera position. Changes you had not saved are kept: before a map opens, an edited map is put aside so Cancel can bring it back (its undo history starts fresh).
  3. If no map was open (you started from the start screen), Cancel goes back to the start screen.
  4. Bringing the old map back takes about as long as opening it; Cancel (start screen) stops that too and leaves you at the start screen.
Fast view: the map picture while the prefabs are placed
The Loading map window with its progress and the prefabs placed so far
The loading screen reading the prefabs, with its Cancel button
A long job asks first, with a time estimate

Flying the camera

Hold the right mouse button and fly like in a game.

  1. Hold RMB in the 3-D view and move the mouse to look around.
  2. While holding it, use W A S D to fly; Space / C (or E / Q) go up and down, Shift is faster. Up and down only work while you hold the right mouse button.
  3. While you hold the right mouse button the keys always fly the camera: a text box you were typing in (a search, a number field) lets go, so nothing is typed into it.
  4. Start the right-mouse drag on an empty part of the 3-D view; once you hold it, looking around and the wheel keep working even when a window sits in the middle of the screen. Windows only take the clicks you make on them.
  5. Turn the mouse wheel to change the fly speed.
  6. Select something and press F to fly to it; click the mini map to jump anywhere.
TipCamera speed, fast multiplier and field of view are in Preferences ▸ Camera & Controls; the fly keys can be changed in Preferences ▸ Keybindings (the Change key bindings… button at the top of the Controls window in the Help menu opens it).
TipThe axis widget at the top right: click an axis tip to look straight along it.
Flying over a procedural map

Keyboard shortcuts

Help▸Keyboard Shortcuts F16

The default keys, the same list the editor shows in Help ▸ Keyboard Shortcuts. Changed a key? The editor's list shows your own keys.

Camera

RMB hold
look around (the mouse is captured)
W A S D
fly forward / left / back / right (while holding RMB)
Space / C or E / Q
camera up / down (while holding RMB)
Shift
fly faster (Preferences: Fast speed)
Mouse wheel
fly speed down / up
F
focus the camera on the selection
Alt+Enter
fullscreen

Selecting and moving

LMB
select; drag a prefab to move it over the terrain
Ctrl+click
add / remove from the selection
Alt+click
next prefab under the cursor (nearest first)
MMB
list of every prefab under the cursor
Drag on ground / Alt+drag
box selection (also from a road or river); hold Alt to start it on top of prefabs or the gizmo in a crowded spot, with Shift to add the boxed prefabs to the selection or Ctrl to remove them from it; then the filter window
1 / 2 / 3
gizmo: move / rotate / scale (Ctrl snaps)
4
gizmo axes global / local
R / Shift+R
rotate +45° / −45° (a group or several selected prefabs turn as one around their centre)
Arrows, PgUp PgDn
nudge (Shift = ×10)
Shift+G
drop to ground
Ctrl+Shift+T
move the selection to the terrain under the mouse

Edit

Ctrl+Z / Ctrl+Y
undo / redo
Ctrl+C Ctrl+X Ctrl+V
copy, cut, paste (in the middle of the view)
Ctrl+D
duplicate (5 m away)
Del
delete the selection (or the selected path nodes)
Ctrl+A / Ctrl+I / F3
select all / invert / all of this type
Ctrl+G / Ctrl+Shift+G
group / ungroup
H / Alt+H
hide selected / unhide all
Insert
save the selection as a custom prefab (asks for a name) and arm it
F5
save (writes <map>_edited.map)
Esc
back to Select: leaves every tool, cancels placing

Tools

T
Terrain Tool (1–0 pick the operation)
G
Terrain Painter (1–8 pick the channel)
I
Terrain Sampler (height, textures, biome, topology at a point)
[ / ]
brush smaller / bigger
Alt while painting
invert (lower, erase)
Z / Q
NPC Spawners & Vehicles window (NPC / vehicle tab)
E
IO place mode on / off (the IO window ticks place mode (E))
`
Vending Profile Manager
V
show / hide paths
F9 / Home
scatter / fill region with the armed prefab
Ctrl+P
play mode (walk the map)
PgUp / PgDn (planner)
Building Planner: foundation height on the terrain ±0.25 m (Shift ±0.75 m); with Ignore placement rules the free height ±1 m (Shift ±3 m); Shift+wheel works too
F18 F19 F20
prefab brush, wire/stretch, auto-texture brush (or use the menus: most keyboards have no F18–F20)

View

Tab
Prefab Library
F1
Scene Hierarchy; over a window or a menu item: its how-to
Shift+F1
How To (built in, works offline)
, / .
time of day − / + half an hour
M
next weather
{ / }
Time / Weather window / IO connection lines
N / B / H
night / noon / golden hour (H only when nothing is selected)
Ctrl+L
flashlight
Ctrl+Shift+C
Cinematic Mode window
F16
keyboard shortcut list (also Help menu)
Ctrl+F
Find: search any menu item, button, window or setting by name and run it

Play mode

W A S D
walk, Shift runs
Space / C
jump or swim up / crouch
V
first / third person
O
show / hide the IO wires (green = powered)
1–8 / wheel
hotbar: hand, rock, hatchet, pickaxe, torch, flashlight, Building Plan, revolver (R reloads)
LMB
swing the held item: hit, chop, mine
E
use: doors, hatches, elevators, switches, buttons, card readers, computer stations, loot, pick up
F
flashlight
T
one hour later
N / double Shift
noclip flying
Esc / Ctrl+P
leave play mode

These are the default keys. Every keyboard key except the play mode hotbar keys can be changed in Edit ▸ Preferences ▸ Keybindings (see Keybindings); the menus, Help ▸ Keyboard Shortcuts and the key hints in the editor always show your own keys.

Help ▸ Keyboard Shortcuts inside the editor

Tools: the main modes

The top of the Tools menu switches between the editing modes. Only one mode is active; Esc always goes back to Select / Move.

Terrain Tool

Tools▸Terrain Tool T

Sculpt the height map with a brush: raise, lower, flatten, smooth, erode, stamp shapes and more.

  1. Press T (or the Terrain Tool toolbar button).
  2. Pick a Modification Type; a help line explains it.
  3. Set Size, Opacity and Rotation and pick one of the 16 brush shapes.
  4. Hold the left mouse button on the terrain. Hold Alt (or Shift) to invert, for example lower instead of raise.
  5. Ctrl+Z undoes the whole stroke.
All 11 controls
ControlWhat it does
Modification TypeRaise/Lower, Flatten, Smooth, Sharpen, Terrace, Erode, Pinch, Twist, Smudge, SlopeFlatten, Clone Stamp, Bridge, Hydraulic, RidgeErode, TerraceErosion, MeshStamp
Size1–5000 height-map cells, so it covers the same cells on any map size; 5000 covers a whole small map
Opacitystrength per frame
Rotationturns the brush shape
Brush typeCircle, Circle Soft, Circle Hard, Spike, Gaussian, Square, Square Hard, Diamond, Flat, Ring, Star, Star 4, Blob, Noise, Noise Fine, Scatter
Auto-Adjust Prefab Heightprefabs ride up and down with the terrain you change
Flatten to heightFlatten only: flatten to a fixed height. Alt+click copies the height under the cursor into the field without changing the terrain; Ctrl+click copies it and starts flattening; Sea level sets 0 m
Stamp: Shape / Load PNG… / Height / Subtract / Fade edgesMeshStamp only: one hill, mountain, mesa, island, lake, valley or crater (or your own greyscale PNG) per click; the settings are remembered for next time
Stamp: Load model… / Selected prefabstamp the shape of a 3D model (.obj, .glb, .gltf) or of the selected prefab: its top surface seen from above, at its own size and height
Recent stampsthe last 12 custom stamps you stamped with (PNG, models, prefabs), newest first with a picture of their shape; click one to use it again with the settings it had, right-click or Remove takes it off the list. Kept when you restart
Advanced Optionsopens Brush Options (strength, snapping, scatter and fill)
TipKeys while sculpting: 1–0 pick the first ten operations, [ / ] change the size, W rotates the brush 15°.
TipSmooth, Sharpen, Erode and RidgeErode stay fast at any size, even with a brush over the whole map.
TipClone Stamp: Alt+click sets the source, then paint. Bridge: click point A, then point B.
TipStrokes are solid at any speed, even with a size 1 brush: every cell the cursor passes over is changed, and the brush lands on the cell under the cursor, on steep slopes too.
Raising and smoothing a hill with the Terrain Tool
The Terrain Tool window
The Terrain Tool after a few strokes

Terrain Painter

Tools▸Terrain Painter G

Paint the ground textures (splat), biomes, holes (alpha) and topology.

  1. Press G.
  2. Choose the Layer: Splat, Biome, Alpha, Topology or Custom Topology.
  3. Choose the Paint Tool and the Channel (e.g. Grass, Arctic, Road).
  4. Set size, opacity and rotation and paint with the left mouse button; Alt inverts.
  5. While painting Biome or Topology the terrain shows the layer colours (topology in red) so you see exactly what you paint.
  6. Custom Topology: the first time you pick an unused flag (Unused0…Unused30) Rust Build asks for a name and a colour. The flag is then drawn on the terrain in that colour while you paint (the other named flags fainter).
All 12 controls
ControlWhat it does
LayerSplat (8 textures), Biome (Arid, Temperate, Tundra, Arctic, Jungle), Alpha (holes for caves and tunnels), Topology (31 flags), Custom Topology
Paint Brush / Erasepaint, or erase alpha and topology
Blendsoften texture edges (splat, biome)
Replacereplace one channel with another (pick the source first)
CliffSplat only: paint where you want cliffs; when you let go, the ticked cliff steps (Coastal Cliffs … Cliffs Jutting Arctic) place their cliff prefabs on the painted area as the generator does. It also paints rock and the Cliff topology (rock by slope: none below 30°, full at 50°). Needs steep ground and the Rust client folder; paint and cliffs are one undo step
Cond. Paint / Cond. Eraseonly where the conditions below match
Cap Opacitystop at the opacity value instead of building up to 100 %
Size1–5000 cells of the layer you paint
Conditions & Layer Ops ▸height and slope limits, splat / biome / topology conditions (click to cycle ignore, must-have +, must-not −)
Apply to Whole Maprun the conditional paint or erase on the whole map (one undo step)
Topology layer: Clear / Fill / Invert / Copy towhole-map operations on one topology flag
Replace layer (whole map)From → To on the whole splat or biome layer
TipAlpha is on/off: Paint cuts the terrain away (for cave and tunnel entrances), Erase restores it.
Tip1–8 pick the channel while painting.
TipEvery tool paints along the whole stroke, however fast you move: a size 1 brush leaves an unbroken line one cell wide, and the cell painted is always the one under the cursor.
Painting with the Terrain Painter
The Terrain Painter window

Terrain Sampler

Tools▸Terrain Sampler I

Point at the terrain and see everything the map stores there: height, slope, water, ground textures, biome, topology and more.

  1. Press I (or choose Tools ▸ Terrain Sampler). The Terrain Sampler window opens.
  2. Move the mouse over the terrain: the window reads the point under the cursor as you go.
  3. Click to pin the reading. An orange marker shows the pinned point and the numbers stay put while you look around; they update if you paint, sculpt or undo there. Click somewhere else to pin a new point, or press Unpin to go back to following the cursor.
  4. Press Copy to put the reading on the clipboard as text, for example to paste into a note or a message.
All 10 controls
ControlWhat it does
Positionthe position in game coordinates (as at the bottom of the view and in the Inspector) and the grid cell
Height / Slopeground height in metres above sea level and the steepness in degrees
Waterdry, or underwater and how deep; maps with lakes and rivers also show their water height
Alphawhether the terrain is shown or cut away (a hole for a cave or tunnel entrance)
Splatall 8 ground textures in percent, the strongest first; textures that aren't there are listed on one line
BiomeArid, Temperate, Tundra, Arctic and Jungle in percent
Topologyevery topology flag set at the point (e.g. Beach, Road, Forest, Tier1), plus your custom topology flags
Nearbythe prefab under the cursor, the nearest road / rail / river / powerline with its distance (and whether you are on it), the nearest monument and the nearest prefab
Map cellswhich cell of each layer you are reading, with the raw values
Follow the cursoruntick to read only where you click
TipThe numbers are exactly what the Terrain Painter changes at that spot, on any map size: use the sampler to check a brush stroke or a generated map.
TipEsc or another tool closes the sampler. Co-op viewers can use it too: it changes nothing.
The Terrain Sampler window

Prefab Brush

Tools▸Prefab Brush F18

Paint prefabs onto the terrain: forests, rocks, debris. The brush paints from a list of prefabs, each with its own settings.

  1. Open the Prefab Brush and press Add prefab….
  2. Search for a prefab (e.g. rock quarry), click it and set its Weight (how often it is picked), Scale min / max, Random yaw with a from / to angle range, optional Tilt X / Z up to Tilt max, Align to slope, Height offset and Spacing (minimum distance to other copies of it). Press Add to list.
  3. Repeat to mix several prefabs. Each row shows its share of the painted prefabs; untick a row to leave it out, Edit changes its settings, ✕ removes it.
  4. Set the Brush radius, Prefabs per stamp (density) and Stroke spacing (how far the cursor moves between stamps). A green ring shows the brush on the terrain.
  5. Drag on the terrain to paint. Hold Shift (or tick Erase mode, the ring turns red) to remove the list's prefabs under the brush. Each stroke is one undo step.
ControlWhat it does
Add prefab… / Clear listthe brush list
Edit / ✕ / tick boxchange, remove or switch off a row
Brush radius, Prefabs per stamp, Stroke spacingwhere and how densely the prefabs land
Erase moderemove the list's prefabs instead of painting (or hold Shift)
Spawn filteronly stamp where the splat, biome or topology matches (any / all / none)
brush preset name, Save preset, Load, ↻save and reload the list with its settings
One stroke of the Prefab Brush with four trees and bushes in the list

Building Planner

Tools▸Building Planner

Build bases block by block with Rust's own socket and placement rules, on the ground or floating in the air.

  1. Open Tools ▸ Building Planner (it has no key by default; give it one in Preferences ▸ Keybindings).
  2. Pick a block (foundations, walls, doorways, floors, stairs, roofs…) and a Grade (Twigs, Wood, Stone, Metal, TopTier).
  3. Aim: like the game's planner, the aim is a ray from the camera that reaches 20 m (the game's reach is 4 m; set it with Reach) and stops at the first solid thing it hits (terrain, a building block, a rock, a prefab). When nothing is that close the ghost floats at the end of the reach: look far away and it lifts off the ground, look up and it floats above you. The ghost is green where Rust would allow it and red with the reason where it wouldn't (a floating ghost is always red).
  4. A first foundation on the terrain sits flush with the ground. Raise it with PgUp / PgDn, Shift+wheel or Foundation height: like in the game it stays green while its bottom corners are still in the ground and its top isn't buried — on flat ground from flush up to about 2.6 m. The panel shows the heights allowed where you aim.
  5. Left-click to build; R rotates, [ / ] change block, 1–5 change grade.
  6. Turn on View ▸ Show Sockets to see the free sockets.
All 9 controls
ControlWhat it does
Grade → selectiongive every selected block the chosen grade (one undo step)
Refresh joinsupdate corners, trims and roof joins (after loading a map)
Ignore placement rules (snap only)snap without the rule checks; also lets you place the floating ghost and lift foundations off the ground (below)
Foundation heightwith the rules on: how high a foundation placed on the terrain stands above the aimed ground (PgUp / PgDn ±0.25 m, Shift+PgUp / PgDn ±0.75 m, Shift+wheel); green inside the game's allowed band
Height above groundwith Ignore placement rules: how high above the ground under the cursor the ghost sits (PgUp / PgDn ±1 m, Shift+PgUp / PgDn ±3 m, Shift+wheel ±0.5 m)
Absolute Y (flat)use a flat level at a fixed world height instead (the field then shows Height: world Y)
Last block's levelswitch to the flat level through the bottom of the block you placed last, to carry on building there
Reach (0 = game's)how far from the camera the planner reaches: 20 m to start with, up to 1000 m; 0 is the game's 4 m. Remembered between sessions; play mode always uses the game's 4 m
Closeleave the planner (Esc)
TipWithout Ignore placement rules the game's rules apply, so nothing can be placed floating in the air: blocks snap only to sockets in front of what you aim at (never through a wall or floor), and foundations need the terrain or a rock under them, not the top of a building or a deployable.
TipThe red messages: Out of reach — not on the ground (nothing within reach: the ghost floats), Not on the ground (aimed at something that isn't ground or a socket), No socket fits here, Socket occupied, Not in terrain (a foundation in the air), Too deep in terrain, Not enough space (…), Too close to …, Invalid angle.
TipYou can also build while walking around in play mode: hotbar slot 7, the Building Plan (see Play mode items).
TipBlocks are saved as standard building blocks and keep their grade and height.
TipNot modelled: stability, building privilege and wallpaper. The plain mouse wheel still changes the fly speed.

Building in the air

  1. Tick Ignore placement rules (snap only).
  2. Raise the ghost with PgUp (or type a height, or hold Shift and turn the mouse wheel). A yellow line with a disc drops from the ghost to the ground so you can see where it is.
  3. Left-click to place a foundation in the air, then keep building on its sockets as usual: walls, floors and more foundations snap to the floating blocks.
  4. For a level platform tick Absolute Y (flat), or press Last block's level after the first block.
The Building Planner window
A small base built with the Building Planner

Building skins and wallpaper

Tools▸Building Planner

Give building blocks the game's building skins — Frontier and Gingerbread (wood), Adobe, Brick, Brutalist, Jungle and Crypt (stone), Shipping Container in 16 colours (metal), Space Station (top tier) — and put wallpaper on walls, flooring on floors and foundations, and ceilings under floors and roofs. The editor draws them with the game's own models and textures. The RustBuildHelper server plugin puts them on the buildings on your server.

  1. Open Tools ▸ Building Planner and open its Skins & wallpaper section.
  2. Pick the Grade, then a Skin for it. Each grade remembers its own skin, like the game's skin choice. For the Shipping Container pick a Container colour (or Random).
  3. Pick wallpapers: Wall, soft side and Wall, hard side (the two faces of a wall), Flooring (top of floors and foundations) and Ceiling (under floors and roofs). Every list shows the game's wallpapers with their icons; Plain is the plain wallpaper, None removes it.
  4. Build: new blocks get your choices straight away.
  5. To change blocks you already built, tick Paint mode and click them, or select them and click Apply → selection. Choices left on leave as is don't change anything; Clear → selection gives the selected blocks their normal look again.
  6. One block at a time: select it and use the Skin, Container colour and wallpaper rows in the Inspector.
  7. A wallpaper that isn't in the lists (for example a workshop wallpaper): pick Custom ID… at the end of a wallpaper list and type its skin ID (numbers only). It shows as Custom <number> in every list from then on. The editor draws the plain wallpaper for it; on your server the plugin puts the real one on.
  8. Save the map. Every change is one undo step.
ControlWhat it does
Skinthe building skin for the chosen grade; a block keeps it when you change its grade, but only shows it at the grade the skin belongs to (as in the game)
Container colourthe Shipping Container's colour: Random lets the server pick one, like the game
Wall, soft / hard sidethe wallpaper on each face of walls, doorways, windows, half and low walls
Flooring / Ceilingthe top of floors and foundations / the underside of floors and roofs
Paint modeclicking a building block gives it the choices instead of building
Apply / Clear → selectionthe choices, or the normal look, on every selected building block
TipBuilding blocks keep the skin and wallpaper when you move, rotate or change their grade.
TipIn co-op everybody sees skin and wallpaper changes straight away; view-only players can't change them.
TipThe Shipping Container colour paints the outside of metal blocks that have the Shipping Container skin, close to the game's colour. Other grades never take it: change a block to stone and the colour is gone.
NoteBlocks with a skin, colour or wallpaper are saved as real building blocks that the RustBuildHelper plugin finishes on your server (grade, skin, wallpaper; it also keeps them standing and stops them decaying): without the plugin they stay Twigs. Blocks without them are saved as before and look the same on every server.
NoteSaving the map in another map editor removes the skins and wallpapers. Maps saved with an older Rust Build: open and save them again so the plugin can put the wallpaper on.
Skins &amp; wallpaper in the Building Planner: a stone wall painted Brick keeps its wallpaper; floors with flooring
Skins & wallpaper in the Building Planner: a stone wall painted Brick keeps its wallpaper; floors with flooring
Every building skin: the four grades, then Frontier, Gingerbread, Adobe, Brick, Brutalist, Crypt, Jungle, Shipping Container and Space Station

Boat Building Planner

Tools▸Boat Building Planner

Build player boats on the sea from the game's boat pieces, with Rust's socket rules. The boats are saved with the map, and the RustBuildHelper server plugin launches them as real, floating player boats when the server starts for the first time.

  1. Open Tools ▸ Boat Building Planner (it has no key by default; give it one in Preferences ▸ Keybindings) and fly to the sea.
  2. Pick Square Hull or Triangle Hull and aim at the water: the hull sits on the sea like on a Boat Building Station's netting and turns with your view. Left-click to start a new boat. The water must be deep enough for the hull, and a new boat can't overlap another one.
  3. Add more hulls, floors, walls, doorways, windows, low walls and stairs: they snap to the boat's sockets like in the game (green = allowed, red = blocked with the reason). Boat blocks are always wood, like in the game.
  4. Put the parts on: the Steering Wheel, Sail, Small Engine, Cannon, Small Ramp and Plank stand on a deck (the top of a hull or a floor), the Anchor goes on a hull's anchor socket and the Boat Door into a boat doorway. R turns a part 45°.
  5. X removes the boat part under the cursor; Ctrl+Z undoes every step. [ / ] change the piece, Esc leaves the planner.
  6. Save the map. Put the server plugin on your server and start it with the map: the boats are launched on the first start.
All 9 controls
ControlWhat it does
Blocks (wood) / Partsthe pieces this Rust version has; the list is read from the game files
Rotate (R)turn the piece: walls and stairs by the game's steps, parts 45°
Ignore placement rules (snap only)place pieces on sockets without the space and water checks
Boats on this mapevery boat with its blocks and parts; green ready when it has blocks, a steering wheel and a sail or engine, all joined together — what the game asks for before a boat can be finished. Hover for the reasons when it isn't
Selectselect the whole boat: move it with the gizmo, Del removes it
Go tofly the camera to the boat
Deletedelete the whole boat (one undo step)
Preview floatingthe boats bob gently on the sea; any edit ends the preview
Closeleave the planner (Esc)
TipClicking any part of a boat outside the planner selects the whole boat, so it moves and deletes as one.
TipThe boat's front is the way the steering wheel faces, like in the game.
TipBoats are kept in the map's Rust Build data, not as loose prefabs: a server without the plugin simply has no boats instead of half-built pieces in the sea.
TipThe game allows up to 180 blocks and 120 parts per boat; the list warns when a boat is over that.
TipNot modelled: stability, the ladder that hangs on the outside of a hull, fuel and cannon ammunition.
The Boat Building Planner window
Preview floating: the finished boat on the sea

Play Mode (walk the map)

Tools▸Play Mode (walk the map) Ctrl+P

Walk your map with Rust's real colliders: climb ladders, open doors, swim, explore monuments, in first or third person.

  1. Fly the camera above the spot where you want to start and press Ctrl+P. You start on the first floor straight below the camera with room to stand: a roof, the floor of a room, a rock or the terrain. Over deep water you start on the nearest shore (up to 150 m away), otherwise swimming at the surface.
  2. Walk with W A S D, Shift runs, Space jumps or swims up, C crouches. A jump lifts you about 1.2 m, enough to get onto low walls, crates and low foundations like in the game.
  3. Press V to switch to third person: the camera orbits behind your player model and moves in when a wall is in the way. V again goes back to first person.
  4. Press E at doors, hatches, vents and elevators to open them.
  5. N (or double Shift) toggles noclip flying; F switches the flashlight on or off; T adds an hour.
  6. Esc or Ctrl+P returns to the editor (doors, spawns and circuits reset).
TipThe top right shows Play Mode (x, y, z): your position, for notes and bug reports.
TipThe scientists of your NPC patrols walk their paths in play mode and fight you when you get too close or shoot them; your health then shows at the bottom left.
TipYour player model is the Rust player in the outfit you pick in Preferences ▸ Appearance (see Appearance). It is animated like in the game: idle, walking and running in every direction, sprinting, crouching, jumping, falling, swimming, climbing ladders and flying in noclip.
TipAll play mode keys can be changed in Preferences ▸ Keybindings (group Play Mode).
TipIn a co-op session everyone can walk the map together: players bump into each other and can hit each other (see Play mode together).
Third person ([[V]]): the animated player model
Third person (V): the animated player model
Play mode with the hotbar at the bottom

Play mode: hotbar, trees, ores, barrels and crates

Tools▸Play Mode (walk the map)

Use Rust's tools on the things a server would spawn: chop trees, mine ores, break barrels, open crates and pick up collectables.

  1. Generate the spawns first: View ▸ Overlays ▸ Server Spawns… ▸ Generate (see Server Spawns).
  2. Enter play mode. The hotbar at the bottom holds the hand, rock, hatchet, pickaxe, torch, flashlight, Building Plan, revolver and spray can: press 1–9 or turn the mouse wheel to pick one. The torch burns with the game's flame, embers, smoke and flickering light; the flashlight shines the game's beam.
  3. Aim at something: the text under the crosshair names it.
  4. Hold the hatchet and click LMB on a tree: after a few hits it falls and leaves a stump. The pickaxe mines ore nodes; the rock, hatchet, pickaxe and torch break barrels.
  5. Press E on a crate, trash pile or dropped loot bag: the loot window lists what is inside (rolled from the game's own loot tables, or from the custom loot profile you gave the crate); E again takes everything. E on mushrooms, hemp, stones and other collectables picks them up.
All 9 controls
ControlWhat it does
Hatchettrees and logs (about 10 hits per tree); also barrels
Pickaxestone, metal and sulfur ore nodes (about 10 hits); also barrels
Rockeverything, slowly
Torchlight for caves and night, with the game's flame; it can hit too
Flashlightthe game's beam (about 35 m) while you hold it; F switches it on or off with any item in hand
Building Plan (7)build from the player's view (below)
Revolver (8)shoots up to 300 m: hunting, and fights in co-op; 8 shots, R reloads
Spray Can (9)LMB sprays on what you look at, R picks the spray; when you leave play mode you keep or remove the sprays (see Spray decals)
Handuse and pick up only
TipDoor barricades and the blocked passages in monuments (Military Tunnel, Missile Silo) can be broken too: aim at one, the text shows its health, then hit it with a rock, hatchet, pickaxe or torch until it is gone. Blocked passages fall apart in stages like in the game. They are back when you leave play mode.
TipE opens only real doors, hatches and gates; walls and garage panels that only look like doors stay shut.
TipBarrels and crates you placed yourself work too, not only the Server Spawns.
TipFelled trees, mined ores and looted crates are only for testing: they come back when you leave play mode or regenerate the spawns and are not saved in the map (blocks from the Building Plan are).
TipIn a co-op session they are shared with everyone and come back after the host's respawn time instead (see Simulations and Server Spawns together).

Building Plan (slot 7)

  1. Press 7: you hold the Building Plan and a ghost block (a foundation to start) shows where you look, green or red with the reason, with the same rules as the Building Planner.
  2. Aim within reach (about 4 m, like in the game) and click LMB to build. Look further away or up and the ghost floats red in front of you at the end of your reach.
  3. R rotates (Shift+R the other way). RMB or [ / ] change the block (Shift+RMB goes back). G changes the grade (Twigs, Wood, Stone, Metal, TopTier).
  4. A new block is solid at once: walk on the foundation or up the stairs you just built.

Blocks you build this way are real map changes, like with the Building Planner: they stay on the map when you leave play mode, and each block is one undo step.

Building Plan (slot 7) in the hotbar
Chopping a tree with the hatchet
Looting a food crate: [[E]] takes everything
Looting a food crate: E takes everything

Play mode: test IO circuits and puzzles

Tools▸Play Mode (walk the map)

Electricity works in play mode with the game's rules, both for the wiring you made and for the circuits inside monuments: flip switches, press buttons, swipe cards and watch lights and doors react.

  1. Wire your circuit in the editor (see IO entities and wiring), or walk to a monument puzzle.
  2. Enter play mode and aim at an IO entity: the text under the crosshair shows its name, whether it has power and what E does.
  3. Press E to do what the prompt says, like in the game: E: turn on a switch, E: press button, E: start timer, E: swipe card at a card reader (the right colour is used automatically), E: insert fuse / E: remove fuse at a fuse box, or turn a generator on.
  4. Hold E on a wheel switch to turn it: the blast door it is linked to opens bit by bit. Let go and the door slowly closes again and turns the wheel back, as in the game.
  5. Watch the result: lights switch on (sirens and strobes flash), door controllers open their doors, timers count down, counters count. A button gives power for its press time, then lets go.
  6. Press O to show every wire: green carries power, red has none. Press O again to hide them.
  7. Pressure pads and laser detectors fire when you walk onto or through them.
ControlWhat it does
Powergenerators, solar panels, wind turbines, batteries, fuse boxes
Logicswitches, buttons, timers, AND / OR / XOR, splitters, branches, blockers, combiners, counters, memory cells, RF broadcasters and receivers
Sensorspressure pads, laser detectors, HBHF sensors (by distance), card readers
Resultslights of every kind, door controllers and the doors they drive
Wheel switchesturn the wheel to open the sliding blast door it is wired to (monument blast doors too); the door rises 3 m in about 8 seconds and closes in 3
TipMonument puzzles work end to end: power the fuse box, swipe the card and the security door opens.
TipTest a puzzle before you try it on a server: for example generator → fuse box → switch and a button into an AND switch → door controller on a door. Nothing opens until the fuse is in, the switch is on and the button is pressed.
TipTo wire a wheel switch to a blast door, place interactive_wheel and sliding_blast_door from the Prefab Library and connect the wheel's Kinetic Out to the door.
TipIndustrial conveyors are not simulated. Everything resets when you leave play mode: doors close, fuses and switches go back, nothing is saved in the map.
Third person in play mode: a switch flipped on, its wires to the lights

Play mode: computer stations and CCTV cameras

Tools▸Play Mode (walk the map)

Sit at a monument's computer station and look through its CCTV cameras, like in the game.

  1. Walk up to a computer station in a monument (aim at it: the text under the crosshair says Computer Station [E use]).
  2. Press E: the view switches to the first camera, with its name and number at the top left (for example LOCKERROOM 1 / 9).
  3. Press ← / → to switch between the cameras, nearest first.
  4. Press E or Esc to get up again.
TipA station shows the cameras of its own monument (or the ones linked to it); a station with no camera nearby says so.
A computer station showing a CCTV camera in an underwater lab

Tools ▸ Terrain

Automatic texturing, custom topology layers and the monuments' own terrain stamps.

Auto-Texture Terrain and Auto-Texture Brush

Tools▸Terrain▸Auto-Texture Terrain… / Auto-Texture Brush F20

Paint the ground from height and slope: snow on peaks, rock on cliffs, sand at the shore, grass and forest on gentle land.

  1. Open Auto-Texture Terrain….
  2. Set the Snow line and Snow ramp (metres).
  3. Set Radius around view (0 = whole map) and leave Only where untextured on to keep your own paint.
  4. Click Apply; then Smooth to soften the borders (radius and passes).
  5. Or toggle Brush (F20) and drag to apply it only where you paint.
Auto-Texture Terrain

Custom Topology Layers

Tools▸Terrain▸Custom Topology Layers…

Your own extra topology layers, saved inside the map (for plugins that read them).

  1. Type a name and press + Add (or just start in the Terrain Painter: naming the first flag creates a layer called Custom).
  2. Choose the layer in the list and, if you like, rename its 31 flags.
  3. In the Terrain Painter choose Layer = Custom Topology and pick a flag. An unused flag asks for a name and a colour first.
  4. Paint: the flag shows on the terrain in its colour.
  5. - Delete removes the active layer.
TipFlag names are saved in the map. Colours are saved in the map too, and Rust Build remembers your names and colours, so a new layer starts with them.
Custom Topology Layers…

Fit Terrain to Selected Prefab

Tools▸Terrain▸Fit Terrain to Selected Prefab

Move the ground to a monument's terrain anchors so nothing floats or sinks (the monument stays put).

  1. Select a monument.
  2. Run the item: the terrain under the anchor grid is set to the monument's heights and blended out over 20 m.
  3. Check with Find Buried / Floating Prefabs.
TipOnly prefabs with terrain anchors (monuments) can be fitted; the status line says so otherwise.
Tools &#9656; Terrain &#9656; Fit Terrain to Selected Prefab: the ground around a selected monument is reshaped to match it
Tools ▸ Terrain ▸ Fit Terrain to Selected Prefab: the ground around a selected monument is reshaped to match it

Apply Prefab Terrain, on placement, and the ghost

Tools▸Terrain▸Apply Prefab Terrain (selected) · Apply Prefab Terrain (all prefabs)

Run a monument's own Rust terrain stamp (height, textures, biome, holes, topology, water), exactly as the game does when it spawns it.

  1. Select a monument and choose Apply Prefab Terrain (selected) ▸ All layers (or a single layer).
  2. Apply Prefab Terrain (all prefabs) does every prefab on the map (prefabs without a stamp are skipped).
  3. Tick Apply Prefab Terrain on Placement to stamp monuments automatically when you place them from the library.
  4. Prefab Terrain Ghost shows what a selected or placed monument would stamp: orange = raise, blue = lower.
TipThe same buttons are in the inspector (Prefab terrain row). Each apply is one undo step.
Prefab terrain ghost: orange raises, blue lowers

Tools ▸ Prefabs

Replace, clean up, break apart and create prefabs.

Replace Prefabs

Tools▸Prefabs▸Replace Prefabs… / Replace All of Type with Clipboard

Swap prefabs for another one, keeping their position, rotation and scale (with optional offsets).

  1. Arm the new prefab in the Prefab Library.
  2. Select the prefabs to replace.
  3. Open Replace Prefabs…, optionally type position / rotation / scale offsets.
  4. Click Replace Selected (only the selection) or Replace All (every instance of the selected types).
  5. Or copy a prefab (Ctrl+C), select one of the type to replace and use Replace All of Type with Clipboard.
Replace Prefabs…
Replace Prefabs…

Remove Duplicates

Tools▸Prefabs▸Remove Duplicates…

Find prefabs placed twice at exactly the same spot and remove the extras.

  1. Click Scan to count them.
  2. Click Remove (keeps the first of each, one undo step).
Remove Duplicates…
Remove Duplicates…

Break Prefab into Parts

Tools▸Prefabs▸Break Prefab into Parts

Replace a monument (or a custom prefab, PNG-cube group or other group) with the separate prefabs it is built from, so you can edit it piece by piece.

  1. Select the prefab.
  2. Choose Break Prefab into Parts (or Break prefab in the inspector). Big monuments show a progress window (Esc cancels).
  3. Parts that have no name match are matched by their mesh. If a mesh has no exact match and ask is on, a window shows the part and the candidates: Use selected, Skip, Skip all remaining or Cancel break.
  4. The parts arrive as a group (one undo step). Custom prefabs break back into their members.
ControlWhat it does
deep (inspector)also add prefabs nested inside matched parts (can duplicate geometry)
meshes (inspector)match unnamed parts by their real mesh
ask (inspector)ask when a mesh has no exact match; Remember this choice keeps the answer for the session
Break: choosing a match for a part without an exact mesh match

Generate Text Prefab

Tools▸Prefabs▸Generate Text Prefab…

Write words with Rust's sign letters and numbers (a–z, 0–9), the same way other map editors do.

  1. Point the camera where the text should go: it is placed in the air 5 m in front of the camera, centred on the view and facing you.
  2. Open Generate Text Prefab… (the Create Text window) and type the text: letters, digits and spaces. Enter starts a new line.
  3. Optionally set Extra letter spacing (0 = the sign letters' own spacing).
  4. Click Generate or press Ctrl+Enter. The letters are placed left to right, lines below each other, all selected, as one undo step.
  5. Move, rotate or drop them with the gizmo and the Transform tools while they are still selected; Ctrl+G groups them.
TipThe text always faces the camera and stands upright, so it reads correctly from where you stood.
TipUpper and lower case give the same letters; characters without a sign letter become spaces (the window says how many).
The Create Text window with the text typed in
The generated text, 5 m in front of the camera

Create Prefabs from PNG

Tools▸Prefabs▸Create Prefabs from PNG…

Turn a picture into coloured modding cubes: logos, signs, pixel art.

  1. Click Select PNG… (png, jpg, webp, bmp).
  2. Set Width / Height in pixels (aspect kept), Smoothing and Likeness (colour tolerance).
  3. Untick colours you don't want; set the Scale (metres per pixel, cube thickness).
  4. Leave Merge into fewer, bigger cubes ticked: each colour is covered with as few big cubes as possible. Turned cubes for slanted edges turns cubes along slopes and diagonal lines instead of building them from many small steps; Edge tolerance sets how far a turned cube may reach over the next colour (higher = fewer cubes, rougher edges).
  5. Watch the preview (it shows the cubes themselves) and the count before → after, then Place at screen centre, Save as custom prefab, or Save + place with mouse.
TipUp to 20,000 cubes. Anything that stops you placing (too many cubes, fewer than 2 colours, no image) shows in red above the buttons, with what to change.
TipTurned cubes need the same Scale X and Z, and work on images up to 300 × 300 pixels.
Create Prefabs from PNG

Wire / Stretch

Tools▸Prefabs▸Wire / Stretch F19

A wire prefab stretched between two points (cables, ropes).

  1. Turn the tool on.
  2. Click point A (a yellow marker appears), then point B. One undo step.
Tools &#9656; Prefabs &#9656; Wire / Stretch with a monument selected
Tools ▸ Prefabs ▸ Wire / Stretch with a monument selected

Create Custom Prefab (copy an area)

Tools▸Prefabs▸Create Custom Prefab…

Copy a whole area (prefabs and terrain: height, textures, biome, holes, topology, roads) into a custom prefab and place it again anywhere. Compatible with other map editors' custom prefabs.

  1. Open Create Custom Prefab… (also in the Prefab Library).
  2. Pick the shape: Box (drag a rectangle), Polygon (click the corners; click the first point, double-click or press Enter to close, Backspace removes a point) or Lasso (hold the left mouse button and draw freehand; single clicks add straight corners). Press Draw region and draw on the map; the outline stays on the terrain. Esc cancels.
  3. The lasso stays open when you let go of the mouse: draw it in several strokes and, in between, fly the camera (right mouse button, W A S D, mouse wheel) or drag the selected prefabs with the gizmo. Double-click (or press Enter) to close it; Backspace removes the last point.
  4. Type a Name (folder/name saves into a sub-folder) and tick what to copy: Prefabs, Height, Splat, Biome, Alpha, Topology, Roads / paths.
  5. Save (or Save & place to arm it straight away). It appears in the Prefab Library under Custom.
  6. When you place it, the Place Custom Prefab window opens: set the Rotation, choose what to apply and how to blend the terrain, then left-click. Prefabs, terrain and paths come back as one undo step.
ControlWhat it does
Rotation °turn the copy (R / Shift+R: 15° steps)
Apply: Prefabs, Height, Splat, Biome, Alpha, Topology, Roads / pathsuntick a part to leave it out
Height: Replace / Raise only / Lower onlycopy the heights, or only where the copy is higher / lower than the ground
Topology: Replace / Addreplace the ground's topology or add the copied bits to it
Edge falloff (m)blend the copy into the ground over this width inside the region's edge (0 = hard edge)
Snap to terrain grid (exact copy)places on the terrain grid so every height, texture and topology cell lands exactly as captured
Height offsetraise (+) or lower (−) the prefabs from the ground at the cursor, for custom prefabs whose anchor point is above or below their base; the ghost shows it, it is remembered for each custom prefab, and 0 clears it. Terrain copied with the prefab is not moved
TipWith the snap on, no rotation and no edge falloff the copy is identical to the area you captured.
TipCustom prefabs made in other map editors keep their terrain in image files next to the .prefab (.heights, .splat0, .splat1, .biome, .alpha, .topology). Rust Build reads and writes those too, so copy them along with the .prefab.
Create Custom Prefab…

Custom prefabs (save the selection)

Tools▸Prefabs▸Save Selection as Custom Prefab… Insert

Save the selected prefabs (with their building block grades and IO wiring) as a reusable .prefab that other map editors can read too. To copy terrain as well, use Create Custom Prefab.

  1. Select the prefabs.
  2. Press Insert (or From Selection… in the Prefab Library) and type a name. Tick Group them together to make the selected prefabs one group as well (the choice is remembered). The file goes to your custom prefab folder and is armed.
  3. Left-click to place copies; R / Shift+R rotate 15°; Insert or Esc stops. If the copies float or sink because the custom prefab's anchor point is not at its base, set Height offset in the Place Custom Prefab window (remembered for that custom prefab). Each copy is one group: click any part to select it all, double-click a part to edit it alone.
  4. Find them later in the Prefab Library under Custom.
TipEvery prefab keeps its exact position, rotation and scale, including prefabs turned on their side and mirrored (negative scale) cubes. In custom prefabs saved with version 0.4 or older, prefabs standing on their side (turned 90°) or mirrored can be turned the wrong way: select the original prefabs on the map and save the custom prefab again.
TipSee Groups for working with groups.
Tools &#9656; Prefabs &#9656; Save Selection as Custom Prefab…
Tools ▸ Prefabs ▸ Save Selection as Custom Prefab…

Online Custom Prefabs (share and download)

Tools▸Prefabs▸Online Custom Prefabs…

Download custom prefabs other Rust Build users have shared, and publish your own on the Rust Build website. Also Online Prefabs… at the bottom of the Prefab Library, and the custom prefabs page on this website.

  1. Browse: type in the search box (title, description, tags, author) and press Enter, pick a tag, and sort by Newest, Most downloaded or Top rated. Click a picture to see its details: description, tags, what it contains, rating and downloads (hover the contents line for the list of prefabs it uses).
  2. Click Download to save it in your custom prefab folder (sub-folder Online); it appears in the Prefab Library under Custom. Download & place (or a double-click on the picture) arms it straight away: left-click on the map places it, like any custom prefab.
  3. If the custom prefab uses prefabs your game files don't have (made with a newer or modded game), a message lists them; they are left out when you place it.
  4. Vote: click 1 to 5 stars under the details; click your star again to remove your vote. You can change your vote at any time.
  5. Publish: open the Publish tab (or right-click a custom prefab in the Prefab Library ▸ Publish Online…), choose the custom prefab, give it a title, a description, up to 8 tags and, if you like, an author name. The picture is rendered from the custom prefab (Render the picture again if it isn't right yet). Tick I made this custom prefab (or may share it), read What will be sent, click Publish… and confirm.
  6. Every upload is checked by the site owner first: My uploads shows Waiting for approval until then, Listed once it is online, or Not approved with the reason.
  7. My uploads ▸ Edit… changes the title, description, tags, author, file or picture; the change waits for approval again while the current version stays listed. Delete… removes it from the website (your own file stays).
ControlWhat it does
Report…tell the site owner about a broken, offensive, stolen or spam custom prefab; after several reports it is hidden until the site owner has looked at it
Open on the websitethe custom prefab's page on this website
TipOnly the file, its picture, the title, description, tags and author name are sent; there are no accounts. The key that lets you edit or delete your uploads is kept on your PC with Rust Build's settings, so publish from the PC you want to manage them from.
TipCustom prefabs from other map editors with terrain image files next to them are packed into one file when you publish them. The website takes files up to 5 MB.
TipWithout an internet connection the window says it can't reach the online library; everything else keeps working.
Online Custom Prefabs: shared custom prefabs with their pictures, ratings and details

Find Buried / Floating Prefabs

Tools▸Prefabs▸Find Buried / Floating Prefabs…

List monuments, tunnel entrances and power lines whose anchors are more than 1 m off the ground.

  1. Open the window; click a row to fly there.
  2. Click Fit terrain to selected, then Rescan.
Find Buried / Floating Prefabs…

Ground Floating Rocks

Tools▸Prefabs▸Ground Floating Rocks

Lower rocks and cliffs that hang in the air onto the ground, or remove them.

  1. Run the item. Every rock and cliff on the map is checked by its real shape: the underside of a solid rock, or the bottom edge of a rock that is open underneath.
  2. A rock floating or hanging over the ground is lowered onto it (up to 2 m); one that would need more, or would sink out of sight, is removed. A message says how many; the whole change is one undo step.
TipOn a map you made in this session (New Procedural Map, Rerun Generation Steps) only rocks over ground that changed after they were placed are touched, so rocks the generator set on a slope on purpose stay as they are. On other maps only rocks clearly in the air are changed; the game's coastal cliffs standing in the sea are left alone.
TipNew Procedural Map and Rerun Generation Steps do this by themselves as their last step (Ground floating rocks).

Prefabs Near Camera

Tools▸Prefabs▸Prefabs Near Camera…

Every prefab within a distance of the camera, nearest first (also the toolbar Nearby button).

  1. Set Within (metres) and an optional name filter.
  2. Tick Live to update while you fly; click a row to select and focus it.
Prefabs Near Camera
Prefabs Near Camera

Prefab Test Grid

Tools▸Prefabs▸Prefab Test Grid (library search)…

Place every library prefab that matches the library search in a grid, to compare them side by side.

  1. Type a search in the Prefab Library (e.g. barrel).
  2. Run the item and confirm: the prefabs are laid out in rows from the map corner.
  3. A progress window shows how far it is; the camera keeps flying, and Cancel (or Esc) removes what was placed so far.
  4. When it is done a window tells how many were placed. The whole grid is one undo step.
TipPrefabs that have nothing to draw (sounds, triggers, spawn points) show as small grey markers with their name.
Prefab Test Grid: every prefab laid out in rows on a flat map (here the rocks, cliffs and buildings of a "rock" search)

Tools ▸ Entities

NPC spawners, vehicle spawns, IO (electricity and industrial), the vending / loot data maps can store, and Rust Build's own entity data (sign images, skins, scale) with its server plugin.

Entities Overview

Tools▸Entities▸Entities Overview (NPC / vehicle / IO)…

Every NPC spawner, vehicle spawn and IO entity in one list.

  1. Filter by type or by name / coordinates.
  2. Click a row to fly there and open its editor.
Tools &#9656; Entities &#9656; Entities Overview…
Tools ▸ Entities ▸ Entities Overview…

NPC spawners, vehicles and animals

Tools▸Entities▸NPC Spawners… / Vehicles… / Animals… Z / Q

Place NPC spawners (scientists, bandits, murderers…), vehicle spawns (minicopter, boats, cars, bikes, workcarts, horses…) and respawning animals (bears, polar bears, wolves, boars, deer, chickens, panthers, tigers, crocodiles, snakes). Vehicles and animals show their real model.

  1. Press Z or Q: the NPC Spawners & Vehicles window opens on its NPC or vehicle tab.
  2. NPC tab: set the NPC Type and Respawn Min / Max (seconds) for new spawners, click Place NPC Spawner (click terrain) and click the ground. The spawner is a red sphere with its type written above it.
  3. Vehicles tab: type in Search…, click a vehicle (its model follows the mouse) and click the ground to place it.
  4. Animals tab (Tools ▸ Entities ▸ Animals…): set Count and Radius, click an animal and click the ground. With a count above 1 the animals are scattered around the click as one undo step. A green label above each one says what it is.
  5. The lower list of the Animals tab has the game's own animal spawners: they work on every server without a plugin, with the game's fixed numbers and times.
  6. Click a placed spawner or vehicle to select it. Move and rotate it with the gizmo (vehicles turn on every axis), Ctrl+D duplicates, Del deletes, Ctrl+Z undoes.
  7. With an NPC spawner selected, the NPC panel edits its type and respawn times.
TipNPC spawners and vehicles can also be placed from the Prefab Library (search scientistspawn or a vehicle name). They are saved in the map's own NPC and vehicle lists, like other map editors do, not as world prefabs.
TipBox selection picks them up too; copy / paste skips them for now.
TipOn the server the animals appear when it starts and come back 5 minutes after they die, once no player is within 100 m. That needs the RustBuildHelper server plugin (or another server extension that reads these maps; wolves, panthers, tigers, crocodiles and snakes come back with the RustBuildHelper plugin only). The horse is a vehicle spawn and comes back like the other vehicles.
The Vehicles tab
The Vehicles tab
NPC Spawners tab: defaults for new spawners
The Animals tab
The Animals tab
Four wolves scattered in a 15 m radius, with their labels

IO entities and wiring

Tools▸Entities▸Place / Wire IO Entities E

Place and wire switches, lights, timers, generators, doors and industrial conveyors; the wiring is saved in the map.

  1. To place IO prefabs, press E: IO place mode turns on, the IO window opens with place mode (E) ticked and the status line says what a click places.
  2. Choose the type in Place (- steps through the 27 types) and click the ground. Press E again to stop. Arming any prefab in the Prefab Library also ends IO place mode, so a library prefab is never placed as an IO type.
  3. Select an IO prefab: green handles are inputs, orange handles outputs.
  4. Click an orange output (or Connect Output To…): the wire follows the mouse. Click the target prefab or one of its inputs; if several inputs are free, pick one from the menu.
  5. Right-click or Esc cancels. Click a wired end to re-route it, or click empty ground to disconnect.
  6. Change settings (timer length, frequency, branch amount, counter target…) in the IO window and press Set.
  7. Door controllers: while you place or move one, green text at the top says which door it will link to and a green box marks that door; red text says no door is within 1 m. The game links a door controller to the nearest door within 1 m when the server starts. The IO window shows the same as Is Valid Placement True / False.
  8. Buttons give power for their Timer Length: new buttons get the game's 5 seconds, enough for a door controller's door to open and let a player through.
ControlWhat it does
Place + place mode (E)the IO type a click places: 22 electric and 5 industrial types
Visible wirealso lay a real wire prefab along new connections (IO wires are invisible in game)
Disconnect allremove all input or output wires
Remove IOremove the record and its wires (the prefab stays)
TipItems that hang or mount on a wall (ceiling lights, chandeliers, wall switches, timers…) are lifted when you place them on the ground or a floor, so the whole item and its wire plug stay above the surface instead of sinking in. Placing them on a ceiling or wall works as before.
TipTest the circuit in play mode: flip the switches and watch the lights and doors react, or step through it with the Circuit Simulator (Simulate…).
TipWires are drawn as thin cables (about 1.6 cm, never thinner than 2 pixels) that sag a little like in the game, coloured by type. Where a visible wire prefab is laid, only that wire is shown.
TipElectric and industrial slots can't be connected to each other.
TipDuplicate and copy/paste keep the wires between the copies.
A switch wired to a light: the thin sagging cable
IO place mode (E): the IO window with place mode ticked
A ceiling light placed on the ground: the lamp sits on the grass and its wire plug is above it

Circuit Simulator

Tools▸Entities▸Circuit Simulator…

Step through an IO circuit one connection at a time to find where it breaks: follow a button to everything it triggers, or follow a light back to where its power comes from, on the same rules the server uses. Works in the editor (nothing on the map is saved) and in play mode, monument IO included.

  1. Select an IO entity and open Tools ▸ Entities ▸ Circuit Simulator…, or press Simulate… in the IO window. In play mode it starts at the entity under the crosshair. Start at… lists sources, switches and buttons, nearest first.
  2. Choose Forward ▸ to follow the outputs to what they power, or ◂ Backward to follow the inputs back to the power source (a light back to a splitter, the switch before it and the battery).
  3. The panel shows the entity, its state, the power arriving, what it uses and what it passes on, what feeds it, and in red why a path stops here (the switch is OFF, not enough power, an AND gate missing an input, no fuse, no broadcaster on the frequency…).
  4. Click a connection under Next connection to step to it, or press Next ▸. At a splitter, branch or gate you choose the path; ⤺ Back to (fork) returns there in one go, with the paths already tried ticked, and Next Untried takes the next one.
  5. Use presses the button, flips the switch, swipes the card, inserts or removes the fuse or starts the generator. The circuit settles, everything that changed is listed (click one to start there) and lights light, doors open and the effects and sounds of what is powered play. Wait 1 s / 10 s lets timers, buttons and batteries run on.
  6. Click a step in Path to go back to it, or Step Back to undo one step. Close the window to stop: doors go back and nothing on the map changes.
ControlWhat it does
Forward / Backwardfollow outputs to what they power, or inputs back to the source
Next connectionevery wire from here with its power; ticked = already tried
Back to Forkback to the last splitter / branch / gate
Use / Waitthe player's action on this entity, or time passing
Move the camera to each stepthe editor camera flies to every step
TipPower runs out along the way like in the game: each light uses its share, splitters divide what is left, and the summary says how much the sources supply, how much is used now and how much is left or short. Test generators are unlimited; solar panels follow the daylight, batteries their output limit and charge.
TipIn the world the walked path is drawn yellow (red where no power arrives) and the next connections cyan, also through walls.
TipRF broadcasters and receivers on the same frequency are followed like a wire.
TipThe editor simulates a copy: switches, fuses and doors go back when the window closes and the map is not changed.
Circuit Simulator…
Circuit Simulator…

Key locks and code locks on doors

Tools▸Entities▸Place / Wire IO Entities

Put the game's key lock or code lock on a door, like a door controller: the editor tells you which door it locks. A code lock gets a 4-digit code players have to enter; a key lock keeps its door locked for good, so only a door controller opens it. Both work in play mode, and the RustBuildHelper server plugin fits them to their doors on your server.

  1. Place a door (for example door.hinged.metal) from the Prefab Library.
  2. Click Place Code Lock or Place Key Lock in the IO window (press E to open it; Door locks row), or search the Prefab Library for lock.code or lock.key.
  3. Move the mouse to the foot of the door: the lock jumps onto the door's lock spot. Green text at the top says which door it locks and a green box marks that door; red text says why it won't lock one. Click to place it.
  4. Click a code lock: a keypad opens like the game's. Type the 4 digits with its buttons (or the keyboard while the mouse is over the keypad); the 4th digit sets the code. Random code picks one, No code removes it. The Inspector shows the code and has Code… to open the keypad again.
  5. Moved a lock away from its door? Select it and click Snap to door in the Inspector.
  6. Many doors and boxes? Select them and click Add locks… in the Inspector, or use Tools ▸ Entities ▸ Add Locks Automatically… (also in the IO window) for the selection or the whole map: choose code lock or key lock and a random code for each lock, one code for all, or no code. Every door and storage box that can take a lock and has none gets one on its lock spot; a message says how many were added and skipped. One undo step.
  7. Save the map. The code is saved inside the map; every change is one undo step.
ControlWhat it does
Which doora lock locks the nearest door within 1 m of it that can take a lock (measured to the door's lock spot); one lock per door, the closest lock wins
Code lockplayers need the code to open the door. A code lock without a code stays unlocked, as in the game
Key lockalways locked: nobody opens the door by hand. Wire a door controller to the door to open it with power
Boxesstorage boxes the game lets you lock (large and small wooden boxes, their skins, and other lockable containers) take code and key locks too, on their lock spot
Play modeE on a door with a code lock opens the keypad: the right code unlocks it until you leave play mode, a wrong one is denied. A door with a key lock says it is locked; its door controller still opens it. The lock swings with the door
TipNew code locks have no code until you set one, so the check text says no code set: unlocked: click the lock and type a code.
TipIn co-op everybody sees code changes straight away; view-only players can't change them.
NoteCodes are part of the Rust Build data in the map: the game ignores them without the RustBuildHelper plugin, and saving the map in another map editor removes them.
Placing a code lock on a door, setting the code, then opening the door with it in play mode
A code lock on a metal door: the green text names the door it locks, the keypad sets the code
Play mode: the door is locked until you enter the code
Add locks automatically…: where, which lock and which code

Teleport doors

Link a door to another door: opening it takes the player to the other one, in front of it and facing away from it. Buttons work too. Links can go both ways or one way. Try it in play mode; the RustBuildHelper server plugin does the same on your server.

  1. Place two doors (for example door.hinged.industrial_a_a) or a door and a button (pressbutton) from the Prefab Library.
  2. Select the first one. The Inspector shows a Teleport section.
  3. Click Link to… and click the other door in the 3D view (Esc cancels), or choose it from Pick from list (nearest first).
  4. Lines with arrows now join the two doors and green markers show where the player arrives. Tick Show all links to see every link on the map.
  5. Untick Two-way if only this door should teleport. The other door then works as a normal door.
  6. Set where the player arrives: In front (metres from the door), Up (height) and Other side. The selected door sets the arrival point at the door it leads to.
  7. Save the map. Every change is one undo step.
ControlWhat it does
Unlinkremove the selected door's link
Go to other endselect the linked door and fly to it
Loading textshown while the player is moved (on the server: a message when the player arrives)
Sound effect / Server commandserver only: an effect played where the player leaves, and a console command run when they arrive ($player = name, $steamid = Steam ID)
Play modeopen a linked door with E (or press a linked button): the screen fades, you arrive at the other door and the door closes behind you
TipLinks stay with the doors: move a door and its arrival point moves with it. Delete a door and its link is gone until you undo.
TipA door can lead to one place only, but several one-way doors can lead to the same door.
TipA locked door (key or code lock) teleports only once it is opened.
TipIn co-op everybody sees the links straight away.
NoteLinks are part of the Rust Build data in the map: the game ignores them without the RustBuildHelper plugin, and saving the map in another map editor removes them.
Linking two doors with Link to…, then using the door in play mode: a fade and you arrive at the other door
A linked door: the Teleport section in the Inspector and the green arrival markers in front of the door
Show all links: a two-way link (blue) and a one-way link from a button (orange)

Dig loot areas (metal detector)

Tools▸Entities▸Dig Loot Areas…

Paint areas on the map and give each one its own loot table: when a player digs up a metal detector find inside an area, they get an item from that area's table instead of the game's normal finds. The RustBuildHelper server plugin does it on your server.

  1. Open Tools ▸ Entities ▸ Dig Loot Areas… and click New Area. The areas show on the terrain in their colours while the window is open.
  2. Pick a tool: Paint and drag on the terrain (hold Shift to erase), Erase, or Rectangle / Circle and drag to fill a shape (Esc cancels). Brush radius sets the brush size; Clear Area erases the whole area.
  3. Give the area a Name and Colour.
  4. Click items in the Items list on the right (search by name) to add them to the Loot table. Set Min / Max (the amount), Weight (how often it is picked), and if you like a Skin ID and a custom Name (Details… adds attachments, ammo, water and more, see Item details). The Chance column shows how often each item comes up.
  5. Set Chance of nothing for digs that find nothing at all, and Extra dig spots to have more places to dig in this area (per km²).
  6. Add more areas the same way. Where they overlap, the one higher in the list wins: use Move Up / Move Down.
  7. Save the map. Every change is one undo step.
ControlWhat it does
Enabledswitch an area off without deleting it: the game's own finds are used there
Weightan item with weight 30 comes up three times as often as one with weight 10; 0 = never
No itemsan area with an empty loot table keeps the game's own finds; only its chance of nothing applies
Show on terrainshow or hide the coloured areas on the terrain
TipThe status line under the window names the area under the mouse.
TipIn co-op everybody sees the areas and loot tables straight away.
TipOn the server rustbuild.dig test <x> <z> shows which area a spot belongs to and what 1000 digs there would give.
NoteThe areas are part of the Rust Build data in the map: the game ignores them without the RustBuildHelper plugin, and saving the map in another map editor removes them.
The Dig Loot Areas window
The loot table with weights and chances, and the item list to add from

Spray decals

Tools▸Entities▸Spray Decals…

Spray the game's spray can decals on walls, rocks, roads and the ground: the game's own sprays, your own pictures from the Skin Editor, or any spray from the Steam Workshop by its ID. Each spray is the game's spray entity in the map with its skin, so players see it on your server.

  1. Open Tools ▸ Entities ▸ Spray Decals….
  2. Click a spray in the list (the game's sprays first, then your own pictures), or paste any Steam Workshop spray's ID or link into Skin ID: the Workshop icon and name show next to it, and the spray shows its real picture at full size.
  3. Set the Size (the game sprays 1 m) and Turn, and switch on Spray on Click. A see-through spray follows the mouse on whatever surface is under it.
  4. Click to spray. The picture's top points the way you look, like in the game, and it is projected onto the surface like the game's spray: it follows a rock's bend and wraps round a wall's edge onto the floor. [ / ] turn it, - / = change the size, Esc stops.
  5. Every spray is one undo step. Select sprays and click Apply to Selected to give them another spray; move, turn, copy or delete them like any prefab.
TipIn play mode the hotbar has a Spray Can (9): LMB sprays on what you look at (within 4.5 m), R picks the spray: one of the list, or type or paste any skin ID or Workshop link and press Enter (a preview shows the picture first), or click one of your saved or recent sprays. When you leave play mode you choose whether to keep the sprays (one undo step) or remove them.
TipWorkshop sprays show the picture the game draws: when Rust has already downloaded the spray it is the game's own texture, otherwise the item's full-size Workshop picture. Pictures are kept on your PC, so they also show offline. While a picture loads the spray shows LOADING; offline (or for an ID that is not a Rust Workshop item) it shows NO IMAGE with the ID, and the spray still keeps its skin ID in the map.
TipEvery skin ID field has ☆ and ▾ next to it: ☆ saves the ID in your Saved list (with a name if you like), ▾ opens your Saved IDs and the Recent ones (the last 12 you used), each with its Workshop picture and name; click one to use it. The lists are the same in every window and for every map: sprays, wallpapers and item skins are kept apart, and item skins can show only the ones made for that item.
TipIn co-op everybody sees the sprays and your pictures straight away.
TipA picture without a Workshop ID shows only in Rust Build; in the game such a spray shows the game's default spray. Publish it from the Skin Editor first.
NoteThe game washes sprays off in the rain and lets them fade after a few hours. With the RustBuildHelper plugin on your server the map's sprays stay and keep their size.
The Spray Decals window
The Spray Can in play mode (slot 9)

Skin Editor: your own sprays, wallpapers and icons

Tools▸Skin Editor (sprays, wallpapers, icons)…

Make your own spray, wallpaper or item icon from a picture, see how it looks in the game, keep it in the map and, on Windows, publish it to the Steam Workshop so the game shows it on your server.

  1. Open Tools ▸ Skin Editor and click New from Picture…: a PNG, JPG, WebP, BMP or GIF (its first frame).
  2. Choose what it is in Use as: Spray decal (512 × 512), Wallpaper for walls, floors or ceilings (1024 × 1024) or Item icon (512 × 512).
  3. Frame it on the canvas: drag to move, mouse wheel or Zoom to scale, Rotate, Mirror, and Fill (crop to the square) or Fit (whole picture with see-through borders). In the game shows it as a spray on a wall, as wallpaper on a wall, floor or ceiling, or in an inventory slot. Click Apply Changes to keep it.
  4. Give it a Name. Pictures are saved in the map file (one undo step per change); Save PNG… saves a copy.
  5. To show it in the game it needs a Steam Workshop item: type a Description, pick the Visibility and click Publish to Steam Workshop, or paste the ID of an item you published another way into Workshop ID.
  6. Use it: Spray It on the Map opens Spray Decals with your picture; for a wallpaper select building blocks and click Put on Selected Blocks (choose the inside, outside or both sides of walls). Wallpapers with a Workshop ID are also in the wallpaper lists of the Building Planner and the Inspector as Custom <ID>.
ControlWhat it does
Publish to Steam Workshopuploads through the Steam client running on your PC, signed in as you: Rust Build never asks for your Steam password. Steam may show you as playing Rust while it uploads. The first upload creates the item; later ones (Update Workshop Item) replace its picture
Save Workshop Folder…writes the Workshop item files (manifest.txt, _MainTex0.png, icon.png, icon_background.png) to a folder, for uploading another way
Deleteremoves the picture from the map; sprays that used it keep their skin ID
TipSprays that use your picture get its Workshop ID by themselves once it is published.
TipAccept the Steam Workshop terms on the Workshop page if Steam asks: until then only you can see the item.
TipItem icons stay in Rust Build: the game makes item skins from 3D models, not from a picture.
NotePublishing works in the Windows (x64) version of Rust Build with Steam running and signed in. On Windows ARM64, Linux and Android you can still make the pictures, keep them in the map and enter a Workshop ID.
File &#9656; Skin Editor…: every item with its skins, the model and your own picture
File ▸ Skin Editor…: every item with its skins, the model and your own picture

Boombox stations

Give a boombox on your map a radio station: one of the game's built-in stations or a link of your own (an internet radio stream or an mp3 file), with its volume, and choose whether it needs electricity or always plays. Try it in play mode; the RustBuildHelper server plugin sets it on your server.

  1. Place a boombox from the Prefab Library (boombox.deployed, or boombox.static / boombox.deployed.static, which the game keeps powered).
  2. Click it. A small Boombox window opens next to it, and the Inspector shows the same settings in its Boombox section.
  3. Pick a Station from the list, or type a link starting with http:// or https:// into Link and press Enter (or Set). A link that is not a web address is refused.
  4. Choose the Volume (20 to 100 %, the game's steps).
  5. Choose Needs IO power (it plays while its power input gets 10 power: wire a generator, switch, timer or sensor to it in the IO editor) or Always powered (it plays without electricity).
  6. A label over the boombox shows its station and power mode. Save the map. Every change is one undo step.
ControlWhat it does
Game defaultthe boombox keeps whatever station the game gives it
Test linkchecks in the background that your link answers and shows what it is (mp3 file or stream)
▶ Listenplays the station in the editor: built-in stations play their songs from the game files, mp3 links are downloaded first (a stream plays its first minutes); other streams only play on the server
Play modea powered boombox shows Playing <station> and you hear the nearest one; E stops and starts it. Speakers wired after a boombox play the same station while they have power
TipConnected speakers show which boombox they play when you select them.
TipThe station stays with the boombox when you move it.
TipIn co-op everybody sees the stations straight away.
NoteStations are part of the Rust Build data in the map: the game ignores them without the RustBuildHelper plugin, and saving the map in another map editor removes them.
NotePlayers' games play the link themselves, so it has to be reachable from the internet.
A boombox with a custom link, always powered: the Boombox window, the Inspector section and the labels over the boomboxes

Loot and vending profiles

Tools▸Entities▸Edit Loot Profiles… / Edit Vending Profiles… `

Loot Profile Manager and Vending Profile Manager: make custom loot tables and vending machine offers, then give them to crates and vending machines on the map.

  1. Open Edit Loot Profiles… (or Edit Vending Profiles…, `).
  2. Pick a profile in the list and click Load Preset, or click New Preset and type a Profile name.
  3. Loot: set Respawn Rate, Refresh Rate and Items To Spawn (min and max). Vending: each row is the Selling item and amount, the Cost item and amount, blueprint ticks and a weight.
  4. Click items in the Item List (search by name) to add them to the Contents; set min / max or amounts; ✕ removes a row.
  5. Click Details… on a row to give that item a skin, a name, attachments, ammo, text, a recording or a picture (see Item details below). A short summary appears under the item.
  6. Click Save Preset: the profile is saved as a file you can use on every map, and added to this map.
ControlWhat it does
Load Preset / New Presetedit a saved profile or start a new one
Remove From Mapdrop the profile from this map's data (the file is kept)
Open Folderthe LootPresets / VendingPresets folder in RustBuildData (standard .lprof / .vprof files from other editors work here too)
TipThe choice is stored the standard way (in the prefab's category, e.g. :::MyLoot), so servers set up for custom loot maps read it. Only the profiles the map uses are written into the map.
TipItem details are kept in the profile files too, so a profile with details works on your other maps.
TipA vending machine selling a skinned item shows the skin in its shop.
NoteItem details need the RustBuildHelper plugin on the server (feature Item details and respawn timers); without it the items come plain. Other map editors read these profiles but drop the details when they save the map.

Give a profile to a crate or vending machine

  1. Select one or more loot containers (crates, barrels…) or NPC vending machines. The small Loot / Vending window appears.
  2. Tick Use Custom Loot Preset (or Use Custom Vending Preset) and choose the profile. With several selected, all of them get it.
  3. Untick it to go back to the game's default contents. Each change is one undo step; Edit Loot Profiles opens the manager.

Item details

The Details… button on an item (in loot and vending profiles, the spawn loadout and dig loot) opens Item Details. It shows only what that item can have in the game:

  • Skin ID and Custom name for any item; ☆ / ▾ save and pick skins like every other skin field.
  • Condition % for items that wear out (0 = as the game spawns it).
  • Text on the note for notes.
  • Liquid inside for water jugs, bottles, buckets and water guns: water or salt water and how much.
  • Magazine for guns, bows and launchers: which ammo is loaded and how many rounds.
  • Attachments for weapons: only the attachments that fit that weapon, one per slot, each with its own skin.
  • Items inside for backpacks and armour with plate slots.
  • Recording on the cassette: choose an .ogg file (under 5 MB; the window warns when it is longer than that cassette holds) and play it with ▶ Play.
  • Picture on the photo: choose a PNG, JPG, WebP or BMP picture; it is stored as a JPG up to 1024 pixels wide.

Click OK to keep the details (Clear All makes it a plain item again). Recordings and pictures are stored in the map once, however many items use them.

Item Details for an assault rifle: skin, name, condition, loaded magazine and attachments
Your own picture on a photo
A vending profile selling a skinned rifle with a sight and a named rock
Loot Profile Manager
Vending Profile Manager
A crate using a custom loot profile

Entity Data: images on signs, skins and scale

Tools▸Entities▸Entity Data (sign image, skin, scale)…

Put a picture or an animated GIF on signs and picture frames, give doors, boxes and other entities a workshop skin, and keep the size you scaled an entity to. Rust Build saves this inside the map; the RustBuildHelper server plugin applies it in the game.

  1. Click a sign, picture frame or other entity (doors, boxes, furnaces, deployables…). The Entity Data window opens (or open it from the Tools menu).
  2. Image on the sign: click Choose Image / GIF… and pick a PNG, JPG, WebP, BMP or animated GIF. It is resized to the sign's own texture size and shown on the sign straight away (GIFs play in the editor too).
  3. Or paste a web link to a picture into Image URL and click Use: Rust Build downloads it, fits it to the sign like a picture from your computer and keeps the link with the map, so the server can download the picture too.
  4. Choose how a picture of another shape fills the sign with Fit: Crop to fill, Fit inside (transparent bars) or Stretch. Rotate turns the picture first: type any angle or click ⟲ 90° / ⟳ 90°, so a tall picture can fill a wide sign (GIFs turn frame by frame). Signs with several panels (neon signs, multi-panel signs) have a Texture list to pick the panel.
  5. Skin: type the workshop skin ID (or paste the workshop link) and click Apply; Clear goes back to the default skin. Under the ID the skin's Steam Workshop picture and name appear; click them to open its workshop page.
  6. Scale: scale the entity with the gizmo or the inspector as usual; the window shows the size the server plugin will use.
  7. Respawn (crates, barrels, loot boxes and vending machines): set the Minutes from and to. The server plugin puts the entity back at its spot a random time in that range after it is destroyed or emptied; boxes that refill instead of breaking refill on that time. The time also holds when the server runs the server extension for map data: a box it puts back earlier stays hidden until the time is up. Default keeps the game's own time (or the loot profile's respawn rate).
  8. Save the map. Every change is one undo step.
ControlWhat it does
Signs and frameswooden signs of every size, banners, picture frames and photo frames, neon signs, spinning wheels, carvable pumpkins
Spread GIF frames over the neon's animation framesneon signs: put the GIF's first frames into the neon's own animation slots, so the game animates it by itself
Skinsany entity that can have a skin in the game; 0 = default
Image URLan http:// or https:// link to a PNG, JPG, GIF, WebP or BMP picture (up to 20 MB). Downloaded pictures are kept on your computer, so the sign also shows without internet later. While the picture is still downloading, or when the link can't be reached or gives a web page instead of a picture, the sign stays grey, the window says why and the link is kept; the server plugin then downloads it when the server starts
Rotate0–360°, applied before Fit; each sign remembers its angle, and changing it again is one undo step
Workshop pictureevery skin ID field (here, custom wallpaper IDs, dig loot skins, the save editor) shows the workshop item's picture and name; Rust Build looks them up in the background and keeps them, so they also show without internet. Without internet, or for IDs that are no workshop item, only the ID shows
Scalethe game can only scale entities evenly: an entity scaled differently on each axis gets one average size in the game
TipClicking an entity opens the window automatically; switch that off in Preferences ▸ Editing ▸ Entity Data window on click.
TipEvery image makes the map file bigger, and players download the map: prefer small pictures and short GIFs (up to 200 frames).
NoteThe game itself ignores this data: install the RustBuildHelper plugin on the server. Other map editors can open these maps, but saving the map again in another editor removes the images and skins (the entity scale survives).
Tools &#9656; Entities &#9656; Entity Data with a sign selected: choose an image or GIF, fit, rotation, image URL, skin
Tools ▸ Entities ▸ Entity Data with a sign selected: choose an image or GIF, fit, rotation, image URL, skin
An animated GIF on a huge wooden sign
A picture turned 90&deg; with Rotate: left and right half now fill the sign top and bottom
A picture turned 90° with Rotate: left and right half now fill the sign top and bottom
A skin ID with its workshop picture and name; click it to open the workshop page
A crate that comes back 2&ndash;4 minutes after it is looted
A crate that comes back 2–4 minutes after it is looted

Server settings: safe zones, quarries, puzzle resets

Inspector▸Server settings

Change how monuments behave on your server: take the safe zone away from a monument, let players respawn at the Outpost or Bandit Camp, give a quarry or pump jack its own fuel and output, or change how often a monument's puzzles and loot reset. You set it on the monument in the Inspector; the RustBuildHelper server plugin applies it when the server starts.

  1. Click a monument. When it has something you can change, the Inspector shows a Server settings section.
  2. Remove safe zone (Outpost, Bandit Camp, fishing villages, stables, apartment complex and other monuments with a safe zone): tick it and the monument becomes a normal fighting area on your server. The safe zone's auto turrets and sentries are removed too. The editor draws the zone grey and crossed out; selecting a monument whose zone is still on shows it in green.
  3. Players can spawn here (Outpost and Bandit Camp): tick it and every player on your server can pick this monument on the death screen, like a sleeping bag everyone has. It uses the game's own respawn point for the monument; as in the game, a hostile player waits until they are no longer hostile. When the map has too little beach for new players, they start here too.
  4. Quarry / Pump jack (the stone, sulfur and HQM quarries and the pump jacks of monuments): pick the Fuel it burns (diesel, low grade fuel, crude oil, or No fuel so it runs whenever it is switched on), the Work per fuel (how long one fuel lasts), the Work per tick (how fast it works) and how much of each resource one fuel makes (0 = none). The text under it says how long one fuel lasts.
  5. Puzzle reset (oil rigs, labs, missile silo, power plant, military tunnels, satellite dish and other monuments with card readers, fuses and doors that reset): set the Reset time, the Player detection radius (a reset waits while a player is this close) and Scale with population. The heading shows the game's own reset time for that monument.
  6. Game settings removes a quarry's or a monument's settings again. Every change is one undo step.
  7. Save the map, then make the plugin with Tools ▸ Utilities ▸ Server Plugin…: the features your map uses are ticked for you.
All 8 controls
ControlWhat it does
Remove safe zoneno safe zone and no safe-zone turrets on the server
Players can spawn herethe Outpost or Bandit Camp is a respawn point for every player
Fuelthe item the quarry or pump jack burns; No fuel = it runs for free
Work per fuel / Work per tickhow much work one fuel gives and how much it does every 5 seconds: more work per fuel = one fuel lasts longer, more per tick = faster
<resource> per fuelhow much of that resource one fuel makes; only the resources this quarry or pump jack makes are listed
Reset timeminutes between resets of the monument's puzzles and loot
Player detection radiusa reset waits while a player is within this distance
Scale with populationon: the more players are online, the shorter the reset time; off: always the same; game default: as the monument has it
TipThe settings belong to the monument you clicked: two oil rigs can have different reset times.
TipSome monuments wait until nobody is anywhere inside them before they reset; there the radius makes little difference (the Inspector says so).
TipHow much population scaling shortens the time is set by the server's spawn rate settings.
NoteThese settings are part of the Rust Build data in the map: a server without the RustBuildHelper plugin keeps the game's safe zones, quarries and resets, and saving the map in another map editor removes them.
Ticking Remove safe zone on Outpost: the zone is drawn crossed out
Remove safe zone: the Outpost's safe zone drawn grey and crossed out
A quarry's own fuel, work and output in the Inspector
Outpost with Players can spawn here ticked

Player spawn loadout

Tools▸Entities▸Player Spawn Loadout…

Choose what players get when they spawn on your map: clothes, tools, weapons, food, resources, with workshop skins, instead of (or on top of) the game's rock and torch. The loadout is saved with the map, and the RustBuildHelper server plugin gives it to players on your server.

  1. Open Tools ▸ Entities ▸ Player Spawn Loadout….
  2. Click items in the Game items list on the right to add them. Pick a category or type in Search… to find one; each item shows its icon. Clothes go on the player, weapons, tools, medical items and food on the belt, everything else in the inventory. Starter Kit fills in a small kit to start from.
  3. For each item set the Amount, the Place (Clothing, Belt or Inventory) and the Slot (Any = the first free one). Type a workshop Skin ID if you like: the skin's picture and name show next to it (click it to open its workshop page). Details… adds a name, attachments, ammo, water and more (see Item details). Use the arrows to change the order and ✕ to remove an item.
  4. Tick First spawn (players new to the server, or after a wipe) and / or Every respawn (after dying), and choose Instead of the rock and torch or On top of the rock and torch.
  5. How it looks in the player's inventory shows the clothing slots, the belt and the inventory as the player will see them. Every change is one undo step.
  6. Save the map and put the server plugin on your server (the Server Plugin window ticks Player spawn loadout for you).
TipPlayers who wake up in their sleeping bag or bed with their things keep what they have; the loadout is for fresh spawns.
TipAmounts bigger than an item's stack size become several stacks (5 bandages are a stack of 3 and one of 2).
Tip☆ next to a skin saves it; ▾ lists your saved and recent skins with their pictures (only the ones for that item if you like): click one to use it.
TipOn the server, the plugin's config can turn the loadout off or change when it is given without editing the map.
NoteThe loadout is part of the Rust Build data in the map: the game ignores it without the RustBuildHelper plugin, and saving the map in another map editor removes it.
The Player Spawn Loadout window

RustBuildHelper server plugin (for server owners)

Tools▸Utilities▸Server Plugin…

An Oxide (uMod) plugin that reads the entity data from the map when the server starts and puts the sign images, GIFs, skins and scale on the entities, and launches the boats built with the Boat Building Planner. It also flies the map's CH47 route, teleports players through linked teleport doors, sets the boombox stations, gives players the loot of your dig loot areas when they dig with a metal detector, gives them your spawn loadout, grows the trees to full size and sets how many trees, ores and collectables the game keeps on the map, applies the cargo ship stops, no-leave areas and sinking and lets the server use maps smaller than 1000 m or bigger than 6000 m. It also runs everything the map editors' NPC, vehicle, loot and IO data needs, so no other server extension is required: NPC spawners, animals and vehicle spawns, loot and vending profiles, keycard desks, IO wiring and the map's cargo path. When such an extension is installed, the plugin leaves those parts to it.

  1. Open your map and choose Tools ▸ Utilities ▸ Server Plugin…. The window lists every feature of the plugin and shows which ones your map uses (with how many items); those are ticked for you. Tick or untick features yourself, or tick Include everything.
  2. Pick the Game branch your server runs: Main (the normal game) or Staging (the test branch). The plugin is made to work with that branch.
  3. If your server already runs the server extension your map uses (its Harmony mod in HarmonyMods, or its Oxide / Carbon extension; the window shows the file names), tick it: the features that extension already runs (NPC spawners, vehicles, loot, vending, keycards, IO, the cargo path, and with the Harmony mod also animals, the hack alarm and CH47 landing) are left out. With neither ticked, the plugin does all of that itself.
  4. The window shows the plugin's size with everything and with your choice. Click Save… and pick a folder: your server's oxide/plugins folder (Carbon: carbon/plugins), or simply the server folder (its plugins folder is used). The plugin is always saved as RustBuildHelper.cs with only the chosen features, so it stays small; if one is already there, you are asked before it is replaced. Next time Save to <folder> saves to the same place in one click.
  5. Your server needs Oxide (uMod); Carbon loads Oxide plugins too.
  6. Saved somewhere else? Copy RustBuildHelper.cs into the server's oxide/plugins folder (Carbon: carbon/plugins).
  7. Start the server with your map as usual (+server.levelurl or +server.level). Nothing else is needed: the data travels inside the map file.
  8. A few seconds after the start the console shows what was applied, for example 12 entities found, 0 not found; 5 signs painted (2 animated), 6 skins, 3 scaled.
All 22 controls
ControlWhat it does
rustbuild.reapplyserver console / RCON: apply the map data again (for example after an admin repainted a sign)
rustbuild.statusserver console / RCON: show what was applied
rustbuild.tpdoorsserver console / RCON: list the teleport doors and where they lead; rustbuild.tpdoors reload reads them again. Settings: section Teleport doors of the config
rustbuild.boomboxserver console / RCON: list the map's boomboxes with their station and whether they play; play / stop / reload. Settings: section Boombox stations of the config
rustbuild.sprays [apply]server console / RCON: how many of the map's sprays were found and kept; apply does it again
rustbuild.bskins [apply]server console / RCON: how many building blocks got their skin and wallpaper; apply puts them on again
rustbuild.dig [test x z | spawn | reload]server console / RCON: list the dig loot areas and their loot tables; test shows which area owns a spot and what 1000 digs there give, spawn adds the extra dig spots now, reload reads them again. Settings: section Dig loot areas of the config
rustbuild.ext [reload]server console / RCON: whether another server extension for map data was found and, if not, what the plugin runs itself: NPC spawners and NPCs alive, animals, vehicles and other respawning prefabs, loot boxes and loot profiles, vending machines, keycard desks, IO wires, the cargo path and Bradley (APC) paths; reload reads the map again. Each part can be switched off in the config (section Map extension features). Admin chat: /showanimalspawns, /showlootspawns, /showvendingspawns, /showentityspawns, /showiowires, /showcargopath
rustbuild.safezones [apply | restore]server console / RCON: how many safe zones were switched off and turrets removed; apply does it again, restore switches the zones back on and brings the turrets back until the next apply
rustbuild.quarries [apply]server console / RCON: how many quarries and pump jacks got their own settings; apply sets them again
rustbuild.puzzles [apply]server console / RCON: how many monument puzzle resets were changed; apply sets them again
rustbuild.spawn [test N | reload]server console / RCON: how much beach the game has for new players, how many safe spots the plugin found and gave, and the Outpost / Bandit Camp respawn points; test 500 asks the server for 500 spawn points the way a joining player gets one and counts any that would land at the map centre, inside the ground or under water
rustbuild.items [reload]server console / RCON: how many loot and vending items got their item details and the respawn timers of boxes and vending machines (in place, waiting, respawned, boxes of the server extension held until their time); reload reads the config and the map again. Settings: section Item details and respawn timers of the config
rustbuild.loadout [give <player> | reload]server console / RCON: the map's spawn loadout and how often it was given; give gives it to a player now, reload reads the config and the map again
rustbuild.populations [count | list]server console / RCON: the map's spawn population settings and how many trees came up full-grown; count counts the full-grown trees and the saplings left on the map
rustbuild.tropicalserver console / RCON: whether the map is a tropical map and whether the tropical look is on
rustbuild.locks [attach]server console / RCON: how many key and code locks were fitted to their doors; attach fits the ones that aren't on a door yet
rustbuild.boats [launch | relaunch]server console / RCON: the boats' status; launch launches the map's boats that weren't launched for this save yet, relaunch launches all of them again
rustbuild.crate [now <n> | reset [n] | reload]server console / RCON: every crate event with its number, the crate (locked, being hacked, gone and when the new one comes), its CH47 and the scientists still alive; now 2 sends event 2's CH47 at once (for testing), reset removes the CH47 and scientists and puts a fresh locked crate back, reload reads the events from the map again. Chat for admins: /rustbuild crate …
rustbuild.ch47 [now | drop | leave | reload]server console / RCON: the CH47 route's status (where the CH47 is, what it is doing, when the next one comes); now starts a flight at once, drop ends the patrol and goes to drop, leave sends it away, reload reads the route from the map again. Chat for admins: /rustbuild ch47 …
/rustbuild, /rustbuild reapplychat: status for everyone; reapply for admins or the permission rustbuildhelper.admin
oxide/config/RustBuildHelper.jsonevery feature has its own on / off switch here, and a feature that is off does nothing at all on the server. Also: sign images, animated GIFs, lock painted signs (players can't repaint them), power for neon signs, skins, scale, match distance, start delay, log every entity, map size override, boats and the boats' owner (a SteamID, 0 = no owner), the CH47 route on or off, minutes before the first CH47 after a start (-1 = the map's respawn time) and whether to replace the game's CH47 event (-1 = as set in the map), building skins and wallpapers on or off and whether to keep wallpaper on sides that are outside, the sections Teleport doors, Dig loot areas, Boombox stations, Player spawn loadout (on or off, add or replace, first spawn / respawn, a chat message) and Spawn populations and full-grown trees, when each feature starts after the server started, and the chat messages. A config from an older plugin is updated by itself on the first start, and the teleport door, boombox and dig settings from their old files in oxide/data are moved in

What it applies, and the limits

  • Boats are launched only on the first start of a save: the plugin builds each boat the way the game finishes one at a Boat Building Station, as a floating player boat with its blocks, sails, engines and steering wheel, owned by nobody (or the SteamID in the settings). The boats are then saved by the server like boats players built; later restarts don't add them again, and a wipe (a new save) launches them again. Pieces this server's Rust version doesn't have are left out with a warning.
  • Key and code locks (see Door locks) are fitted to their doors when the server starts, the way a player puts a lock on a door, and locked: code locks take the code from the map and nobody is authorised, so every player has to enter it; key locks get a key code no key has, so only door controllers open their doors. Players can't pick the map's locks up or change their codes. A lock with no door within 1 m is left where it is and the console says so. The server keeps the locks with their codes in its save; a new code in the map applies after a wipe.
  • Building skins and wallpapers (see Building skins and wallpaper) are put on the map's building blocks when the server starts, with each block's grade. These blocks never collapse, lose their ground or decay. A skin that doesn't belong to a block's grade is left out. The game takes wallpaper off a side that is outside; map buildings are often open, so the plugin keeps the map's wallpaper (setting keep wallpaper on sides that are outside, needs Harmony support in Oxide or Carbon).
  • Spray decals (see Spray decals) get their spray (skin) and keep their size; rain and time no longer remove them (water and damage still do). Sprays from a picture without a Workshop ID show the game's default spray.
  • Player spawns. A new player is put on a beach the game accepts (see Beach Spawn Areas). When the map has none, the game drops the player at the map centre inside the ground. The plugin then gives a safe spot instead: an Outpost or Bandit Camp respawn point the map has, else a dry beach or low shore away from monuments, roads, rivers and cliffs with nothing standing on it. Maps where the game finds its own spots are left alone. The Server Plugin window ticks this by itself when your map has little beach spawn area or monument respawn points.
  • Safe zones, quarries and puzzle resets (see Server settings) are applied a few seconds after the start. Unloading the plugin gives the monuments their safe zones and turrets back and returns quarries and puzzle resets to the game's values. A quarry's own fuel needs Harmony support in Oxide or Carbon.
  • Images go into the server's file storage like player-painted signs; re-applying replaces them, so they don't pile up.
  • Animated GIFs play while the plugin is loaded. Each frame change is a small network update, so keep the number of animated signs reasonable. Neon signs can animate by themselves (the spread GIF frames option).
  • Skins need a workshop skin that exists for that item. Some entities only show the new skin after players walk away and come back.
  • Scale works by attaching the entity to an invisible scaled entity, the way scale plugins do. Only even scaling is possible; entities already attached to something else are not scaled. Unloading the plugin returns them to their normal size.
  • Map size override. The game only accepts maps from 1000 to 6000 m and squeezes any other map into that range. With the plugin installed the server uses the size stored in the map (250–16000 m; Map size override settings: allow, or force a size). Install the plugin before starting the server: the size is decided while the map loads, so loading it later only shows a warning until the next restart. Generated maps (server.worldsize) keep the game's limits. Needs an Oxide or Carbon build with Harmony support. Rust does not officially support these sizes: test the map with a game client before going live.
  • Maps with NPC patrols or protected data. On a map with NPC patrols (or Also protect prefab and entity data in the map password, or a map started in another editor that has such data) the other server extension reads only that data. Rust Build saves everything else there too: IO wires and settings, vending machines and loot crates with their profiles, NPC spawners, vehicle spawns, the cargo path and APC (Bradley) paths, so the extension runs all of it and the plugin doesn't do it twice. Maps saved by an older Rust Build still work: the plugin runs those parts itself until you save the map again.
  • The plugin only reads the map file; it never changes it.
  • Re-saving the map in another map editor drops the Rust Build data (other editors only write the data they know): keep editing images and skins in Rust Build. The entity scale survives either way.
The Server Plugin window

Path Tools, Train Tunnels

Roads, rivers, rails, power lines, the cargo ship route, Bradley (APC) routes, the CH47 (Chinook) route and NPC patrols, plus the underground train tunnel network.

Path Tools window

Tools▸Path Tools

Create and edit every kind of path; roads, rails and rivers get Rust's real meshes, trails are dirt only.

  1. Open Tools ▸ Path Tools (it has no key by default; give it one in Preferences ▸ Keybindings).
  2. Choose the Type: Road, River, Rail, Powerline, Cargo ship (ocean), APC (Bradley), Trail (dirt, no mesh), CH47 (Chinook) or NPC Patrol (scientists). Click New at View (three nodes at the screen centre) or Draw New (click nodes, Enter finishes).
  3. Click a path to select it, click a node to select it and drag it along the terrain; Shift+click adds nodes to the selection.
  4. Ctrl+click the terrain adds a node at the nearer end; Ctrl+click a node inserts one before it; Del deletes nodes.
  5. Use the tabs for properties, terrain, APC, cargo, rivers, the CH47 route and NPC patrols.
All 8 controls
ControlWhat it does
Nodes tabSelect All, Insert After, Delete Nodes, Split Here, Reverse, Snap to Terrain, Resample 7.5 m, Smooth, node numbers, precise pick; on a rail node Snap to nearest rail node (see Join rails)
Settings tabthe selected path's own settings, saved in the map: its name and kind at the top, Tier (rails: ring, branch or siding; roads: ring road, road or trail), spline / start / end, width, pads, fades, random scale, mesh and terrain offset, splat and topology, and Game defaults (the generator's values for that kind of path); power lines show only what they use plus the wires. Every change is one undo step. The line under the path name at the top of the window sums up the selected path; its Settings button opens this tab
Terrain tabApply to Terrain (height, splat, topology, one undo step); place the armed prefab along the path (spacing, offset, scale, yaw, face along)
APC tabBradley routes with interest nodes: New Route, Add Interest, Duplicate, To Route, Delete; red = more than 10 m from the route
Cargo tabthe cargo ship loop: Create Path / Select Path, Sea Level, Generate new cargo ship path (below) and Advanced mode (see Cargo ship stops and sinking)
River tabthe procedural generator's river settings and Apply River (see Rivers like the generator)
CH47 tabthe CH47 (Chinook) route: drop points, its settings and Check Clearance (see CH47 route)
NPC tabthe selected NPC patrol: scientists, type, route, walking speed, respawn, aggro range, wait (see NPC patrols)
TipWhile Path Tools is open, clicks go to the paths first: a node near the mouse, then a road, river or rail line, even where a monument covers it. Click a prefab away from the paths to select it.
TipNode numbers (Nodes tab) follow their node while you drag, after undo / redo and when a co-op partner moves it; on long paths every 2nd or 3rd node is numbered. The cargo loop is drawn through every node in order and closes from the last node back to node 0, however long it is.
TipThe loop stays in open water and keeps clear of the coast; the sea outside the map counts as open ocean, so islands near the edge get a loop that hugs the map instead of running far outside it.
TipIf the status says the path could not be finished, raise Max passes or lower the shore distance.

Generate a cargo ship path

  1. Open the Cargo tab and choose the Method: Game (server) works like a Rust server (a circle that shrinks towards the land until it is Shore distance metres from it), Fast (corners) makes four corners just outside the map.
  2. Set the Shore distance (m) (the game uses 200) and, if needed, Max passes.
  3. Click Generate new cargo ship path. A progress window shows while it works; the new loop replaces the old one as one undo step.

The loop keeps the shore distance from icebergs, rocks and cliffs in the sea and from oil rigs too, as well as from the land. Place icebergs or other sea prefabs after making the path? Double Check Work lists every place where the path now runs through or next to one; generate the path again to go around them. New procedural maps make the cargo path last, after everything else is placed.

Drawing a new road and dragging its nodes
Path Tools (Road type)
Path Tools with the Cargo ship type
A 628-node cargo loop closing from node 627 to node 0, numbers on the nodes

CH47 (Chinook) route and crate drops

Tools▸Path Tools▸Type: CH47 (Chinook) · CH47 tab

Decide where the CH47 flies on your map and where it drops its locked crates, like the APC route with its interest nodes. The route is saved inside the map; the RustBuildHelper server plugin flies it on your server. Without the plugin the game ignores it.

  1. Open Tools ▸ Path Tools, choose the type CH47 (Chinook) and open the CH47 tab.
  2. Set the Flight height first (height above the ground or the sea for new nodes, default 50 m).
  3. Click New Route (a 600 m circle round the screen centre with one drop point in the middle) or Draw New and click the route node by node, Enter finishes. A map has one CH47 route.
  4. Edit the nodes like any path: drag them (they keep their height above the ground), Ctrl+click to add, Del to remove, Smooth, Set Height to put nodes back at the flight height.
  5. Click Add Drop Point to put a drop point at the screen centre, then drag the orange spheres to open ground. The orange post shows where the CH47 hovers to drop (30 m up).
  6. Set the timings (below) and click Check Clearance. Fix anything it lists (Show Problem flies the camera there), save the map and put the plugin on your server.
ControlWhat it does
Respawn (min)how often a CH47 comes (default 60 minutes); the next one waits while one is still flying
Patrol time (min)how long it flies the route before it goes to drop (default 20)
Crateshow many locked crates it drops (default 1). More drop points than crates: it picks drop points at random each time. Fewer: it visits every drop point and drops the rest there again
Leave after (min)minutes after the last drop before it flies off the map (default 10)
After the dropcircle the drop point (like the game's CH47 guarding its crate) or keep flying the route until it leaves
Replace the game's CH47 eventthe server's own random CH47 crate event is stopped while your route is used, so only your CH47 drops crates; the oil rig CH47s still come
Check Clearanceflies the real CH47 (hull and rotors, plus a 2 m margin) along the whole loop at the height the server flies it and tests it against every placed prefab and the terrain; drop points are checked for the CH47 hovering above them, a roof or rock under the crate, and water
TipThe CH47 tab shows the loop length and about how long a lap takes, and warns when the route is too short or has fewer drop points than crates.
TipSaving the map in another map editor removes the route (it only keeps the data it knows).

Making a good route

  • Height: 40–80 m above the ground is a good start. The game never lets a CH47 fly lower than 30 m above the ground; parts of the route below that are drawn yellow and the CH47 is lifted there.
  • Tall monuments: the launch site, the excavator, the power plant, the oil rigs and the airfield hangars are taller than most routes. Go round them or raise the nodes near them. The server's CH47 climbs over what it sees ahead, but it bobs up and down doing it. Red on the route and red spheres = Check Clearance found something in the way.
  • Node spacing: 50–200 m between nodes with gentle bends. The CH47 cuts corners and needs about 100 m to turn, so tight zig-zags are flattened out.
  • Make it a loop: the CH47 flies from the last node back to node 0 (the darker leg) and around again. Ending near the start gives an even loop.
  • Drop points: flat, open ground away from roofs, trees, rocks, cliffs and water. The crate falls on its parachute from the CH47 hovering 30 m above the point.
  • Length: a loop shorter than 800 m (or with fewer than 3 nodes) is too short to follow. The plugin then patrols random monuments instead, the way the game's own CH47 does, and still drops at your drop points.

On the server

The CH47 spawns out at sea like the game's CH47, flies to your route, patrols it for the patrol time, flies to the drop points and drops the game's locked crates (with its scientists on board, as usual), then leaves after the leave time and despawns past the map edge. If players shoot it down, the next one comes at the next respawn time. Server owners can check it with rustbuild.ch47 and start one at once with rustbuild.ch47 now (see Server plugin).

Path Tools with the CH47 type
CH47 tab: timings, what to do after the drop, and tips for a good route

Crate events (locked crate + CH47 reinforcements)

Inspector▸Crate event (on a hackable locked crate)

Make your own oil rig style event anywhere on the map: when a player starts hacking a locked crate you placed, a CH47 flies in along your flight path, lands at your landing point and heavy scientists jump out, run to the crate and guard it. After the crate was looted or destroyed it comes back, locked again, after the respawn time. Every crate can have its own event. The event is saved inside the map; the RustBuildHelper server plugin runs it on your server.

  1. Place a hackable locked crate from the prefab library (search codelockedhackablecrate; the normal one and the oil rig one both work) and select it.
  2. In the Inspector click Add Crate Event. Rust Build picks a flat, open landing spot about 50 m from the crate (green pad) and a flight path that comes in from the nearer map edge (purple), with a yellow line from the pad to the crate.
  3. Set the Respawn time, the number of Heavy scientists (1–11, the oil rigs bring 6–11) and, if you like, the Hack time (0 = the server's normal 15 minutes).
  4. Click Edit Flight Path to edit the path in Path Tools: drag the nodes (they keep their height above the ground), Ctrl+click to add nodes, Snap to Terrain puts them back at the flight height. Drag the white sphere on the pad to move the landing point. Click the crate again for its settings.
  5. Or move the landing point with Find Landing Spot (the best open spot near the crate) or Landing at View (the ground at the screen centre).
  6. Read the warnings under the buttons and click Check Clearance, then save the map and put the plugin on your server.
ControlWhat it does
Event enabledswitch the event off without losing the path and settings
Respawn (min)minutes after the crate was looted or destroyed before a new locked crate appears at the same spot (default 30)
Heavy scientistshow many the CH47 brings (1–11, default 6)
Hack time (min)how long the hack takes; 0 = the server's setting (normally 15 minutes)
Flight height (m)height above the ground or the sea for new path nodes and Set Height (default 60)
Check Clearanceflies the real CH47 (hull and rotors) along the path and parks it on the landing point, and lists every placed prefab in the way
Remove Eventremoves the event from this crate; Ctrl+Z brings it back. Deleting the flight path in Path Tools does the same
TipEach crate keeps its own event, so you can have a quiet crate with 2 scientists and a hard one with 11.
TipThe event follows the crate when you move it; deleting the crate hides the event and Undo brings both back.
TipSaving the map in another map editor removes the events (it only keeps the data it knows).

A good landing spot and flight path

  • Landing spot: flat, open ground 30–100 m from the crate. A CH47 needs a space about 30 m across: no trees, rocks, roofs, walls or power lines within about 15 m. The pad turns orange and the Inspector warns when the spot is not flat, under water, too close to the crate (the CH47 would land on it), more than 150 m away (the scientists have far to run) or has prefabs next to it.
  • Not in water: heavy scientists can't swim to the crate. Keep the pad on dry land, also at low spots near the coast.
  • Flight path: start it out at sea or at the map edge, where the CH47 appears, and bring it in over low ground. 50–80 m above the ground clears most things; go round or over tall monuments. The CH47 slows down and lands from the last node, so end the path 40–100 m before the pad, coming in from the open side.
  • Monuments: landing inside a monument's walls or between buildings often fails. A spot just outside works better: the scientists walk the rest of the way.
  • Check Clearance before you save: red on the path or a hit at the landing point means the CH47 would touch something there.

On the server

Nothing happens until a player starts hacking the crate. Then the CH47 appears at the first node of the path, flies it, lands on the pad, the heavy scientists get out and run to the crate, and the CH47 takes off and leaves the map. The scientists attack players who come close to the crate and despawn a few minutes after the crate was looted. If the landing spot is blocked the CH47 gives up after a few minutes and leaves (the scientists get out if it is close). Server owners can list the events with rustbuild.crate and send a CH47 at once with rustbuild.crate now 1 (see Server plugin).

A crate with its event: the flight path in from the sea, the landing pad (green = no warnings) and the Inspector's Crate event settings after Check Clearance
Editing the flight path in Path Tools: node numbers, the descent to the pad, the landing point (white sphere) and the dashed line to the crate

NPC patrols (scientists that walk a path)

Tools▸Path Tools▸Type: NPC Patrol (scientists) · NPC tab

Draw a path and scientists walk it on your server: up and down a road, round a monument, along a wall. When a player shoots them or comes close enough to be seen, they attack; when the player is dead or gets away, they walk back to their path and carry on. A map can have as many patrols as you like, each with its own scientists and settings. The patrols are saved inside the map. On your server they need the server extension that runs the map's NPC spawners and NPC paths (the one map makers use for map NPCs); play mode lets you try them out.

  1. Open Tools ▸ Path Tools, choose the type NPC Patrol (scientists) and open the NPC tab.
  2. Click New Patrol (four nodes on a 40 m square round the screen centre) or Draw New and click the path node by node on the ground, Enter finishes. The path is drawn pink with arrows in the walking direction; blue posts show where each scientist starts.
  3. Edit the nodes like any path: drag them over the ground, Ctrl+click to add a node, Del to remove one, Smooth. Inside a monument, drag a node there and raise it onto the floor with the gizmo's up arrow.
  4. Set the patrol (below): how many scientists, which scientists, the route, the walking speed, respawn time, aggro range and the wait at each node. While the patrol is selected a ring around every start post shows how far the scientists see.
  5. Press Ctrl+P to try it in play mode, then save the map and put it on a server that has the server extension.
All 8 controls
ControlWhat it does
Scientistshow many walk this path (0–50, default 2); they start spread evenly along it. 0 keeps the path without scientists
Scientist typethe game's scientists: patrol, patrol (arctic), roaming, night vision, heavy (300 health and a big gun), oil rig, cargo ship, or with an LR-300, MP5, shotgun, pistol or any gun, or the junkpile scientist. Their outfit, weapons, health and loot are the game's
RouteLoop: from the last node back to the first and round again (needs 3 nodes or more). Back and forth: to the last node, turn round, back to the first, and again. Once, then stop: to the last node, where they stay
Respawn (s)seconds after a scientist was killed before a new one appears at its start (default 300 = 5 minutes)
Aggro range (m)how far they see a player in front of them with nothing in the way (default 30); they hear players all round at a third of it, and gunshots at twice it. A player who shoots them is attacked from any distance
Wait at nodes (s)how long every scientist stands at each node before it walks on (default 0)
Walking speedhow fast they move along the path: the game's default pace, sneak, walk, jog, run, sprint or full sprint
Select Nextselects the next patrol of the map and flies the camera there
TipEach patrol keeps its own settings, so you can have two quiet scientists on a road and six heavies round a bunker.
TipMaps with NPC paths made elsewhere open with those paths as NPC patrols you can edit; paths you don't change are saved back exactly as they were.

What the scientists do

  • Patrol: each one first walks to the nearest node, then from node to node at the walking speed, and stands at each node for the wait time.
  • Notice you: when you come within the aggro range and one of them can see you, when you get within a third of the range from any side, or when you hit one.
  • Fight: they come after you and shoot when they can see you, with the game's own scientist fighting.
  • Go back: when you are dead or more than 2.5 times the aggro range away, they walk back to the nearest node of their path and patrol on.
  • Killed: a scientist killed by a player lies there and a new one comes at its start point after the respawn time.

Making a good patrol

  • Keep the path on open ground the scientists can walk on: roads, fields, monument floors. They can't climb rocks or walk through walls; a node they can't reach is skipped.
  • 5–30 m between nodes works well. A loop needs at least 3 nodes; back and forth works with 2.
  • An aggro range of 20–40 m is like the game's own scientists. Much more and they start shooting from far away.
  • Many scientists on a short path walk close together; the NPC tab warns about it.

Try it in play mode

In play mode the scientists walk the path in their real outfits with a gun. Walk up to them or shoot them to see them react: they come after you, shoot, and walk back to the path when you get away or die. Your health is shown at the bottom left; the PvP weapons hurt them (a hatchet does 25, the revolver 35 up to 10 m). When they kill you, you stand up again after 5 seconds where you started play mode. Play mode only shows how the patrol behaves; nothing is changed in the map.

On the server

The server extension spawns the scientists at their start posts when the server starts and walks them along the path. They fight with the game's own scientist fighting, with the patrol's aggro range, and go back to their path when the fight is over. Play mode copies this closely but not exactly: there scientists also hear gunshots, call in the others of their patrol and give up after 10 seconds without seeing you. The RustBuildHelper plugin is not needed for patrols.

Drawing a patrol round a lighthouse: Draw New, click the ground node by node, Enter, then four scientists and one node dragged further out
Path Tools with the NPC Patrol type
Play mode: a heavy scientist that was shot fights back

Cargo ship stops, no-leave areas and sinking

Tools▸Path Tools▸Cargo tab▸Advanced mode

Make the cargo ship stop at chosen points of its path for as long as you like, keep it from leaving the map in certain areas, and let it sink at the end of its run instead of sailing away. The cargo path itself stays the game's normal cargo path; these settings are saved separately in the map and the RustBuildHelper server plugin applies them. Without the plugin the ship sails as usual.

  1. Open Tools ▸ Path Tools, the Cargo tab, and make sure the map has a cargo ship path (Create Path or Generate).
  2. Tick Advanced mode: stops, no-leave areas, sinking.
  3. Set the Stop time (minutes and seconds), select a node of the cargo path and click Add Stop (with no node selected the stop goes on the path nearest the screen centre). A yellow post with its time marks the stop; the ring shows where the ship starts slowing down.
  4. Click a stop's post and drag it: it slides along the path. Change the time of the selected stop with the Stop time boxes. Delete Selected (or Del) removes it.
  5. Click Add No-Leave Area for a red circle at the screen centre. Drag its centre to move it and the handle on its edge to make it bigger or smaller (or type the Area radius).
  6. For sinking, tick Sink instead of leaving, and Spawn on the path if the ship should appear right on its path. Set the Run time and save the map.
All 8 controls
ControlWhat it does
Stop timehow long the ship waits at the selected stop; new stops get this time
Snap Stops to Pathputs every stop back on the path after you moved nodes or generated a new path (stops more than 100 m from the path turn orange)
No-leave areawhile the ship is inside the circle, or would sail out across it, it does not leave: it sails on along its path and tries again 30 seconds later
Run time (min)minutes from spawning until it leaves or sinks; 0 = the server's own setting (50 minutes by default). Time spent at stops counts
Sink instead of leavingat the end of the run a blast goes off at the bow, explosions run along the deck, the scientists die and the ship goes down where it is, with radiation; it is removed once nobody is near
Explosions after (s) / Sink speed (m/s)how long after the first blast the deck explosions start (default 80 s) and how fast it sinks (default 0.85 m/s)
Spawn on the paththe ship appears at a random point of the cargo path, facing the way it sails, instead of out at the map edge
Also save stops as cargo stop markersalso writes a cargo stop marker at every stop, the kind of marker some other cargo server extensions use; those wait the server's dock time at each stop instead of your stop times
TipThe ship sails its path from the last node towards node 0: turn on Node numbers on the Nodes tab to see which way it goes.
TipPut no-leave areas round your bases' coast or a harbour so the ship never leaves (or sinks) right there; with sinking on, the wreck stays where it went down.
TipEvery change is one undo step and is shared with everyone in a co-op session.
TipOpening a map that has cargo stop markers turns them into stops you can edit here.
Add Stop puts stops on the cargo path (drag them along it); a no-leave area is dragged into place and resized by its edge
Advanced cargo settings: yellow stop posts with their times and a red no-leave area on the cargo path
Cargo tab in Advanced mode: stops, no-leave areas, sinking and run time

Trails (dirt paths)

Tools▸Path Tools▸Type: Trail (dirt, no mesh)

Rust's trails are dirt tracks with no road surface. Rust Build draws them as a faint line with a marker on every node, over the dirt they paint.

  1. In Path Tools choose the type Trail (dirt, no mesh): it uses the game's trail settings (4 m wide, Dirt splat, Road topology).
  2. Draw it with Draw New or New at View, then edit the nodes like any path.
  3. Open the Terrain tab and click Apply to Terrain to paint the dirt and the Road topology under it.
TipAny road narrower than 5 m counts as a trail (the standard rule), and so do the generator's own trails: widen a trail past 5 m and it becomes a road with a mesh again.
TipTrails are saved unchanged, so maps keep working with Rust and other map editors.
Path Tools with the Trail type

Rivers like the generator

Tools▸Path Tools▸River tab

A river you draw gets the same settings and the same shape as the rivers of a generated map: the bed is carved, the banks fade out, it gets wider and deeper downstream and opens into a wide mouth, with gravel on the bed and River and Riverside topology.

  1. In Path Tools choose the type River and draw it with Draw New from the source down to the mouth (or select an existing river). Reverse on the Nodes tab flips a river drawn the wrong way; the River tab warns when it runs uphill.
  2. Open the River tab and click Generator settings to copy the river settings of New Procedural Map ▸ Rivers (width, depth, fades) onto it, or set them yourself: Width, Depth, Inner fade / Outer fade (how far the banks blend into the land), Inner pad / Outer pad, Width noise (the width varies along the river), Water level and the Bed splat.
  3. Choose what to do: Widen downstream, Flow downhill (the nodes follow the land but never climb), Smooth course, Smooth heights, Resample 7.5 m, Carve terrain, Paint splat, River topology and Riverside + cliffs.
  4. Click Apply River. The nodes, the terrain, the splat and the topology change together as one undo step.
TipThe settings are saved with the river, so the map keeps them; Apply River can be used again after you move nodes (undo first to start from the untouched land).
TipWater shows wherever the River topology is, so the carved bed fills with water.
Path Tools with the River type: the River tab sets width, depth, fades and the bed splat like the generator does

Join rails: Snap to nearest rail node

Tools▸Path Tools▸Nodes tab▸Snap to nearest rail node

Rails only join in the game when their ends sit at exactly the same position. This moves a rail node exactly onto the nearest rail end: a node of another rail, or the end of the track inside a trainyard, a train station, a tunnel or another rail prefab.

  1. Select a rail and click the node to join (usually its first or last node).
  2. The Nodes tab names the nearest rail end and how far away it is, and a cyan marker with a line shows it in the world.
  3. Leave Align direction ticked so the last piece of the rail also turns onto the joined track's direction (the game needs them almost straight), then click Snap to nearest rail node. One undo step.
  4. When it shows Joined to …, the rail connects in the game.
TipA rail end snapped onto a prefab is marked as connected (Start / End on the Settings tab), like the rails the generator builds to stations.
TipRails up to 250 m away are found; the rail ends of prefabs you place yourself count too.

Train Tunnels

Tools▸Train Tunnels

Edit the underground train network on Rust's 216 m grid, with stations, monument shafts and entrances; pieces are chosen automatically.

  1. Turn on Train Tunnels; a grid appears at tunnel depth. Tick Hide terrain to see underground.
  2. Draw: drag across cells; Erase; Select; Entrance: click the terrain.
  3. With a cell selected: toggle a station, add a shaft, link a station to an entrance, delete.
  4. Build Links creates the connections the game would make. Red cells are dead ends.
The Train Tunnels window

Tools ▸ Map

Size, rotation, merging and statistics.

Resize Map

Tools▸Map▸Resize Map…

Change the map size by scaling, extending or cutting the edges (1000–6000 m).

  1. Type the New Map Size and choose the Resize Mode: Scale, Extend Edges or Cut Edges.
  2. Choose the height and alpha resolution, smoothing and interpolation.
  3. Click RESIZE. Problems (same size, invalid size, extending to a smaller size) are shown in the status line.
Tools &#9656; Map &#9656; Resize Map…
Tools ▸ Map ▸ Resize Map…

Map Size (fix the size value)

Tools▸Map▸Map Size (fix size value)…

Change only the map's size number without resampling anything (fixes maps saved with a wrong size).

  1. Type the new size or click a preset, then Apply (Ctrl+Z undoes).
Tools &#9656; Map &#9656; Map Size…
Tools ▸ Map ▸ Map Size…

Rotate Map 90°

Tools▸Map▸Rotate Map CW (90°) · Rotate Map CCW (90°)

Turn the whole map, with every layer, prefab and path.

  1. Save first: rotating reloads the map and clears the undo history.
  2. Choose CW or CCW.
Tools &#9656; Map &#9656; Rotate Map CW (90&deg;): before and after, same camera
Tools ▸ Map ▸ Rotate Map CW (90°): before and after, same camera

Merge Map

Tools▸Map▸Merge Map…

Copy an area of another map (or of this one) into the open map.

  1. Pick the Source map….
  2. Set the source position, destination position and size.
  3. Tick what to copy: height, splat, biome, topology, alpha, prefabs, paths.
  4. Click MERGE.
Tools &#9656; Map &#9656; Merge Map…
Tools ▸ Map ▸ Merge Map…

Map Statistics and Go To Coordinate

Tools▸Map▸Map Statistics… / Go To Coordinate…

A text report of the map (sizes, counts per type) and a quick jump to X / Z coordinates.

  1. Map Statistics… then Refresh.
  2. Go To Coordinate…: type X and Z and click Go. X / Z are game coordinates (map centre 0, 0), the same numbers as the Inspector and the position at the bottom of the view. Tick Height to fly at that height above sea level, otherwise the camera goes 120 m above the ground.
  3. Clicking the camera position at the top right opens the same window filled in with where the camera is.
Map Statistics
Map Statistics
Go To Coordinate
Go To Coordinate

Tropical map

Tools▸Map▸Tropical Map

Gives the whole map the look of the game's tropical islands: white sand on beaches and snowy ground, clear light-blue water over the shallows, a bluer sea and brighter light. The map is marked as tropical, and on your server the game shows it the same way to every player.

  1. Choose Tools ▸ Map ▸ Tropical Map. The view changes at once; choose it again to turn it off. It is one undo step, and in co-op everyone sees the change.
  2. Save the map. The setting is saved in the map, in the same place the other map editor keeps it, so the map opens tropical in both editors.
  3. On your server, the RustBuildHelper plugin turns the game's tropical look on (the server setting deepsea.terrain_everywhere) when the map is tropical, and turns it off again when the plugin is removed. The Server Plugin window ticks Tropical map for you. A server that runs the other editor's server extension may already turn it on by itself; the plugin then leaves it as it is.
TipOnly the look changes: the terrain, splat and prefabs are not touched, so you can switch back at any time.
TipTrees, rocks and buildings keep their normal look. In game the tropical look also changes the small plants on the ground.
Tropical Map on: white sand and clear blue shallows round the islands

Spawn populations and full-grown trees

Tools▸Map▸Spawn Populations and Trees…

The game keeps your map filled with trees, bushes, ores, hemp, mushrooms, logs, barrels and more. Here you choose, for this map, that saplings, dead trees and small trees come up full-grown, which spawn folders the game uses, and how many of each kind it keeps on the map. The RustBuildHelper server plugin does it on your server.

  1. Open Tools ▸ Map ▸ Spawn Populations and Trees….
  2. Amount: how many the game keeps on the map compared with normal, for Trees and bushes, Ores, Hemp, mushrooms, berries… and Logs, driftwood, barrels… (1 = normal, 2 = twice as many, 0 = none).
  3. Tick Full-grown trees: the list shows, for every biome (arctic, tundra, temperate, arid, jungle, tropical), which sapling, dead or small tree becomes which full-grown tree. Untick a row to keep that tree as it is, or pick another full-grown tree on the right. Biome shows one biome only; All On, All Off and Defaults change the rows shown.
  4. Resource folder swaps: Add Swap and pick two folders: the game spawns from the second one wherever it would spawn from the first (for example arctic saplings become arctic forest). Add the Example Swaps adds two such swaps for snowy areas.
  5. Save the map and put the server plugin on your server (the Server Plugin window ticks Spawn populations and trees for you). Every change here is one undo step.
TipThe list only offers trees your Rust version has; anything a game update removed is left out.
TipTrees placed in the map from a swapped tree become full-grown too.
TipBeach birches are off by default: full-grown trees there turn a beach into a forest.
TipOn a running server, trees already standing change when they grow back; a restart changes them all.
NoteThese settings are part of the Rust Build data in the map: the game ignores them without the RustBuildHelper plugin, and saving the map in another map editor removes them.
The Spawn Populations and Trees window

Map Data: look inside the map file

Tools▸Map▸Map Data (stored data, images, profiles)…

See every piece of data stored in the open map, with its size: the game's terrain layers, prefabs and paths, other map editors' data (building blocks, IO entities and wires, vending and loot profiles, NPC and vehicle spawns, ocean, APC and anchor paths, custom topology, custom monuments) and Rust Build's own data (sign images, skins, entity scale, camera paths).

  1. Open the window. The list on the left groups the data: Rust map, Other map editors' data, Rust Build data and anything unknown, each with its size. Overview lists everything.
  2. Click an entry to see it as a table: vending shops and what they sell, loot profiles and their items, building blocks by type and grade, IO entities with their wires and settings, paths with type, node count and length, skin IDs, entity scales, sign images with thumbnails. Unknown data is shown as text or bytes.
  3. Click a row to go there: building blocks, IO entities, signs, vending machines and containers are selected and the camera flies to them; a vending or loot profile selects every machine or container that uses it; a path row selects the path.
  4. Type in Filter… to show only matching rows (an item name, a skin ID, a prefab name…).
  5. Copy as Text copies the rows that match the filter. Export… saves the data to a file (Rust Build data can be saved unpacked as XML), or the table as a text file.
  6. Sign images: click one to preview it (GIFs play) and Save Image… to keep a copy as PNG (animations as numbered frames).
  7. Sign images and skins can be removed here: select a row and click Remove Image / Remove Skin, or Remove All… (asks first). They leave the file when you save; Ctrl+Z brings them back.
TipThe window shows the map as it was opened or last saved. Changes you make afterwards show up once you save (the Editor column of sign images, skins and scale already compares with the open map).
TipVery big data shows the first rows only: use the filter to find the rest. Copy and Export always include everything.
TipOther map editors keep their own data but drop Rust Build's when they save the map: check here after editing a map elsewhere.
TipThe map password is never shown here: see Map Password.
Map Data: what is stored inside the map file

Tools ▸ Generation

Rust's own world generator runs inside Rust Build: no server needed. It reads the prefab data from your Rust client and RustNative.dll from the client folder. One window does both jobs: New Procedural Map makes a whole new map, Rerun Generation Steps runs chosen steps on the map that is open. The two buttons at the top of the window switch between them; the settings tabs and presets are the same for both.

New Procedural Map

Tools▸Generation▸New Procedural Map…

Make a complete Rust procedural map (terrain, biomes, monuments, roads, rails, rivers, power lines, caves, decor) from a size and seed, with every generator setting exposed.

Rust Build generators as steps. At the end of the Included Steps list (and of Steps to Run in Rerun Generation Steps) three more steps can be ticked, each with its main settings on the row and a Settings… button that opens that generator's own window (its other settings are used):

  • Road tunnels (early): joins the largest islands with road tunnels (join islands, tunnels per pair). They are built early, right after step 16 (after step): the terrain and rivers are finished but no monument is placed yet, so the tunnels get the best spots. Their pieces, portals, cuttings, cover rocks and approach roads then become areas the rest of the generator keeps out of: monuments, rocks and decor are not placed there and roads, rails and power lines go around them. At the end each portal gets its road to the nearest road. Needs at least two islands (for example a height map with islands, or Multi Island). Portals are never placed at or below sea level.
  • Caves: how many caves of what size, built after the generator and the custom prefabs in free spots: away from monuments, road tunnels, other caves and dungeons, roads, rails, rivers, lakes, swamps and the sea, flattest ground first. Every entrance is checked as well, and every part keeps 20 m from tunnels, sewers and other caves; when a spot doesn't work out the next free spot is tried (see Cave Generator).
  • Dungeons / sewers: how many, which pieces (Halloween, Christmas or sewers) and the size, placed the same way after the caves; their manholes only go on clear ground (see Dungeon Generator).
  • Island link: joins the two closest islands with a rail through a covered trench under the strait and / or zip lines (width, depth; see Island Link). It runs after the generator, when the rails exist; if the rail can't be placed, the zip lines are still added.
  • Build rooms under icebergs: an underwater build room under every iceberg the generator placed (or at most this many, the largest first), with the size and parts set in the Iceberg Build Rooms window.
  • Bridges: wherever a river crosses a road or a rail line, the crossing becomes a bridge. Other roads and rails beside it are left as they are. The deck is made of the game's own concrete girder sections (from the launch site) laid side by side, a little wider than the road, on piers from the ferry terminal's road bridge and with crash barriers along both edges; Viaduct uses the launch site's long spans with their own pillars instead. The bridge spans the river's whole width plus its banks (measured from the river bed up- and downstream), so the river is not narrowed. The deck is high enough above the water for boats to pass underneath (clearance, 8 m by default); the piers stand on dry ground outside the water (on very wide rivers, outside the middle where boats pass), and the road or rail line climbs to it on embankments (roads at most about 7 %; near a monument or where the road ends close to the river a shorter ramp that eases on and off, never steeper than the road slope limit set for the road generator). A rail line climbs on a short ramp that eases smoothly off the deck and onto the ground again, no steeper than the rail slope limit set for the rail generator; only the rail near the bridge is changed, and it always lies on its embankment. Under the bridge the river channel is cut back to its full width and depth, with its water, river-bed ground and River topology, where the road had filled it in, and the embankments never spill into the river. The road's own embankment under the deck is taken away too, so the ground under the bridge matches the ground beside it, and the road's gravel and Road topology under the deck are replaced by the ground beside it (the river's own ground in the channel). The embankments blend into the ground around them on gentle side slopes, and under each deck end the ground slopes down to the water instead of ending in a wall. Where a curving rail line keeps a short deck close to the water, short approach spans of the same girders follow the rail's own curve until the ground can slope down gently underneath; crash barriers are left out where a curving rail would swing the train over them. Along removed sidings the rebuilt ground blends into the ground on both sides without steps. Monuments are never touched: no ground, texture or topology inside a monument's area (plus a few metres) changes; a ramp that would reach one is made steeper, and if that is still not enough the crossing is left as it was and the result line names the monument. Ramps never bury another rail line either. Rail sidings and side loops that cross a river, or that run close to a rail bridge or its ramps, are removed whole, even when they are made of several pieces, up to where they join the main line (the main line carries on without them), so only the main line gets a bridge; along their old route the rail texture, Rail topology and embankment are cleared away, the ground is rebuilt on gentle slopes that never bury the main line, and the river channel comes back where they crossed it. A road or rail that bends a little over the river is laid straight across the bridge; where a road leaves the bridge line, the old stretch of road beside the deck loses its gravel, Road topology and embankment too. A road that bends far off the line, or whose deck would overlap another bridge, is left as it was and named in the result line. Road bridge decks always reach far enough onto the banks for the ground under each end to slope down to the water at a gentle angle. Road signs and power poles that stood on the bridge, under it or down on the low ground beside it are moved to just outside the deck's edge at the nearer end, where the ground is up at the road (never in the water), and the power lines stay connected; electrical boxes and bus stops under a deck are removed; other prefabs are never lifted with the ramps: small things such as trees and bushes follow the ground, and rocks or cliffs that the ramps or the channel leave hanging in the air (measured by their real shape, so a rock with one corner in the bank still counts) are set down onto the ground or removed, buried ones are removed (also along removed sidings). This clean-up round the bridges runs again after the other generators at the end of New Procedural Map, and Rerun Generation Steps keeps new rocks, cliffs and decor away from the bridges on the map. Running the Bridges step again keeps the bridges already on the map: a crossing that already has a deck is left as it is. Roads are split at the deck ends; a rail line stays one line, laid across the whole deck at deck height, easing smoothly onto the embankment grade beyond each end, so trains keep running without touching the deck ends (Train Test ▸ Instant check finds nothing there). roads and rails choose what gets bridged; the result line lists any crossing that could not be bridged and why (for example a river too wide, or a road that bends over the river).
  • Ground floating rocks (on by default, the very last step): rocks, cliffs and other generated prefabs left hanging in the air by a step that changed the ground after they were placed are lowered onto it, and road signs, boxes and other props left buried are put back on top. Rocks and cliffs are judged by their real shape (also rocks open underneath) over all ground that changed since they were placed: lowered up to 2 m, else removed. The result line says how many.
  • Keep roads and rails clear (on by default): the generator already refuses to put decor, rocks, trees and props on a road or rail surface. As the very last step everything still left standing on one (for example placed by an older step or by Rerun Generation Steps) is dealt with: props such as the water treatment pipe access points, substations and road signs are moved to the side of the road, trees, rocks and other natural decor on it are removed. Monuments are never moved: a road that runs into one (for example fishing village piers or a well at the end of a road, where the road Bradley would get stuck) is shortened to stop before it, and a road with a monument standing on it is split around it. The result line says how many were moved, removed and shortened, and which.

Bridges and Keep roads and rails clear also work on a map you already have open: in Rerun Generation Steps tick them without any other step and press Run the Extras Only. Everything they change is one undo step.

The result line says what each step built, or that it found no free spot (small or crowded maps). Step by Step runs the road tunnels when it reaches the first step after the chosen one, and the caves and dungeons with the extras at the end.

Fast (on by default). While a new map is made, the loading screen shows a picture of the map and the progress of each step (with Cancel in the progress window); the 3-D view is built once at the end, like opening a saved map. This is much quicker and needs much less memory than building every prefab live. In Rerun Generation Steps the same happens when three or more steps are ticked; the map is then opened again with the result, so the undo history starts fresh from there and the map is marked as changed (save it to keep it). Untick Fast (next to Double check) to watch the map change live; Step by Step always shows each step live.

Every monument. On the Monuments tab, Every monument: at least one of each type makes sure every monument the generator knows is on the map at least once, the big ones too (launch site, airfield, military bases, ferry terminal, harbors…), on any map size. A monument that does not fit is first tried with relaxed spacing; if there is still no room, the gentlest spot away from water, rivers, roads and other monuments is chosen, preferring land that is already flat, and flattened: a plateau just the size of the monument at the ground's middle height (low by the shore for harbors, fishing villages, lighthouses and the ferry terminal) that blends into the land with a smooth curved slope no steeper than Every monument: steepest blended edge (18° by default). Rock texture on the new gentle ground becomes the biome's ground; the blend never changes the ground of another monument and never comes near a road tunnel. Roads and rails are made after the monuments, so they go around the new ones. The result line and a message list which monuments needed flattening. Caves, swamps, ice lakes, jungle ruins, roadside and offshore monuments are not forced. It is off by default: flattening reshapes land and can spoil terrain features nearby, such as canyons, rivers and coastlines, so the editor warns you when you tick it, and it never flattens next to a canyon. By default only gentle flattening is done: the ground may move by at most 15 m, the blended edge may be at most 90 m wide and at most a fifth of the island may change. A monument that would need more is left out and listed with the reason; tick Every monument: allow heavy flattening to place it anyway (on a small map the land then changes a lot).

More settings. The Terrain tab can reshape the generated land: Land height scale, Raise / lower the whole terrain, Extra detail noise (height, feature size, octaves, roughness), Smooth the height map, and the Erosion iterations, rain and evaporation. The Decor tab has Rock and decor density and Hill cliff density multipliers. Every default is the game's own value.

Nothing in the train's way. After the ground is shaped along the rails, the space the train needs (the widest car, a little to spare, and more on bends where the long cars swing out) is kept clear: the steps that come later (rocks and cliffs, roads, monuments, and the editor's own generators) cannot raise the ground into it, and the last step of New Procedural Map, Rerun Generation Steps and Set Up the Terrain clears it once more where something changed the ground or moved the rail since (bridges, Island Link). Dips sharper than a 120 m curve and humps sharper than an 80 m curve are eased so the locomotive does not scrape the track bed; bridge ramps are laid on gentle curves too.

Rail bends trains can take. A train with wagons jams on a bend tighter than about 16 m: a wagon looks for its place by following the track back from the car in front, and on a tight U-turn it ends up facing the wrong way. The generator therefore keeps every rail bend at least Rail smallest bend radius wide (Rails tab, 25 m by default, 0 = keep the rails as they come). Where the ring rail ran out onto a point of land and back over the same ground it is cut off across the neck, tight corners are laid on a wider curve before the ground is shaped along the rails, and a rail runs straight across a river so its bridge deck lines up with it (the Bridges step also eases a curving rail into the deck's line and reshapes the ramp under it). Use the Train Test to check a finished map.

Small maps and ocean. Rust keeps a wide band of ocean around every procedural map, so on small sizes many seeds give little or no land: at 1000 m about one seed in five is open ocean, and the typical land share is about 5 % (1500 m: about 19 %, 2000 m: 30 %, 3000 m: 46 %). The real game makes exactly the same map for the same size and seed, so this is not a fault. Use Find seed with land to get a seed with land.

  1. Open the window (also on the start screen). New Procedural Map is selected at the top; the line under it says what will happen: the new map replaces the open one. The Prefab data: client bundles… line must show your client folder; otherwise click Client Folder….
  2. On the Map tab set the size (1000–6000) and the seed, or click Random seed. For small maps click Find seed with land: it tries random seeds (fast, height map only) until one has at least the minimum land % set on the same tab (default 10 %).
  3. Change any tab you like, or load a Preset. Hover any setting for what it does and its default. The Included Steps tab lists the steps a new map runs: untick one to leave it out (for example no rocks).
  4. Click Generate New Map. The progress bar shows the step being run.
  5. The map is saved to RustBuildData\newmaps\proceduralmap.<size>.<seed>.map and opens. Use Save Map As to keep it elsewhere.
  6. If the new map has less than 2 % land, the result line warns you and suggests Find seed with land.
All 16 controls
ControlWhat it does
Mapsize, seed, random seed, Find seed with land and its minimum land %
Worldtier zone percentages (Tier 0 = easiest monuments … Tier 2 = hardest) and biome percentages; roads, side roads, trails, rivers, power lines, rails above ground; prefab black- and whitelist
Multi Islandsee Multi Island
Terrain, Roads, Rails, Rivers, Monuments, Power Linesevery generator constant (path costs, widths, spacing, attempts, angles); any value is allowed. On the Rails tab Limit the rail grade (off: rails follow the land as the game lays them; on: hills are cut and valleys filled so no rail climbs steeper than Rail steepest grade); on the Roads tab Road smallest bend radius (the ring road never folds back on itself)
Undergroundtrain tunnels under the map: on / off, the tunnel depth step, Tunnel density (0 = the game's layout; more adds loops and more tunnel exits up to the surface rails) and Tunnel entrances on every island, tunnels under the sea with the deepest sea floor and longest crossing allowed (see Rebuild Underground Rail Network)
Underwater Labsunderwater labs on / off, extra labs and where they may go (edge distance, water depth, distance from land), and the lab layout settings
HeightmapUse a PNG heightmap: your own height map image instead of the generated one, with Browse…, the same options as File ▸ Import ▸ Heightmap (PNG / JPG) and a preview; the Height Map step uses it and every later step builds on it
Cargothe generated cargo ship path: fast corner-to-corner route, distance from the shore, minimum water depth
Textmap name (start of the file name) and advert text at the Outpost, on its two gates and at Bandit Camp
Double Checksee Double Check Work
Step Parametersevery serialized parameter of every generator step; changed values are orange
Fixed Areasthe ground kept clear for custom prefabs with a fixed position: on / off, the clear margin around them, a small map with their outlines and, after a run, what each one kept out
Included Stepswhich steps a new map runs, plus the extras after it (cargo path, double check), the Rust Build generator steps (road tunnels, caves, dungeons) and the Custom Prefabs step at the end of the list
Decorrock and decor density, hill cliff density
Preset / Load / Delete / Save Asnamed settings sets, shared with Rerun Generation Steps
Reset all settings to defaultsthe game's own values
TipTo watch the map being made and redo single steps, use Step by Step instead of Generate New Map.
TipSettings saved before the Cargo, Text, Underground and Underwater Labs tabs existed keep their values: only the tab they are shown on changed.
TipThe generator uses every core of your processor; a 2000 m map takes well under a minute on a modern PC. The first run builds a cache (a few minutes).
TipWhen a run will take 20 seconds or more, a window shows the estimated time first: Start or Cancel. While it runs, Cancel in the progress window (or Esc) stops it and the open map stays as it was.
TipDefaults reproduce the game's generator; steep custom height maps may need a higher road max slope.
TipMap edges. Every generated map fades smoothly into the sea bed near its edges (Terrain tab: Fade the map edge into the sea bed, 200 m by default; 0 turns it off). All four edges end at the same depth, also with your own height map image, so there are no cliffs or ledges at the edge of the map. Map edge fade width in height-map texels replaces the metres when you want it in texels; Map edge sea bed height sets the depth (a deeper generated ocean floor is kept).
Orbiting the generated 3000 m map
New Procedural Map: the Map tab with Find seed with land
New Procedural Map while it generates: the progress window names the step (here Harbors)
The Underwater Labs tab
The same map after generation, seen from higher up
The Rust Build generator steps at the end of Included Steps
A generated 3000 m map built on the New Zealand height map: islands, monuments, roads and rivers
Bridges: a road bridge with ramps up to the deck on both banks
Under the bridge: room for boats, the piers on the banks, the river channel put back
A rail line crossing a river on a bridge; it stays one line, so trains keep running
The bridge spans the whole river and its banks: the river runs on underneath at full width

Step by Step: watch the map being made, redo a step

Tools▸Generation▸New Procedural Map…▸Step by Step…

Run the generator one step at a time. After each step it pauses so you can fly around and look at the result so far; then go on, run that step again with other settings or another seed, or stop.

  1. Open the generator window and set it up as usual: New Procedural Map (size, seed and the Included Steps) or Rerun Generation Steps (open map) (tick the steps on Steps to Run).
  2. Click Step by Step… next to the big button. For a new map it starts from an empty map of the chosen size (it replaces the open map, like Generate New Map); for Rerun Generation Steps it works on the open map.
  3. The generator window closes and the small Step by Step window shows which step just ran, what it changed and which step comes next. The camera is free: fly around, look at the new terrain, monuments, roads or rocks.
  4. Continue runs the next step. After the last step the button says Finish: the ticked extras (custom prefabs, cargo path, double check) run and you are done.
  5. Regen… opens a window with the settings that change this step (for example the monument tiers and spacing for a monument step, the road settings for a road step) and the step's seed. Change them, or click Random for a new seed, then Run This Step Again: the step's result is taken away and the step runs again with the new values. Repeat until you like it. The Step Parameters tab of that window holds every value of the step itself.
  6. Your own height map. For the Height Map step, Regen has a PNG Heightmap tab: tick Use a PNG heightmap instead of the generated height map, pick the image with Browse… and set it up exactly like File ▸ Import ▸ Heightmap (PNG / JPG) (Island or Raw, min and max height, normalize, invert, flip, water level, ocean cuts, offshore depth, sea bed, coastline, edge fade, smoothing) with a preview. Run This Step Again makes the terrain from your image and every following step builds on it. The same settings are on the generator's Heightmap tab, so you can choose the image before you start.
  7. Cancel (or the window's ✕) stops running steps and asks: Keep What I Have keeps every step so far, Undo the Last Step takes away the last step that changed the map and keeps the ones before it, Back carries on.
  8. When it ends, the whole run is one undo step: Edit ▸ Undo takes it all back. A new map is not saved yet: use File ▸ Save Map.
TipEach step shows its seed. A normal generation gives step number i the map seed + i; a seed you pick in Regen is used for that step only (Map seed + i puts it back).
TipSettings you change in the Regen window are the same settings as on the generator tabs and are saved with them, so later steps and later maps use them too.
TipMany steps change nothing on small maps (no room for a big monument, no rivers on a 1000 m map): the window then says no change to the map.
TipWhile a step runs, the progress window shows it with Cancel; cancelling there asks the same keep / undo question.
TipA map made step by step is very close to the one Generate New Map makes with the same size and seed, but not always identical: monuments can end up a few metres apart.
A 1500 m map made step by step: each step pauses, Continue runs the next (sped up)
Paused after the Main Monuments step: look around, then Continue, Regen or Cancel
Regen: the step's seed and the settings that change it
Cancel asks whether to keep the steps so far or undo the last one
Regen of the Height Map step: the PNG Heightmap tab with your image and the import options
The generator's Heightmap tab with a PNG height map (the New Zealand sample)

Multi Island and Don't double up monuments

Tools▸Generation▸New Procedural Map…▸Multi Island

Treat every island as its own map centre (ring roads, rails, rivers and monuments per island), choose how many of the biggest islands get rails and a ring road, and place each monument only once.

  1. Tick Multi Island and set Max islands, Min island land area and the Island sea level.
  2. Rails on the N largest islands and Ring road on the N largest islands (1, 2, 3 or 4; 2 by default) keep rails and ring roads off small islands: only that many of the biggest islands (by land area) get a ring rail or ring road. Smaller islands get no rails at all, so monuments there have no rail lines leading nowhere; roads to their monuments are still made where they fit. Train tunnels under the sea are not changed by these settings.
  3. Ring settings shape the per-island ring road and rail; Monument tiers per island gives each island its own tiers.
  4. Never place these monuments twice lists monuments that appear at most once on the whole map, even though every island gets its own monuments. By default: compound, bandit_town, harbor, ferry_terminal, apartments_complex (Compound, Bandit Town, Harbors, Ferry Terminal, Apartment Complex). A name also covers its numbered versions, so harbor means both harbors. Add or remove names (comma separated); empty lets every island have its own.
  5. Tick Don't double up monuments so every monument appears once (existing ones count). Lettered layouts can count as one.
  6. Works with a custom height map (Heightmap tab) and with Rerun Generation Steps on existing maps.
TipThe biggest island that has room gets a listed monument first. Settings saved before this list existed get the default list.
A height map with three islands: the islands get their own ring road and rail, every monument appears once (exported with Render Map)

Custom prefabs in generated maps

Tools▸Generation▸Custom Prefabs (procedural placement)…

Let Rust Build place your own custom prefabs (bases, arenas, landmarks) in free spots of the map: as a step of a new map, of Rerun Generation Steps, or right now on the open map. You choose which ones, how many, and where they may go, and you can see every spot before anything is placed.

  1. Open Tools ▸ Generation ▸ Custom Prefabs (procedural placement)…. The window opens on the right so the map stays visible.
  2. On the left is your custom prefab library. Type in Search… to find one, then tick every custom prefab you want. Ticked ones appear in the Chosen list on the right; untick one to take it out again (Browse… adds a .prefab file from anywhere).
  3. Each chosen custom prefab is one short row: its colour, its name, how many copies, use (untick to keep it in the list but skip it), Fly and ✕. Click the name to open all its settings; click it again to close them. Collapse all closes every row.
  4. Set How many (Count, or Count on every island with Per island; Spacing between copies; Clearance to other prefabs and roads), Where (lowest and highest ground, steepest slope, in water or not, biomes, topology that must or must not be under it) and Turn and height (random, fixed or 90° steps, and a height offset like the one in the Place Custom Prefab window).
  5. Fixed position (at the top of an open row) is for custom prefabs that must always be in the same place, like a city or bridges: one copy goes exactly at X / Z every time, whatever the seed. On terrain stands it on the ground (plus the height offset); untick it to give an absolute Y. Set its Yaw, or click Pick on map and then the terrain (or the small map) to set the spot; Camera spot uses the ground in the middle of the view. Fixed copies are placed first, with the row's terrain options below, and the random copies keep clear of them.
  6. The generator keeps the ground of every fixed custom prefab clear: no monument, cliff, rock or decor lands on it, roads, rails and power lines go around it and rivers stop before it, so nothing flattens or paints over its spot. Its size is measured from the custom prefab itself (plus the ground it flattens or brings along); clear ground around them adds a margin. The red outlines on the small map (and on the generator's Fixed Areas tab) show the kept-clear ground; untick Keep fixed custom prefabs clear to let the generator build over them.
  7. Under Terrain maps choose what happens to the ground: leave it, flatten it, or stamp the custom prefab's own captured maps. With its own maps, tick which of them to apply (Height, Splat, Biome, Alpha, Topology) and how (height Replace / Raise only / Lower only, topology Replace / Add, edge falloff), exactly like placing it by hand. Maps it did not capture show (none). Blend edge (under the list, 0–50 m) fades the flattened or copied ground out into the map around it, so the edge becomes a smooth slope instead of a step.
  8. Prefabs' own terrain runs the terrain stamps that monuments inside the custom prefab carry themselves: tick Height, Splat, Biome, Alpha, Topology and/or Water.
  9. Click Preview spots. Nothing is placed: every spot is drawn on the map as a ring in the custom prefab's colour with a beam and its name, and as a dot on the small Where they go map. The open row's spots are the bright ones, and the small map shows the ground that fits it in green (orange: it fits, but prefabs or roads are in the way).
  10. Click a spot number in an open row, Fly on a row (each click goes to the next spot), or a dot on the small map to fly there. Click anywhere else on the small map to fly to that place.
  11. Happy? Tick Place them as a generation step so a new map (or Rerun Generation Steps) places them after its steps, or click Place on the open map now. Either way all of them together are one undo step.
All 9 controls
ControlWhat it does
Custom Prefabs stepthe same switch appears at the end of the step list of New Procedural Map (Included Steps) and Rerun Generation Steps (Steps to Run), with Choose… to open this window; Step by Step runs it at Finish
Placement seed0 = the map seed; the same seed and settings give the same spots
Ignore existing prefabs smaller thansmaller prefabs do not block a spot
Attempts per copyhow many places are tried for each copy before it is skipped
Clear small decor under themrocks, clutter, ores and collectables up to the size below are removed where a copy lands instead of blocking it
Keep fixed custom prefabs clearthe generator keeps monuments, rocks, roads, rails, power lines and rivers off the fixed custom prefabs (on by default); clear ground around them sets the margin in metres
Blend edgehow far (0–50 m) the ground a custom prefab flattens or brings along fades out into the map around it, with a smooth slope; height, textures and biome fade, holes and topology keep a sharp edge. 0 = hard edge. A dashed outer ring shows the distance; remembered with the generator settings
Clear spotsremoves the rings and dots (placed prefabs stay)
Show the spots on the mapturn the rings, beams and names on or off
TipThe line at the bottom tells how many copies found a spot and, when some did not, why (height, slope, topology, prefabs or roads in the way…): loosen that setting and preview again.
TipCopies keep clear of monuments, other prefabs, roads, rails, rivers, power lines, water and each other. With Multi Island they are dealt out over the islands by size.
TipEach placed copy is one group: click it to select the whole copy, double-click for a single piece.
TipRerun Generation Steps with the Custom Prefabs step leaves a fixed custom prefab that is already at its spot as it is instead of adding a second copy.
TipTrain tunnels may still pass deep under a fixed custom prefab: they never reach the surface.
TipAfter Undo the spots show as preview rings again, and marking a fixed spot (Pick on map, Camera spot or X / Z) always moves its ring, also after Undo / Redo, closing the window or opening another map.
TipYour choices are saved with the generator settings and in presets; settings from earlier versions load as they were.
The Custom Prefabs window
Fixed position: this custom prefab always goes exactly at X / Z (orange ring), the random copies keep clear of it
A fixed custom prefab on a 2500 m map: without keeping it clear a monument, rocks, a road and a power line run through it (left); with it the road and power line go around and the monument goes elsewhere (right)
The generator's Fixed Areas tab: the kept-clear ground of three fixed custom prefabs
The same custom prefab ground (5 m higher) with Blend edge 0 (left, a hard step) and 20 m (right, a smooth slope)
Blend edge 20 m: the dashed outer ring shows how far the ground fades out
Terrain maps: which captured maps to stamp, and the monuments' own terrain
The Custom Prefabs step at the end of the generator's step list

Final Check

Tools▸Generation▸Final Check (rivers, flying rails / roads)

The check that ends every procedural run, on the open map: use it on a map made with an older version or after your own terrain edits.

  1. Open the map and choose Tools ▸ Generation ▸ Final Check (rivers, flying rails / roads).
  2. It fixes river water and banks (no river edge over lower ground, no water standing over the open sea), rail lines beside each other, ground filled back under rails and roads over air (also across a river with no bridge), ground in the train's way, ground piled onto a road, rocks in the air and bridge legs in a road or rail line.
  3. The message says what it did and lists anything it could not fix with where it is. It is one step: Edit ▸ Undo takes it all back.
Tools &#9656; Generation &#9656; Final Check: the notice lists what was fixed and what is still left
Tools ▸ Generation ▸ Final Check: the notice lists what was fixed and what is still left

Double Check Work

Tools▸Generation▸Double Check Work (flying prefabs, alpha)…

Find and fix floating or buried prefabs and broken terrain holes (alpha) on any map, generated or hand-made.

  1. Open the window: a check runs straight away.
  2. The list shows each problem: floating / buried prefabs (monuments by their terrain anchors, rocks and other prefabs by their mesh), monuments saved before Rust moved their origin (moved origin, see Fix moved monument origins), alpha problems (wrong resolution, missing or misplaced monument holes) and spawn when the map has too little beach for new players (see Beach Spawn Areas; Check + fix all paints spawn beach) cargo where the cargo ship path passes through or right next to an iceberg, oil rig, rock or land (generate the path again in Path Tools), road end where a road stops beside the road it meets instead of on it (Check + fix all moves the end onto that road at its height and flattens and paints the joined stretch), and river where a power pole, road sign or box stands in a river or hangs over it (fixed by moving it to dry ground beside the road) or a road or rail runs under river water.
  3. Click a row to fly there.
  4. Check + fix all, or select rows and Fix selected prefabs. Fixes are one undo step.
  5. Settings… opens the generator's Double Check tab (tolerances, what to check, fix monuments by fitting the terrain, run automatically after Generate).
TipA floating or buried monument is fixed by moving the ground only where its terrain anchors are out of place, just far enough to bring them back; the rest of the monument's ground is left as it is. Rocks, cliffs and decor on the ground that moved are set down or removed, and a rail line next to it is kept clear. A big monument with only a few anchors off (where its own shape cuts into or raises the ground, like a launch site) is not listed.

Rock check

  1. In the Double Check window, the Rocks: row has Select all rocks (selects the procedural cliffs, coastal rocks and rock formations) and Rock check (delete + re-run)…. The same check is Tools ▸ Generation ▸ Double Check Rocks (delete + re-run rocks)….
  2. A window says how many rock and cliff prefabs will be deleted, which generator steps place them again and the estimated time. Click Start.
  3. The rocks are deleted and placed again by the generator on the current terrain, as one undo step. Cancel puts the old rocks back.
Double Check Work results
Double Check Rocks asks first

Fix moved monument origins

Tools▸Generation▸Fix Moved Monument Origins…

Old maps: put the nuclear missile silo, the military tunnel and the large sewer cave back on the ground after Rust moved their origin.

  1. Rust moved the origin of these monuments down inside the prefab (silo 46 m, military tunnel 50 m, large sewer cave 30 m). A map saved before that update still has the old position, so the monument floats above the ground, in the game as well. Newly generated maps are fine.
  2. When you open such a map, a window lists the monuments and how far each one is too high. Click Fix to move them down by exactly that amount, or Not now to leave the map as it is.
  3. Later: Tools ▸ Generation ▸ Fix Moved Monument Origins… checks again and offers the same fix. Double Check lists them too.
  4. The fix is one undo step. Save the map to keep it.
TipNothing is moved without asking: the server places map prefabs exactly where the file says, so the map only changes when you click Fix.
TipOnly the monument itself moves; its terrain is left alone (it already matches).
Fix Moved Monument Origins…

Rerun Generation Steps

Tools▸Generation▸Rerun Generation Steps (open map)…

Run chosen generator steps on the open map, for example add rivers, roads, monuments or rocks to a hand-made map, or redo the biomes.

  1. Open a map, then Tools ▸ Generation ▸ Rerun Generation Steps… (or click Rerun Generation Steps (open map) at the top of the New Procedural Map window). The line under the buttons says that the open map will be changed.
  2. The Steps to Run tab opens first. It shows the size of the open map (the steps always run at that size) and the seed from the Map tab; step number i uses seed + i, as in a new map.
  3. Tick the steps to run. All steps / No steps tick or untick everything; each group (Terrain, Rivers, Monuments, Roads…) has its own all / none. Hover a step to see what it does and which steps it needs.
  4. Optionally tick the extras: Cargo path or Double check, and the Custom Prefabs step at the end of the list (Choose… opens Custom Prefabs). With no steps ticked, the button runs only the extras.
  5. Change any other tab (Multi Island, Monuments, Roads…) if you like: they are the same settings as for a new map.
  6. Click Run N Checked Steps. Terrain, prefabs and paths come back as one undo step: Edit ▸ Undo takes it all back.
TipSteps whose result is already on the map (from Set Up the Terrain, New Procedural Map or an earlier rerun) say so in the list, and the confirmation lists what will happen to them: rivers, roads, rails and power lines already on the map are kept and their steps skipped (a second set would cross the first), and the river topology, terrain and texture steps don't carve or paint the rivers again over the roads and rails built since (unless Topology Map, Height Map or Splat Map runs too); rocks, cliffs and decor are removed and placed again, so the map never gets two sets. Set Up the Terrain follows the same rules.
TipStep by Step… runs the ticked steps one at a time and pauses after each, so you can look at the result and run a step again with other settings.
TipSteps build on earlier ones and always run in the game's order. Run Splat Map after Biome Map (the ground textures follow the biomes) and Cliff Topology after Topology Map. Road, rail, river and power line steps need their Layout step in the same run, or those paths already on the map.
TipMonuments, roads and rails already on the map are taken into account: new monuments keep clear of them and new roads connect to them.
TipWhen a run will take 20 seconds or more, a window shows the estimate first. Cancel in the progress window leaves the map unchanged.
Rerun Generation Steps: the Steps to Run tab

Dungeon Generator

Tools▸Generation▸Dungeon Generator…

Build big tunnel mazes from the game's event dungeon pieces (Halloween mine tunnels, Christmas tunnels) or a sewer system from the game's sewer tunnels, anywhere on the map.

As a generator step. New Procedural Map and Rerun Generation Steps can build dungeons or sewers in free spots as a step (Dungeons / sewers, see New Procedural Map), with this window's settings.

The pieces join the way the game joins them in the event dungeons: a grid of 12 m cells, and each cell gets the piece whose open sides match its neighbours, so every tunnel lines up with the next one. The game only makes small 6 × 6 dungeons; here the size and the shape of the maze are up to you. The pieces are saved with the map as normal prefabs, so the game loads them like any other prefab. There is no Easter dungeon in the game files, so there is no Easter set.

Sewer tunnels build on a 6 m grid from the sewer tunnel, bend, T-junction, crossing and end pieces, turned so their ends meet exactly. Tube ends that lead nowhere are closed with concrete cubes.

Ladder entrances (sewer) put the game's high sewer ladder into straight tunnels. Its shaft comes up through a manhole with a patch of ground around it; the terrain is raised or lowered to that patch so the manhole sits flush, and opened only under the manhole's opening. A ring of terrain blend cubes lies just under the patch, from the manhole's concrete collar outwards, so the faded outer edge of the patch never shows the hole in the terrain; on big maps, where the terrain hole cannot be made that small, the ring reaches past the patch. The ground around each manhole is painted with Building topology, as monuments do. With Depth ticked the sewer floor is set so the ladders come out exactly at ground level. The window warns when an entrance would come out under water or when the ground has to be raised or lowered a lot. Rocks, cliffs, trees and decor next to a manhole that the levelled ground leaves floating or buried are removed (small things move with the ground), and Undo brings them back.

Manholes only on clear ground. A manhole levels the ground for about 12 m around it, so it is only put where that whole area, plus a margin, is free: no road, rail line, river or power line (with room for their verges and embankments), no water, beach, swamp or sea shore, no monument (and 20 m from its edge), no other prefab (rocks, cliffs, signs, poles, bridges, tunnel portals, another manhole, a cave entrance…), no tree or bush on the manhole itself, no tunnel, cave or other sewer just below, and no slope steeper than about 18°. When a spot is not clear the entrance moves along its route (a slope more or less) or to another tunnel or edge of the sewer; if no clear spot is left the entrance is left out, and the line under the settings says how many spots were passed over and why. In New Procedural Map a sewer that would get no entrance at all is built in the next free spot instead.

Manholes kept clear. Rocks, cliffs, trees and other decor over a manhole, its ground patch or the head room above it are removed after the sewer is built, and again by New Procedural Map and Rerun Generation Steps after the last step that places rocks, so nothing ever covers a way in.

Depth below ground (sewer) puts the sewer deeper than one ladder reaches. Each level adds one of the game's sloping sewer tunnels (15 m long, climbing 6 m), so the floor lies 6 m deeper: 8.9 m below the manholes at 0 levels, 14.9 m at 1, 20.9 m at 2. With 1 level or more the ladder entrances branch off at the edge of the sewer and climb up the slopes to their ladders, each with the number of slopes that brings its manhole closest to its own ground. Large big rooms are buried completely from 1 level on.

Big rooms are the game's big sewer rooms: Small (15 × 40 m, one floor) or Large (24 × 42 m, 12 m high with an upper walkway). Tunnels join their side openings the way the Sewer Branch does; unused openings are closed and a concrete roof is added on top.

Buildable rooms are made of cubes (floor, walls and ceiling, in the cube you pick) with a doorway into a sewer tunnel. An invisible collider lies on the floor so players can put foundations down and build a base. The sewer keeps one empty cell around each buildable room, with only a straight tunnel leading to the doorway, so the sewer's dark lighting and fog cannot come through the walls.

Always under the ground. Before anything is placed, every piece (tunnels, rooms, the sloping entrance tunnels and the ladders) is checked over its whole footprint: there must be at least 3 m of ground above it (measured on the ground as it will be once the manholes are levelled), and it may not touch another prefab, such as a monument, a road or train tunnel, a cave, an underwater lab, another dungeon, or a rock or cliff that reaches below the ground. Road and train tunnels, caves, other sewers and dungeons, underwater labs and monuments must also stay at least 20 m away in every direction. If the ground is too low anywhere, the whole sewer goes deeper. Pieces under a valley that would need it more than 24 m deeper, and pieces that touch another prefab, are left out, and the rest stays one connected network. An entrance tunnel that would come out of a slope, end under water or run into a prefab is moved to another edge. Only the manholes reach the surface. The plan that is placed is always the one that passed the check; when no part of the sewer fits at a spot (for example inside a monument), nothing is placed and the window says why. The line under the settings says what was changed.

Moved or turned afterwards. Select any piece of a sewer and the Inspector says whether all its pieces are still under the ground. If you move or turn the sewer so that some pieces come out of the ground, it lists how many, how far they stick out and where; Show the highest one takes the camera there.

Trigger volumes: the whole sewer and its rooms are covered with terrain_trigger_noenv and water_trigger_noenv boxes. On a server players inside are not kicked for being inside the terrain, and the tunnels never fill with water, even under the sea. They do not change the lighting.

  1. Open Tools ▸ Generation ▸ Dungeon Generator…. The dungeon is centred under the camera; Camera moves it there again, or type the Centre X / Z.
  2. Pick the Pieces: Halloween mine tunnels, Christmas tunnels or Sewer tunnels.
  3. Set the Size in cells (the window shows the size in metres) and the maze shape: Fill, Branching, Loops, Dead ends kept, and the number of Entrances (event sets) or how sewer Dead ends are closed (end piece or concrete cube).
  4. Sewer tunnels only: set the number of Ladder entrances, the Depth below ground in levels, Big rooms and their size, Buildable rooms with their Room size (cells and height) and Room walls cube, and whether to add the server trigger volumes.
  5. Set the Height: metres above the ground at the centre (negative = below it), or tick Absolute for a world height.
  6. The outline in the world shows the layout as you change settings: corridors orange, entrances green, dead ends red, ladders yellow, sloping entrance tunnels light blue, big rooms blue, buildable rooms green. The line under the settings counts cells, prefabs, junctions, loops and dead ends. Change the Seed or click Random for another layout.
  7. Click Build Dungeon. A progress window shows the pieces being placed (Cancel places nothing). The whole dungeon is one undo step, and in a co-op session everyone gets it.
All 9 controls
ControlWhat it does
Fillhow much of the area the tunnels cover; 100 % fills every cell
Branchinglow: long winding corridors; high: many short side branches
Loopschance that corridors next to each other are joined, so there is more than one way round
Dead ends keptthe other dead ends join a neighbouring corridor or are cut back to the last junction
Group the piecesa click selects the whole dungeon so you can move or delete it in one go; double-click one piece to edit it alone
Seedthe same seed and settings always give the same dungeon
Depthsewer: place the floor so the lowest ladder comes out at ground level (Height is then set for you)
Depth below groundsewer: sloping tunnel levels between the sewer and its ladders; each level puts the sewer 6 m deeper
Room sizebuildable room floor in 6 m cells and its height from floor to ceiling
TipIf the line under the settings says the floor went deeper or cells were left out, move the sewer to flatter ground or away from monuments and cliffs to keep it whole. Large big rooms need about 13 m of ground above the sewer floor: set Depth below ground to 1 level or more.
TipBig dungeons have many pieces: 30 × 30 cells is about 750 prefabs. Keep an eye on the prefab count line before you build.
TipThe event pieces are open at the top like in the game. Build them on flat ground, raise them above the terrain, or put them below the ground and leave the entrances at the surface.
TipSettings are remembered for next time.
The Dungeon Generator window
Sewer tunnels: every tube end meets the next one; open ends closed with concrete cubes
A ladder entrance from the surface: the ground is levelled to the manhole
A manhole from the side: no gap in the terrain around its ground patch
The ladder shaft seen from the sewer tunnel
Depth below ground: a sloping tunnel climbing from the deep sewer towards a ladder entrance
Looking down a sloping tunnel to the sewer 6 m below
A deep sewer's ladder entrance on hilly ground: the manhole sits in the levelled ground
A small big room joined into the tunnels, with its roof
A buildable room made of cubes, with its doorway into the sewer
The terrain and water trigger volumes covering the sewer (terrain hidden)

Cave Generator

Tools▸Generation▸Cave Generator…

Build big underground cave networks from the game's own cave pieces, with building pockets where players can build and sinkhole entrances that open the ground.

As a generator step. New Procedural Map and Rerun Generation Steps can build caves in free spots as a step (Caves, see New Procedural Map), with this window's settings.

The caves are made from the same rock tunnels, junctions, slopes, building pockets and sinkhole entrances as the game's small, medium and large caves, but they can be much bigger and more tangled: loops, several floor heights and as many pockets as you like. Every tunnel end meets the next one exactly, so there are no gaps to fall through, and the caves are saved with the map as normal prefabs.

Building pockets are the open rooms of the game's caves (small, medium and large, with the wooden guide logs on the floor). Players can build in them just like in the game; the tunnels themselves block building, as they do in the game.

Entrances leave the edge of the cave, climb to the surface and end in a sinkhole. The ground around each sinkhole is shaped to its rim and a hole is cut in the terrain, so players can walk in from the surface. By default each sinkhole sits about 10 m below the surrounding ground (Entrance depth offset, -10 m): the ground slopes gently down to the opening and the rocks follow it, so the entrance lies hidden in a hollow instead of standing out on a mound. Set it to 0 to centre the rim on the ground as before. A sinkhole is only put on dry, open ground: never in or next to the sea, a beach, a river, a lake, a swamp or any water, never on or next to a road or a rail line, never near a monument and never on steep slopes. Bridges, signs, poles, tunnel portals and other structures must stay clear of the sinkhole, and no power line may run over it. If the cave's layout leads an entrance to such a spot, the next seed is tried (the result line says which seed was used); if no layout fits, nothing is built and the line says why, so you can move the cave or use fewer entrances. The hole is cut a little inside the sinkhole's rock edge and the ground meets the edge exactly, so no gap shows between the rock and the terrain.

Rocks around the entrances: the game's own cave monuments hide the edge of each sinkhole with rock formations and ledges. The generator puts the same rocks round every entrance, copied from one of the game's caves (a different one for each entrance, picked by the seed), set onto the ground and kept out of the tunnels. They take on the look of the biome they stand in, like any rock.

Nothing left floating. Rocks, cliffs, trees, bushes and other decor that stood where the ground was reshaped are checked afterwards: trees, bushes and small things move up or down with the ground, and rocks or cliffs the new ground leaves hanging in the air or swallows are removed. The result line says how many. Undo puts them back with the terrain.

Room around the cave. Every part of the cave (tunnels, slopes, building pockets, entrance tunnels and sinkholes) stays at least 20 m away, in every direction, from road tunnels, train tunnels, sewers and dungeons, underwater labs, monuments and other caves. An entrance tunnel that would come closer takes another route; if the cave itself would come closer, other layouts are tried and, if none fits, nothing is built and the line says what is in the way, so you can move the cave or make it smaller. It doesn't matter which is built first: the sewer and road tunnel generators keep the same distance from caves already on the map.

Entrances kept clear. No cliff, rock, tree, bush or other decor may cover or block an entrance: anything whose shape reaches into the opening (with room above it to climb out), the sinkhole hollow or the way down to it is removed after the cave is built. The cave's own rocks round the rim stay. New Procedural Map and Rerun Generation Steps check every entrance again after the last step that places rocks.

Check Exposure looks for places where players could see or fall into the cave from above: a cave ceiling that pokes out of the ground, less ground over a tunnel than the Min. ground above you set, or a hole in the terrain over the cave away from the entrances. It runs by itself after every build. Each spot is listed with a Go to button and a numbered marker in the view (red: a hole or the cave out of the ground; orange: too little ground). Raise Terrain lifts the ground over one spot (or Raise Terrain at All) and closes holes there; Rebuild Deeper builds the cave you just made again, lower by what the worst spot needs. Both are one undo step.

  1. Open Tools ▸ Generation ▸ Cave Generator…. The cave is centred under the camera; Camera moves it there again, or type the Centre X / Z.
  2. Set the Size in 15 m cells (the window shows the size in metres) and the shape: Fill, Branching and Loops.
  3. Choose how many Building pockets you want and their size (Small, Medium, Large or Mixed). Each pocket needs a free block of the area; the line under the settings says how many fit.
  4. Set Slopes and Height range for tunnels that climb and drop between floor levels, the number of Entrances and their sinkhole style, and the Depth of the cave floor below the ground.
  5. Leave Rocks around the entrances ticked to hide the sinkhole edges with rocks like the game's caves.
  6. The outline in the world shows the cave as you change settings, drawn through the ground: tunnels orange, slopes yellow, pockets green, entrances and sinkhole rims blue. Change the Seed or click Random for another cave.
  7. Click Build Cave. A progress window shows the pieces being placed (Cancel places nothing). The pieces, the rocks, the shaped ground and the terrain holes are one undo step, and in a co-op session everyone gets them.
  8. Read the exposure line under the build button. If it lists spots, click Go to to look at one, then Raise Terrain or Rebuild Deeper. Check Exposure runs the test again at any time, also after you sculpt the ground over a cave, and Clear Markers removes the markers.
All 12 controls
ControlWhat it does
Fillhow much of the area the tunnels cover
Branchinglow: long winding tunnels; high: many short side branches
Loopschance that tunnels next to each other are joined; dead ends are always joined up, because no cave piece closes a tunnel
Building pocketsnumber and size of the buildable rooms
Slopes / Height rangehow many tunnels climb or drop 3 m, and how many 3 m steps the floor may move from the centre
Depthfloor depth below the ground at the centre; deeper caves get longer entrance tunnels
Entrance depth offsethow far below the surrounding ground each sinkhole sits (-10 m by default; 0 = the rim centred on the ground); the ground slopes down to it over a wider area the lower it is
Open the terrain at the entrancesshape the ground to each sinkhole and cut the hole in the terrain
Rocks around the entrancesring each sinkhole with the rocks the game's cave monuments use there, so the edge of the terrain hole can't show gaps
Min. ground aboveless ground than this over a cave piece is reported by Check Exposure (1 m by default)
Group the piecesa click selects the whole cave so you can move or delete it in one go; double-click one piece to edit it alone
Seedthe same seed and settings always give the same cave
TipIf the line under the settings says that pieces reach above the ground, add some depth or move the cave away from valleys. After building, Check Exposure shows exactly where.
TipThe rocks are normal prefabs in the cave's group: select one with a double-click to move or delete it.
TipCaves are dark inside: use the flashlight (View ▸ Flashlight, or F in play mode) to look around, and walk through them in play mode.
TipSettings are remembered for next time.
The Cave Generator window
A sinkhole entrance: the ground follows its rim and the terrain is open
Rocks around an entrance, placed like in the game's caves
Check Exposure: a cave built too shallow, with its spots listed and marked in the view
Walking through the tunnels in play mode
A large building pocket, with the guide logs where the game expects you to build

Road Tunnel Generator

Tools▸Generation▸Road Tunnel Generator…

Build an underground road from the game's road tunnel pieces, with a portal at each end: join the biggest islands under the sea, or join two points you pick.

The tunnel is made from the game's two-lane road tunnel pieces: 36 m straights, 72 m slopes (6 m and 9 m drop), 90° bends and the portal with its headwall and wing walls. The pieces have fixed lengths, so the tunnel is planned in whole pieces and every end meets the next one exactly.

No holes to fall into. The tunnel roofs can only be seen from inside, so a piece close to the surface would be a see-through hole in the ground. The generator uses slope pieces to take the tunnel deep enough that there is always at least the Minimum cover of ground or seabed over every roof, also under the sea. Only next to the portals may the ground be raised a little over the tunnel to cover it.

Portals. Each portal is buried only at the back: its front half stands in the open, with the side walls set in the ground, so players are already inside the portal before any ground could reach them. The ground along the outside of both side walls always reaches the foot of the wall, also on steep slopes, so no wall floats. In front of the headwall the ground is shaped into a road at floor height that ramps to the ground (a cutting or an embankment). A slab of terrain blend cubes (drawn with the ground's own textures on every face) covers the portal's hump from just behind the headwall to its back; on a side where the hill is higher the slab is made thicker so it meets the hill. Rocks and cliffs from the game, stretched and turned to fit, then hide the cubes and blend the portal into the hill: big rocks over the headwall that hang a little over its top, flat rocks over the rest of the slab, big rocks over its ends and back, rocks along the sides of the cutting (leaning with the slope) and small ones at the foot of the wing walls. Every rock rests on the ground or the cubes under it by its own shape, not just its outline, so none floats or hangs in the air. Most of the game's rocks are open underneath, so each one is leaned with the ground and set in until its whole bottom edge is in the ground or on the cubes: there is no gap to see under a rock or into it from the road or the hill (big rocks over the headwall may lean out over its top, but their open bottom stays on the cover behind it), and none reaches into the road opening, over the road or the ramp, onto another road or into another prefab. Rock density sets how many there are and Rock style which rocks are used; the Seed picks a different arrangement. A big cliff rock still lies on each side of the hump. A concrete ramp leads the road smoothly up onto the portal floor. A concrete block lies under each end of the wing walls, its top just under the portal floor and sunk into the ground, so next to a cliff or a steep slope there is no gap under the walls to look through; it never reaches over the road or the ramp. Terrain holes cover the whole road opening, but only where the portal, the cubes or the ramp hide them: where the hill stands above the cover no hole is made, so you never see an open hole from the road, the side or above. An extra terrain trigger covers the whole road opening. Road / Roadside topology is painted at each portal, like the game's roads.

Roads. With Connect to the nearest road a road is added from each portal to the nearest road on the map. It goes around steep ground, water and monuments, crosses rail lines only when there is no better way, and joins the other road at one of its nodes. The ground along it is shaped like any road.

Above the sea. A portal is never placed at or below sea level: its floor stays a few metres above the water and the ground under its ramp and approach road must be dry land, for found tunnels, picked points and the generator step alike.

As a generator step. New Procedural Map and Rerun Generation Steps can run this generator as a step (Road tunnels (early), see New Procedural Map): the tunnels are built before the monuments and everything else keeps clear of them.

Nothing in the way. A tunnel whose portals would touch a monument, a building, another tunnel or a rail line is not offered, nor one that would come within 20 m of a cave, a sewer or dungeon or an underwater lab already on the map. Trees, bushes and rocks in a portal's cutting or on a new road are removed. Rocks and cliffs already on the map that the new ground around a portal or along a new road would leave floating, hanging or buried are removed too, and trees, bushes and small things move up or down with the ground. When the tunnels are a generator step, the portal rocks are checked again after the roads to the nearest road are made.

  1. Open Tools ▸ Generation ▸ Road Tunnel Generator….
  2. Join islands: set Join the largest islands (2 joins the two biggest) and Tunnels per joined island, then click Find Tunnels. The tunnels found are drawn on the map (straights orange, slopes yellow, bends blue, portals green).
  3. Join two points: click Pick Entrance and Exit… and click the entrance on the ground. The portal faces down the slope; press R / Shift+R to turn it.
  4. Move the mouse along the way the tunnel should go. Green arrows mark every exit that whole pieces can reach at a safe depth, and the tunnel snaps to the nearest one; press R to switch between an exit facing straight on and one facing sideways (after a bend). Click to choose the exit, or Esc to go back.
  5. Click Generate. The pieces, the shaped ground, the terrain openings, the topology, the cubes and rocks and the roads are one undo step, and in a co-op session everyone gets them.
All 11 controls
ControlWhat it does
Join the largest islandshow many of the biggest islands to join; they are linked along the shortest stretches of water
Tunnels per joined islandtunnels between each pair of joined islands, spread apart
Minimum coverground or seabed needed over every tunnel roof (4 m by default)
Max ground raise at portalshow much the ground may be raised over the tunnel next to a portal
Fit the ground at the portalsback half of each portal buried, front half in the open, road and concrete ramp in front of it
Seedpicks the rocks at the portals; the same seed gives the same rocks
Rock densityhow many rocks dress each portal (0 to 2, 1 by default; 0 = only the cubes and the two side cliffs)
Rock styleRock formations (grey stone), Grassy cliffs (hill cliffs with grass on top) or Mixed
Cubes and rocks over the portalsa slab of cubes over each portal's hump, meeting the hill beside it, covered by rocks and cliffs
Connect to the nearest roada road from each portal to the nearest road on the map (on by default)
Group the piecesa click selects the whole tunnel
TipIf no exit is offered, try a longer tunnel or another direction: the tunnel needs room to get deep enough before it passes under low ground or the sea. The message under the tool says what stops the routes there.
TipPortals stay above sea level, so the road out of a tunnel never floods.
TipSettings are remembered for next time.
Driving through a generated road tunnel, portal to portal
A road tunnel portal dressed with rocks: an overhang over the headwall, rocks over the cover and along the cutting, a concrete ramp up into the portal
The Road Tunnel Generator window

Rebuild Underground Rail Network

Tools▸Generation▸Rebuild Underground Rail Network…

Build a new train tunnel network under the map you have open: tunnels, a station under every tunnel entrance and the stairs up to the entrances, like the game's generator, with more loops if you like and joined across islands under the sea. It replaces the tunnels already there.

  1. Click a monument with a train tunnel entrance (an entrance bunker or the trainyard) and click Rebuild underground rail network… in the Inspector, or open Tools ▸ Generation ▸ Rebuild Underground Rail Network….
  2. Set the Seed (Random picks one) and the Density: 0 is the game's layout, the shortest tunnels that join every entrance; higher values add loops between tunnels that are close on the map but far apart underground, so trains have more ways round.
  3. Leave Use the whole map: join islands under the sea ticked to let tunnels cross under the sea to entrances on other islands where the sea is no deeper than the Deepest sea floor and no wider than the Longest crossing. Islands past deeper or wider sea get their own tunnel network.
  4. Tick Add tunnel entrances where there is room (every island) to first place more entrance bunkers, at least 500 m apart, so stations spread over the whole map.
  5. Click Rebuild. The old tunnels go, the new network is built, and the line under the settings tells you how many pieces, entrances and loops it made. Everything is one undo step: Ctrl+Z brings the old tunnels back.
TipAll train tunnels on a map share one depth, so a tunnel under deep water pulls every tunnel down and makes the stairs to the entrances long; that is what the sea limits are for. Extra loops never make the tunnels deeper.
TipTunnel exits that climb up to the rails on the surface are not rebuilt (the rails that led down to them stop at the surface); a new procedural map makes them with the rail lines.
TipThe same settings are in the generator's Underground tab for new maps and Rerun Generation Steps (see New Procedural Map). Defaults keep the game's layout.
TipUse Train Tunnels to change single cells afterwards, and the Train Test to drive the new tunnels.
Rebuild Underground Rail Network on a two-island map: stations on both islands and the new tunnels (yellow grid) joined under the strait

Underwater Lab Generator

Tools▸Generation▸Underwater Lab Generator…

Build underwater labs where you want them, with your own settings for every part: size, floors, which modules and how many, branching, entrances, legs, hatches, crates and NPCs.

The labs are put together exactly the way the game builds the underwater labs of a procedural map: a main moonpool sits on the sea floor and rooms, corridors and tubes grow from it, joined socket to socket. Every open end is closed with the game's end caps, legs reach down to the sea floor and hatch doorways go where a room meets a corridor. Modules are only placed where the sea floor stays below them, like in the game, so the lab never cuts into the ground.

Instead of the game's fixed rules you choose the shape: how many modules, how far the branches reach, how many floors, which room and corridor types are used and how often, how many extra moonpool and ladder entrances there are, and whether the lab has legs and hatches. The pieces are saved with the map as normal prefabs.

The modules bring the game's crates and underwater dwellers with them. Untick Loot crates or Dwellers (NPCs) to have the RustBuildHelper server plugin switch them off for that lab on your server.

  1. Open Tools ▸ Generation ▸ Underwater Lab Generator…. The lab is placed under the camera; click Pick and then the sea floor to put it somewhere else, or type the Centre X / Z.
  2. Choose the Main moonpool (one of the game's four, or Random) and its turn.
  3. Set the size: Max modules, Min modules, Reach (how far branches grow), Floors and Branching.
  4. Under Module types, tick the rooms and corridors you want, how often each is picked (weight) and how many of each a lab may have.
  5. Set the Entrances (the game rule, or your own number of moonpool and ladder entrances), Legs, Hatches, and the water depth to check.
  6. The preview shows the lab as you change settings, drawn through the water and the sea floor: rooms blue, corridors orange, moonpools green, end caps grey, hatches yellow and pieces with a problem red. Warnings are listed under the settings.
  7. Click Generate. The whole lab is one undo step, and in a co-op session everyone gets it. Regenerate (new seed) picks a new seed and replaces the lab you just made.
All 13 controls
ControlWhat it does
Placeone lab at the centre point, or several labs at random deep-water spots away from land, other labs and oil rigs
Max / Min modulesthe most rooms and corridors a lab may have, and the fewest it should have (0 = no limit)
Reachhow far branches grow from the main moonpool (the game uses 3)
Floorshow many floors ladder modules may stack (the game uses 2)
Branching100 % like the game; lower gives longer, thinner labs with fewer side branches
Module typeson / off, weight and the most per lab for every room, corridor and tube type
Extra entrancesthe game rule (one or two moonpools at the far ends of a big lab) or your own number of moonpool and ladder entrances
Legs / Hatchespillar legs down to the sea floor, and hatch doorways between rooms and corridors
Min / Max water depthwarn when the water at the lab is too shallow or too deep; automatic placement only uses spots in this range
Allow modules into the sea flooroff: modules stay clear of the ground like in the game; on: they may cut into it (warned)
Loot crates / Dwellersuntick to switch the lab's crates or NPCs off on your server
Group the piecesa click selects the whole lab so you can move or delete it in one go
Seedthe same seed and settings always give the same lab
TipWarnings tell you when the water is too shallow, when pieces cut into the sea floor or reach above the water, and when the lab overlaps other prefabs.
TipA lab needs room: the game puts them at least 20 m deep and far from land.
TipSettings are remembered for next time.
The Underwater Lab Generator window
A generated lab seen under water

Iceberg Build Rooms

Tools▸Generation▸Iceberg Build Rooms…

Turn the flat underside of icebergs into underwater rooms where players can build: ice walls and ceiling, a dry inside and a floor that takes foundations.

Every iceberg has a flat underside under the water. This tool fits a room under it: walls and a ceiling of tiled ice, an ice floor, and the two invisible parts the game needs before players can build there: a water volume that keeps the inside dry (no water, players breathe and stand), and a ground collider on the floor so foundations can be placed. A hole in the floor near one wall lets players swim up into the room.

It works on the icebergs already on the map (the generator's arctic icebergs and the game's iceberg_a … iceberg_f placed from the Prefab Library) or only on the selected ones. Each room is as big as you ask but never larger than its iceberg's flat underside: under a small iceberg the room is made smaller to fit, and when the sea floor is close the room gets lower. Tilted icebergs, icebergs resting on the sea floor and icebergs that already have a room are skipped, with the reason in the list.

The rooms are normal prefabs saved with the map, built as one undo step; in a co-op session everyone gets them.

  1. Open Tools ▸ Generation ▸ Iceberg Build Rooms….
  2. Set the Room size (inside width × length), Room height and Wall thickness.
  3. Choose the parts: Ice ceiling under the iceberg, Ice floor and the Entrance hole in the floor with its size.
  4. The list shows every iceberg found with the room it gets and the largest room that would fit, or why it is skipped; Fly takes the camera there. Green boxes show the rooms through the water, red crosses the icebergs that get none.
  5. Click Build Rooms. All rooms are one undo step.
All 9 controls
ControlWhat it does
Room sizeinside width × length; made smaller to fit the iceberg's flat underside
Room heightinside height; lowered when the sea floor is close
Wall thicknessof the ice walls, floor and ceiling
Ice ceiling under the icebergan ice slab that closes the room at the top; off: the iceberg is the ceiling
Ice flooran ice floor slab (the ground collider players build on is always there)
Entrance hole in the floora square hole to swim up through; off: a closed room
Group each rooma click selects the whole room
Only the selected icebergsoff: every iceberg on the map
Find Icebergslook again after placing or deleting icebergs
TipAlso a step of New Procedural Map and Rerun Generation Steps: Build rooms under icebergs, with these settings.
TipIcebergs only appear in arctic water, so the generator places them on maps with snowy coasts.
TipSettings are remembered for next time.
The Iceberg Build Rooms window
A room under an iceberg, seen from under the water

Procedural Terrain (noise)

Tools▸Generation▸Procedural Terrain (noise)…

Replace the height map with layered noise (shape, base, lakes, dunes, plains, hills, mountains), fading to ocean at the edges.

  1. Pick a Preset (Default, Archipelago, Mountains, Plains) and click Apply, or edit the octaves / frequency / amplitude / offset per layer.
  2. Set the Seed or click Randomize.
  3. Click Generate (undoable). Save your own presets by name.
Procedural Terrain (noise)…

Tools ▸ Utilities

Game-update helpers.

Compare Bundles

Tools▸Utilities▸Compare Bundles (main vs staging)…

Compare the prefab lists of two Rust installs (e.g. main and staging branch) and see what an update adds, removes or moves, and which of those your map uses.

  1. Main (A) is your client; set Staging (B) with Folder… or Snapshot….
  2. Click Compare (about 10 s the first time, then cached).
  3. Filter by kind (added, removed, moved, same id new path, same path new id), Used by map, or text.
  4. Export CSV… / Export text…, or Save B as snapshot… to compare later.
Compare Bundles
Compare Bundles

Prefab ID History

Tools▸Utilities▸Prefab ID History…

Every prefab id Rust Build has seen per Rust build: what was removed or renamed by game updates.

  1. Open it to see the report; Copy all or Save as text….
  2. After a game update a notice appears at the bottom right when ids were removed or renamed; opening a map warns about ids the game no longer has.
Prefab ID History
Prefab ID History

Tools ▸ Simulations

Watch server events on your map before you publish it: the cargo ship patrol and harbor docking, the CH47 assault on the oil rigs and the Bradley APC driving its route. Simulations are view only: nothing is selectable, nothing is saved, and everything is removed when you stop, close the window or open another map. In a co-op session they run on the host and everyone sees them (see Simulations and Server Spawns together).

Cargo Ship Test

Tools▸Simulations▸Cargo Ship Test…

A cargo ship sails the map's cargo path and docks at the harbors, with the server's own speeds, turns and timings.

  1. Open Tools ▸ Simulations ▸ Cargo Ship Test….
  2. Choose where the ship starts in Start: Offshore, like the server event, or Near <harbor> (docking test) to see a docking straight away.
  3. Choose the Speed (×1 to ×32) and tick Follow camera to fly along with the ship (you can still look around).
  4. Click Start. The status line shows what the ship is doing: patrolling to the next path node, approaching a harbor, docked (and when it leaves), or leaving the map.
  5. Click Stop to remove the ship.
TipIf the map has no cargo path, the path a server would generate is used (it is not saved); make your own on the Cargo tab of Path Tools.
TipWhile docked, the harbor's swing bridges and container blocks move like in the game.
The Cargo Ship Test window on the generated map
Tools ▸ Simulations
Tools ▸ Simulations

CH47 assault on the oil rigs

Tools▸Simulations▸CH47 Assault (nearest oil rig)… · CH47 Clearance Check (nearest oil rig)… · Oil Rig Locked Crates

Hacking an oil rig's locked crate calls in a CH47 that flies in from 500 m out, lands on the rig and drops off heavy scientists, like on the server.

  1. With Oil Rig Locked Crates ticked (on by default), each oil rig shows a dummy locked crate at the server's spawn spot, labelled Locked Crate (click: CH47 assault).
  2. Click the crate and confirm Simulate CH47 assault, or use CH47 Assault (nearest oil rig)… for the rig nearest the camera.
  3. The crate counts down its hack while the CH47 flies in, lands and drops the heavy scientists (11 on the large rig, 6 on the small one). They stay for 30 seconds; then the CH47 takes off and leaves the map.
  4. Set the Speed and Follow camera in the window; Stop ends it.
TipThe flight is the server's own helicopter logic. Stock oil rigs are clear from almost every direction; moving or rotating a rig, or building next to the helipad, can change that, so check again after editing around a rig.

Is the oil rig clear enough for the CH47?

  1. Use Tools ▸ Simulations ▸ CH47 Clearance Check (nearest oil rig)…, or Check clearance only in the CH47 window: the whole assault runs instantly, without the animation.
  2. The CH47's body and both rotors are tested against the terrain and every prefab near its flight path, including your own builds and the rig's cranes and towers. It climbs over and steers around obstacles the way the server's CH47 does.
  3. The result pops up and stays in the window: ✓ Clear, or ✗ Blocked with a list of what it hits (name, part, approach / landing / departure, distance along the path). Click a row to fly there; Select blockers selects them so you can move or delete them.
  4. The flight path is coloured by how much room there is, and each hit gets a marker. A slow bump, a rotor blade brushing something or a near miss inside the Safety margin is shown as a warning, not a block.
  5. The CH47 always comes in from the map edge nearest the rig. Tick Check clearance only: also test 8 approach directions to see if the rig is clear from every side, for example clear from 7 of 8, blocked from S.

Options: Check collisions (on by default) for the normal fly-through too, and Stop at first hit to freeze the CH47 where it first touches something.

CH47 Assault running: the helicopter inbound to the oil rig with the status in the window
Landing on the helipad

CH47 route run and crate event run

Tools▸Simulations▸CH47 Route Run (crate drops)… · Crate Event Run (CH47 + heavy scientists)…

Watch your CH47 route and your crate events work before you put the map on a server, like the oil rig CH47 assault: the CH47 flies with the game's own flight model, drops its crates on parachutes or lands and lets the heavy scientists out. View only: nothing is added to the map.

  1. CH47 Route Run: the CH47 comes in from outside the route, flies one lap (on the server it patrols for the Patrol time), flies to the drop points and hovers 30 m above each, drops a locked crate that floats down on its parachute, circles the last drop point (or keeps flying the route), then leaves the map.
  2. Crate Event Run: select a crate that has a crate event (or the one nearest the camera is used). The CH47 starts at the beginning of the flight path, flies it, lands on the landing point, the heavy scientists get out one by one, run to the crate and stand guard around it, and the CH47 takes off and leaves.
  3. Use Speed (×1 to ×32) to watch it faster, untick Follow camera to look around on your own, and Stop to end it and clear the crates and scientists. The window shows what is happening and the time.
  4. If the CH47 clips a building or lands badly in the run, move the path or the landing point and use Check Clearance in the CH47 tab or the crate's Inspector.
TipThe scientists run straight to the crate here; on the server they walk on the game's navigation mesh, so they go round rocks and buildings.
TipThe run uses the settings saved in the map: number of crates, after-the-drop choice, number of heavy scientists.
The Crate Event Run window
The CH47 Route Run window
The Crate Event Run window

APC (Bradley) Test

Tools▸Simulations▸APC (Bradley) Test… · APC (Bradley) Check Only…

The Bradley APC drives your map's APC route the way the server drives it, and its hull is checked against the terrain and every prefab on the way, so you can see whether it gets past everything.

  1. Make an APC route first (Path Tools, type APC (Bradley), see the APC tab).
  2. Open Tools ▸ Simulations ▸ APC (Bradley) Test… and pick the Route.
  3. Choose how it drives: Drive the whole route (every node in order, once round a closed route, so every metre is tested) or Patrol like the server (it picks random interest nodes and drives there along the route).
  4. Set the Speed (×1 to ×32) and Follow camera, then click Start; or click Check only (or use APC (Bradley) Check Only…) to run the drive instantly without the animation.
  5. The result stays in the window: ✓ Clear, or ✗ Blocked with what it runs into (and where it gets stuck). Click a row to fly there; Select blockers selects those prefabs so you can move or delete them. Clear removes the markers.
TipWhen the Bradley runs into something it stops, backs up and tries again like on a server; after a minute without getting any further it counts as stuck.
TipThe driven path is drawn green, near misses inside the Safety margin yellow and contacts red, with the obstacles boxed in red.
TipRoute problems are listed too: no interest node (the server can't spawn the Bradley), or a node floating above or sunk below the ground (the Bradley can never reach it).
TipUntick Check collisions to just watch it drive; Stop at first hit stops where it first touches something.
Tools &#9656; Simulations &#9656; APC (Bradley) Test…
Tools ▸ Simulations ▸ APC (Bradley) Test…

Train Test

Tools▸Simulations▸Train Test…

The game's train drives over every rail of your map and is checked against everything on the way: power poles, rocks, trees, buildings, monuments, other prefabs and terrain over the track. Each collision is marked on the map and listed, so you can find and fix it before players do.

  1. Open Tools ▸ Simulations ▸ Train Test….
  2. Pick the Train: Like the game uses the locomotive on rails above ground and the workcart in the train tunnels, or choose the locomotive or a workcart for all rails. Add Wagons (and which kind) to test a longer train, which swings wider on curves.
  3. Set the Clearance: the space the train should keep to the sides and above (anything closer is listed as a near miss). Untick Terrain to skip the check for ground over the track.
  4. Click Run all rails to test every rail: map rails, trainyard and station tracks, train tunnels and track pieces, every branch of every junction. Or choose one in the Rail list (the rail selected in Path Tools, or a selected prefab with tracks, is picked when the window opens) and click Run selected rail.
  5. With Show the train ticked you watch it drive; use Speed (×1 to ×32) and Follow camera. Untick it to test as fast as possible with a progress bar. Cancel stops the run and keeps what was found so far.
  6. Instant check tests every rail right away without the animation, whatever Show the train is set to: the same list of collisions and near misses and the same Auto fix, usually in a few seconds.
  7. Bends are checked too: every bend of a map rail tighter than 25 m is listed as Bend too tight with its radius, and a place where a wagon would turn back on the car in front (the game's train jams there) as The train jams. Auto fix offers Widen the bend: the rail is laid on a wider curve between two points further out (a loop where the rail runs out and back over the same ground is cut off, and a siding that starts on the bend is removed with it), bridge decks and junctions stay where they are, and the new line is drawn in blue before you apply it. Where there is no room the row says so: move that rail by hand. The ground in the way of the new line is lowered with it, and the check runs again by itself.
  8. Dips and humps are checked too: a dip sharper than a 120 m curve or a hump sharper than an 80 m curve is listed as Slope kink with its radius (the locomotive's overhanging ends scrape the track bed in a sharp dip, its middle on a sharp hump). Auto fix offers Ease the slope: the rail's heights near the kink are laid on a smooth curve that meets the rail's own slope on both sides, and the ground under the rail follows it; bridge decks, junctions and tunnels keep their height.
  9. The result stays in the window: ✓ Clear, or ✗ with the number of collisions. Each row shows the prefab (or Terrain over the track), the rail and how far along it the collision is. Click a row to fly there and select the prefab; Select hit prefabs selects all of them so you can move or delete them. Clear removes the markers.
  10. Auto fix… suggests a fix for every collision and draws it on the map before anything changes: a prefab moved sideways off the track (green box = its new place), a rock, cliff or tree deleted (red), the ground over the track lowered to the track bed (blue), or the map rail moved away from a monument or anything else that should stay (blue line). Pick another fix in a row's list, untick the ones you don't want, then click Fix on one row or Fix all. Everything applied is one undo step, and the check runs again by itself.
TipCollisions get a red marker with a tall line and a name you can see from far away; the driven track is drawn green, near misses yellow, collisions red, and the hit objects are boxed.
TipNothing on the map is changed unless you use Auto fix: the train is only shown, never saved.
TipTracks inside monuments that are not joined to any other track (for example harbour sidings with parked wagons) are never reached by a train in the game, so Run all rails skips them; you can still pick them in the Rail list.
TipThe terrain check runs on rails above ground; tracks in the train tunnels are under the ground on purpose.
TipWagons are only tested where the whole train fits on the track: at a dead end the engine stops at the last metre and wagons that would stand past the end are left out, and a wagon still on a rail tunnel entrance's own track is not reported for the hill above that tunnel.
TipThe game's own monuments and tunnel pieces (trainyard, harbours, train stations, tunnels) are built around their tracks: their platforms, buffer stops, parked wagons and the walls behind their track ends are where the game wants them, so they are not listed while the train is on that monument's own tracks. Anything you place on or next to those tracks is still found, and so is a map rail you lay through a monument.
Train Test drives the game's train over a rail of the map
The Train Test window
Train Test running: the locomotive drives the rail with Follow camera on
After Instant check: how far it drove and how many positions were checked

Road Bradley

Tools▸Simulations▸Road Bradley (road patrol)…

On a server the road Bradley event sends Bradley APCs out to patrol your roads. This window shows which roads they can use, drives the Bradley along them the way the server does, and lists what you should fix: no usable road, sharp corners, road nodes it can't reach, slopes that are too steep and prefabs in the way.

  1. Open Tools ▸ Simulations ▸ Road Bradley (road patrol)…. With Show roads ticked every road is coloured: green = the Bradley can use it, yellow = warnings, red = problems, grey = not used by the Bradley. The window says how many Bradleys the event keeps on your roads (two for every started 1000 m of map size).
  2. Click Check Roads: the Bradley's hull is swept along every road it can use and it drives each road from end to end. The result lists each problem (red ✗) and warning (yellow ⚠) with the road it is on. Click a row to fly there; if a prefab is in the way it is selected so you can move or delete it.
  3. To watch it, pick a Road (or Random road, which picks one the way the event does) and how it should Drive: Patrol like the server (it spawns at a random spot on the road, drives to random points along it, waits and turns back at the end of an open road, and keeps going until you stop it) or Drive the whole road (from the first node to the last, once round a loop).
  4. Set the Speed (×1 to ×32) and Follow camera, then click Start; Stop ends the drive. Tick Check collisions to have anything it drives into added to the list.
TipRoads that run into a monument (a fishing village pier, for example) are often listed as blocked: the Bradley drives right to the end of every road.
TipOnly paths whose name contains Road (with a capital R) are given to the Bradley. A road path you renamed to something else is shown grey and listed as not used.
TipA road is a loop only when its first and last node are exactly the same point. If the ends just come close, the Bradley drives to the end, stops and turns back.
TipThe Bradley has to get within 2 m of every road node. A node left floating above the ground (or sunk below it) after terrain edits is never reached: the Bradley circles there and gets stuck. Snap the road to the terrain.
TipOn corners sharper than about 60° it slows to walking pace; on tight bends with many small steps it can swing wide off the road. Slopes over 24° are listed as warnings and over 35° as problems.
TipThe Bradley destroys barricades and building blocks it touches, so those are listed as warnings, not blockers.
TipWhile road Bradleys are out on a server, the Travelling Vendor does not come.
TipNothing on the map is changed: the Bradley and the colours are only shown, never saved.
The Road Bradley window
Road Bradley after Check Roads: the roads the event can use are named on the map and any problem is listed

Toolbar

The buttons at the top of the view. The active tool lights up orange; hover a button for its tooltip. The menu bar and toolbar fade out while the mouse pointer is away from the top of the window and come back as soon as you move the pointer up (they stay while one of their menus is open). Turn this off in Edit ▸ Preferences ▸ General (Auto-hide the top bar).

Toolbar buttons

All 8 controls
ControlWhat it does
PrefabsPrefab Library (Tab)
Prefab Brushpaint prefabs (F18)
Terrain Toolsculpt (T)
Terrain Painterpaint layers (G)
Move / Rotate / Scalegizmo mode (1 / 2 / 3; Ctrl snaps)
Global / Localgizmo axes (4)
NearbyPrefabs Near Camera
Findsearch any feature by name and run it (Ctrl+F, see Find)

Where the other buttons went

  • Sockets → View ▸ Show Sockets (see Show Sockets)
  • Paths → View ▸ Show Paths (V) to show or hide the paths, and Tools ▸ Path Tools for the Path Tools window (see Path Tools)
  • Building Planner → Tools ▸ Building Planner (see Building Planner)
  • Co-op (was a menu of its own) → File ▸ Co-op (see Co-op)

Want a key for one of them? Show Sockets, Path Tools and Building Planner can get one in Edit ▸ Preferences ▸ Keybindings.

The toolbar
The toolbar
File ▸ Co-op
File ▸ Co-op

Selecting and moving prefabs

Click to select, drag to move, or use the gizmo for exact moves, rotations and scaling.

Click, Ctrl+click, Alt+click, middle-click

Picking uses the visible triangles, so you get the prefab you actually see, even from inside a building, and a click selects almost at once even on big maps (the editor prepares a prefab while your mouse is over it, and selecting a recent one again is instant).

  1. Click a prefab to select it; drag it to move it over the terrain.
  2. Ctrl+click adds or removes prefabs.
  3. Alt+click selects the next prefab under the cursor (nearest first) when several overlap.
  4. Middle-click lists every prefab under the cursor; click one in the list.
  5. Click empty ground (or Esc) to deselect.

How the selection is shown: boxes and outline

Every selected prefab is boxed, so you can see at a glance what a box select, Ctrl+click or Select All picked up.

  1. The main selected prefab (the one the inspector shows) gets a green box and a thin green outline around its shape. The box turns, tilts and scales exactly with the prefab.
  2. Every other selected prefab gets a light-blue box that turns and moves with it, also with thousands selected.
  3. The outline is drawn on top of everything, so it also shows through walls, terrain or other prefabs in front of the selected one, and it stays steady while the camera moves.
  4. View ▸ Selection Outlines switches the outline and all the boxes off and on. In play mode they are hidden.
TipBig selections stay fast: selecting, moving and undoing thousands of prefabs is several times quicker than before.
Select All around a power plant: every selected prefab is boxed

Box selection and the filter window

Edit▸Select▸Filter Selection…

Drag a box to select many prefabs, then narrow the result by type and distance.

  1. Drag on empty ground, a road or a river to draw a box. Where prefabs are packed tight, hold Alt and drag: the box starts even on top of a prefab or the gizmo, and nothing is picked or moved. Shift adds the boxed prefabs to the selection and Ctrl removes them from it (also together with Alt).
  2. The Box Selection Filter opens beside the box: untick the types you don't want and set a Max distance from camera.
  3. Click Apply. Turn the window off in Preferences ▸ Editing or with its checkbox (Show this window after every box selection).
TipA plain drag that starts on a prefab moves that prefab instead: use Alt+drag there. Alt+click without dragging selects the next prefab under the cursor.
TipThe box keeps following the mouse over open windows, so you can drag it across the Inspector or other panels.
TipThe Alt key can be changed in Preferences ▸ Keybindings (Box select over prefabs), for example if your desktop moves windows with Alt+drag.
TipNPC spawners and vehicles are included in box selections.
Box selection with the filter window

Transform gizmo

 1 / 2 / 3 / 4

Move, rotate and scale with handles, like in other map editors.

  1. Select a prefab and press 1 (move), 2 (rotate) or 3 (scale), or use the toolbar.
  2. Move: drag an arrow (one axis), a square (a plane) or the centre (in the view plane).
  3. Rotate: drag a ring to spin about that axis, drag inside the rings to rotate freely, the outer ring spins about the view.
  4. Scale: drag an axis cube or the centre cube (uniform).
  5. Hold Ctrl to snap (1 m / 15° / 0.1 by default, set in Preferences). 4 switches global / local axes. Esc or RMB cancels a drag.
TipThe read-out next to the cursor shows the distance, angle or scale while you drag. Each drag is one undo step.
Move, rotate and scale with the gizmo ([[1]] [[2]] [[3]])
Move, rotate and scale with the gizmo (1 2 3)
The move gizmo on a selected prefab
The rotate gizmo
The rotate gizmo

Main windows

Every window has a title bar to drag and a ✕ to close. Drag any edge or corner to resize it (the cursor turns into a resize arrow; the bottom-right corner has a small grip): lists, trees, text and previews grow with the window. A window can be made much smaller than its content: the content then scrolls inside it. The – button rolls a window up to its title bar. Positions, sizes, rolled-up windows and open windows are remembered between sessions; View ▸ Windows ▸ Reset All Windows puts every window back to its first spot and size, and Edit ▸ Preferences ▸ General ▸ Windows resets one window at a time. Windows can also leave the editor and go onto another monitor (see Windows on other monitors).

Windows on other monitors

Drag any tool window out of the editor and it becomes a window of its own that you can put anywhere on your desktop, also on a second monitor.

  1. Hold the left mouse button on the window's title bar and drag it past the edge of the editor window: it turns into its own window and follows the mouse.
  2. Let go where you want it, on any monitor. It stays above the editor and is minimised with it.
  3. To dock it again, drag it by its title bar back over the editor and let go: it is a normal window inside the editor again.
  4. The window keeps working as usual: ✕ closes it, the edges resize it, and the editor's keys still work while it has the focus.
TipRust Build remembers the monitor and the spot: on the next start the window comes back there. If that monitor is gone, the window opens inside the editor instead.
TipView ▸ Windows ▸ Reset All Windows brings every window back into the editor.
TipWhile you drag a window outside the editor it stays on a monitor: past the edge of the screen it stops at the edge.
TipWindows stay inside the editor on the start screen.

Roll a window up to its title bar

Every window has a – button next to the ✕. It shrinks the window to its title bar so you can see the view, without closing it or stopping anything: handy when you have several windows open (for example while wiring IO) but only use two of them at a time.

  1. Press – on the title bar (or double-click the title): only the title bar is left.
  2. Drag the bar anywhere; let go near the top or bottom edge of the editor and it snaps onto that edge.
  3. Press + (or double-click the title) to open the window again at its size. A bar parked at the bottom edge opens upwards.
  4. ✕ still closes the window (and ends what it runs, for example the Demo Player), as before.
TipRust Build remembers which windows are rolled up: they open that way next time.
TipRolled-up windows can also go onto another monitor (see Windows on other monitors).
TipNeed a window smaller but not rolled up? Drag its corner: windows shrink down to a small box and their content scrolls.
The &ndash; on the title bar rolls a window up to just its title bar
The – on the title bar rolls a window up to just its title bar

Prefab Library

View▸Windows▸Prefab Library Tab

Every prefab of the game (and your custom prefabs) in a searchable tree with a 3-D preview.

  1. Press Tab and type in Search prefabs… (e.g. barrel, gas_station). Several words match in any order: static generator finds the same as generator static.
  2. Click Filter by type ▸ and tick types to show only those: Monument, IO, Entity, Sign, Item, Spawner, Loot, Rock / Cliff, Vegetation, Building, Deployable, Vehicle, NPC / Animal, Effect / Sound, Volume, Prop / Structure, Custom. Ticked types add up; Clear unticks them all.
  3. Click a row to arm it (ghost preview), then click the terrain to place, as often as you like. Esc stops.
  4. Double-click places it where the camera looks.
  5. Drag a row into the 3-D view and drop it; Esc or RMB cancels.
  6. Right-click a row: place at view centre, go to a placed instance (again = next), select all placed, copy the path.
ControlWhat it does
View as: Tree / ListTree shows the prefabs in their folders, List shows every prefab in one alphabetical list (a name found in several folders shows its folder in brackets). Rust Build remembers the choice
Customyour custom prefabs (.prefab files)
Recentthe last 12 you used
Create Custom Prefab… / From Selection…copy an area of the map as a custom prefab, or save the selected prefabs (asks for a name)
TipPlacement uses the Brush Options snapping and, if on, the monument terrain stamp.
TipThe first time you tick IO, Entity, Sign, Spawner, Loot, Vehicle or NPC the library reads the prefabs' game scripts (Reading prefab types… N%); the result is kept for next time.
Dragging a prefab from the library into the view
The Prefab Library
The Prefab Library
View as List in the Prefab Library

Scene Hierarchy

View▸Windows▸Scene Hierarchy F1

All prefab types on the map with their counts, or all paths (roads, rails, rivers, powerlines, trails, the cargo ship and APC paths). The list updates by itself whenever the map changes: delete, undo / redo, paste, duplicate, placing, co-op edits and loading a map.

  1. Pick Prefabs or Paths at the top. Rust Build remembers the choice.
  2. Prefabs: filter by name (several words in any order); sort A–Z, by distance, newest or oldest.
  3. View Grouped (one row per prefab type, the default) or List (every prefab on its own row, nearest to the camera first; the distance is shown on the row and ↻ sorts again after you fly somewhere else; the nearest 5000 are listed). Rust Build remembers the choice.
  4. Click a row to select every instance of that type; double-click to fly to one instance (again = next). In the List view a click selects that one prefab and flies to it.
  5. Select All selects every prefab in the list (it follows the filter), and Delete Selected (or Del) deletes the selection as one undo step: for example filter rock, Select All, Delete Selected.
  6. Filter Hidden only or Locked only to find hidden or locked prefabs; clicking a row (or Select All) brings them back.
  7. More filters: Grouped only (prefabs in a group, see Edit ▸ Group), Entities only (prefabs that are entities in the game, such as loot crates, vending machines, doors, deployables and building blocks, or that carry entity data like a skin, sign picture, code or scale) and World prefabs only (everything else: monuments, rocks, cliffs, decor). Hover an entry for its description.
  8. Paths: one row per path with its name, type and number of nodes (hover for length and width). Filter by name or type, e.g. rail.
  9. Click a path to select it in Path Tools (it opens) and fly to it; Ctrl+click or Shift+click selects several.
  10. Select All then Delete Selected (or Del) removes every listed path as one undo step, also in co-op. For example filter road, Select All, Delete Selected removes all roads. Deleting a path leaves the terrain it already shaped.
Filter the list, click a type to select it, double-click to fly to one
Scene Hierarchy: prefab types
Scene Hierarchy: the Paths list
The List view of the Scene Hierarchy

Inspector and Components window

View▸Windows▸Inspector

Opens with the selection: name, category, exact transform and the tools for that prefab, in a narrow window at the side. The prefab's parts (its node and component tree) open in their own window.

  1. Select a prefab; the title shows its name (hover for the full path) and the number of others selected. A short summary below it shows the file, position, rotation and scale. Copy name next to it copies the prefab's full path; Shift+click copies only its short name.
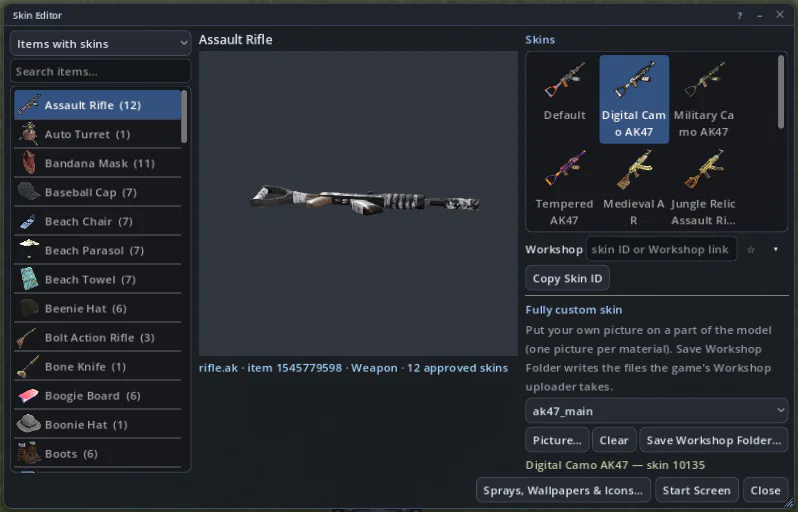
  2. Click Components… to open the Components window with the prefab's whole node / component tree. Click a node or a component to see it on the prefab in the selection colour: a mesh is tinted and boxed, a collider shows its shape, a node shows everything under it. Ctrl+click selects more rows, double-click or Frame flies the camera to them, Clear (or closing the window) removes the highlight. Copy copies the path and the tree; big trees are shown in pages.
  3. To change the category, click the Category line: it turns into a text box. Type the new category and press Enter (or Esc to cancel). With several prefabs selected, all of them get it, as one undo step.
  4. Something flying or sunk? Click Snap to ground under the category: every selected prefab is put on the ground (its lowest point on the terrain; monuments by their own ground level). When the selection is over water the buttons are Snap to sea bed and Snap to water, which puts them on the water surface (the sea, a lake or river, or a pool under it). One undo step, also in co-op.
  5. Type Position / Rotation / Scale: a value applies as soon as you press Enter or Tab or leave the box (there is no Apply button; Ctrl+Z undoes it). The numbers are the game's own coordinates and rotation angles, the same as the game and other map editors show (on a 1000 m map the top-left corner is X -500, Z 500). Only the fields you changed are applied; the others keep their exact value.
  6. The fields follow the prefab live while you move, turn or scale it with the gizmo, the arrow keys or R, and after undo / redo or a co-op edit; a field you are typing in is left alone.
  7. Transform tools ▸: copy / paste position, rotation, scale; rotate 90° steps; move to cursor; hide; lock; snap steps.
  8. The two switches on the title bar: 🔒 Lock keeps the prefab where it is — it can't be moved or deleted, but stays selectable so you can still look at it here; 👁 Hide stops drawing it (Edit ▸ Hide / Lock ▸ Unhide All shows it again). Both are for the editor only and are not saved in the map.
  9. Messages from the windows (results, warnings, debug lines) go to Help ▸ Console, so the windows keep their size.
  10. A hidden prefab can still be picked in Prefabs Near Camera or the Scene Hierarchy: its whole group is selected and it stays hidden, drawn as a see-through green copy; switch 👁 Hide off to show it again.
  11. Every window's title bar has the same layout: its name, the window's own switches, then ? (its how-to), – (roll up to the title bar) and ✕ together on the right.
  12. Use the rows for this kind of prefab (below). ✕ deselects.
All 11 controls
ControlWhat it does
Categorythe category saved in the map (Monument, Decor…); click to edit. Building blocks and NPC / vehicle markers have none
Copy namecopy the full prefab path; Shift+click copies the short name
Components…the node / component tree in its own window; click rows to highlight them on the prefab
Snap to ground / Snap to sea bed / Snap to waterput the origin of the selection (where the move arrows sit) on the ground, the sea bed or the water surface (water buttons only over water)
Gradebuilding blocks: Twigs, Wood, Stone, Metal, TopTier
Prefab terrainapply the monument's terrain stamp (all or one layer), on placement, ghost
Break prefab + deep / meshes / asksee Break
Layout ◀ ▶lettered monuments (swamp_a/b/c…): swap the layout in place; desert military bases and underwater labs: cycle server-style spawn layouts (view only)
Marker namemonument_marker: the name shown on the in-game map
Loot / Vending (own small window)loot containers and vending machines: use a custom loot or vending profile, see Loot and vending profiles
NPC panelNPC spawners: type and respawn times, see NPC spawners and vehicles
TipThe category is saved in the map and synced in co-op. Loot and vending profiles are stored in the category too (:::MyLoot), so edit those with the Loot / Vending window instead.
The compact inspector with a selected prefab
Click the Category to edit it
The Inspector with its Components window open

Brush Options (advanced)

View▸Windows▸Brush Options (advanced)

All brush, placement, scatter and fill settings in one place.

ControlWhat it does
Brush size / type / rotationshared by the terrain brushes
Sculpt strength / mode / stampadvanced sculpting
Auto-adjust prefab height, Socket snap, Rotation snap, Grid snap, Align to terrain normalhow placed prefabs snap
Paint opacity / layer / replacepainting
Scatter (F9), count, radiusdrop a disc of the armed prefab
Fill region (Home), spacing, dither, max slope, algorithm, noisefill an area (click corner A, then B) with the armed prefab
Save sel -> .prefab (Insert)custom prefab
Brush Options (advanced)

Mini map and monument markers

View▸Mini Map

A live map of the whole island in a window of its own: click to jump, click a monument to fly to it. Place monument markers to name places on the in-game map.

  1. The Mini Map window starts in the bottom right corner. Drag its title bar to move it (also onto another monitor, see Windows on other monitors) and drag an edge or corner to resize it: the map grows with the window. Its position and size are remembered.
  2. ✕ closes it; View ▸ Mini Map (or Preferences ▸ General ▸ Mini map) opens it again.
  3. Click the mini map to jump there; click a monument icon or a blue marker diamond to select and focus it.
  4. Labels switches the monument labels in the 3-D view.
  5. To add a map marker: search monument_marker in the library and place it. It shows as a blue pin with its name.
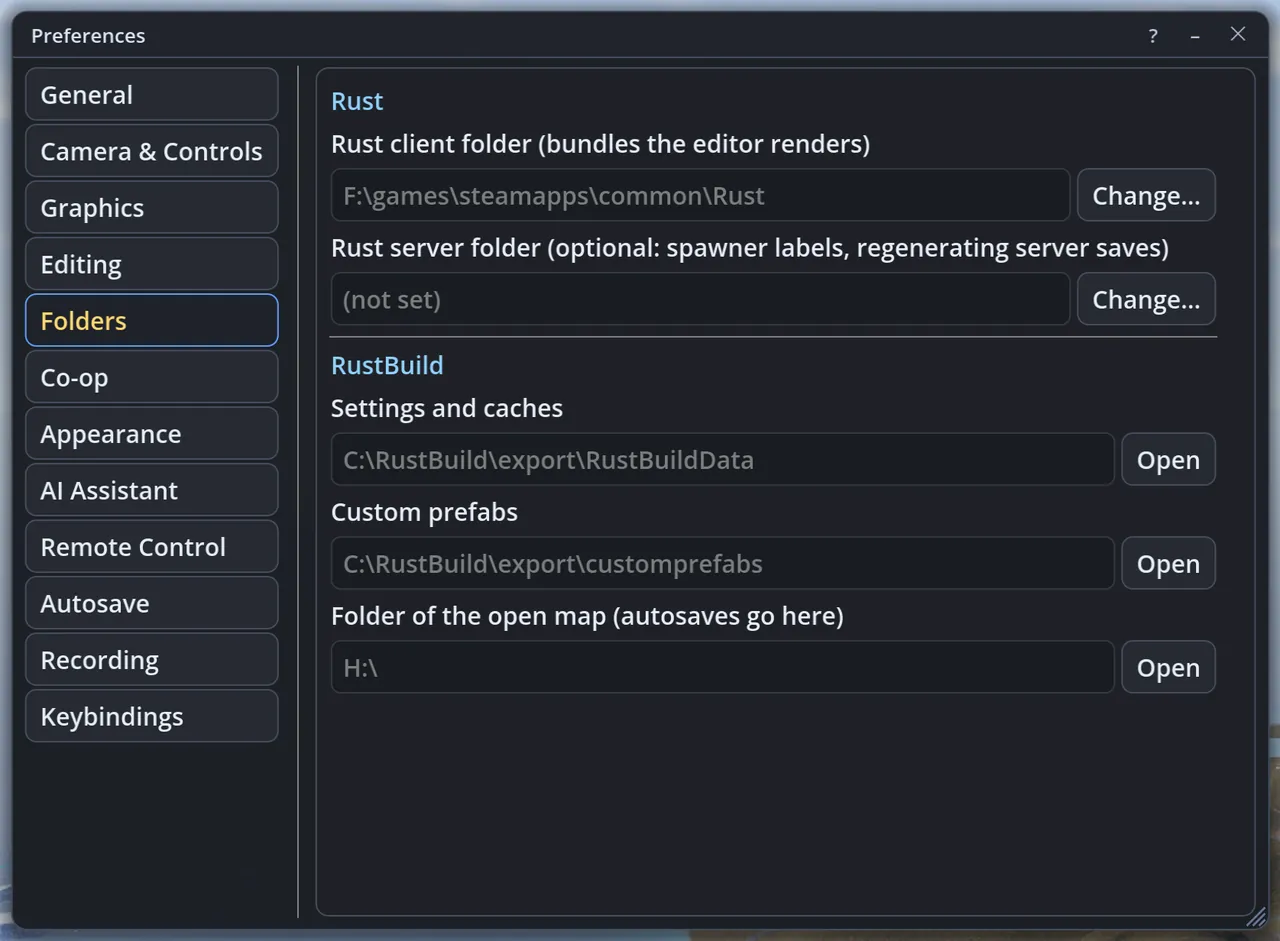
  6. With the marker selected, type its name in the inspector's Marker name row and press Set; the game shows that name on its map.
  7. Style the name the way the game does: <size=20> sets the font size (the game's normal size is 14), <color=red> or <color=#ffcc00> the colour, <b> bold and <i> italic. Close a style with </size>, </color>, </b> or </i> (an open one runs to the end of the name); <br> starts a new line. Example: <size=20><color=yellow>Gold</color></size> Bay. Anything else in angle brackets stays in the name as typed.
TipThe pin, the monument labels, the mini map and the Render Map image show the styled name; lists, tooltips and the camera target list show the plain text.
TipHide the names above the pins with View ▸ Overlays ▸ Monument Marker Names.
The Mini Map window: drag the title bar to move it, the corner to resize it, &#10005; to close it
The Mini Map window: drag the title bar to move it, the corner to resize it, ✕ to close it

Preferences

Edit ▸ Preferences… (or Settings… on the start screen): one window with nine pages. Every control saves immediately, except the UI scale (it has its own Apply) and the Graphics page, which waits for Apply. The FPS limit on the Graphics page is the exception there: it is used at once, on its own.

General

Edit▸Preferences…▸General
All 17 controls
ControlWhat it does
UI scale50–300 % (for high-DPI screens); move the slider, then press Apply to use it (Revert or closing Preferences keeps the old size)
Compass, Info text, Mini mapon-screen helpers
Labels on prefabs without modelsname tags on logic-only prefabs
Monument marker names, NPC spawner labelstext above marker pins and NPC spawners
FPS counterframes per second at the top left
Auto-hide the top baron by default: the menu bar and toolbar fade out while the mouse pointer is away from the top of the window; untick to keep them always visible
Memory: Max RAM (GB)when Rust Build uses more memory than this, it unloads cached models, textures and picking data that are not on screen, oldest first, and shows a short notice. Default: your PC's memory minus 4 GB
Memory: In use now / Free cached memory nowhow much memory Rust Build uses now; the button unloads everything not on screen at once
Memory: Video memory limit (Auto)how much video memory (the graphics card's memory) Rust Build may use. Auto (the default) takes what your graphics card has minus a safety margin; the tooltip shows the value for your PC. Untick Auto to type your own value in MB
Memory: Video memory in usethe line below the limit: your graphics card, how much video memory is in use now (textures and models) and, on a big map, the texture size used
Windows: Window / Reset this windowchoose a window and put it back where and how big it first opened, not rolled up and inside the editor
Reset all windowsthe same for every window
Clear the recent files list
Updates: Check for updates on startuponce a day at most, in the background; a new version shows a notice (see Check for Updates)
Updates: Update addressleave empty for this website
Updates: Check for updates now…the same as Help ▸ Check for Updates…
Reset: Clear all data and settings…deletes every setting and cached file and restarts Rust Build like a first start (see Clear All Data and Settings)
TipLower Max RAM if other programs need memory while you edit, for example on a 16 GB PC. Unloaded models are read again when you fly back to them, which can take a moment.
TipVideo memory limit: when a map would not fit, it is loaded with smaller textures; while you work, textures and models nothing draws are unloaded first, then effects (anti-aliasing, ambient occlusion, glow, shadows, render scale) are lowered for this session only, and a short notice says what was done. Your graphics settings are not changed. Textures up close are read again at full size when there is room.
TipKeep it on Auto unless the editor runs out of video memory (a notice says The graphics card ran out of video memory): then set a lower value. A very low limit makes textures blurry. Graphics chips built into the processor share the PC's memory, so their limit can be higher than the video memory Windows reports.
Preferences &#9656; General
Preferences ▸ General
Preferences ▸ General ▸ Windows: reset one window or all of them

Keybindings: change any key

Edit▸Preferences…▸Keybindings

Every key and shortcut of the editor can be changed: about 140 actions for the camera, editing, tools, windows, the Terrain Tool, the Building Planner, play mode and more. (Only the play mode hotbar keys 1–8 and the mouse buttons are fixed.)

  1. Open Edit ▸ Preferences ▸ Keybindings (or Change keys… on the Camera & Controls page).
  2. Find the action: scroll the groups or type in filter actions / keys (for example planner or F5).
  3. Click the key button next to the action; it shows press a key…. Press the new key or combination (with Ctrl, Shift or Alt). Esc cancels.
  4. ✕ removes the key from that action; ↺ puts its default back. Reset all to defaults resets every key.
TipIf the key is already used in the same situation, a warning names the other action (Also used by…). Keys only clash within the same situation: the Terrain Tool, the Building Planner, flying and play mode have their own keys, so T can be the Terrain Tool in the editor and one hour later in play mode.
TipActions without a default key, such as Show sockets, Path Tools window, Building Planner or Entity Data window, can get one here.
TipThe menus, Help ▸ Keyboard Shortcuts and the key hints on screen always show your current keys. The keys are saved with your preferences.
Preferences ▸ Keybindings

Camera & Controls

Edit▸Preferences…▸Camera & Controls
ControlWhat it does
Camera speed, Fast speed (Shift), Field of viewflying
Arrow-key nudge stepmetres per arrow key (×10 with Shift)
Gizmo move / rotate / scale snap (Ctrl)snap steps
Show all keyboard shortcuts…Help ▸ Keyboard Shortcuts
Change keys…opens the Keybindings page
Preferences &#9656; Camera &amp; Controls
Preferences ▸ Camera & Controls

Graphics

View▸Graphics Settings…

Presets from Very Low to Ultra, or every setting by hand. Nothing changes while you adjust: press Apply to use the new settings (texture sizes from the next map load).

  1. Change the settings: the bottom bar says ● Unsaved changes.
  2. Apply uses them now (big changes show a short progress window); OK applies and closes; Revert or Cancel throw the changes away. Closing Preferences without Apply also discards them.
  3. Detect & tune… tests your PC for a few seconds and fills in settings that suit it (see Graphics on the first start); press Apply to use them.
All 16 controls
ControlWhat it does
Preset / Use recommended presetVery Low, Low, Medium, High, Ultra; shows the GPU and video memory
Detect & tune…test this PC and stage tuned settings
Offer lower settings when the frame rate stays lowthe Low frame rate window after a slow map load
Render scale, Upscaler, MSAA, Post AAresolution and anti-aliasing (FSR 1/2, FXAA, TAA)
Texture size, Terrain textures, Normal maps, Compress meshesvideo memory use; Reload the map now applies them
Shadows, Ambient occlusion, Screen-space GI, Reflections, Glowlighting
View distance, Object detail (LOD), Vegetation densitydistance and detail
Game LOD, LOD distance, Max distance per category, Occlusion culling, Small object shadowsthe game's own LODs and draw-distance limits: the biggest FPS win on slow PCs
Take high-quality screenshot…see High-Quality Screenshot
Run benchmark… / Settings keysee Benchmark
Rendering driverVulkan, Direct3D 12 or OpenGL (after a restart); the line under it shows the driver in use. If Rust Build crashes or freezes while starting, the next start tries the next driver by itself (OpenGL last, as it is the slowest) and tells you; choosing a driver here tries it again; Restart now with this driver saves the choice and restarts Rust Build with it straight away
Dark title bar (Linux)Linux only: Rust Build draws its own dark title bar; untick it to get the system title bar back
Keep asset caches, Loading threadsmemory vs speed
Brightness, Contrast, Saturationpicture
FPS limitframe-rate cap (0 = unlimited); used straight away, without Apply and without applying the other changes
Terrain detail (bake), Per-pixel splat shaderterrain quality
Preferences &#9656; Graphics
Preferences ▸ Graphics

Benchmark

Edit▸Preferences…▸Graphics▸Run benchmark…

A repeatable test: generates the same 6000 m four-island map, times generation and loading, then flies to every monument and measures FPS. Compare PCs and settings with a settings key.

  1. Click Run benchmark… and confirm (the open map is replaced; save first). The first run downloads the island image (internet needed once).
  2. Watch the overlay (island, monument, FPS); Esc cancels. The fly-through takes 10–15 minutes; it is a big map, so close other programs on PCs with 16 GB of memory or less.
  3. Read the results: score, average / min / max FPS, generation and load times, a row per monument. They are also added to benchmark\results.txt.
  4. Copy mine copies your settings key (RB1-…); on another PC paste it and click Load to run with exactly the same settings.

Editing (undo depth), Folders, Co-op, Autosave

Edit▸Preferences…
All 12 controls
ControlWhat it does
Editing: Undo ▸ Automatic undo depth (by RAM)on by default: up to 1000 undo steps while they fit in 12 % of your Max RAM (General ▸ Memory). Big steps such as height map imports count more
Editing: Undo ▸ Undo stepsuntick Automatic to set a fixed number of steps (10–10000). The line below shows how many steps are kept and the memory they use; the oldest step is dropped first, redo steps are never dropped
Editing: Undo ▸ Ask before undoing a big stepon by default: undo or redo of a whole procedural run, Set Up the Terrain, a height map import, a step with 500 or more prefabs or 25 or more paths, or a terrain change over a quarter of the map or more asks first
Editing: Stamp terrain on placement, Terrain ghost previewmonument terrain stamps
Editing: Box selection filter windowshow the filter after box selections
Editing: Entity Data window on clickclicking a sign or another entity opens the Entity Data window
Editing: Particles and soundseffects
Folders: Rust client folder, Rust server folderchange them (restart after changing the client); the server folder is optional (spawner labels)
Folders: Settings and caches, Custom prefabs, Folder of the open mapopen them in Explorer
Co-op: Your name, Portdefaults for hosting / joining; how you look is on the Appearance page
Co-op: Voice chattalk to the other players in a session, push to talk or open microphone, microphone, volumes (see Voice chat)
Autosave: enabled, Interval, Files to keepsee Autosave
Preferences &#9656; Editing
Preferences ▸ Editing
Preferences ▸ Co-op
Preferences ▸ Co-op

Appearance (your player)

Edit▸Preferences…▸Appearance

How you look to the other players in a co-op session and in play mode's third person: the Rust player model with the body, face, hair and clothes you choose.

  1. Choose Body (male or female) and a Face; then Hair, Beard and Hair colour.
  2. Each clothing slot (Head, Face, Shirt / jacket, Chest armour, Pants, Leg armour, Hands, Feet, Back, Suit, Other) shows what you wear. Click it to open the list of every wearable in the game with its icon; type in the search box to find any item, or tick All slots to browse them all.
  3. Pick a skin for the item in the box next to it (the skins that come with the game).
  4. Like in the game, items that cover the same part of the body replace each other (a hazmat suit replaces everything but a backpack) and you can wear 8 items; ✕ takes an item off, Take all off leaves you in your underwear, Default puts the hoodie, pants and boots back on.
  5. The preview turns when you drag it. Your choice is saved; in a co-op session the others see it right away, also players who join later.
TipIn demos and server saves every player wears what they wore in the game; their face and hair are picked from their SteamID, so they may look different from the game.
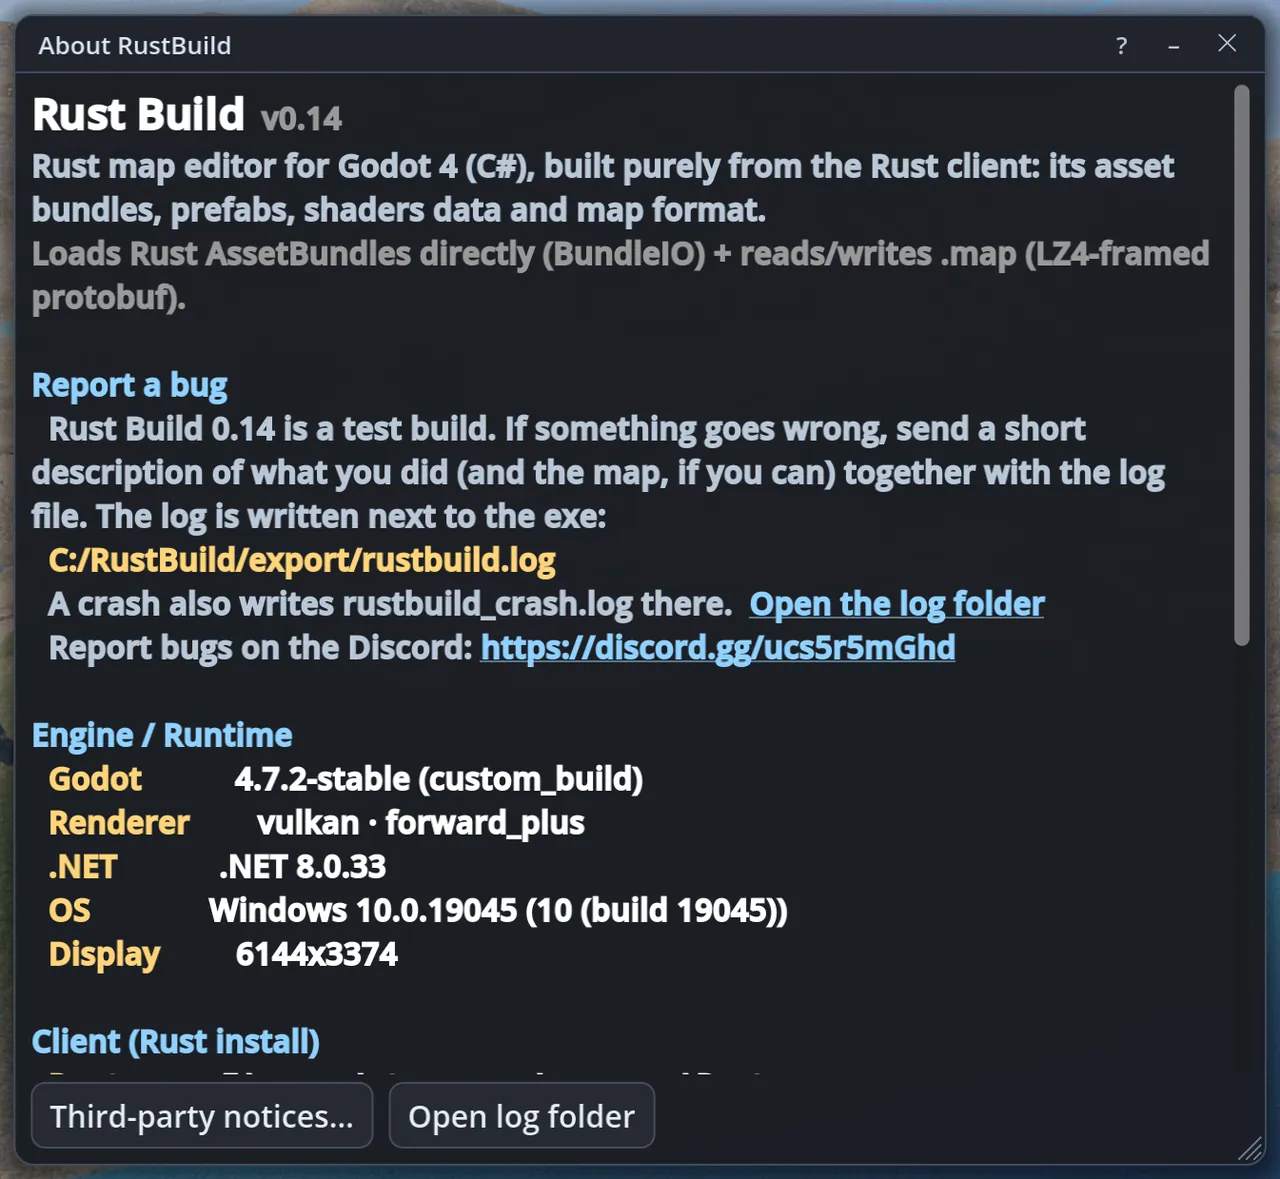
TipThe item you hold in play mode is shown in your hand for the others.
Preferences &#9656; Appearance
Preferences ▸ Appearance

Recording (video encoder)

Edit▸Preferences…▸Recording

Which encoder turns Cinematic Mode recordings into MP4 videos.

ControlWhat it does
EncoderWindows built-in (Media Foundation): nothing to install (H.264). External ffmpeg: an ffmpeg program you installed yourself (H.264 or H.265, constant quality or bitrate)
ffmpeg programBrowse… picks ffmpeg.exe (Windows) or ffmpeg (Linux); Clear uses the ffmpeg on your PATH. Nothing is bundled with Rust Build
Test encodermakes a tiny test video and shows whether H.264 and H.265 work
Recordings folderwhere the frames wait until they are encoded; Open shows it
TipCodec, quality, resolution and frame rate are set per video on the Cinematic Mode window's Video tab.
Preferences ▸ Recording

Build maps with an AI assistant

Rust Build can be driven by an AI assistant (Claude Code, Claude Desktop or any other client that speaks the Model Context Protocol, MCP). You describe the map you want; the assistant shapes the terrain, paints it, places monuments, lays roads, rivers and rails, checks the result, looks at pictures of it and saves it — using the same tools you use, with every step in Edit ▸ Undo. It is off until you switch it on.

What it is

Rust Build opens a small local connection that an AI assistant on your computer can use. The assistant gets a list of map commands and a built-in guide to building Rust maps (sizes, coordinates, heights and sea level, what splat, biome and topology do, monument and road rules), so it can learn the editor by itself before it starts.

All 8 controls
ControlWhat it does
Terrainnew maps of any size from 1000 to 6000 m, height grids for islands and mountains, raise / lower / flatten / smooth / noise in circles and rectangles, heightmap pictures
Layersground textures, biomes, topology and holes, by area or by rules such as only above 120 m or only on slopes under 20°; auto-texture; ocean and beach topology so players can spawn
Monuments and prefabssearch the whole prefab library, place monuments with their terrain, place, move, rotate, scale and delete prefabs in batches, custom prefabs
Pathsroads, trails, rivers (carved downhill like the generator does), rails with exact snapping, power lines
Procedural mapsRust's own generator with every setting, including multiple islands and custom prefabs
EntitiesNPC spawners, vehicles, loot and vending profiles, IO wiring
Checks and picturesDouble Check, CH47 landing, cargo ship route, APC route, save and reload check; the top-down map image and 3D screenshots so the assistant can see what it built
Filesopen and save maps, undo and redo, the editor log
A 2000 m island built only through assistant commands: terrain, beaches, biomes, monuments, a road, a river and rails
A screenshot the assistant took to check the gas station it placed

Switch it on

Tools▸Utilities▸AI Assistant Settings…

One setting page holds everything: on/off, port, token, safety options and ready-to-copy setups for the common assistants.

  1. Open Edit ▸ Preferences… and pick AI Assistant on the left (or Tools ▸ Utilities ▸ AI Assistant Settings…).
  2. Tick Allow AI assistants to connect. The status line turns green: Listening on http://127.0.0.1:28160/mcp.
  3. Under Connect an assistant pick your client and press Copy: the setup text already contains the address and your token.
  4. Keep Rust Build open while the assistant works: it edits the map that is open in the editor.
TipChange the Port only if another program uses 28160.
TipNew token makes a new password; set the assistant up again with the new text afterwards.
Edit ▸ Preferences ▸ AI Assistant

Connect Claude Code

Claude Code talks to Rust Build directly over HTTP.

  1. In Rust Build choose Claude Code under Connect an assistant and press Copy.
  2. Paste it into a terminal and run it once. It looks like:
    claude mcp add --transport http rust-build http://127.0.0.1:28160/mcp --header "Authorization: Bearer rb_…"
  3. Start Claude Code and ask it for a map, for example Build a 3000 m island map with two harbors, a ring road and a river, then save it to C:\Maps\island.map.
Tip/mcp in Claude Code shows whether rust-build is connected.
Edit &#9656; Preferences &#9656; AI Assistant: port, safety options and the Connect an assistant list
Edit ▸ Preferences ▸ AI Assistant: port, safety options and the Connect an assistant list

Connect Claude Desktop

Claude Desktop starts local servers from its config file; the small mcp-remote helper connects it to Rust Build. It needs Node.js (for npx).

  1. In Rust Build choose Claude Desktop and press Copy.
  2. In Claude Desktop open Settings ▸ Developer ▸ Edit Config and merge the copied text into claude_desktop_config.json:
    {
      "mcpServers": {
        "rust-build": {
          "command": "npx",
          "args": ["-y", "mcp-remote", "http://127.0.0.1:28160/mcp",
                   "--header", "Authorization:${RB_AUTH}"],
          "env": { "RB_AUTH": "Bearer rb_…" }
        }
      }
    }
  3. Restart Claude Desktop. rust-build appears in the tools list of a new chat.
TipIf you already have other servers in the file, add only the "rust-build": {…} part inside mcpServers.
Preferences &#9656; AI Assistant: pick the client under Connect an assistant and follow the steps shown
Preferences ▸ AI Assistant: pick the client under Connect an assistant and follow the steps shown

Other assistants

Any MCP client works: Rust Build speaks the Streamable HTTP transport with a bearer token.

ControlWhat it does
Addresshttp://127.0.0.1:28160/mcp (your port if you changed it)
HeaderAuthorization: Bearer <token>
Clients with a JSON config (HTTP){"mcpServers": {"rust-build": {"type": "http", "url": "http://127.0.0.1:28160/mcp", "headers": {"Authorization": "Bearer <token>"}}}} — pick Other client (HTTP) to copy it
Clients that only start local programs (stdio)use npx -y mcp-remote http://127.0.0.1:28160/mcp --header "Authorization:Bearer <token>" as the server command — pick Other client (stdio only)
Preferences &#9656; AI Assistant: port, token and safety options are the same for every assistant
Preferences ▸ AI Assistant: port, token and safety options are the same for every assistant

Assistant on another computer

Running a local AI model and Rust Build on the same PC can be too much for one machine. Rust Build can let the assistant run on a second computer on your home network.

  1. On the PC with Rust Build open Edit ▸ Preferences… ▸ AI Assistant and tick Allow other computers to connect. The status line shows the network address, for example http://192.168.1.20:28160/mcp.
  2. Optional: fill in Allowed addresses with the address of the other computer (192.168.1.30) or your whole network (192.168.1.0/24). Separate several with commas. Empty means any computer that has the token.
  3. Press Copy under Connect an assistant: the setup text already uses the network address. Use it on the other computer.
  4. If Windows asks whether Rust Build may use the network, allow it on private networks.
TipThe connection is plain HTTP: the token is not encrypted on the way. Only use it on a network you trust, or through a VPN or an SSH tunnel. Never forward the port on your router to the internet.
TipSetups that use mcp-remote get --allow-http added, because that helper refuses plain HTTP to another computer otherwise.
TipAfter 10 wrong tokens in a few minutes a computer is blocked for 10 minutes. This computer itself is never blocked.
Allow other computers to connect and Allowed addresses on Preferences &#9656; AI Assistant
Allow other computers to connect and Allowed addresses on Preferences ▸ AI Assistant

Safety

The connection is made to be safe to leave on while you work.

All 9 controls
ControlWhat it does
Off by defaultnothing listens until you tick Allow AI assistants to connect
This computer onlyRust Build listens on 127.0.0.1 unless you tick Allow other computers to connect, so other computers on your network or the internet can't reach it; web pages can't use it either
Tokenevery request must carry your token; anything without it is refused. Treat it like a password and make a new one if you shared it by mistake
Read-onlyRead-only (look, don't change) lets the assistant read the map, take pictures and run checks, but refuses every change
Ask before big changescreating, opening or generating a map (which closes the open one) and deleting more than 100 prefabs wait until you click Allow in the editor; Deny or no answer within 2 minutes cancels it
Always allowAlways allow (never ask) runs every command without asking, including new, open and generate map and deleting many prefabs. Only switch it on when you trust what the assistant is doing and your work is saved: unsaved changes can be lost when it replaces the map. It is off by default; the activity log and undo keep working
Undoevery assistant command is one step in Edit ▸ Undo (named AI: …); you can also undo while the assistant works
Activity logTools ▸ Utilities ▸ AI Assistant Activity Log lists every request with its arguments, result and time; click a line for the details
Co-opan editor that joined a session as a viewer can't edit through an assistant either; only the host can replace the shared map
Tools ▸ Utilities ▸ AI Assistant Activity Log

Example requests

Tell the assistant what you want in plain words; it plans the steps, looks at the map as it goes and fixes what the checks report.

  1. Make a 2000 m test map: one island, beaches all round, a snowy mountain in the north, a harbor, a lighthouse, a gas station and a supermarket connected by a road. Save it to C:\Maps\test.map.
  2. Generate a 3500 m procedural map with three islands, then add a rail line between the train stations and show me the map image.
  3. Check the open map and fix the problems you find, then save it as a new file.
  4. Paint Arid biome on the southern third of the map and Forest topology on the flat green areas.
  5. Move every oil barrel within 200 m of the Outpost 5 m further from the road.
TipThe assistant also offers ready-made tasks (prompts): build_full_map, review_map and procedural_then_customise.
TipLong jobs (procedural generation, opening big maps, checks) take a while; the assistant waits for them by itself.
What an assistant sees when it takes a screenshot of the editor
A map picture an assistant can ask for

Troubleshooting

All 8 controls
ControlWhat it does
The assistant says it can't connectis Rust Build running with Allow AI assistants to connect ticked and a green status line? Is the port in the setup the same as in Preferences?
Could not listen on port 28160another program uses the port: pick another one in Preferences ▸ AI Assistant and copy the setup again
401 / wrong or missing tokenthe token changed (New token) or was not pasted completely: copy the setup again
Claude Desktop shows no toolsinstall Node.js, check the JSON (commas and brackets), restart Claude Desktop; its developer log names the problem
Every change is refusedRead-only is ticked, or this editor is a co-op viewer
Busya previous command (for example procedural generation) is still running; the assistant waits and tries again
The assistant waits for a long timeit may be waiting for you to click Allow in the editor
Something went wrongEdit ▸ Undo reverts assistant commands one by one; the activity log shows what was done

Use the editor from your phone, tablet or another PC

Remote Control lets you use Rust Build from a web browser on a phone, tablet, laptop or another PC on your network. The browser shows the editor exactly as it is on the PC, and your taps, clicks and keys work as if you were sitting at it — every window, menu and tool, with nothing to install on the other device. The PC stays usable at the same time. It is off until you switch it on, and it always needs a password.
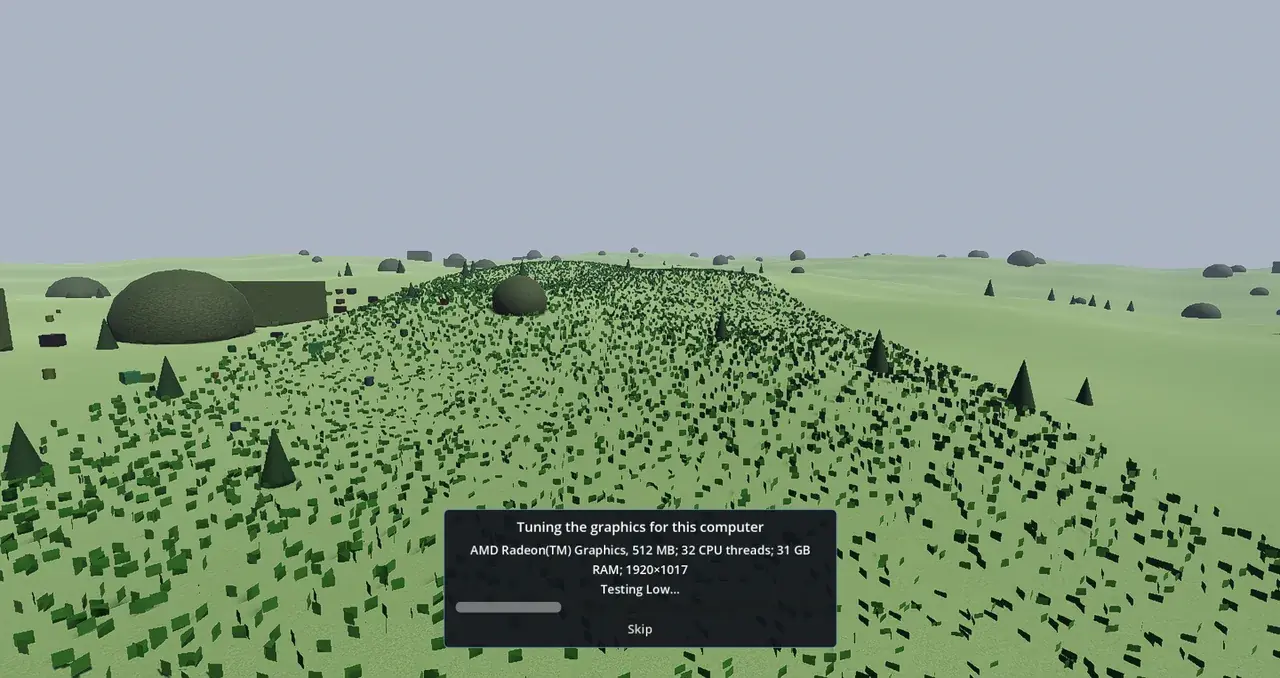
Turn it on

Edit▸Preferences…▸Remote Control

One settings page holds everything: on/off, the password, which network address to use, the port, HTTPS and the safety lists.

  1. Open Edit ▸ Preferences… and pick Remote Control on the left.
  2. Type a password (6 or more characters) and press Set password. Only a scrambled check value is stored, never the password itself.
  3. Tick Turn on Remote Control. The status line turns green and shows the address to open, for example http://192.168.1.20:28180/, with a QR code next to it.
  4. If Windows asks whether Rust Build may use the network, allow it on private networks.
All 9 controls
ControlWhat it does
Listen onAll network connections (default), one of the PC's addresses, or This computer only
Port28180 by default; pick another one if a different program already uses it
Host nameoptional: a name for the PC to show in the address instead of a number, for example my-pc.local
Max viewers at oncehow many browsers may watch and control at the same time (1–10)
Frame rate limitpictures per second at most (5–30). Lower means less work for the PC and less data; when nothing moves on screen fewer pictures are sent
Picture qualityAutomatic follows the speed of the connection; Low, Medium or High fix it. Each browser can pick a lower one in its top bar
Stay logged in forafter this many hours the browser asks for the password again
View onlybrowsers can watch but not click or type
Log everyone outcloses every browser connection at once
Edit &#9656; Preferences &#9656; Remote Control
Edit ▸ Preferences ▸ Remote Control

Connect from a phone or tablet

The phone or tablet must be on the same network (Wi-Fi) as the PC.

  1. Scan the QR code on the settings page with the phone's camera, or type the address shown there into the browser.
  2. Type the password and press Connect. The editor appears; turn the phone sideways for a bigger picture.
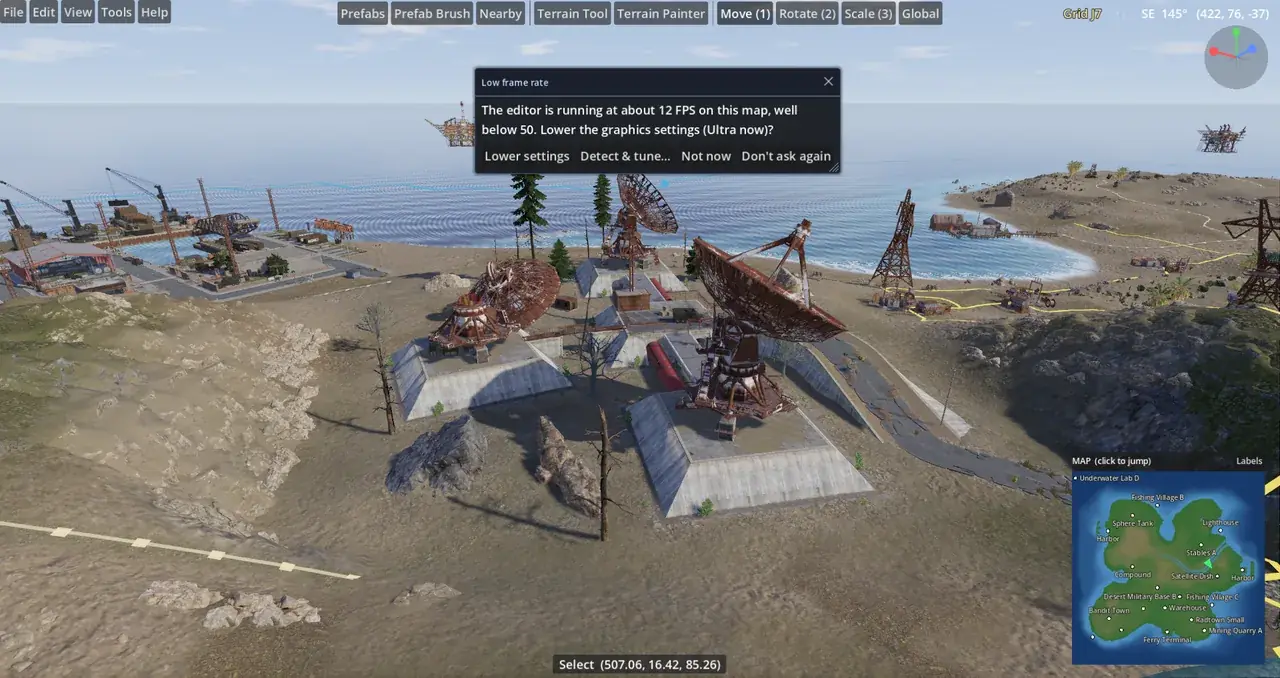
  3. Tap to click, and use the buttons along the bottom (or the right side in landscape) for everything a mouse and keyboard would do.
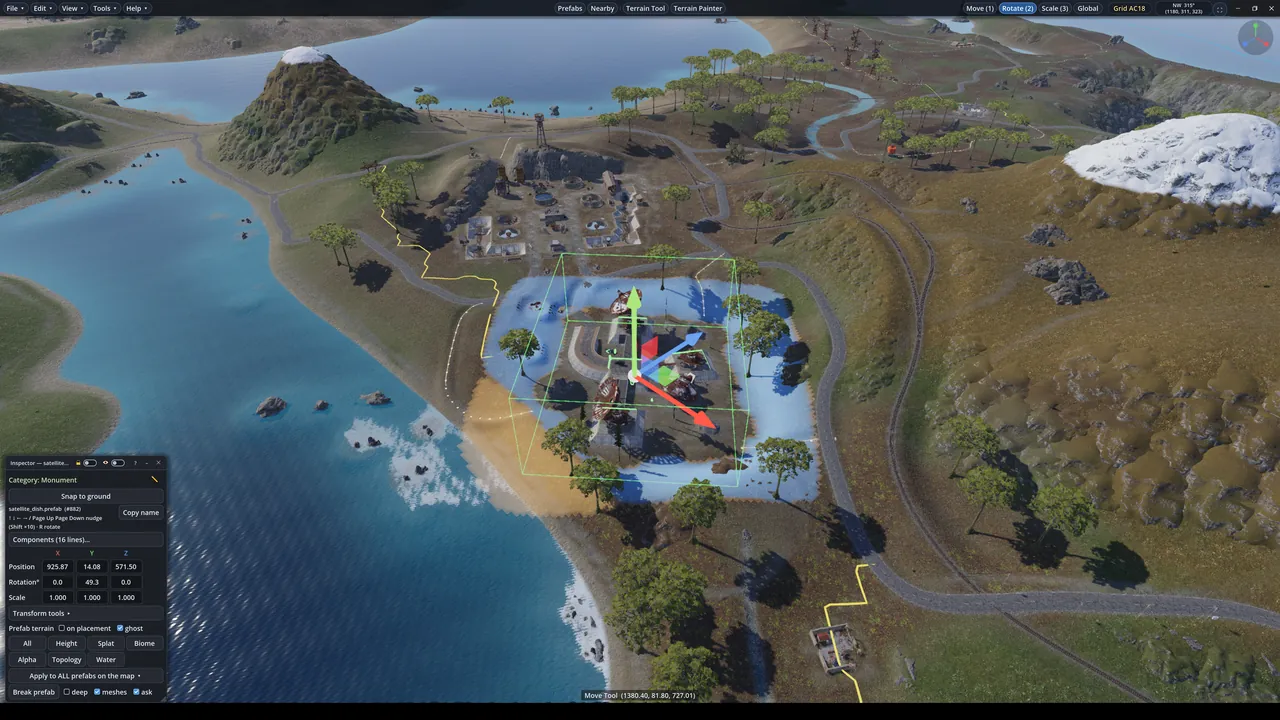
All 10 controls
ControlWhat it does
Tapleft click (tap twice quickly for a double click)
Press and holdright click (or tap R-click first, then tap)
Drag with one fingerdrag, box select, move sliders and windows
Phone uprightthe picture fills the screen height, starting at the top left with the menus, at about the editor's own size: drag with two fingers to move around in it (while zoomed in, use Look to turn the camera), Fit shows the whole editor as a strip. Turn the phone sideways for the whole editor at a bigger size
Pinchzoom into the picture to reach small buttons; drag with two fingers to move around in it, Fit shows the whole editor again and Fill fills the screen with it. Switch the Pinch button to camera to send the mouse wheel instead
Two fingers draglook around (like holding the right mouse button)
Lookkeeps the right mouse button held, so one finger looks around
Flyshows a joystick for W A S D and Up / Down buttons to fly the camera
Shift, Ctrl, Altstay held until you tap them again, for shortcuts and multi-select with taps
Keysopens the phone keyboard to type into text boxes; Esc, Del and Undo have their own buttons
TipAdd the page to your home screen to open it full screen like an app.
TipA green note at the bottom right of the editor on the PC shows who is connected; click it to open the settings.
A phone held upright: log in, the picture fills the screen, two fingers move it, Fit shows the whole editor
A phone in landscape: opening a menu, pinching in, Fit to see the whole editor again, flying with the joystick
A phone held upright: the picture fills the screen (left); Fit shows the whole editor (right)

Connect from another computer

Any modern browser works (Chrome, Edge, Firefox, Safari). Mouse, wheel and keyboard go straight to the editor, shortcuts included.

  1. Open the address in the browser, type the password, press Connect.
  2. Click into the picture and work as usual. Full screen in the top bar hides the browser's own bars.
TipA few shortcuts belong to the browser and can't be passed on (for example Ctrl+W, Ctrl+T, Ctrl+N); use the editor's menus for those.
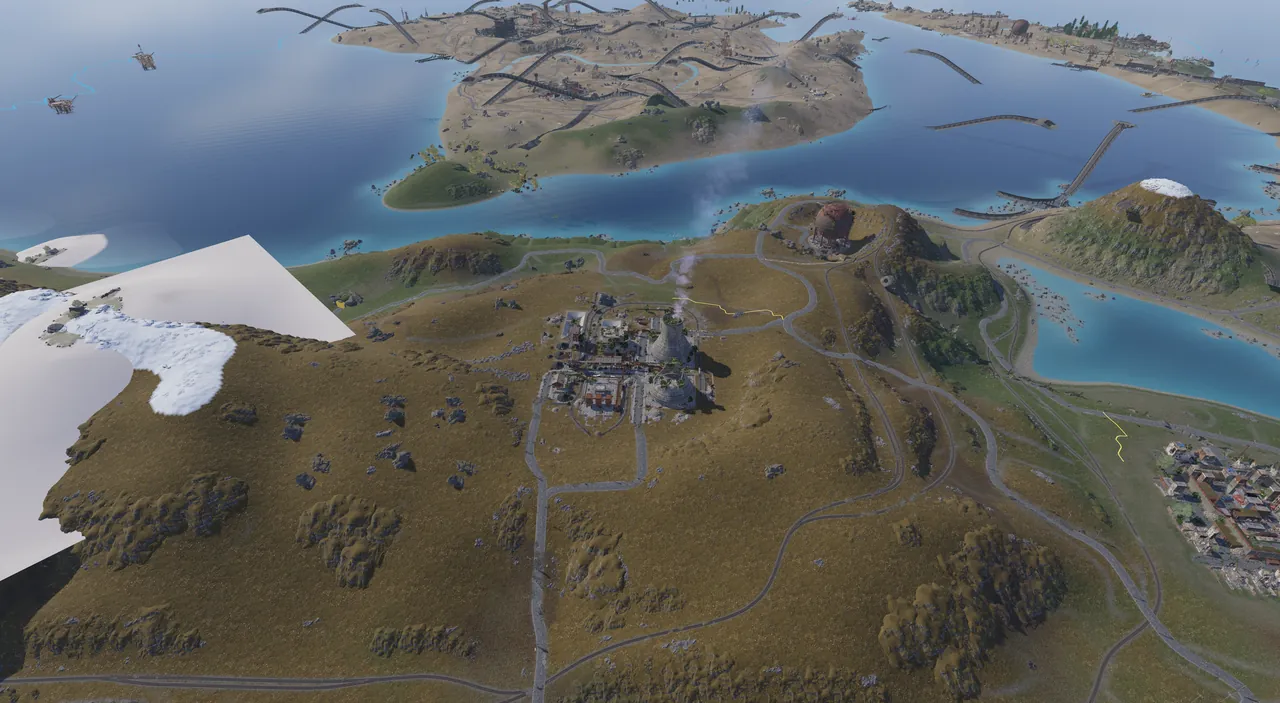
TipWindows you moved to another monitor of the PC are not part of the picture: dock them back to use them from the browser.
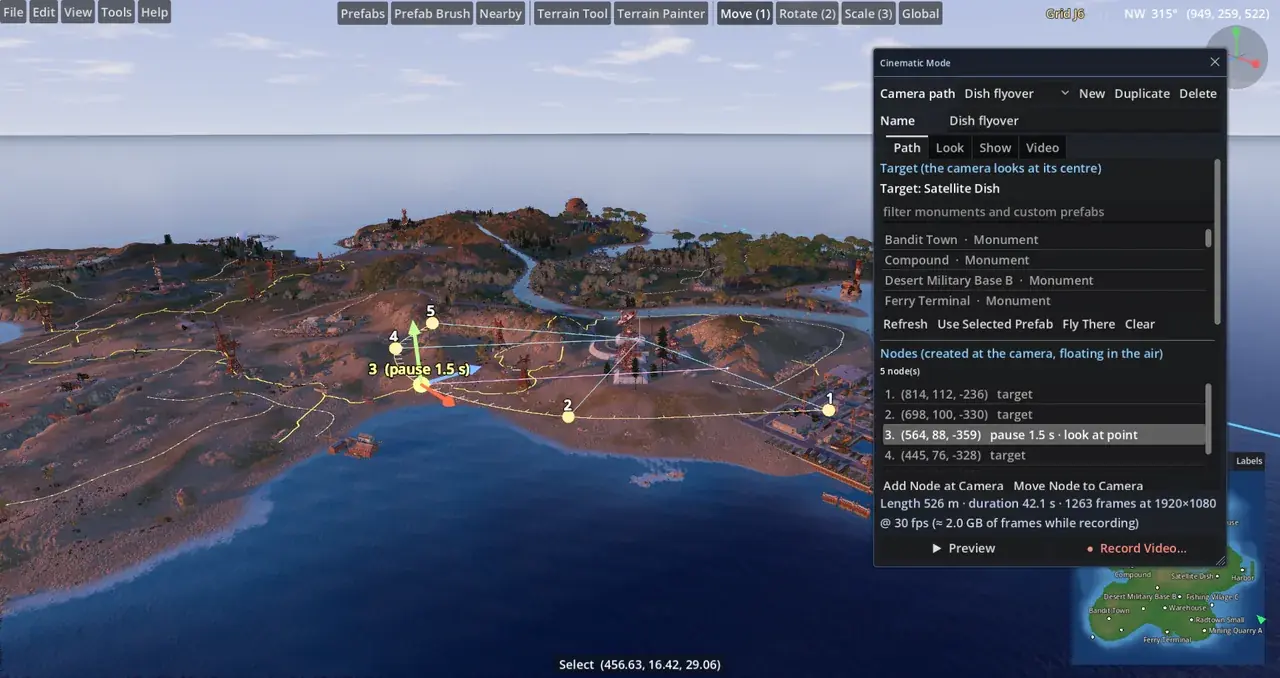
TipDon't minimise the editor on the PC: a minimised window draws nothing to send.
The editor in a browser on another PC

Encrypted connection (HTTPS)

Without HTTPS the picture, your input and the password travel unencrypted, which is fine on your own home network. Turn HTTPS on whenever other people share the network.

  1. Easiest: press Make a self-signed certificate. It makes a certificate for this PC and turns Use HTTPS on; the address now starts with https://.
  2. The first time each device connects, the browser warns that it doesn't know the certificate: choose Advanced ▸ Continue (or Visit this website). The connection is still encrypted.
  3. With your own certificate: tick Use HTTPS and pick the Certificate file — a .pfx / .p12 file, or a .pem / .crt file together with its Key file — and fill in the Certificate password if it has one.
TipA certificate from a certificate authority for a domain you own (for example from Let's Encrypt) shows no warning; set Host name to that domain.
Preferences &#9656; Remote Control: Encryption (HTTPS) with the certificate and key files
Preferences ▸ Remote Control: Encryption (HTTPS) with the certificate and key files

Safety

Remote Control is made to keep strangers out, but the password is the key: pick a strong one.

ControlWhat it does
Off by defaultnothing listens and nothing is sent until you tick Turn on Remote Control; switched off it costs the editor nothing
Password requiredit can't be turned on without one; setting a new password logs everyone out
Wrong passwords5 wrong passwords within a minute block that device's address for 15 minutes; each new block doubles the time, up to a day. Blocked addresses lists them with an Unblock button
Connection logevery login, wrong password, block and connection with its time and address, on the settings page and in a log file (Open the log file)
Logins expirea login lasts the hours you set; Log out in the browser or Log everyone out on the PC ends it at once
You always knowthe green note at the bottom right of the editor shows how many browsers are connected and from where
TipUse it on your own network. Never forward the port on your router to the internet unless you use HTTPS and a strong password; a VPN to your home network is the safer way to reach it from outside.
TipUse View only to show someone your map without letting them change it.
Edit &#9656; Preferences &#9656; Remote Control
Edit ▸ Preferences ▸ Remote Control

Troubleshooting

ControlWhat it does
The page doesn't openis the phone on the same Wi-Fi as the PC? Is the status line green? Allow Rust Build through the Windows firewall on private networks, and try the number address instead of the host name
Could not listen on port 28180another program uses the port: pick another one
Set a password firsttype a password and press Set password, then turn it on again
Too many wrong passwordswait, or unblock the address on the PC under Blocked addresses
Could not load the certificatecheck the file, the key file and the certificate password, or make a self-signed certificate
The picture is slow or blurryset the quality to Low in the browser's top bar, lower the frame rate limit, or move closer to the Wi-Fi router
Keys get stuckswitch to another app and back: every held key and button is let go when the page loses focus or disconnects

Command line jobs (scripts and bots)

Rust Build can run jobs without anyone at the keyboard: make a procedural map with every generator setting, render a map picture, wipe or reset a server save, rebuild it for an edited map, or turn a Rust demo (.dem) into an MP4 video. A job file (JSON) says what to do; the program reports its progress line by line, so a Discord bot, a server panel or a script always knows how far it is. Files can be given as a path or embedded in the job as base64, and results can come back as files or as base64.

Run a job

Start the program with -- followed by the job options. Everything before -- is for the engine (for example --headless, no window); everything after it is for Rust Build.

All 8 controls
ControlWhat it does
WindowsRustBuildEditor.exe --headless -- --job C:\jobs\island.json
Linux./RustBuild.x86_64 --headless -- --job ~/jobs/island.json
Job from a script--job - reads the job from standard input; --job-base64 <text> takes it as base64 text
Check a job--validate job.json checks the file without running it
Learn the format--schema prints the JSON Schema of every job type (--schema procgen for one type), --sample procgen prints a ready job, --help lists everything
Rust client folder--client <folder>; without it the folder set in Preferences (or the Rust folder the program sits in) is used
Output folder--out-dir <folder> for relative and default output names (default: next to the job file)
Stop a jobCtrl-C or Ctrl-Break (a bot can send SIGTERM / CTRL_BREAK_EVENT), or --cancel-file <file>: the job stops as soon as that file exists
TipGive full paths on the command line: relative ones count from the program's folder. Paths inside a job file count from the job file's folder.
TipJobs that only generate a map run without loading the editor and are the quickest. Jobs that open maps load the editor in the background (still without a window with --headless).
Tipdemo-mp4 records video and needs a window: started with --headless it opens a small window by itself. On a Linux server without a screen run it under a virtual display: xvfb-run -a ./RustBuild.x86_64 -- --job demo.json.
TipWhen you try it by hand in a Windows Command Prompt, use start /wait RustBuildEditor.exe --headless -- --job job.json so the prompt waits for the job to finish.
Run now in the Job Editor runs the job and shows its progress

Job types

One job file can hold several steps; a later step can use the file an earlier step made with {"step": "<id>"}.

ControlWhat it does
procgena procedural map (.map) with every setting of New Procedural Map: size, seed, find a seed with land, a saved preset, all generator tabs (biomes, monuments, roads, rails, rivers, Multi Island, edge fade …), step parameters and skipped steps, custom prefabs to place, a heightmap picture, cargo path, advert text and Double Check
map-renderthe top-down map picture (PNG or JPEG) of a .map with every option of Render Map
sav-wipewipe or reset a server save with every option of File ▸ Server Save ▸ Wipe / Reset…: start from a preset (gun wipe, explosives wipe, loot wipe, soft wipe, full wipe) or a saved settings file, change any option by its name, protect monuments with the map, limit it to zones, or only preview it ("dry_run": true gives the report)
sav-regenrebuild the world of a server save for an edited map — monument parts, trees, ores, loot and world vehicles from a first start of the new map — while every player base, sleeper, team and owned vehicle stays. Your Rust dedicated server makes the first start (the folder from Preferences ▸ Folders or "server"), or give a first-start save made elsewhere; options as in File ▸ Server Save ▸ Regenerate World (Keep Players)…
demo-mp4a Rust demo played in the Demo Player and saved as MP4: the demo's map (from the Rust maps folder, a .map, generated from the demo's seed, or none), camera (free, follow, first person, barrel, bullet), the player to watch, start and end time, speed, slow motion, overlays, video size, frame rate, H.264 / H.265, Windows encoder or ffmpeg, quality and a cinematic look

Job file

A job is a JSON object with one step, or a name and a list of steps. Only the settings you change need to be in the file; everything else keeps its default.

  1. One step:
    {
      "type": "procgen",
      "output": "island.map",
      "size": 2000,
      "seed": 0,
      "find_land_seed": true,
      "settings": { "wc.rivers": true, "island.multi": true, "island.max": 3 }
    }
  2. Several steps:
    {
      "name": "weekly map",
      "steps": [
        { "type": "procgen", "id": "map", "output": "weekly.map", "size": 3500 },
        { "type": "map-render", "map": { "step": "map" }, "output": "weekly.png" }
      ]
    }
  3. A demo video:
    {
      "type": "demo-mp4",
      "demo": "raid.dem",
      "map": "auto",
      "start": "2:10", "end": "2:40",
      "camera": "follow", "player": "Bob",
      "width": 1920, "height": 1080, "fps": 60,
      "output": "raid.mp4"
    }
ControlWhat it does
Filesa path (relative = next to the job file), {"path": …}, {"base64": …, "name": "height.png"}, a data:…;base64,… text, or {"step": "id"} for the output of an earlier step
outputa file path, or "base64": the file comes back base64 in the final line instead of being written
overwritefalse refuses to replace an existing output file (default true)
Numbers and switchesmay also be written as text ("0.3", "true"); keys starting with _ are comments
The JSON tab of the Job Editor shows the job file; Apply JSON loads your edits back into the steps

Progress and results

Standard output carries only JSON, one object per line; everything else the program says goes to standard error and rustbuild.log.

  1. {"event":"start","job":"weekly map","steps":2,"needs":"editor"}
    {"event":"step","state":"start","step":1,"type":"procgen"}
    {"event":"progress","step":1,"pct":23.5,"step_pct":47.0,"msg":"Placing monuments"}
    {"event":"log","level":"info","msg":"generated in 41 s: 18811 prefabs, 21 paths"}
    {"event":"step","state":"done","step":1,"output":"C:\\jobs\\weekly.map","seed":901223}
    …
    {"event":"done","ok":true,"outputs":[{"step":1,"path":"C:\\jobs\\weekly.map","bytes":31544812,"seed":901223}, …],"seconds":95.2}
ControlWhat it does
pctthe whole job in percent; step_pct is the current step
error{"event":"error","code":3,"msg":"map: file not found: …"} — a bad job lists every problem in errors
Exit code0 done, 2 bad job file, 3 input problem (missing file, Rust client folder, unreadable map or demo), 4 failed, 5 cancelled
Steps, progress and results appear at the bottom of the Job Editor

Job Editor

Tools▸Utilities▸Job Editor (command-line jobs)…

Builds job files without writing JSON by hand. Every setting of every job type is in the form, with its range and an explanation when you hover it; settings you change turn orange and only those are written to the file.

  1. New picks the job type (or Samples loads a ready job). Add step adds more steps; ▲ ▼ change the order.
  2. Fill in the form. Find a setting… searches all settings (the generator alone has more than 160). Files can be a File path, Embedded (base64) — the file goes into the job so it works on any computer — or the Output of a step.
  3. Validate checks the job, Save writes the .json file, the JSON tab shows the text (you can edit it and press Apply JSON).
  4. Copy command line puts the command that runs the saved job on the clipboard; Run now runs it right here with a progress bar and Cancel.
TipRun now opens maps in the editor for jobs that need it, so save your work first.
TipResults of "output": "base64" are saved next to the job when you use Run now.
Tools &#9656; Utilities &#9656; Job Editor: the steps of a job and the settings of the selected step
Tools ▸ Utilities ▸ Job Editor: the steps of a job and the settings of the selected step

Linux, ARM and Android

The same editor for Linux, ARM64 computers and Android.

Linux

One self-contained binary (the .NET runtime is built in).

  1. Download RustBuild-linux-x86_64.tar.gz (button in Download).
  2. tar xzf RustBuild-linux-x86_64.tar.gz && ./RustBuild.x86_64
  3. The Steam (Proton) Rust install is found automatically; otherwise pick the folder with Bundles/.
  4. Procedural generation needs libRustNative.so from a Linux Rust dedicated server (SteamCMD app 258550): set that folder in Preferences ▸ Folders, or copy the file next to the binary.
TipUses Vulkan when it can; if it crashes or freezes while starting, the next start switches to OpenGL by itself (or start with --rendering-driver opengl3). Settings go to RustBuildData/ next to the binary.
TipThe window has a dark title bar drawn by Rust Build: drag the empty part of the menu bar to move the window, double-click it to maximize or restore, drag an edge to resize, and use – □ ✕ at the top right. Full screen (Alt+Enter) hides it. To use your desktop's own title bar instead, untick Preferences ▸ Graphics ▸ Dark title bar (Linux).
NoteThe Linux version is experimental.

Windows on ARM (64-bit)

A native build for Windows laptops and PCs with an ARM processor (Snapdragon X and similar). The normal 64-bit version also runs on them under emulation, but this one is faster.

  1. Download RustBuildEditor-0.14-winarm64.zip (button in Download).
  2. Extract it to a folder you can write to and double-click RustBuildEditor.exe, the same as the 64-bit version.
  3. Point it at the Rust client folder (the one with Bundles\) on first run.
TipMaps generated on a 64-bit Intel/AMD PC open, edit and save normally.
NoteProcedural generation and river shaping use Rust's own terrain generator library, which only exists for 64-bit Intel/AMD. On ARM these tools say so instead of running: generate the map on an Intel/AMD PC (or use the 64-bit version under emulation) and edit it here. This version is experimental.

Linux ARM64

One self-contained binary for 64-bit ARM Linux: Raspberry Pi 5-class boards, ARM laptops and ARM servers or desktops.

  1. Download RustBuild-linux-arm64.tar.gz (button in Download).
  2. tar xzf RustBuild-linux-arm64.tar.gz && ./RustBuild.arm64
  3. Copy your Rust client folder to the machine (Rust itself does not run on ARM) and pick the folder with Bundles/ on first run.
TipNeeds a Vulkan driver (Raspberry Pi 5: the standard Mesa driver); otherwise start with --rendering-driver opengl3.
TipSmall boards: use the Very Low preset and keep maps at 1000–2000 m; 8 GB of memory is recommended.
NoteProcedural generation and river shaping are not available: Rust's terrain generator library only exists for 64-bit Intel/AMD. Generate maps on a PC and edit them here. This version is experimental.

Android (arm64)

An APK for arm64 phones and tablets with a mouse or touch screen.

  1. Install RustBuild-arm64.apk (adb install -r or open it on the device).
  2. Copy your Rust client folder to the device, e.g. /sdcard/Rust with Bundles inside.
  3. Start Rust Build and allow All files access.
NoteProcedural generation is not available on Android (Rust has no Android generator library). The Android version is experimental.

Troubleshooting

Common problems

All 24 controls
ControlWhat it does
It crashes and the Windows error report names ReShade64.dllReShade installed for another game hooks into every Vulkan program on the PC, even when you never run it for Rust Build. Rust Build switches ReShade's Vulkan hook off by itself (it restarts once at startup). If it still crashes on the very first start, start it once with RustBuildEditor.exe --rendering-driver d3d12 or pick Direct3D 12 in Preferences ▸ Graphics, or remove ReShade from that game with ReShade's setup. If a dxgi.dll, d3d12.dll or opengl32.dll sits next to RustBuildEditor.exe, delete it: that is ReShade too.
The window closes straight away or freezes while startingjust start Rust Build again: after a crash or a frozen start it uses the next rendering driver by itself (Vulkan, Direct3D 12, then OpenGL) and tells you which. You can also start once with --rendering-driver d3d12, or pick the driver in Preferences ▸ Graphics ▸ System
It keeps asking for the Rust folderchoose the folder that contains Bundles\ (not Bundles itself)
Parts of monuments are missing (hatches, turrets, cranes, pump jacks, SAM sites, palm trees…) or things look wrong after updating from an older versionuse Help ▸ Clear All Data and Settings… (also at the bottom of Edit ▸ Preferences ▸ General): it deletes every setting and everything Rust Build cached (game data read from the Rust files, shader caches, logs), keeps your saved maps, autosaves, presets and custom prefabs, and restarts Rust Build like a first start (see Clear All Data and Settings). If Rust Build won't start: close it and delete the folder %APPDATA%\Godot\app_userdata\RustBuild and the RustBuildData folder next to RustBuildEditor.exe. Also check that Rust Build reads the live game's files: a notice says so when the Rust folder is the Staging Branch; change it with Set Client Folder… on the start screen
A big map crashes, turns black or shows The graphics card ran out of video memorykeep Edit ▸ Preferences ▸ General ▸ Memory ▸ Video memory limit on Auto, or set a lower value there and reload the map: Rust Build then uses smaller textures and unloads what is not drawn (see Preferences ▸ General). A lower graphics preset helps too
Very slow on a laptopuse the Very Low or Low preset and lower the max distances; keep maps at 1000–2000 m
Grey cubes with names instead of modelsthose prefabs have nothing to draw in the game (spawn points, sounds, effects, triggers); hide them with View ▸ Overlays ▸ Labels on Prefabs Without Models
A small procedural map is all oceanthat is how Rust makes small maps: many seeds at 1000–1250 m have little or no land, in the game too. Use Find seed with land on the Map tab (see New Procedural Map) or a bigger size
Rust Build uses too much memorylower Edit ▸ Preferences ▸ General ▸ Memory ▸ Max RAM or click Free cached memory now; use a lower graphics preset and smaller maps
A key does nothing, or does something elsethe key may have been changed: check Edit ▸ Preferences ▸ Keybindings (filter by the key) or click Reset all to defaults
I can't find the Sockets / Paths / Building Planner button or the Co-op menuthey moved: View ▸ Show Sockets, View ▸ Show Paths, Tools ▸ Path Tools, Tools ▸ Building Planner and File ▸ Co-op
Co-op: This Rust Build version is not compatible with the host'sthe host and every player need the same Rust Build version: update both to the newest (Help ▸ Check for Updates…)
Images on signs don't show on my serverinstall the RustBuildHelper plugin (see Server plugin); if the map was saved again in another map editor, the images and skins were removed: save it from Rust Build again
Procedural generation is greyed outthe client folder must contain RustClient_Data\Plugins\x86_64\RustNative.dll
Where did my save go?Save Map writes <name>_edited.map next to the file; new and generated maps live in RustBuildData\newmaps until you use Save As
A game update broke my mapTools ▸ Utilities ▸ Prefab ID History lists removed and renamed prefabs; Compare Bundles shows the differences
No soundsounds play only for selected prefabs, with View ▸ Overlays ▸ Effects ticked; nothing extra needs installing. Check that Windows has an output device
Doors or hatches seem missingthey are always drawn; switching View ▸ Show Volumes only hides the green helper boxes. If you hid prefabs, use Edit ▸ Hide / Lock ▸ Unhide All or View ▸ Prefab Visibility Filter ▸ Show all
A message flashed by too quicklyopen Help ▸ Console: it keeps every notice, warning and error (see Console)
Graphics settings don't changeon the Graphics page press Apply (or OK): changes wait until then
The editor is slow after the first startrun Edit ▸ Preferences ▸ Graphics ▸ Detect & tune…, press Apply, or accept Lower settings in the Low frame rate window
Rust Build closed unexpectedlythe next start shows what it was doing at the time (for example loading a co-op map) and offers the other graphics engines: DirectX 12, Vulkan or OpenGL on Windows, Vulkan or OpenGL on Linux. Click one and Rust Build saves it and restarts with it; Keep stays on the current one. OpenGL works on almost every PC but is slower. You can switch any time in Edit ▸ Preferences ▸ Graphics ▸ Rendering driver with Restart now with this driver. Two copies of Rust Build open at once, a normal quit or a restart never count as a crash
A co-op player closes while the map loadsbig maps need a lot of memory on the joining PC (a 6000 m map about 10 GB more while it loads); the player sees a notice when their PC has too little free. They should close other programs, pick a lower graphics preset, and after a crash try the other graphics engine the next start offers. You (the host) see why they left and their PC's memory and graphics engine in rustbuild.log
Logsrustbuild.log next to the exe (or in %TEMP% when the folder is read-only); crashes in rustbuild_crash.log; after Rust Build closed unexpectedly, the log of that run is kept as RustBuildData/crash/last_crash_log.txt (the crash notice's Open the log folder opens it)

About Rust Build

Credits

Rust Build is a fan-made map editor for Rust.

ControlWhat it does
Rustthe game, its prefabs, textures and terrain data are © Facepunch Studios. Rust Build reads them from your own Rust install and never ships them
Other map editorsRust Build uses the standard map format, so maps open in other map editors too
Reference materialReference material is also taken from bmgjet's GitHub
Third-party softwareGodot, .NET, AssetStudio, protobuf-net, K4os LZ4 and python-fsb5 data: see the third-party notices (also in the download zip and in Help ▸ About RustBuild ▸ Third-party notices…)
Help &#9656; About RustBuild: version, engine and credits
Help ▸ About RustBuild: version, engine and credits